manuals.online logo
Brands
  1. Home
  2. •
  3. Brands
  4. •
  5. TMG
  6. •
  7. Outdoor Furnishing
  8. •
  9. TMG TMG-LGZ21 User manual

TMG TMG-LGZ21 User manual

►www.tmgindustrial.com P0 / 18 Toll Free: 1-877-761-2819
►www.tmgindustrial.com P1 / 18 Toll Free: 1-877-761-2819
Main Specifications:
6.0x H3.15 (m) / 10ft x 19.68ft x 10.3ft
Inside size: W2.64x L5.84x H3.10 (m)
urtain/Net: W4.45 x H2.1 (m)
urtain: 180G polyester
Prior to assembly:
Please go through the whole instruction manual completely. It is very important to follow
your local safety regulations and industry standards during installation.
Regulations may include but are not limited to:
- Safety helmets, protective eyewear, protective glove and clothing
- Safety harnesses for all elevated workers
- Proper ladder and safety operation
Check all components and parts before installation. All parts are marked with a part
number, please refer to the parts list to ensure you have all parts.
Choose a day with low or no wind to install, it is hard to assemble with heavy wind. Do
not make any alterations to the structure. Do not hang any weight on the frame during
installation, including parts. We are not responsible for any damages or injuries caused by
inappropriate installation, unauthorized modifications or extreme weather.
Check the parts list below to make sure all parts are received prior to assembly.
►www.tmgindustrial.com P2 / 18 Toll Free: 1-877-761-2819
TMG-LGZ21 Part List
Parts
code
Graphical
Description
Length
Qty
A
Post
100x100mm
4
A1
Middle post
100x100mm
2
B
Cross beam
28x140mm
2
C1
Left cross beam
28x140mm
2
C2
Right cross beam
28x140mm
2
D1
Left support
1.2x60mm
6
D2
Right support
1.2x60mm
6
E
Steel corner
20x20mm
12
F
Post cover
100x140mm
4
F1
Middle post cover
100x100mm
2
G1
Long beam
37x48mm
4
H1
Short beam
32x48mm
10
H2
Short beam
connection
1.2x60mm
10
I1
Small top beam
37x48mm
4
I2
Small top beam
connection
20x90mm
4
J1
Middle beam
for small top
32x48mm
4
J2
Middle beam
connection
1.2x20mm
4
►www.tmgindustrial.com P3 / 18 Toll Free: 1-877-761-2819
K1
Left big top
30*300m
m
1
K2
Right big top
30x300m
m
1
L
Top cover
1.2*200m
m
2
L1
Left small top
15x60mm
1
L2
Right small top
15x60mm
1
M1
Short support
25x25mm
8
M2
Long support
25x25mm
6
N1
Connection for support
4
N2
Connection for support
10
O
Middle edge strip
25x28mm
8
O1
Left edge strip
25x28mm
4
O2
Right edge strip
25x28mm
4
P
Edge strip for small top
25x28mm
2
P1
Left edge strip
for small top
25x28mm
2
P2
Right edge strip
for small top
25x28mm
2
Q1
Angle cover
8
Q2
Flat cover
14
R
Decorative cover
6
R1
Middle galvanized
sheet (up)
6
►www.tmgindustrial.com P4 / 18 Toll Free: 1-877-761-2819
R2
Middle galvanized sheet
(down)
6
S1
Large galvanized sheet
(Left)
4
S2
Large galvanized sheet
(Right)
4
T1
Small galvanized sheet
(Left)
4
T2
Small galvanized sheet
(Right)
4
U
Small top galvanized sheet
2
U1
Small top galvanized sheet
(Left)
2
U2
Small top galvanized sheet
(Right)
2
V
Small top galvanized sheet
(Middle)
2
W
Middle cross beam
1
X1
Curtain
1
X2
Net
1
►www.tmgindustrial.com P5 / 18 Toll Free: 1-877-761-2819
a
M6x16
222
b
Post cover screw
M6x45
30
c
Nut
M6
2
d
Hook
3
e
M4x10
12
f
M4x4
42
g
Nut
54
h
gasket
54
►www.tmgindustrial.com P6 / 18 Toll Free: 1-877-761-2819
Step 1: Install Post A/A1

Install decorative cover R on all post A/A1, use screw a to fix steel corner E on the
post and tighten the screw.
Parts
code
Graphical
Qty
Parts
code
Graphical
Qty
A
4
R
6
A1
2
a
12
E
12
►www.tmgindustrial.com P7 / 18 Toll Free: 1-877-761-2819
Step 2: Install Cross Beam B/C1/C2/W
Take out the cross beam B /C1 /C2 /W and post cover F
Connect the cross beam B /left C1 /right C2 and post cover F to Post A/A1 with
screws b .
Connect Middle beam W and post cover F1 to Post A1 with screws b .
Parts
code
Graphical
Qty
Parts
code
Graphical
Qty
B
2
F1
2
C1
2
W
1
C2
2
b
28
F
4
►www.tmgindustrial.com P8 / 18 Toll Free: 1-877-761-2819
Step 3: Install Left support D1 & right support D2
Take out the D1 and D2 , Connect Left & Right support D1&D2 to the cross beams
B/C1/C2 and post A /A1with screws a.
Parts code
Graphical
Qty
D1
6
D2
6
a
36
►www.tmgindustrial.com P9 / 18 Toll Free: 1-877-761-2819
Step 4: Install Big top / Small top / Top cover / short beam

Install Big top : Take out Left K1 and Right K2,Connect them with screw b and nut
Install small top: Take out Left L1 and Right L2,Connect them with screw a
Install top cover: Connect Top cover L with screw e, gasket h and nut g
Install short beam: Connect 1piece short beam H1 and 1piece connection H2 with
screw a ,then Install the rest of 9 pieces H1&H2 in the same way.
Parts
code
Graphical
Qty
Parts
code
Graphical
Qty
H1
10
a
14
H2
10
b
2
K1
1
c
2
K2
1
e
12
L
2
g
12
L1
1
h
12
L2
1
►www.tmgindustrial.com P10 / 18 Toll Free: 1-877-761-2819
Step 5: Install long beam G1 and short beam H1, Big top K1/K2
Take out G1 , Connect the long beam G1 to Post cover F , K1 and K2 respectively
with screws a
Take out the installed H1 of Step 4 , Connect H1 and K1/K2 with screw a, Connect
H2 and beam B, C1,C2 with screws a
Parts code
Graphical
Qty
G1
4
a
56
►www.tmgindustrial.com P11 / 18 Toll Free: 1-877-761-2819
Step 6: Install support M1 and M2 on the top
Take out M1, M2, N1 and N2, Connect N1& G1 , N2& H1 with screw a
Then connect M1and M2, N1/N2 with screw a
Parts code
Graphical
Qty
Parts code
Graphical
Qty
M1
8
N2
10
M2
6
a
42
N1
4
►www.tmgindustrial.com P12 / 18 Toll Free: 1-877-761-2819
Step 7: Install the small top
Take out Small top beam I1 and connections I2, connect I1 and I2 with screw a,then
connect L1/L2.
Take out middle beam J1 and connections J2, connect J1 and J2 with screw a,then
connect L1 and L2 .
Parts
code
Graphical
Qty
Parts code
Graphical
Qty
I1
4
J2
4
I2
4
a
36
J1
4
►www.tmgindustrial.com P13 / 18 Toll Free: 1-877-761-2819
Step 8: Install top Cover L
Take out the installed top cover L of Step 4, Connect L and L1 / L2 with hook d.
Parts code
Graphical
Qty
d
3
►www.tmgindustrial.com P14 / 18 Toll Free: 1-877-761-2819
Step 9: Install the galvanized sheet of small top
Take out small top galvanized sheet U,U1/U2 /V , Insert them as shown the diagram,
and fix the edge strip P/P1/P2, Angle cover Q1 and flat cover Q2 on the sheet with
screw a
Parts
code
Graphical
Qty
Parts
code
Graphical
Qty
O
2
U
2
P
2
U1
2
P1
2
U2
2
P2
2
V
2
Q1
4
a
8
Q2
4
►www.tmgindustrial.com P15 / 18 Toll Free: 1-877-761-2819
Step 10: Connect the galvanized sheet S1&T1 , S2&T2, R1&R2
Connect Left side S1 and T1 with screw f, gasket h and nut g
Connect Right side S2 and T2 with screw f, gasket h and nut g
Connect Middle R1and R2 with screw f, gasket h and nut g
(note: screw f and gasket h are above the sheet ,nut g is below the sheet
Parts
code
Graphical
Qty
Parts
code
Graphical
Qty
R1
6
T2
4
R2
6
f
42
S1
4
g
42
S2
4
h
42
T1
4
►www.tmgindustrial.com P16 / 18 Toll Free: 1-877-761-2819
Step 11: Install 4 corners of the galvanized sheet top
Take out the Installed galvanized sheet S1and S2 of Step 10
As shown the diagram,Insert the galvanized sheets S1&S2 into 4 corners of the top ,
and fix the edge strip O1(left )& O2(right ), Angle cover Q1 and flat cover Q2 on the
sheet with screw a
Parts
code
Graphical
Qty
Parts
code
Graphical
Qty
O1
4
a
10
O2
4
Q1
4
Q2
6
►www.tmgindustrial.com P17 / 18 Toll Free: 1-877-761-2819
Step 12: the galvanized sheet top R2
Take out the installed galvanized sheet R2 of Step 10
As shown the diagram ,Insert the galvanized sheets R2 into the middle position , and
fix the edge strip O and flat cover Q2 on the sheet with screw a
Parts
code
Graphical
Qty
Parts
code
Graphical
Qty
O
6
a
8
Q2
4
►www.tmgindustrial.com P18 / 18 Toll Free: 1-877-761-2819
Step 13: Install CurtainX1 and Net X2
Hang the curtain X1 and the net X2 above on the hook of beam B. (Note: Inside net /
outside curtain)
Parts code
Graphical
Qty
X1
1
X2
1

Other TMG Outdoor Furnishing manuals

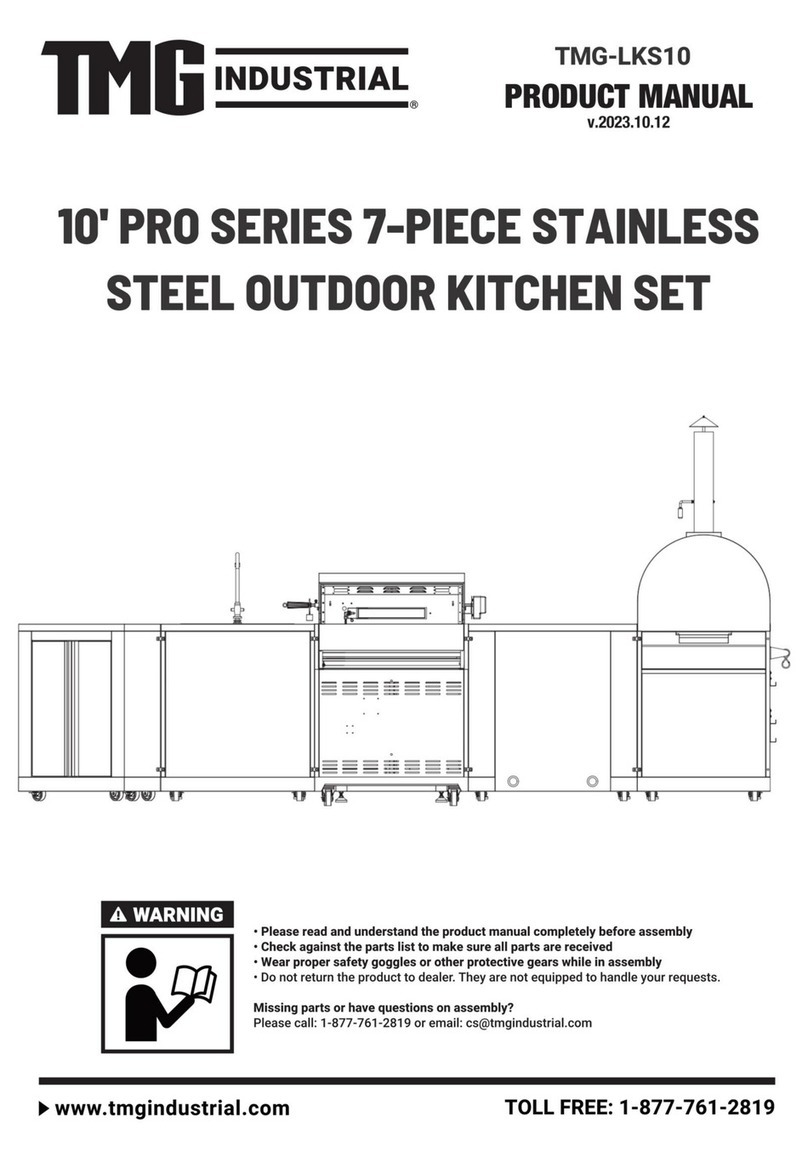
TMG PRO Series User manual

TMG

TMG PRO Series User manual

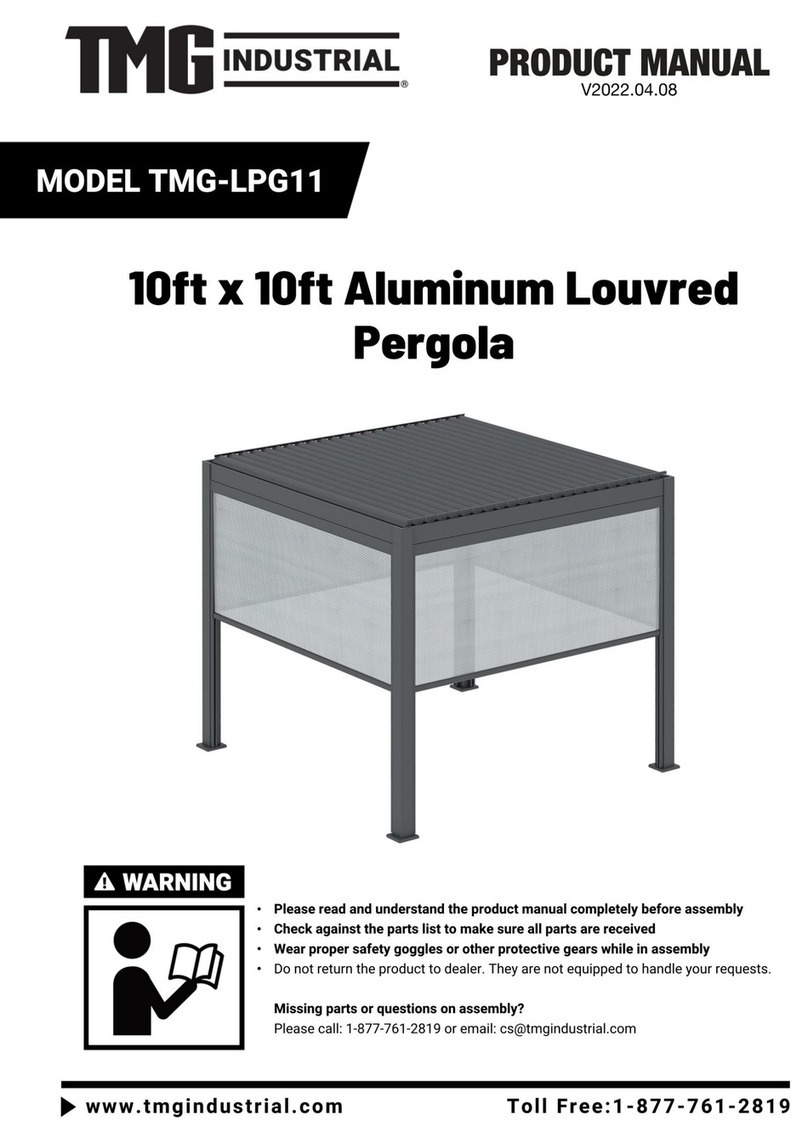
TMG TMG-LPG11 User manual

TMG

TMG TMG-LPG11 User manual

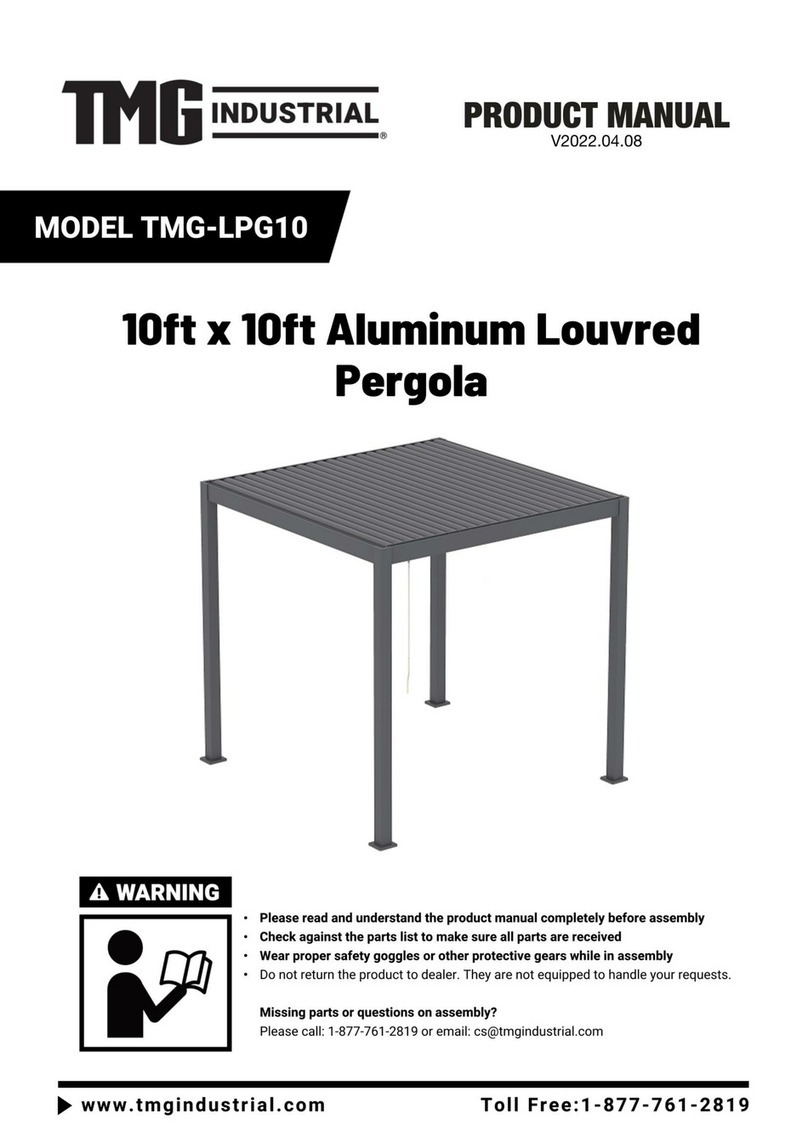
TMG TMG-LPG10 User manual

TMG

TMG TMG-LPG10 User manual

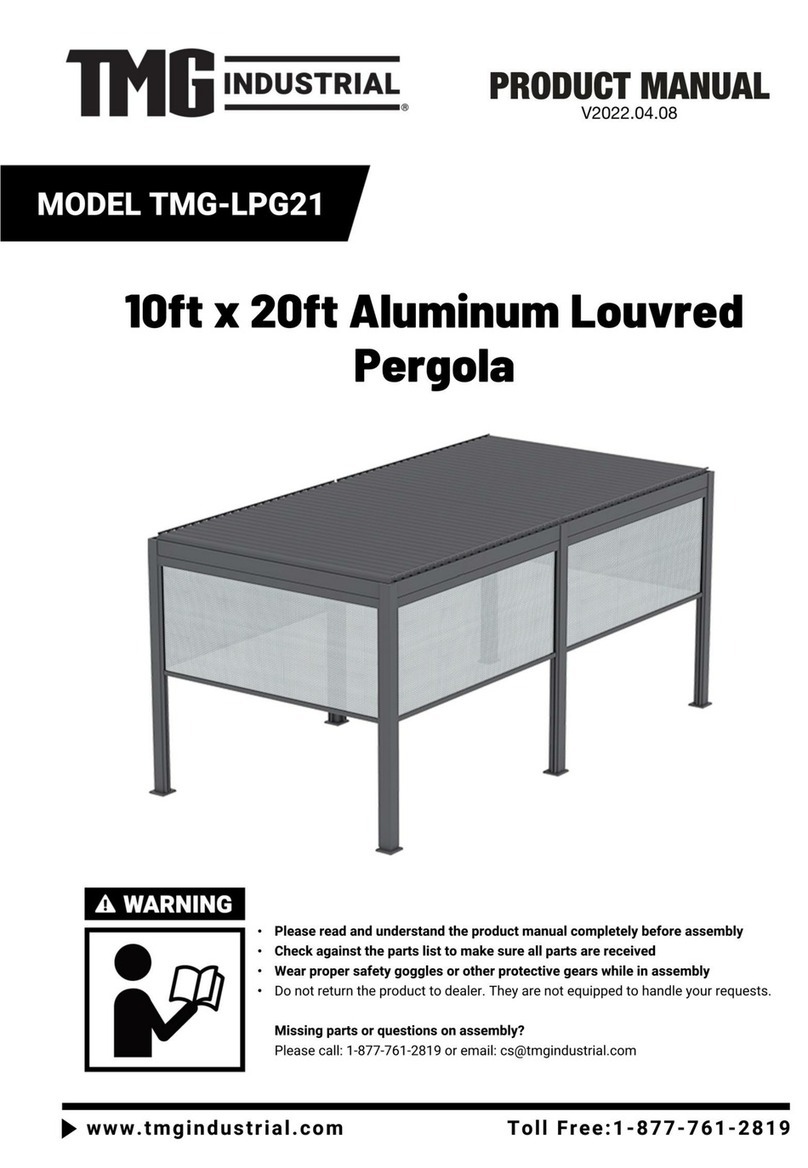
TMG TMG-LPG21 User manual

TMG

TMG TMG-LPG21 User manual

Popular Outdoor Furnishing manuals by other brands

Hanover Traditions TRADDN3PCSWG-R manual

Hanover

Hanover Traditions TRADDN3PCSWG-R manual

Fortress Building Products EVOLUTION STEEL PERGOLA installation instructions

Fortress Building Products

Fortress Building Products EVOLUTION STEEL PERGOLA installation instructions

Blumfeldt 10031884 manual

Blumfeldt

Blumfeldt 10031884 manual

Canada Docks Access Platform Installation & Assembly

Canada Docks

Canada Docks Access Platform Installation & Assembly

Costway GT4027GR manual

Costway

Costway GT4027GR manual

Outsunny 860-020GY manual

Outsunny

Outsunny 860-020GY manual

Palmako Karl CP3676 installation manual

Palmako

Palmako Karl CP3676 installation manual

Belleze 014-HG-20072 owner's manual

Belleze

Belleze 014-HG-20072 owner's manual

leco Profi manual

leco

leco Profi manual

Gardenline 7884-14/21619 user guide

Gardenline

Gardenline 7884-14/21619 user guide

leco Modern Trend instructions

leco

leco Modern Trend instructions

stilum sedis1 Mounting instruction

stilum

stilum sedis1 Mounting instruction

Treasure Garden BASE-13 Assembly and operation guide

Treasure Garden

Treasure Garden BASE-13 Assembly and operation guide

Kozyard Alexander Assembly manual

Kozyard

Kozyard Alexander Assembly manual

Breezesta PT-0600 Assembly

Breezesta

Breezesta PT-0600 Assembly

RioOutdoors 6P-SC installation instructions

RioOutdoors

RioOutdoors 6P-SC installation instructions

Costco 1452582 manual

Costco

Costco 1452582 manual

Dancover Nomado 3x3 m manual

Dancover

Dancover Nomado 3x3 m manual

manuals.online logo
manuals.online logoBrands
  • About & Mission
  • Contact us
  • Privacy Policy
  • Terms and Conditions

Copyright 2025 Manuals.Online. All Rights Reserved.