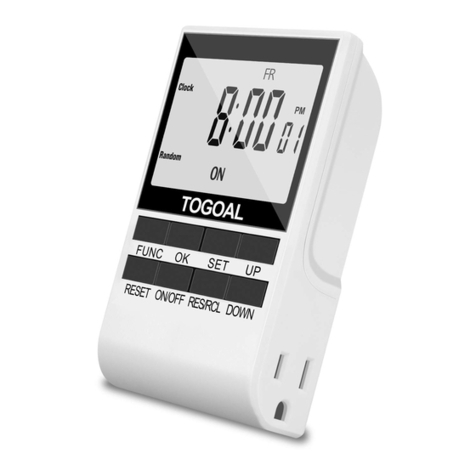
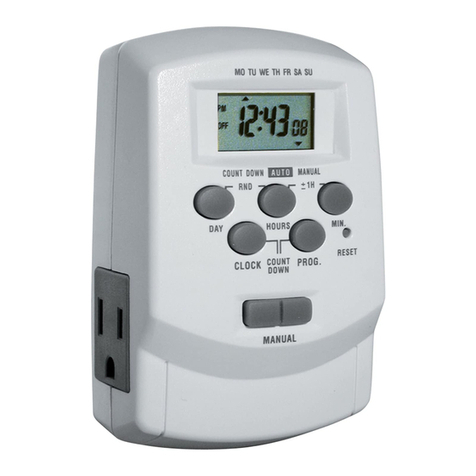
TOGOAL GET06A-US User manual

1. Initial Setup
First Time Set Up
Press the reset button (R). The screen will turn blank,then will show
the reset display.
Tips:
If the screen is blank, plug the timer into any outlet for 30
minutes to charge the internal battery.
2. Set the Digital Clock
When in the clock mode, press the
‘MODE’ button for once, the screen will
show AUTO, day, hour and minute. As
shown in “Figure 1”.
For example, set the time as 9:30AM Tuesday
While holding the
‘CLOCK’ button down
press the ‘WEEK’
button to adjust the
day to TU.
While holding the ‘CLOCK’
button down press the
‘HOUR’ button to adjust
the hour digits to 9 .
While holding the ‘CLOCK’
button down press the
‘MlN’ button to adjust the
minute digits to 30.
3. Daylight Saving Time
To switch between Standard Time and Daylight-Saving Time
(DST),press and hold the ‘CLOCK’ button for 3s. An ‘S’ will
appear on the screen and the clock will increase by 1
hour when in DST. As shown in ‘Figure 2’.
4. Set the Timer
Press the ‘PROG’ button to enter the setting mode:
You will see 1 to the left of the display as shown in ‘Figure 3’.
For example, if you want to have the timer to come on at 8:30AM
and go off at 22:30 Monday thru Friday, please do the following:
ON
Step 2: Press the ‘HOUR’
button to adjust the hour.
Step 3: Press the ‘MIN’
button to adjust the minute.
Step 4: Press the ‘PROG’
button to set 1 time.
Repeat steps 1 - 3.
(Note:Do not forget to
press the ‘WEEK’ button
to select the desired days
for the off time, or the timer
may not go off as you
want.)
Step 6: Press the
‘CLOCK’ button to exit
the setting mode and
plug the timer into a
powered outlet. The
timer is ready for use.
Step 5: Press the ‘PROG’
button to advance to the
next on/off setting
position. Repeat steps 1-4
to set more timers
according to your needs.
* Tips: To review the programs, press the ‘PROG’ button
repeatedly. You can use the ‘DEL’ button to cancel the settings
you don’t want, or press it one more time to restore.
IMPORTANT
OFF
Figure 2 Figure 3
Step 1: Press the
‘WEEK’button to choose
the group of days you
wish to switch the
appliance on.
The group will advance in the sequence of:
MO -> TU -> WE -> TH -> FR -> SA -> SU ->MO WE
FR -> TU TH SA -> SA SU -> MO TU WE -> TH FR SA
-> MO TU WE TH FR -> MO TU WE TH FR SA -> MO
TU WE TH FR SA SU.
Figure 1
At the moment the timer is plugged into an outlet, the timer
may not come on immediately as per the setting if the digital
clock time falls between any on-off interval you set. Instead it
will stay off until the next on-off interval begins. For instance,
if you plug the timer into the outlet between 8:30~22:30, the
timer may not come on immediately even if you have set the
timer to come on at 8:30 every morning and go off at 22:30
every evening. Instead, it will stay off until 8:30am next
morning. Under this circumstance, if you want to have the
timer come on the moment it is plugged in and then work as
your program, please press the ‘MODE’ button repeatedly to
manually turn on the timer first and then press the button one
more time to put the screen back to AUTO.
•
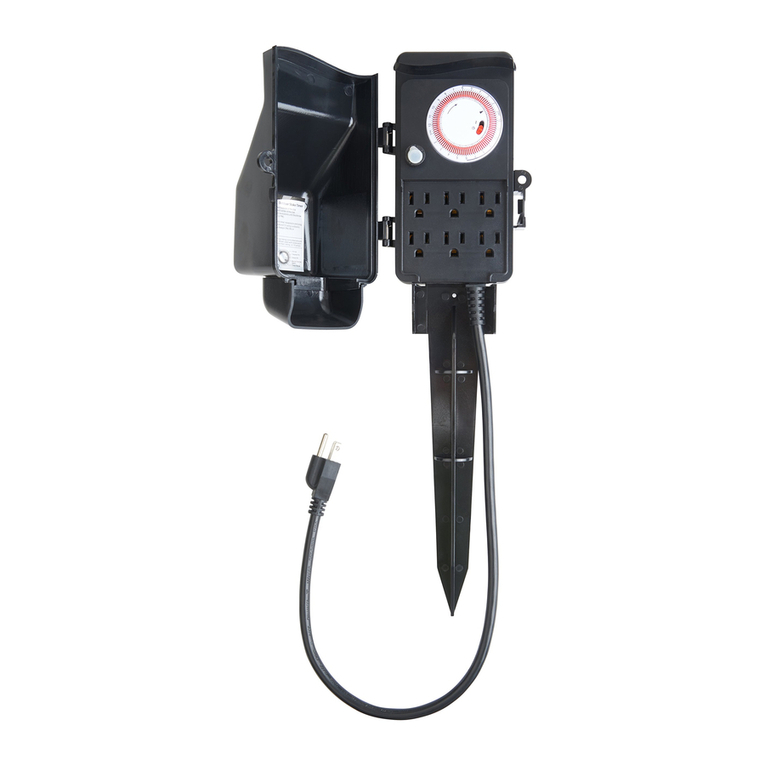
Digital Timer Outlet
Model No.:GET06A-US
TOGOAL
Safety Use & Care
Please keep this manual in a safe place for future reference.
DO NOT plug any appliance where the load exceeds 15Amps.
Heaters, pet feeders and similar appliances should never be
left unattended during operation. The manufacturer recommends
such appliances not be connected to timers.
DO NOT attempt to repair, disassemble or modify under any
circumstances.
FAQ
1. How long is the warranty for this product?
We offer a 12-month limited warranty on this timer. If your timer is
broken, please email your order number and describe the issue. We
will immediately issue a full refund or arrange a new replacement after
verification. We believe what makes us different is not just the product
we offer but also our outstanding customer service. We also believe
the buyer and seller can achieve a win-win outcome through mutual
effective communication.
2. What should I do if I am having trouble setting up the timer?
Please email to tell us the schedule and days of the week you want to
set up. Our technical support team will give you personal step-by-step
guidance illustrated with pictures.

Press and hold ‘HOUR’, ‘MIN’ or ‘PROG’ more than 3
seconds to navigate quickly through the numbers.
If you have multiple programs, please make sure that the
on-off intervals of the programs you set do not overlap with
each other, especially when using the day combination option.
•
•
5.Manual Operation
Press the ‘MODE’can manually turn on and off the timer.
OFF: Press ‘MODE’ button
until unit screen shows
OFF. In this status, timer
always has no output. The
red LED output indicator is
off.
ON: Press ‘MODE’ button
until unit screen shows ON.
In this status, timer always
has output. The red LED
output indicator is on.
Please set timer to AUTO status if you wan to turn on
and off automatically based on Programs you have set.
When switched to AUTO,there are 2 situations:
6.Anti-theft Random Function
To cancel the random
function, simply press
the ‘HOUR’ button 3s.
7.
Countdown Function(1min to 5999min)
With the countdown feature, you will be able to set your
appliance to automatically come on or go off after a given period
of time. For example, if you want the timer to automatically go off
after 2.5 hours,please follow the steps below:
Step 1:
Repeatedly
press( or press and hold)
the ‘PROG’ button to
skip the 20 on-off
programs. The screen
will show ‘ --:--’
Step 4: Press the
‘CLOCK’ to exit the
setting mode.
Step 5: Hold the‘DEL’
button for 3s to start the
countdown, and you will
see 'CD' flashing on the
display. The timer will be
on and automatically go
off after 2.5 hours. After
that, the timer will work in
the auto mode according
to the on-off programs
you set.
Tips: To cancel
countdown, hold ‘DEL’
button for 3s again.
PLEASE NOTE: The Random and Countdown are
not compatible with each other. When you activate
one function, the other functions will stay inactive.
8. Technical Data
Installation: Plug-in Type
Voltage: 125V~/60Hz
Rating: 125V~ AC / 15A /1250W
Operating Temperatures: -14°F ~ +104°F
Accuracy: ± 1 Minute per Month
Battery:NIMH1.2V>100 Days
9. Package Contents
2 X Digital Timer Switch
1 X Instruction Manual
AUTO ON:
Press ‘MODE’ button from
ON to AUTO. In this status,
red LED indicator is on, the
timer will stay on until the
next off setting arrives. And
then it will work exactly as
you programmed.
AUTO OFF:
Press ‘MODE’ button from
OFF to AUTO. In this
status, red LED indicator is
off,the timer will stay off
until the next on setting
arrives.And then it will
work exactly as you
programmed.
When in the random mode, the timer will turn on and off with a
10~42 minutes variation based on the on and off schedules you
set. It is especially useful during vacations as the home may
appear to be occupied.
Step 2: Make sure the
screen is in the AUTO
mode.
Step 3: Long-Press the
‘HOUR’ 3s to activate the
random mode.
There will
be a ‘R’ on the LCD.
Step 2: Press ‘MODE’
repeatedly until screen
shows and AUTO. This
is the countdown and turn
off mode. It means the
timer will be on when
countdown starts, and it
will automatically go off
after the countdown time
runs up. (Tips: If the
screen shows and
AUTO, the timer is in the
countdown and turn on
mode. It means the timer
will be off when
countdown starts, and it
will automatically come on
after the countdown time
runs up.)
Step 3: Press ‘HOUR’ to
set the hour digits to 2,
and then the ‘MIN’ button
to set the minute digits to
30.
2. To temporarily override program and turn off the timer when it
is ON: Press ‘MODE’ until OFF shows on screen and
immediately press once to return to AUTO. The timer will stay
OFF until the next scheduled ON time. For instance, you have
set the timer to come on at 8:30(8:30AM) and go off at
22:30(10:30PM) every day of the week. If you manually turn off
the timer and then put it back to AUTO between 8:30~22:30.
The timer will stay off until 8:30 next morning.
3. To make it simple, when using the MODE button to control the
timer, if you want the timer to be on and in the AUTO mode,
Press ‘MODE’ until ON shows on screen and immediately press
‘MODE’ once to return to AUTO; if you want the timer to be off
and in the AUTO mode, Press ‘MODE ’until OFF shows on
screen and immediately press ‘MODE’ once to return to AUTO.
1. To temporarily override program and turn on the timer
when it is OFF: Press ‘MODE’ until ON shows on screen and
immediately press once to return to AUTO. The timer will stay
ON until the next scheduled OFF time. For instance, you
have set the timer to come on at 8:30(8:30AM) and go off at
22:30(10:30PM) every day of the week. If you manually turn
on the timer and then put it back to AUTO between
22:30~8:30 next morning. The timer will stay on until
10:30PM.
Step 1:Set up an on-off program by referring section 4.
Tips for using the MODE button
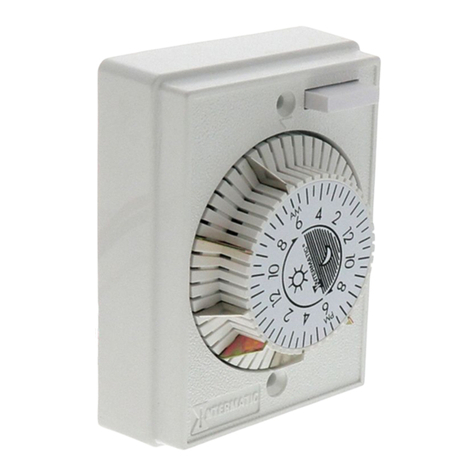
Other TOGOAL Timer manuals
