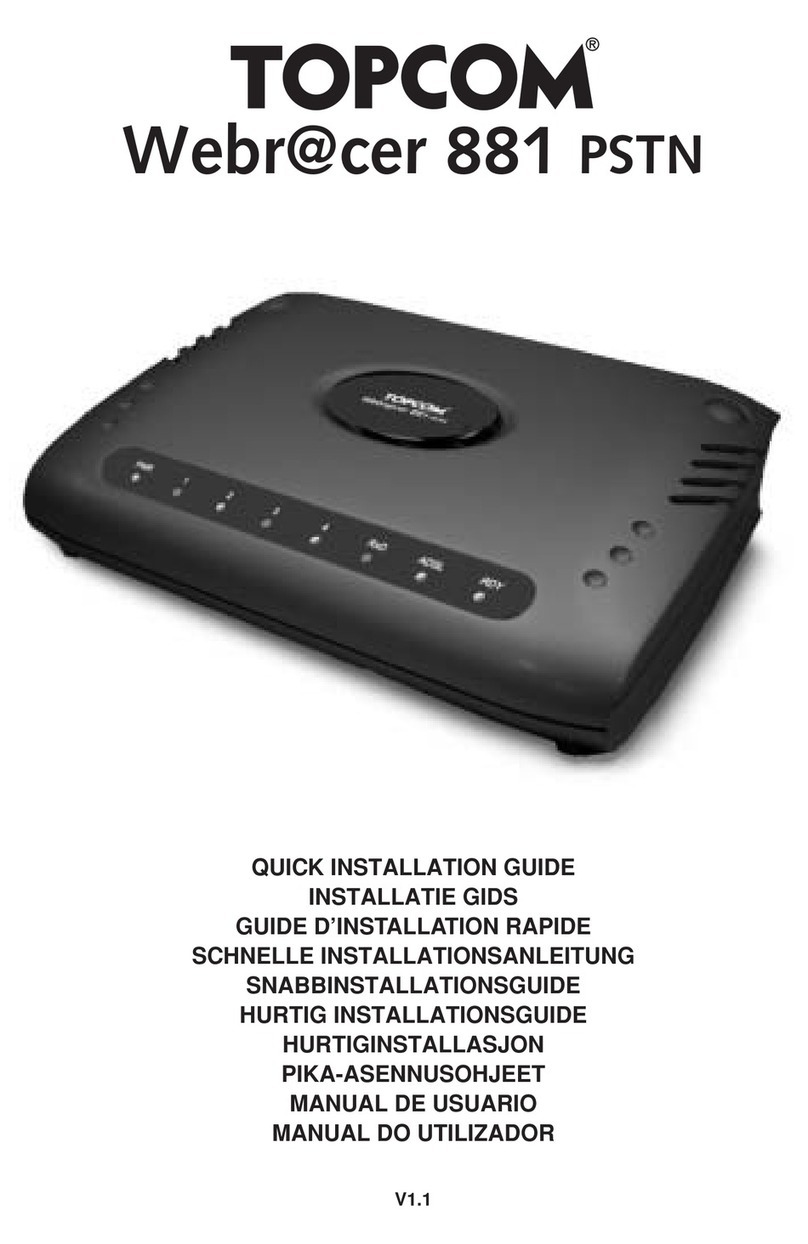
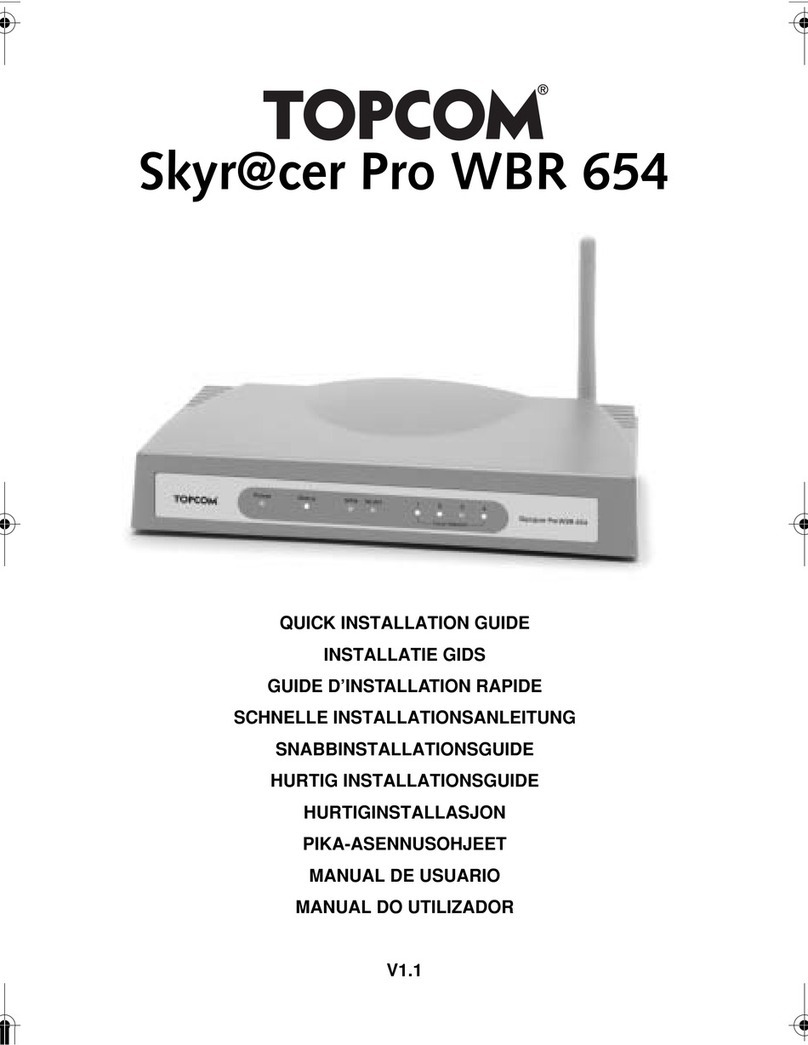
Topcom Wireless Webracer 1104 User manual

QUICK INSTALLATION GUIDE
INSTALLATIE GIDS
GUIDE D’INSTALLATION RAPIDE
SCHNELLINSTALLATIONSANWEISUNGEN
SNABB INSTALLATIONSVÄGLEDNING
GUIDE TIL HURTIG INSTALLATION
HURTIGVEILEDNING
PIKA-ASENNUSOPAS
MANUAL DE USUARIO
MANUAL DO UTILIZADOR
V.1.0
WIRELESS WEBR@CER 1104
!

GB The features described in this manual are published with reservation to modifications.
NL De in deze handleiding beschreven mogelijkheden worden gepubliceerd onder voorbehoud
van wijzigingen.
FLes possibilités décrites dans ce manuel sont publiées sous réserve de modifications.
DDie in dieser Bedienungsanleitung umschriebenen Möglichkeiten, werden vorbehaltlich
Änderungen publiziert.
ES Las características descritas en este manual pueden ser objeto de futuras modificaciones.
SFunktionerna i denna bruksanvisning publiceras med reservation för ändringar.
DK Vi forbeholder os retten til ændringer af de specifikationer, der er beskrevet
i denne brugsanvisning.
NFunksjoner beskrevet i denne manualen kan endres uten nærmere informasjon.
SF Tässä ohjekirjassa julkaissut tiedot voivat muuttua ilman ennakkoilmoitusta.
PAs características descritas neste manual são publicadas sob reserva de poderem ser modificadas.
This product is in compliance with the essential requirements and other relevant provisions of the R&TTE directive 1999/5/EC.
The Declaration of conformity can be found on :
http://www.topcom.net/support/cedeclarations.php
This product is made by Topcom Belgium
FOR USE IN: BELGIUM, HOLLAND,
GERMANY, SWEDEN, DENMARK, NORWAY,
FINLAND, SPAIN, ITALY, PORTUGAL,
GREECE, TURKEY

Topcom Wireless Webr@cer 1104 3
Topcom Wireless Webr@cer 1104
ENGLISH
1. THE CONNECTION PANEL 4
2. CONFIGURING THE PC TO CONNECT TO THE ADSL ROUTER 4
3. VERIFY YOUR PC’S IP CONFIGURATION 6
• WINIPCFG (for windows 95/98) 6
• IPCONFIG (for windows 2000/NT) 7
• Windows XP 7
4. SETUP THE ADSL ROUTER 8
5. WIRELESS SETTINGS 12
6. OTHER SETTINGS 13
7. FIRMWARE UPDATE 13
8. TOPCOM WARRANTY 15
8.1 Warranty period 15
8.2 Warranty handling 15
8.3 Warranty exclusions 15

4Topcom Wireless Webr@cer 1104
Topcom Wireless Webr@cer 1104
1. THE CONNECTION PANEL
•POWER: The power port is to connect the 12V DC power adapter.
--> The power LED on the front panel will go ON when the power adapter is connected.
•ADSL: The ADSL port is to connect your ASDL PSTN line.
--> The DSL LED will go ON I when the ADSL link is established.
•Ports 1- 4 (10/100): This is to connect networked devices, such as PCs, ftp servers or anything else you want to
put on your network.
--> The LAN LED’s will indicate the connection status.
•Reset Button: If you would like to load default settings, press the reset button and hold it for 5 ~ 6 seconds. It will
load the factory default settings for the device. Do not press the reset button unless you want to clear the current
data.
•Power Switch: Please set the power switch in the ON position to start the router.
2. CONFIGURING THE PC TO CONNECT TO THE ADSL
ROUTER
Remark
- The routers default IP address is: 192.168.1.1
- DHCP server is ON
If you do not wish to set a static IP address on your PC, you will need to configure your PC to accept the IP address
that the router will provide.
1. Click Start button, select Settings, then Control Panel
2. Double-click the Network Icon
3. In the configuration windows, select the TCP/IP protocol line that has been associated with your network card/
adapter.
4
ADSL
reset
ON
10/100 AUTO-MDI/MDIX SWITCH
321 DC12V

Topcom Wireless Webr@cer 1104 5
Topcom Wireless Webr@cer 1104
ENGLISH
4. Click the Properties button, then choose the IP ADDRESS tab. Select Obtain an IP address automatically.
5. Then select DNS configuration tab to add DNS IP address. Select Disable DNS function. Press OK. You have
completed the client settings.

6Topcom Wireless Webr@cer 1104
Topcom Wireless Webr@cer 1104
6. After clicking OK, windows will ask you to restart the PC. Click Yes.
3. VERIFY YOUR PC’S IP CONFIGURATION
There are some tools which are great for finding out a computer’s IP configuration: MAC address and default gateway.
• WINIPCFG (FOR WINDOWS 95/98)
Inside the windows 95/98/ME Start button, select Run and type winipcfg. In the example below this computer has a
IP address of 192.168.1.100 and the default gateway is 192.168.1.1. The default gateway should be the broadband
router IP address. The MAC address in windows 95/98 is called the Adapter Address.
NOTE: You can also type winipcfg in the DOS command.

Topcom Wireless Webr@cer 1104 7
Topcom Wireless Webr@cer 1104
ENGLISH
• IPCONFIG (FOR WINDOWS 2000/NT)
In the DOS command type IPCONFIG and press Enter. Your PC IP information will be displayed as shown below.
- IPCONFIG / RENEW will renew the IP address, gateway and DNS.
• WINDOWS XP
Click the right mouse key on your network adapter and select Status
The support screen will display the IP information.

8Topcom Wireless Webr@cer 1104
Topcom Wireless Webr@cer 1104
4. SETUP THE ADSL ROUTER
When your PC has a valid IP address, you can access the router setup web page.
Open Internet Explorer or Netscape Navigater and goto address: 192.168.1.1
Now the login screen will appear.
--> Enter the username and password.
By default the username is admin and the password is password.
--> Click OK to proceed.
You will enter the router menu with all the available options:

Topcom Wireless Webr@cer 1104 9
Topcom Wireless Webr@cer 1104
ENGLISH
--> Now click Login Settings in the Quick Start menu to enter the login screen:
--> Enter your Username and Password from your ISP.
--> Please make sure that the connection protocol and VPI/VCI settings are correct.
! Please check the list below. If your ISP is not listed, please contact your ISP for details.
Country Provider VPI / VCI Connection Type Encapsulation
Belgium Scarlet 8 / 35 PPPoE LLC
Skynet 8 / 35 PPPoE LLC
Tiscali 8 / 35 PPPoE LLC
Holland KPN 8 / 48 PPPoA VCMUX
KPN business 2 / 32 PPPoA VCMUX
BBNED 0 / 35 PPPoA VCMUX
France France Telecom 8 / 35 PPPoE LLC
Sweden Telia - TELIA 8 / 35 1483 ROUTED
DHCP client
LLC
Telenordia 8 / 35 PPPoE LLC
Denmark Tiscali 0 / 35 PPPoA VCMUX
Tiscali 0/101 DHCP client LLC
Cybercity 0 / 35 PPPoA VCMUX
Norway Telenor #1 0 / 100 PPPoE LLC
Telenor #2 8 / 35 PPPoE LLC
Germany DTAG 1 / 32 PPPoE LLC
AOL 1 / 32 PPPoE LLC
ARCOR 8 / 35 PPPoE LLC
Tiscali 1 / 32 PPPoE LLC
Iceland Islandssimi #1 8 / 48 PPPoA VCMUX
Islandssimi #2 0 / 35 PPPoA VCMUX
Iceland Telecom 8 / 48 PPPoA LLC
Portugal PT 0 / 35 PPPoE LLC
ONI 0 / 35 PPPoE LLC
Spain Telefonica 8 / 35 PPPoA VCMUX
Tiscali 1 / 32 PPPoA VCMUX
Italy Telecom Italia 8 / 35 PPPoA VCMUX
UK BT 0 / 38 PPPoA VCMUX
Tiscali 0 / 38 PPPoA VCMUX
10 Topcom Wireless Webr@cer 1104
Topcom Wireless Webr@cer 1104
--> Click “connect”
• The settings will be saved automatically. Please wait.
• When the settings are saved correctly, the router will try to make connection to the Internet.
• If the connection is established, next screen will appear:
--> click OK to continue.
•ThePPP-LED on the front panal will be ON when the Internet PPP connection is established.

Topcom Wireless Webr@cer 1104 11
Topcom Wireless Webr@cer 1104
ENGLISH
!!! Remark !!!
If the connection is not established because of wrong settings, next screen will appear.
--> click OK and enter your ISP settings again.
--> You can check your WAN IP address by clicking Overall Status in the Status menu:

12 Topcom Wireless Webr@cer 1104
Topcom Wireless Webr@cer 1104
5. WIRELESS SETTINGS
--> click Wireless in the Configuration menu to enter the Wireless settings:
•SSID: choose the SSID for your wireless network.
• Choose a Channel (1…13)
•Enable Closed System will hide the SSID broadcast when enabled.
• Please enter the WEP-keys (64 or 128 bit) if WEP encryption is Enabled. Make sure that the wireless clients
will also use the same WEP-key to make the wireless data traffic possible.
--> Click Apply to validate the entries.

Topcom Wireless Webr@cer 1104 13
Topcom Wireless Webr@cer 1104
ENGLISH
--> Click Save Settings in the Configuration menu to save.
--> Click Save to save the settings into the flash memory of the router.
6. OTHER SETTINGS
Advanced users can also enter the other settings of the ADSL router. (LAN & DHCP, Port Forwarding, DMZ, …. ).
The full userguide is available on the Topcom Website. (Support – Userguides)
Please always click Apply to validate the changes below the screen and don’t forget to Save Changes!
7. FIRMWARE UPDATE
When a new firmware is available, it will be published on the www.topcom.net website in the support – downloads
section.
--> Please download the file to your computer.
--> Go to Firmware Update in the Configuration screen.
--> Click Firmware Update to start the update procedure

14 Topcom Wireless Webr@cer 1104
Topcom Wireless Webr@cer 1104
• The router will now prepare the firmware update.
--> Now Browse for the file you have downloaded from the Topcom website.
--> Click Upload.
• The router will be updated now. This can take about one minute.
• When the update is successful the router will automatically reboot.

Topcom Wireless Webr@cer 1104 15
Topcom Wireless Webr@cer 1104
ENGLISH
8. TOPCOM WARRANTY
8.1 WARRANTY PERIOD
The Topcom units have a 24-month warranty period. The warranty period starts on the day the new unit is purchased.
The warranty on batteries is limited to 6 months after purchase. Consumables or defects causing a negligible effect on
operation or value of the equipment are not covered.
The warranty has to be proven by presentation of the original purchase receipt, on which the date of purchase and the
unit-model are indicated.
8.2 WARRANTY HANDLING
A faulty unit needs to be returned to a Topcom service centre including a valid purchase note.
If the unit develops a fault during the warranty period, Topcom or its officially appointed service centre will repair any
defects caused by material or manufacturing faults free of charge.
Topcom will at its discretion fulfil its warranty obligations by either repairing or exchanging the faulty units or parts of the
faulty units. In case of replacement, colour and model can be different from the original purchased unit.
The initial purchase date shall determine the start of the warranty period. The warranty period is not extended if the unit
is exchanged or repaired by Topcom or its appointed service centres.
8.3 WARRANTY EXCLUSIONS
Damage or defects caused by incorrect treatment or operation and damage resulting from use of non-original parts or
accessories not recommended by Topcom are not covered by the warranty.
Topcom cordless phones are designed to work with rechargeable batteries only. The damage caused by the use of
non-rechargeable batteries is not covered under warranty.
The warranty does not cover damage caused by outside factors, such as lightning, water and fire, nor any damage
caused during transportation.
No warranty can be claimed if the serial number on the units has been changed, removed or rendered illegible.
Any warranty claims will be invalid if the unit has been repaired, altered or modified by the buyer or by unqualified, non-
officially appointed Topcom service centres.
The CE symbol indicates that the unit complies with the essential
requirements of the R&TTE directive.

16 Topcom Draadloze Webr@cer 1104
Topcom Draadloze Webr@cer 1104
1. HET AANSLUITINGSPANEEL 17
2. DE PC CONFIGUREREN OM DE ADSL-ROUTER AAN TE SLUITEN 17
3. CONTROLEER DE IP-CONFIGURATIE VAN UW PC 19
• WINIPCFG (voor Windows 95/98) 19
• IPCONFIG (voor Windows 2000/NT) 20
• Windows XP 20
4. DE ADSL-ROUTER INSTELLEN 21
5. WIRELESS-INSTELLINGEN 26
6. ANDERE INSTELLINGEN 27
7. FIRMWARE UPDATE 27
8. TOPCOM GARANTIE 28
8.1 Garantieperiode 28
8.2 Afwikkeling van garantieclaims 28
8.3 Garantiebeperkingen 29

Topcom Draadloze Webr@cer 1104 17
Topcom Draadloze Webr@cer 1104
NEDERLANDS
1. HET AANSLUITINGSPANEEL
•POWER: In de stroompoort steekt u de DC-netadapter van 12 V.
--> De power LED op het frontpaneel begint te branden wanneer de stroomadapter is aangesloten.
•ADSL: In de ADSL-poort steekt u uw ASDL PSTN-lijn.
--> De DSL LED gaat branden wanneer de ADSL-verbinding tot stand is gekomen.
•Poorten 1- 4 (10/100): Hier sluit u de toestellen in het netwerk aan, zoals PC’s, ftp-servers of om het even welk
ander toestel dat u aan uw netwerk wilt hangen.
--> De LAN LED’s geven de status van de verbinding weer.
•Reset-knop: Als u de standaardinstellingen wilt laden, houdt u de reset-knop 5 ~ 6 seconden ingedrukt. Zo worden
de standaard fabrieksinstellingen voor het toestel geladen. Druk niet op de reset-knop tenzij u de huidige gegevens
wilt wissen.
Aan/Uitschakelaar Zet de stroomschakelaar op ON om de router te starten.
2. DE PC CONFIGUREREN OM DE ADSL-ROUTER AAN TE
SLUITEN
Als u geen statisch IP-adres wilt instellen op uw PC, moet u uw PC zo configureren dat hij het IP-adres aanneemt dat
de router geeft.
1. Klik op Start, selecteer Instellingen , dan Configuratiescherm
2. Dubbelklik op het Netwerk-pictogram
3. In het configuratievenster, selecteert u de regel met het TCP/IP-protocol dat is ingesteld voor uw netwerkkaart/
adapter.
4
ADSL
reset
ON
10/100 AUTO-MDI/MDIX SWITCH
321 DC12V
Opmerking - Het standaard IP-adres van de router is: 192.168.1.1
- De DHCP-server staat AAN

18 Topcom Draadloze Webr@cer 1104
Topcom Draadloze Webr@cer 1104
4. Klik op Eigenschappen, kies vervolgens het tabblad IP-ADRES. Selecteer Automatisch een IP-adres
verkrijgen.

Topcom Draadloze Webr@cer 1104 19
Topcom Draadloze Webr@cer 1104
NEDERLANDS
5. Selecteer vervolgens het tabblad DNS- configuratie om het DNS IP-adres toe te voegen. Selecteer DNS-functie
uitschakelen. Druk op OK. De client-instellingen zijn voltooid.
6. Nadat u op OK heeft geklikt, zal Windows u vragen om de PC opnieuw te starten. Klik op Ja.
3. CONTROLEER DE IP-CONFIGURATIE VAN UW PC
Er bestaan tools waarmee u de IP-configuratie van een computer makkelijk kunt vinden: MAC-adres en standaard
gateway.
• WINIPCFG (VOOR WINDOWS 95/98)
Klik in Windows 95/98/ME op de Start-knop, selecteer Uitvoeren en tik winipcfg in. In het onderstaande voorbeeld
heeft de computer als IP-adres 192.168.1.100 en de standaard gateway is 192.168.1.1. De standaard gateway moet
het IP-adres van de breedband router zijn. Het MAC-adres in Windows 95/98 wordt het adapteradres genoemd.
OPMERKING: U kunt ook winipcfg in het DOS-venster invoeren.

20 Topcom Draadloze Webr@cer 1104
Topcom Draadloze Webr@cer 1104
• IPCONFIG (VOOR WINDOWS 2000/NT)
In het DOS-venster tikt u IPCONFIG in en drukt u op Enter. De IP-informatie van uw PC wordt weergegeven zoals
hieronder geïllustreerd..
Met - IPCONFIG / RENEW worden het IP-adres, de gateway en de DNS vernieuwd.
• WINDOWS XP
Klik met de rechtermuisknop op uw netwerkadapter en selecteer Status
This manual suits for next models
1
Table of contents
Languages:
Other Topcom Network Router manuals

Topcom
Topcom Xplorer 874B User manual

Topcom
Topcom BR 604 User manual

Topcom
Topcom BR 604 User manual

Topcom
Topcom Skyr@cer WBR 244 User manual

Topcom
Topcom Xplorer 870 User manual

Topcom
Topcom Xplorer 871B User manual

Topcom
Topcom Xplorer 871 User manual

Topcom
Topcom Wireless Kit 108MBPS User manual

Topcom
Topcom WBR 611 User manual

Topcom
Topcom Skyr@cer Pro UBR 624 User manual