TECHNICAL DOCUMENT
SETUP
Complete the following steps in the order listed:
Required Tools 4
Air Requirements 4
Install the Automatic Tool Changer (ATC) 4
Make Final Alignments to the Automatic Tool Changer (ATC) 18
Required Tools
This procedure requires the following tools. Collect them before you begin.
Required Tools for Installation
l1-1/2 in. adjustable wrench
l16 mm and 19 mm open-ended wrench
lMarker
lMetric hex wrench set
lPhillips screwdriver
lSmall, flat-head screwdriver
lSnips
lSocket wrench, 13 mm socket, and (optionally) an extender
Required Tools for Verification
lBT30 tool holder (for alignment rod)
lMachinist's square, between 6 in. and 9 in. (152 mm and 229 mm)
lStraight rod (for BT30 tool holder), between 8 in. and 12 in. (203 mm and 305 mm)
Air Requirements
You must verify that the site conforms to the following air supply requirements.
lAir Pressure Between 90 psi and 120 psi (620 kPa to 825 kPa).
If the air supply is more than 120 psi (825 kPa), you must use a regulator.
lAir Volume At least 6 CFM at 90 PSI. Check with your plasma source manufacturer in case your model
requires more volume.
lDry Air We recommend using a compressed air dryer, desiccator, or filter between the air compressor and
the machine.
lLubricated Air You must lubricate the air with air tool oil.
Use the FRLFilter-Regulator-Lubricator (PN 32457) or similar for this purpose.
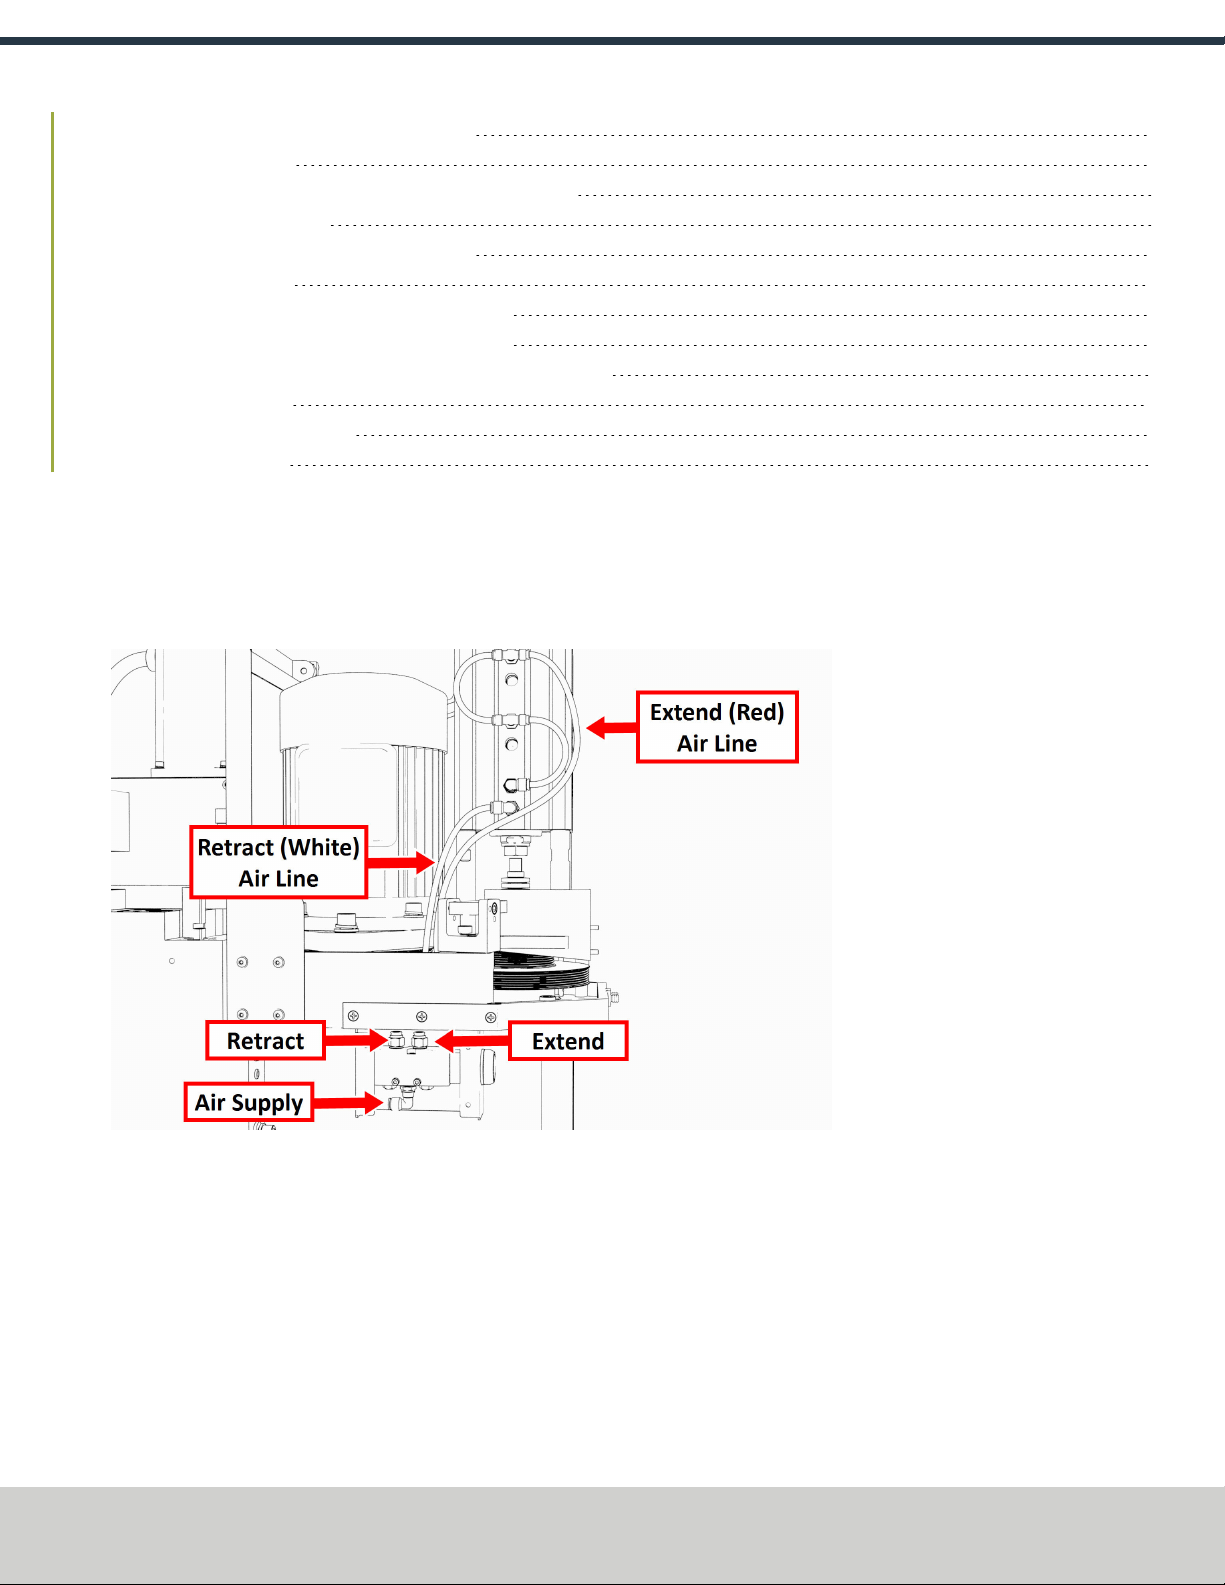
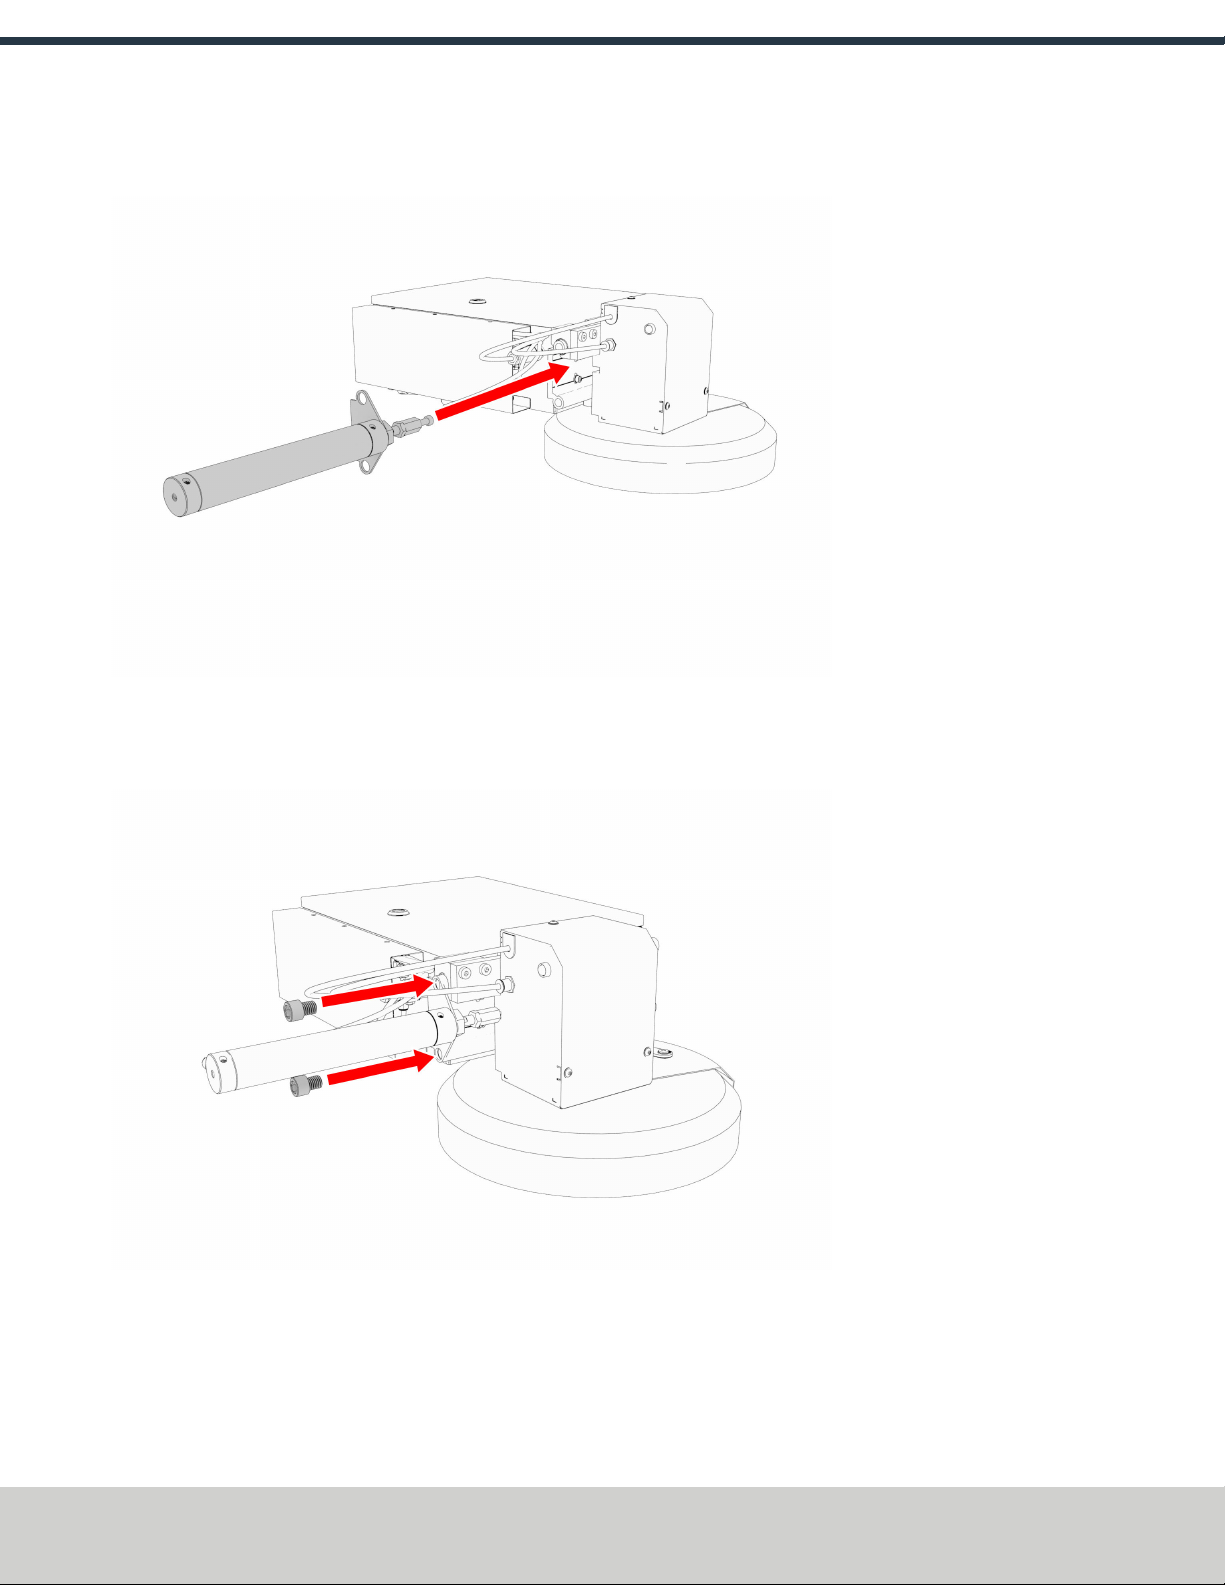
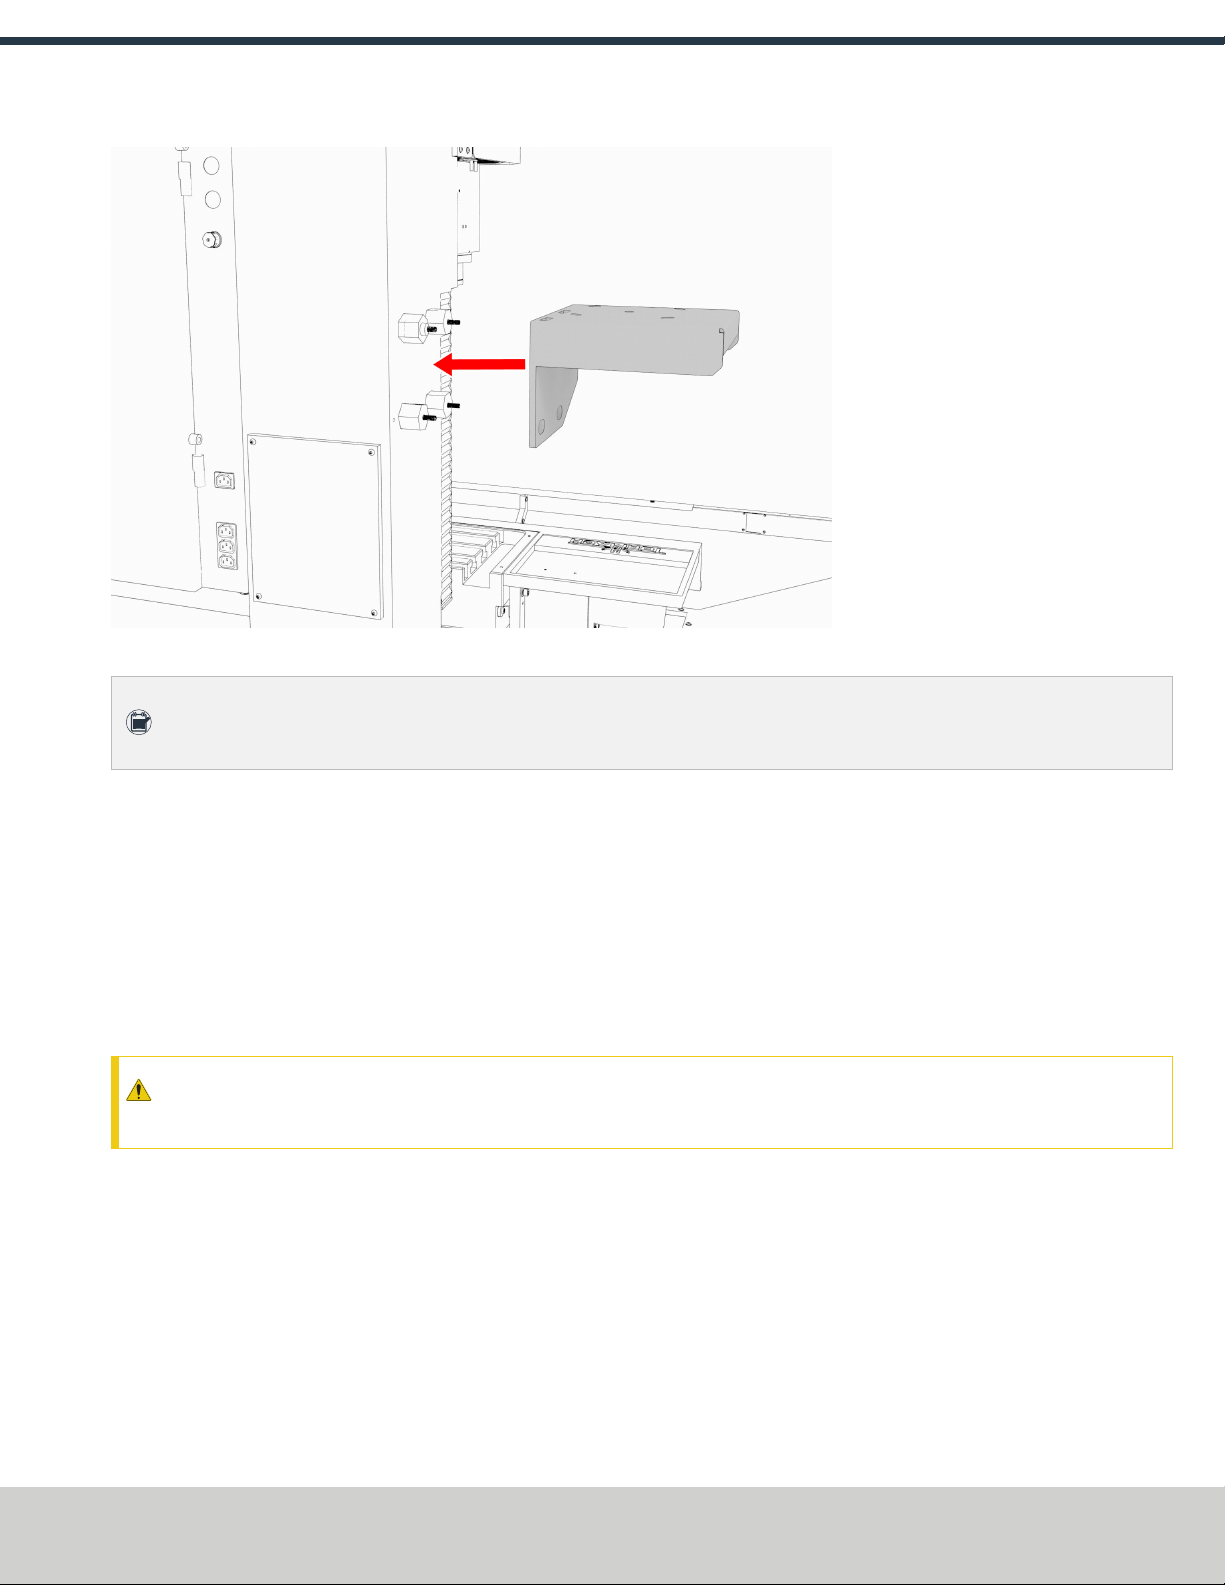
Install the Automatic Tool Changer (ATC)
Complete the following steps in the order listed:
Page 4
©Tormach® 2020
Specifications subject to change without notice.
tormach.com
TD10627: Owner's Guide: 770MX Automatic Tool Changer (ATC) (1220A)