manuals.online logo
Brands
  1. Home
  2. •
  3. Brands
  4. •
  5. Toro
  6. •
  7. Lawn Mower Accessories
  8. •
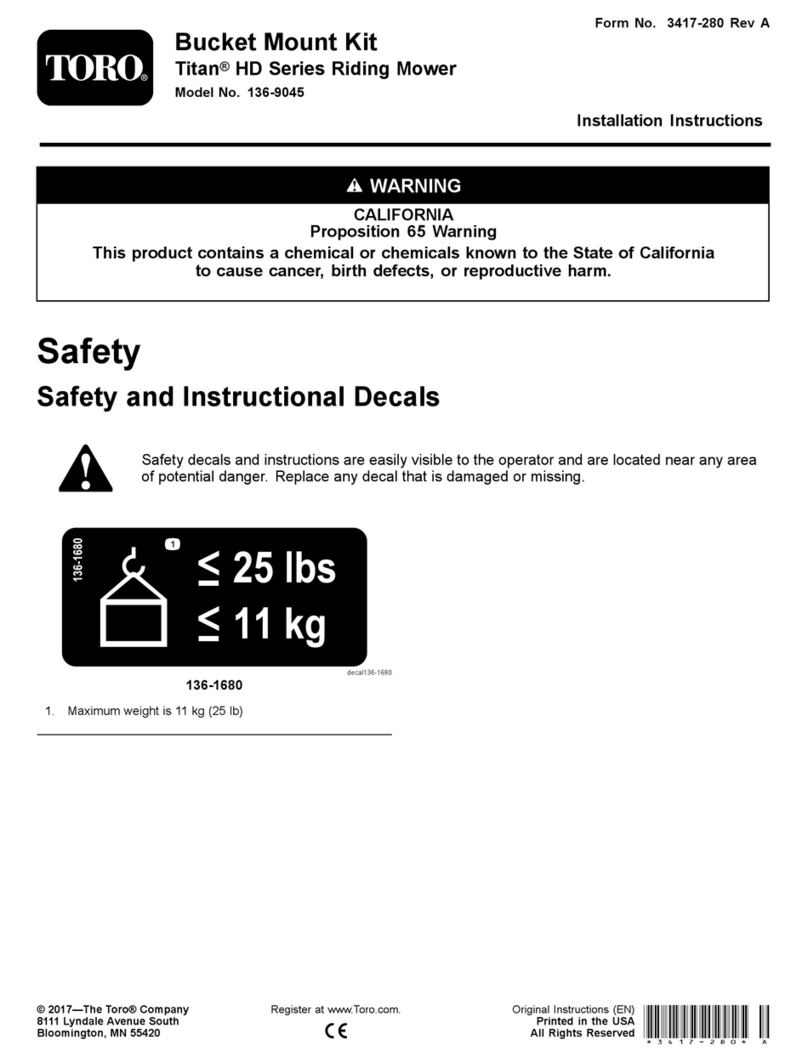
  9. Toro 147-0090 User manual

Toro 147-0090 User manual

Other Toro Lawn Mower Accessories manuals

Toro 31529 User manual

Toro

Toro 31529 User manual

Toro Workman GTX Series User manual

Toro

Toro Workman GTX Series User manual

Toro 112-9248 User manual

Toro

Toro 112-9248 User manual

Toro Reelmaster 33145 User manual

Toro

Toro Reelmaster 33145 User manual

Toro 78555 User manual

Toro

Toro 78555 User manual

Toro Polar Trac Cab 30474 User manual

Toro

Toro Polar Trac Cab 30474 User manual

Toro Groundsmaster 300 Series User manual

Toro

Toro Groundsmaster 300 Series User manual

Toro 79336 User manual

Toro

Toro 79336 User manual

Toro 134-3722 User manual

Toro

Toro 134-3722 User manual

Toro 140-8016 User manual

Toro

Toro 140-8016 User manual

Toro 120-7122 User manual

Toro

Toro 120-7122 User manual

Toro 41614 User manual

Toro

Toro 41614 User manual

Toro 78537 User manual

Toro

Toro 78537 User manual

Toro 133-0575 User manual

Toro

Toro 133-0575 User manual

Toro Grandstand 139-1529 User manual

Toro

Toro Grandstand 139-1529 User manual

Toro Z Master 500 Series User manual

Toro

Toro Z Master 500 Series User manual

Toro E-Z Vac 79346 User manual

Toro

Toro E-Z Vac 79346 User manual

Toro Groundsmaster 4500 Series User manual

Toro

Toro Groundsmaster 4500 Series User manual

Toro 125-5064 User manual

Toro

Toro 125-5064 User manual

Toro 04480 User manual

Toro

Toro 04480 User manual

Toro GrandStand 133-1434 User manual

Toro

Toro GrandStand 133-1434 User manual

Toro GrandStand 133-1428 User manual

Toro

Toro GrandStand 133-1428 User manual

Toro 23508 Installation and operating manual

Toro

Toro 23508 Installation and operating manual

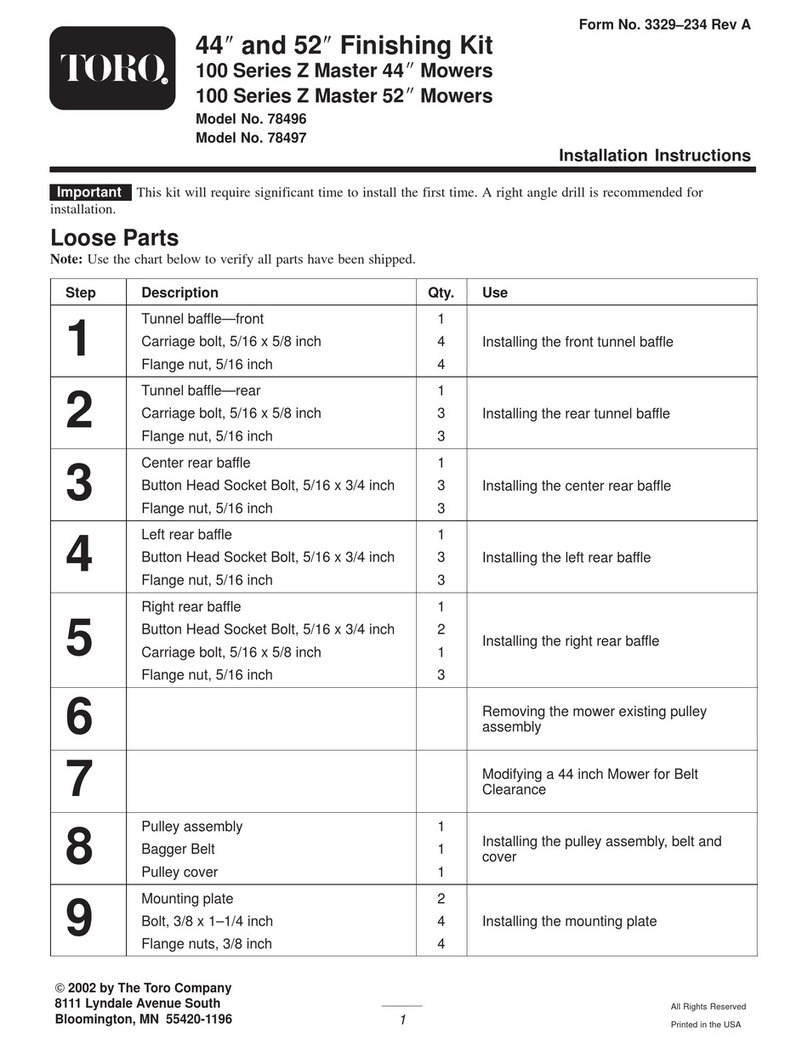
Toro 78496 User manual

Toro

Toro 78496 User manual

Popular Lawn Mower Accessories manuals by other brands

Ariens 891008 Operator's manual

Ariens

Ariens 891008 Operator's manual

Rover 108 - 109 owner's manual

Rover

Rover 108 - 109 owner's manual

Snapper 1690047 Operator's manual

Snapper

Snapper 1690047 Operator's manual

RHINO 800 Operator's manual

RHINO

RHINO 800 Operator's manual

Exmark Quest 126-7506 Operator's manual

Exmark

Exmark Quest 126-7506 Operator's manual

Snapper 1685167 installation instructions

Snapper

Snapper 1685167 installation instructions

Cub Cadet 19B70029100 installation manual

Cub Cadet

Cub Cadet 19B70029100 installation manual

Stihl AMK 043.1 instruction manual

Stihl

Stihl AMK 043.1 instruction manual

MTD 753-0873 Service kit manual

MTD

MTD 753-0873 Service kit manual

Bush Hog RG60 Operator's manual

Bush Hog

Bush Hog RG60 Operator's manual

Scag Power Equipment GC-F4 Operator's manual

Scag Power Equipment

Scag Power Equipment GC-F4 Operator's manual

Land Pride RCF2760 Operator's manual

Land Pride

Land Pride RCF2760 Operator's manual

Peco SPARTAN RZ Series Operator's manual

Peco

Peco SPARTAN RZ Series Operator's manual

Peco 28621206 Operator's manual

Peco

Peco 28621206 Operator's manual

Simplicity 367 Operator's manual

Simplicity

Simplicity 367 Operator's manual

Simplicity 211 Operator's manual

Simplicity

Simplicity 211 Operator's manual

Iseki SSM72 Operators & service manual

Iseki

Iseki SSM72 Operators & service manual

Simplicity 1690043 Operator's manual

Simplicity

Simplicity 1690043 Operator's manual

manuals.online logo
manuals.online logoBrands
  • About & Mission
  • Contact us
  • Privacy Policy
  • Terms and Conditions

Copyright 2025 Manuals.Online. All Rights Reserved.

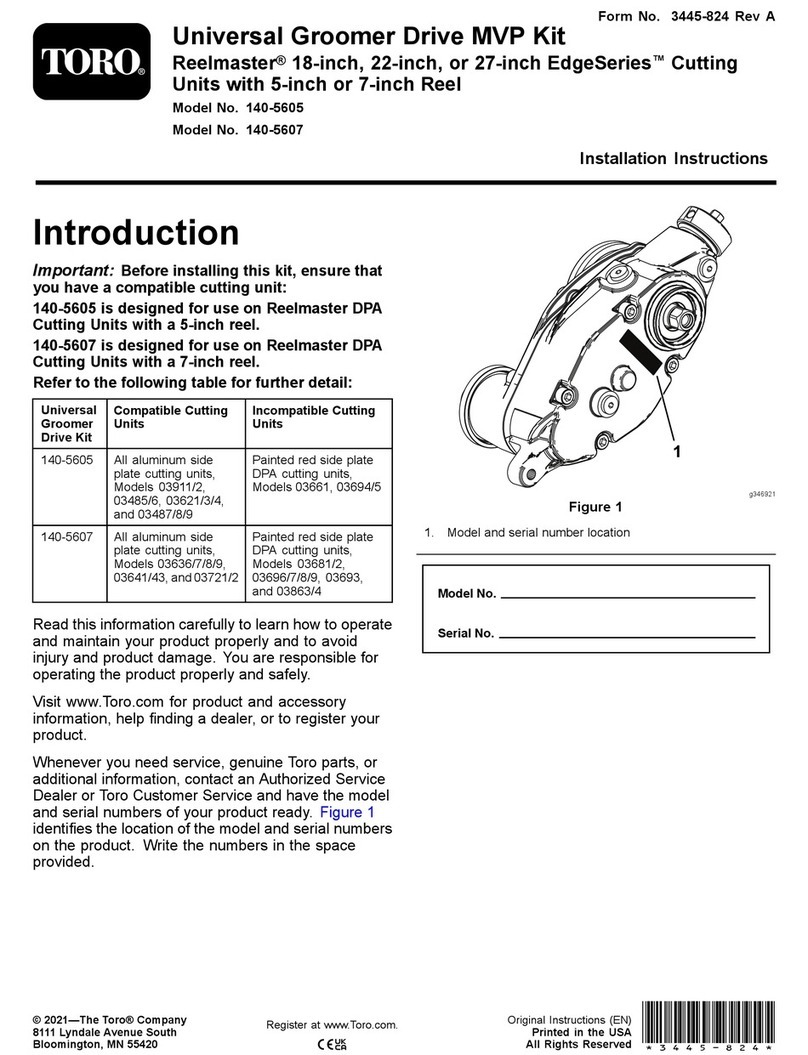
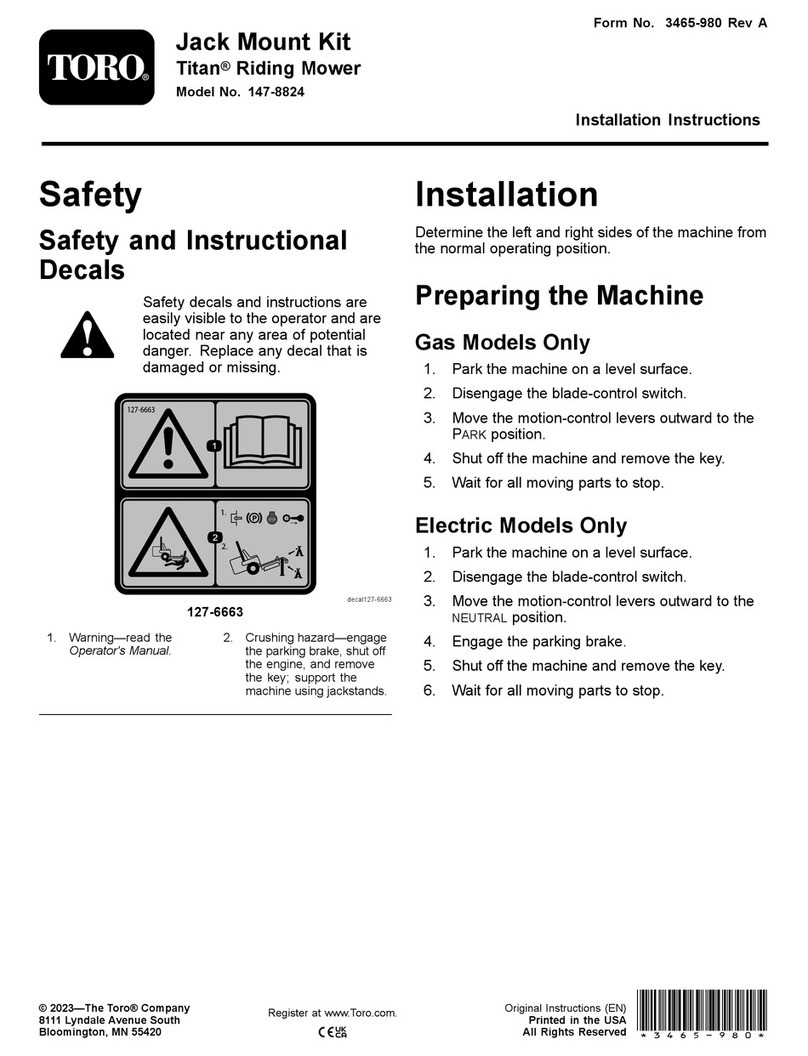
Form No. 3463-725 Rev A
Deck Bracket Kit
Groundsmaster
®
3200 or 3300 Series T raction Unit
Model No. 147-0090
Installation Instructions
Installation
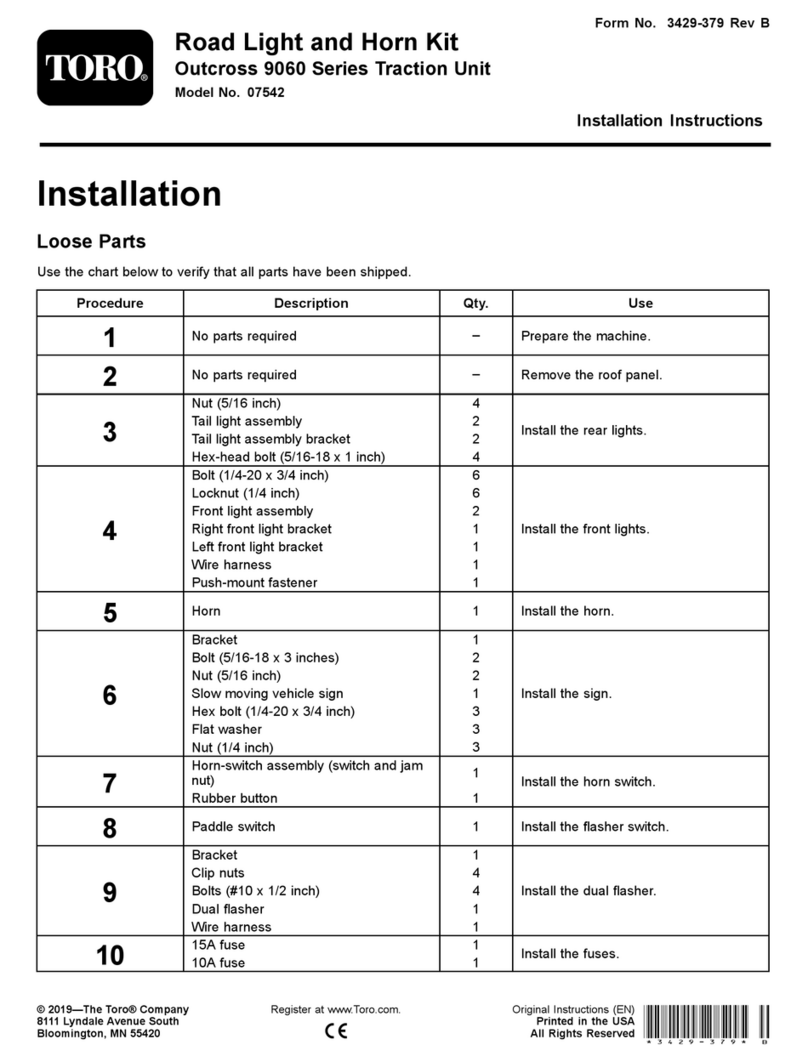
Loose Parts
Use the chart below to verify that all parts have been shipped.
Procedure Description
Qty .
Use
1
No parts required
–
Prepare the machine.
Shoulder bolt
22
Locknut 2
Prepare to install the deck channels.
Hex-head ange bolt
4
Flange nut 4
Deck channel 2
Hex-head bolt 23
W asher 2
Install the deck channels.
© 2023—The T oro® Company
81 1 1 L yndale A venue South
Bloomington, MN 55420
Register at www .T oro.com.
Original Instructions (EN)
Printed in the USA
All Rights Reserved
*3463-725*
1
Preparing the Machine
No Parts Required
Procedure
1. Park the machine on a level surface.
2. Engage the parking brake.
3. Lower the attachment.
4. Shut of f the engine and remove the key .
2
Preparing to Install the
Deck Channels
Parts needed for this procedure:
2
Shoulder bolt
2 Locknut
Procedure
Perform these steps for both lift arms.
1. Disconnect the existing hex-head bolt and
washer that connects the deck to the lift arm
(Figure 1 ).
g444222
Figure 1
Right lift arm shown
1. Bolt
3. Right lift arm
2. W asher
2. Raise the lift arm.
3. Remove the shoulder bolt and nut from the lift
arm ( Figure 2 ).
g447389
Figure 2
1. Shoulder bolt
3. Locknut
2. Spherical bearing
4. Loosely install the new shoulder bolt and locknut
to the lift arm ( Figure 2 ).
5. T orque the locknut to 1 14 to 135 N∙m (84 to 100
ft-lb).
Important: Slowly tighten the locknut to
pull the shoulder bolt into the spherical
bearing. A void binding or damage to the
shoulder-bolt threads.
6. Ensure that the deck-hub surface is clean.
Remove any debris, dirt, or weld spatter .
2
3
Installing the Deck
Channels
Parts needed for this procedure:
4
Hex-head ange bolt
4 Flange nut
2 Deck channel
2 Hex-head bolt
2 W asher
Procedure
Perform these steps for both lift arms.
1. Slide the deck channel over the deck tube
(Figure 3 ) and use a clamp to secure the deck
channel to the deck tube.
g444223
Figure 3
1. Deck channel
2. Lower the lift arm so that the lift-arm hub is
positioned in the deck channel.
3. Loosely assemble the hex-head bolt and washer
to ensure that the saddle and hub are centered
(Figure 4 ).
Important: Ensure that the “cup” of the
washer is toward the lift arm. Do not tighten
or torque the bolt.
g444224
Figure 4
1. Existing large bolt 2. W asher
4. Mark the 2 bolt-hole locations in the deck tube
and use an drill bit (1 1/32 inch) to drill through
the marked deck-tube holes. Drill through bolt
sides of the tube ( Figure 5 ).
W ARNING
Using a drill without proper eye
protection may allow debris to enter the
eye, causing injury .
When drilling, always wear eye
protection.
Important: Ensure that the drill is properly
aligned so that you drill only through the
deck tube.
g444225
Figure 5
1. Drill holes in the deck tube.
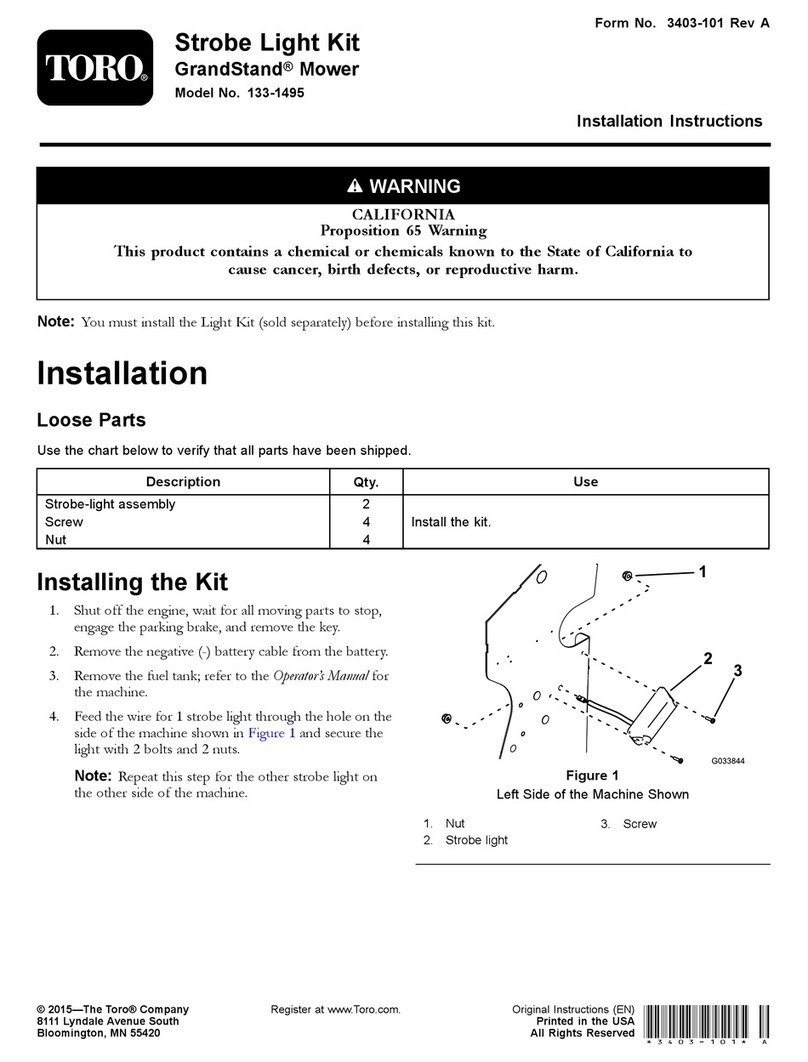
5. Use the hex-head ange bolts and ange nuts
to secure the deck channel to the deck tube
(Figure 6 ).
3
g444226
Figure 6
1. Hex-head ange bolt
2. Flange nut
6. T orque the hex-head bolt (shown in Figure 4 )
to 271 N∙m (200 ft-lb).
Note: Y ou do not need to use a backup wrench,
as the deck channel holds the shoulder-bolt hub
and keeps it from rotating.
4