–5–
Super Long Life Filter Installation Manual Super Long Life Filter Installation Manual
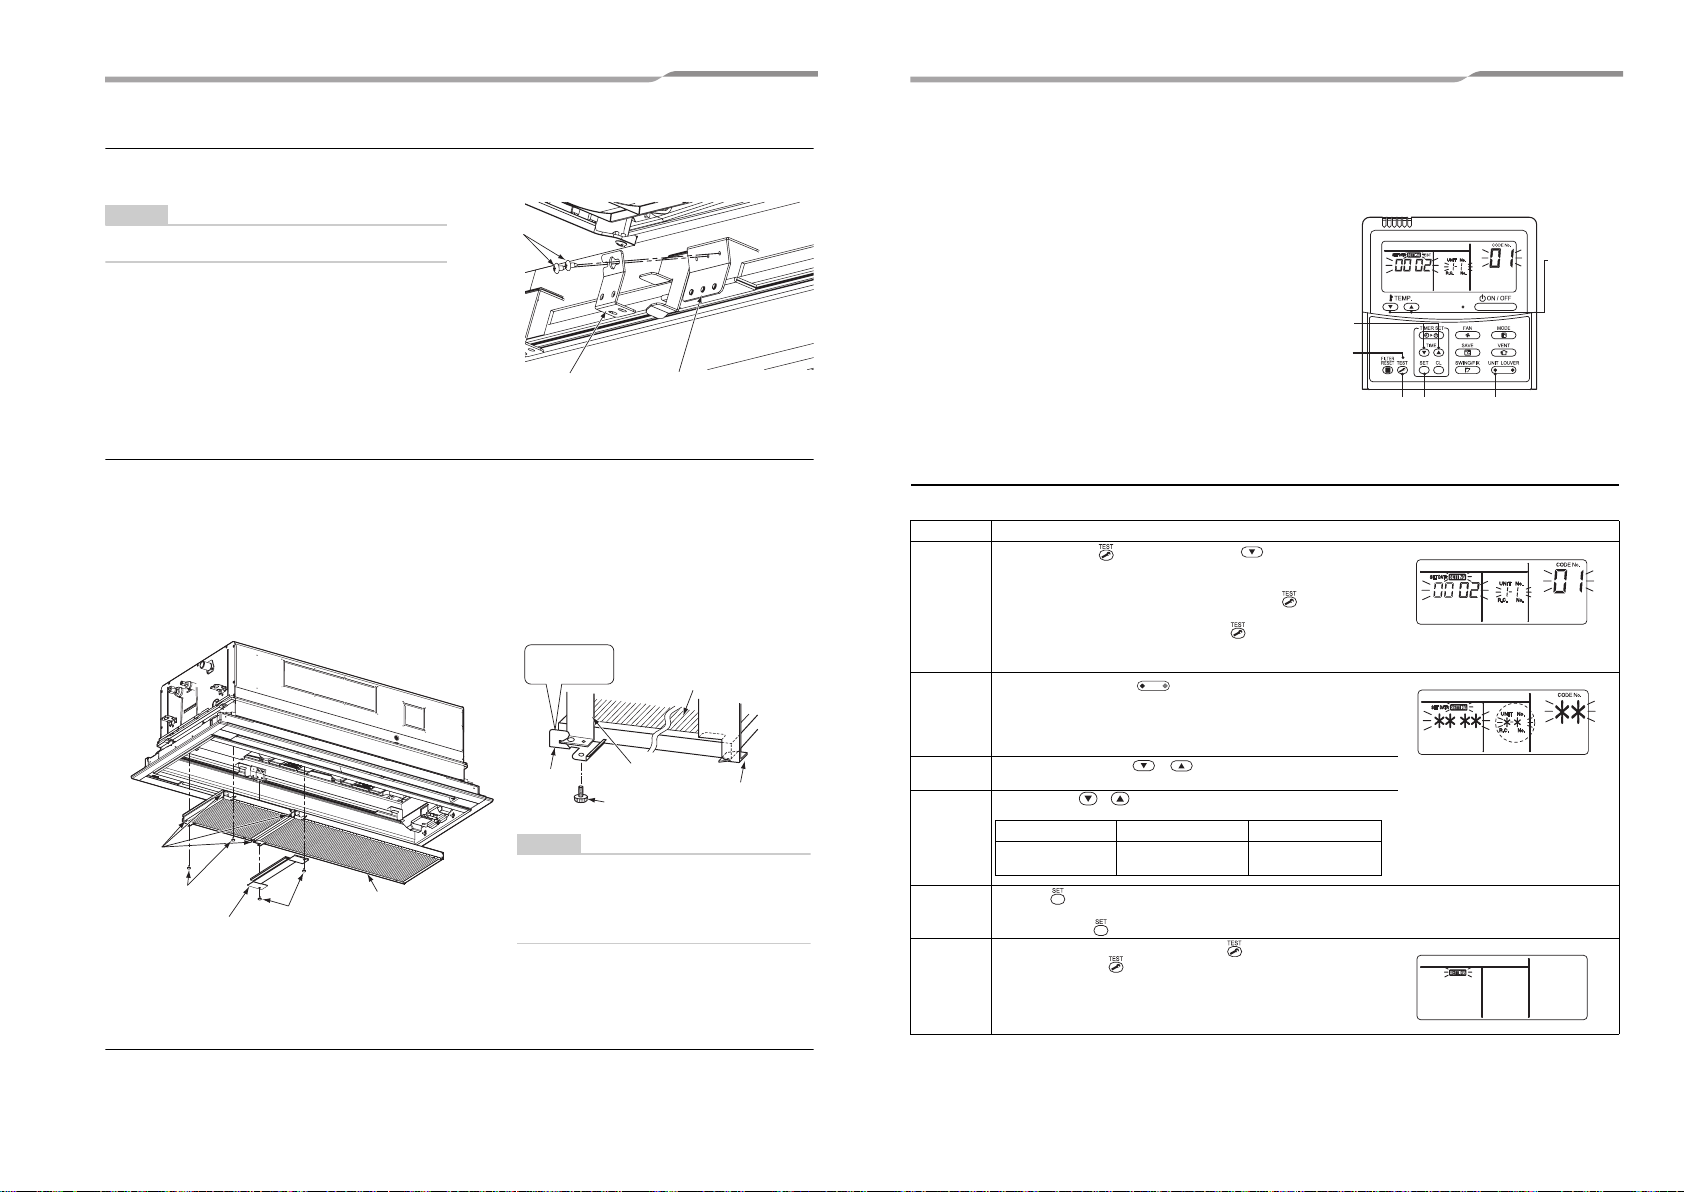
Attaching bracket F
Attaching the Super Long Life Filter
1Turn the hanging hook of the Super Long Life Filter to the side of the electrical control box.
2Fit the opposite side of the hanging hook onto brackets C and D, then slide the Super Long Life
Filter to the right.
3When the hanging hooks have been fitted onto brackets A, B, and F, fix the Super Long Life Filter
using the decorative screws (12).
In addition, attach the closing plate (7) to bracket F using the decorative screws (12).
Attaching the center panel
Attach the center panel referring to the Installation Manual of the center panel.
Fixbracket F(6) ontobracketE (5)using 2screws (13).
(Figure 10)
NOTE
• You need not attach bracket F for TCB-LF283UW.
5 Bracket E
13 Screws
6 Bracket F
▼Figure 10
12 Decorative
screws
▼Figure 11
7 Closing plate 12 Decorative screws
Super Long Life Filter
The decorative screws (12) are used to prevent
the filter from falling off. Tighten them firmly.
Fit this onto
bracket A (1). Super Long Life Filter
3 Bracket C
12 Decorative
screw
1 Bracket A
Hanging
hook
NOTE
• You need not attach the closing plate for
TCB-LF283UW.
• Attach the Super Long Life Filter after the
panel has been installed.
Hanging
hook
5Changing the SET DATA (Wired remote
controller)
How to change the setting data
For details, refer to the Installation Manual of the 2-way cassette type (indoor unit).
• Change the SET DATA when using the Super Long Life
Filter
• Before you change the SET DATA, be sure to stop the air
conditioner.
Step Operation
1
Pushandhold the button andtheTEMP. buttonsimultaneously
for about 4 seconds. The display will start flashing. Make sure that [01]
is displayed.
• If any code other than [01] is displayed, push the button to cancel
the procedure and start again. (Operation from the remote controller
is invalid for a while after you push the button.)
(During group control, [ALL] is displayed first. The unit number
displayed next is that of the header unit.)
2Each time you push the button, the unit numbers of the indoor
units in the group are displayed one by one. Select a unit to change its
SET DATA.
When you select a unit, the fan and the louver of the selected unit start
operating to show which unit is selected.
3Use the TEMP. buttons / to select [5d].
4
Use the TIME / buttons to select [0001].
5Push the button. The setting procedure is completed when the display stops flashing and stays lit.
• Repeat the procedure from step 2to change the SET DATA of another unit.
If you push the button, all changes made to the SET DATA are cleared. Redo the procedure from step 2.
6
When the setting is completed, push the button. (Setting is fixed.)
When you push the button, the [SETTING] indicator flashes, then it
goes off and the unit returns to normal operation.
(Operation from the remote controller is invalid while the [SETTING]
indicator is flashing.)
1
6
1
3
2
5
4
UNIT LOUVER
SET DATA 0000 0001
Filter Normal filter
(Factory default) Super Long Life Filter
9-EN 10-EN
+00EH99876601_00Ta.book Page 5 Wednesday, November 24, 2010 5:06 PM


 User manual")


 User manual")


 null")