manuals.online logo
Brands
  1. Home
  2. •
  3. Brands
  4. •
  5. Toshiba
  6. •
  7. Printer
  8. •
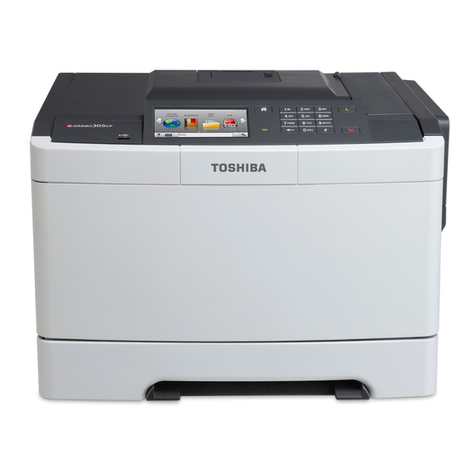
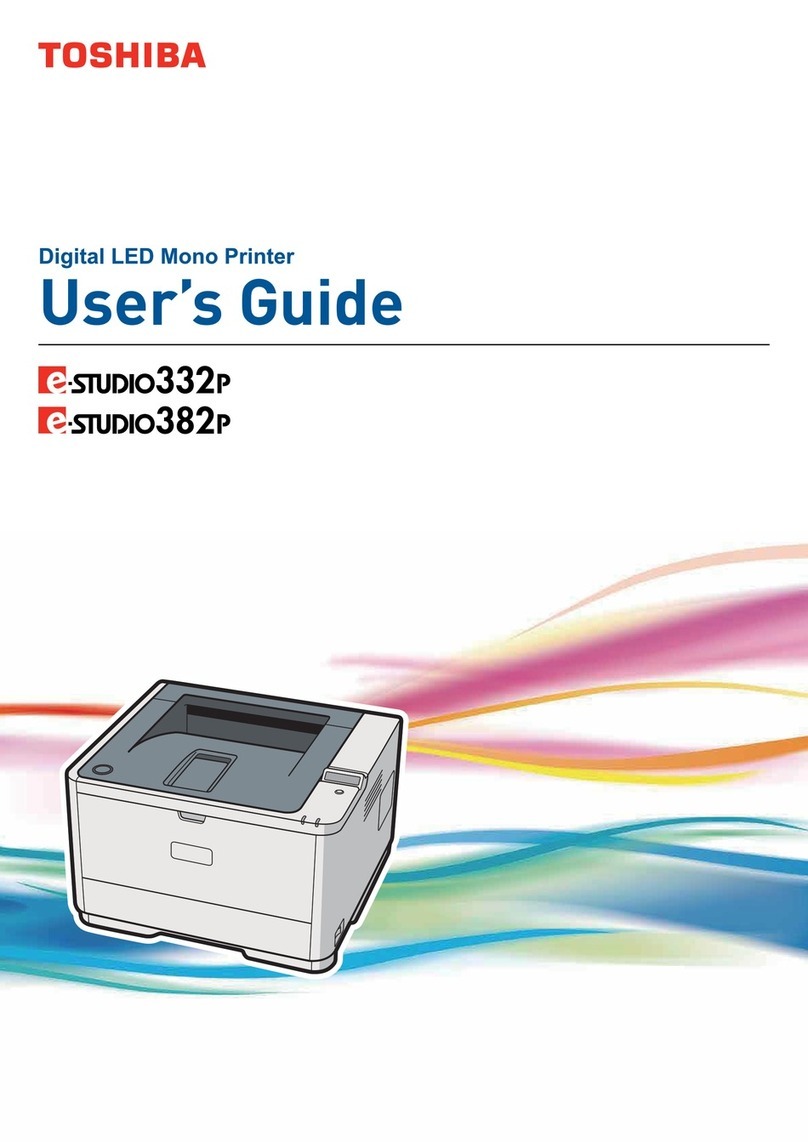
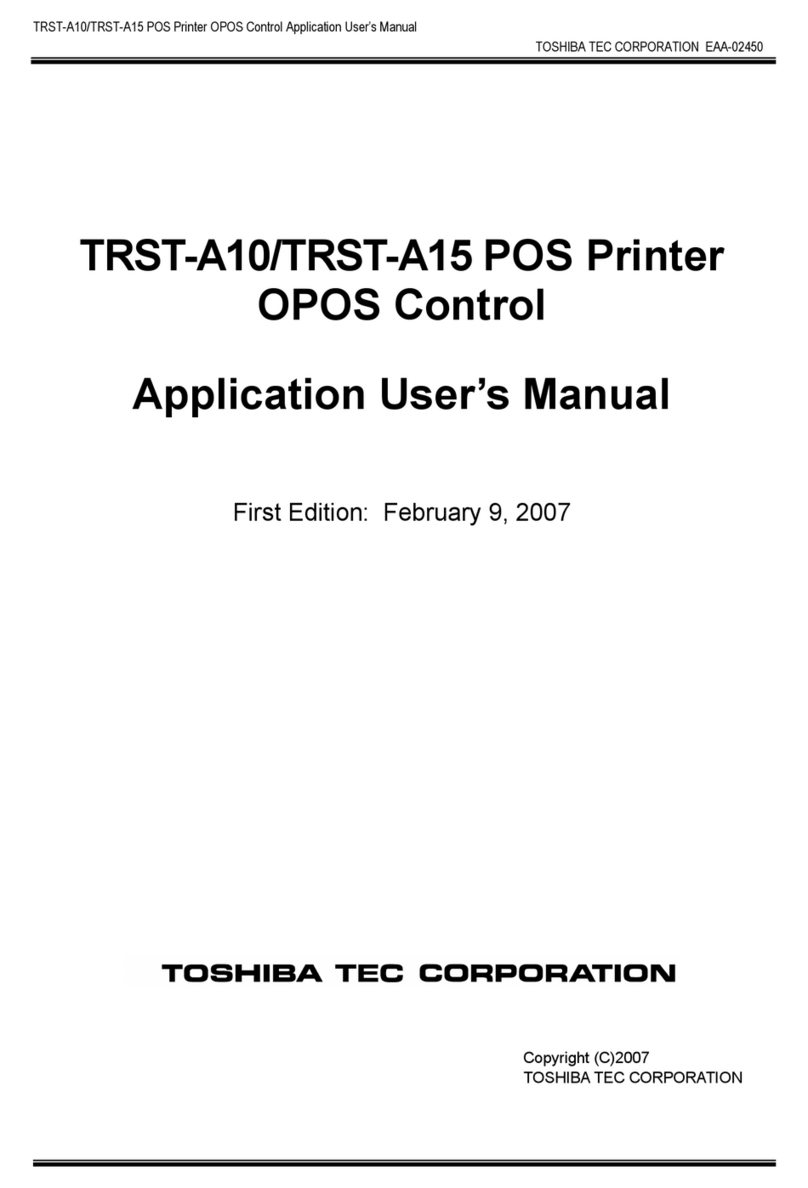
  9. Toshiba TRST-A1 Series User manual

Toshiba TRST-A1 Series User manual

One Blue Hill Plaza, 16th Floor, PO Box 1546
Pearl River, NY 10965
1-800-PC-AMERICA, 1-800-722-6374
(Voice) 845-920-0800 (Fax) 845-920-0880
1 | P a g e
Toshiba TRST-A1x Series
Printer Installation
All manuals and user guides at all-guides.com
2 | P a g e
Hardware install
1. Connect the supplied USB “Y” printer cable to the
powered (24V) USB port and route the cable through
the cable restraint bars.
2. Ensure the printer power switch is turned off.
3. Connect the power end of the USB “Y” printer cable
to the power connector on the printer. Be sure to
properly align the pins on the cable end to the
connector. Failure to properly align the connector can
cause damage to the pins on the cable.
4. Connect the data end of the USB “Y” printer cable to
the USB connector on the printer. The cable will only
fit one way.
5. Route both cables through the attached cable
restraints.
All manuals and user guides at all-guides.com
3 | P a g e
Loading Paper in the TRST-A1x Printer
When you use this printer for the first time or when the receipt paper has been used up, load a
receipt roll in, following the procedures listed below while the printer power is set to ON. A
thermal printer prints thermal receipt paper by applying heat to the paper to react with the
chemicals on the paper surface. A red line which appears on the reverse side of the receipt
paper indicates that the paper is almost used up.
1. Turn the printer power ON.
2. Hold the raised sides firmly and lift upwards to unhook the printer cover.
Note: On some of the newer models there is a lever that you can push to open the printer.
3. Hold both sides of the printer cover and open it until it stops.
4. Check for the correct orientation of the receipt roll, and put it into the paper holder.
5. Pull the receipt paper until it extends past the paper outlet (about 2 inches), and then close the printer cover by
pressing its front center gently until a positive lock is felt.
All manuals and user guides at all-guides.com
4 | P a g e
Printer Configuration
1. Turn the printer off.
2. Turn the printer over and the back of the printer is
facing up. You will see the number 12 at the bottom
right hand corner.
3. In that space below the number there is two dip
switches. Flip the #1 dip switch to the on position
(down).
4. Press and Hold the feed button while turning on the
printer, putting the printer in config mode. When the
printer first comes on it will print a piece of paper
(Diagnostics Form) and then print the Printer Config
Menu.
By default under Communication Interface the USB
TYPE is set to Vendor Specific Class. We will now
change that to Printer Class.
5. At the Main Menu we need to select Set
Communication Interface by clicking the feed button
3 times (3 short clicks) then press and hold it down,
you will hear beeps to confirm.
6. It Prints the Communication Interface Menu. It will
ask you what you would like to edit. As we need to
set only the USB interface type, Short Click the feed
button (no) 8 times until you get to set USB interface
type? Where you will hold down the feed button to
select YES.
All manuals and user guides at all-guides.com
5 | P a g e
7. Short click the feed button to Set the USB interface
type to Printer class then press and hold it down
validate selection, you will hear beeps to confirm.
8. Printer class should show highlighted on the receipt.
Perform a Long Click (Yes) to Save new parameters.
The Main Menu will be printed again short click the
feed button to exit and then press and hold it down
to confirm. The Diagnostics Form will print again
confirm that the USB type under Communication
Interface says Printer Class.
9. Turn off printer and Flip the #1 dip switch to the off
position.
10. Turn printer on.
All manuals and user guides at all-guides.com
6 | P a g e
Installing Microsoft POS for .NET
The installer for Microsoft POS for .NET can be downloaded at:
http://download2.pcamerica.com/drivers/POS_for_.Net.exe
1. Run the installer and select Install.
2. Enter a User Name and Organization and select
Next.
3. Select Accept.
All manuals and user guides at all-guides.com
7 | P a g e
4. Select Typical and then Next.
5. Select Install.
6. Select Finish.
All manuals and user guides at all-guides.com
8 | P a g e
TRST-A1x OPOS Driver Installation
The installer for TRST-A1x can be downloaded at:
http://download2.pcamerica.com/drivers/Toshiba_OPOS_Drivers.zip
1. Select Next.
2. Select Development $ Execute under setup type.
3. Select the interface type for the TRST-A1X.
4. Select Next.
All manuals and user guides at all-guides.com
9 | P a g e
5. Select Next to install to the default location.
6. Select Install.
7. After the installation has completed select Finish.
All manuals and user guides at all-guides.com
10 | P a g e
Toshiba OPOS CheckHealth
1. Open the OPOS CheckHealth by going to Start then
All Programs then OPOS CheckHealth
2. Once the application is open Select the +to open the
hive for the POSPrinter.
3. Highlight the printer you are using under POSPrinter
and select Enter on your keyboard. (Optionally you
can double-click on it.)
4. Select Print ASCII Code (this will print all the numbers
and then letters in uppercase and the lower case).
5. Select Print ‘H’ (this will print a line of H characters).
6. Select Bitmap (this will print a few bars on the
receipt).
7. Select Dual Side Print (provided you have a printer
that does the Dual side printing, this will print “Front
Side” on the front of the receipt and “Back Side” on
the back of the receipt).
8. Select Cut (this will cut the paper).
9. Select OK to close the window.
10. Select END on the TEC OPOS Interactive CheckHealth
window.
All manuals and user guides at all-guides.com
11 | P a g e
Configuration in CRE RPE
Now you’re ready to set up your printer in RPE/CRE.
1. Start the RPE/CRE program.
2. Select the Options/Manager and enter your password (where applicable).
3. Select [4] Setup | [L] Friendly Printer Setup and re-enter your password if necessary.
4. Select Receipt in the Select Friendly Printer list on the left.
5. Select the TRST-A1x in the Select local Windows printer list on the right.
6. Select Cut Receipt at this Station.
7. Select Print logo on receipts at this station then select the logo file you would like to print on receipts (if
applicable).
Note: The Pixel aspect ratio for the logo must be 1:3 (i.e. if the image has a 100px height then the width must be
300px). If the image you are using is not in that aspect ratio then it will be distorted.
8. Select Save & Exit.
All manuals and user guides at all-guides.com
12 | P a g e
Cash Drawer Configuration
1. Select the Manager or Options button.
2. Enter the administrator password (default: admin)
where applicable.
3. Select Setup then, Setup Screen.
4. Select the Hardware tab.
5. Select Page1.
6. Under Cash Drawer select the radio button that says Open Default Drawer.
7. Under Default Cash Drawer Port select the appropriate port that your receipt printer is connected to (USB Receipt
Printer).
Note: If the port that your printer is connected to is selected and the cash drawer is not opening, try setting the port as
the USB Receipt Printer.
8. Select Update.
All manuals and user guides at all-guides.com
13 | P a g e
Printing Barcodes on Receipts
1. Select the Manager or Options button.
2. Enter the administrator password (default: admin)
where applicable.
3. Select Setup then, Setup Screen.
4. Select the Receipt tab.
5. Check Print Bar Code On “On-Hold” Receipts.
6. Check Print Bar Code On “Complete” Receipts.
7. Select Update to save your changes.
All manuals and user guides at all-guides.com

Other manuals for TRST-A1 Series

1

Other Toshiba Printer manuals

Toshiba B-EP2DL Series User manual

Toshiba

Toshiba B-EP2DL Series User manual

Toshiba e-Studio 383P User manual

Toshiba

Toshiba e-Studio 383P User manual

Toshiba GA-1120 Configuration guide

Toshiba

Toshiba GA-1120 Configuration guide

Toshiba TRST-A10 SERIES User manual

Toshiba

Toshiba TRST-A10 SERIES User manual

Toshiba B-SA4 User manual

Toshiba

Toshiba B-SA4 User manual

Toshiba e-STUDIO400P Configuration guide

Toshiba

Toshiba e-STUDIO400P Configuration guide

Toshiba B-852-R Series User manual

Toshiba

Toshiba B-852-R Series User manual

Toshiba B-480-QP User manual

Toshiba

Toshiba B-480-QP User manual

Toshiba B-SP2D Series User manual

Toshiba

Toshiba B-SP2D Series User manual
Toshiba B-FP3D-GH52-QM-R User manual

Toshiba

Toshiba B-FP3D-GH52-QM-R User manual

Toshiba TRST-A10 SERIES Technical specifications

Toshiba

Toshiba TRST-A10 SERIES Technical specifications

Toshiba TRST-A10 SERIES User manual

Toshiba

Toshiba TRST-A10 SERIES User manual

Toshiba B-EP2DL Series User manual

Toshiba

Toshiba B-EP2DL Series User manual

Toshiba B-FP3D-GH30-QM-R User manual

Toshiba

Toshiba B-FP3D-GH30-QM-R User manual

Toshiba TEC B B-SX5T SERIES User manual

Toshiba

Toshiba TEC B B-SX5T SERIES User manual

Toshiba TRST-A15 SERIES User manual

Toshiba

Toshiba TRST-A15 SERIES User manual

Toshiba TEC B-SX4T-QQ User manual

Toshiba

Toshiba TEC B-SX4T-QQ User manual

Toshiba 7FM03281000 User manual

Toshiba

Toshiba 7FM03281000 User manual

Toshiba B-FP3D SERIES User manual

Toshiba

Toshiba B-FP3D SERIES User manual

Toshiba MR-2018 User manual

Toshiba

Toshiba MR-2018 User manual

Toshiba B-450-R SERIES User manual

Toshiba

Toshiba B-450-R SERIES User manual

Toshiba B-SV4D Series User manual

Toshiba

Toshiba B-SV4D Series User manual
Toshiba E-STUDIO 282 User manual

Toshiba

Toshiba E-STUDIO 282 User manual

Toshiba B-670-QQ User manual

Toshiba

Toshiba B-670-QQ User manual

Popular Printer manuals by other brands

Oce ColorWave 600 user manual

Oce

Oce ColorWave 600 user manual

Fujitsu DL7400 user manual

Fujitsu

Fujitsu DL7400 user manual

Oki C610dn Handy reference

Oki

Oki C610dn Handy reference

Eltron P210 Guide manual

Eltron

Eltron P210 Guide manual

Magicard Prima 2e instruction manual

Magicard

Magicard Prima 2e instruction manual

Epson SC-F7100 series user guide

Epson

Epson SC-F7100 series user guide

GCC Technologies Elite XL user manual

GCC Technologies

GCC Technologies Elite XL user manual

CIM PRO THERMAL 2000 Operator's manual

CIM

CIM PRO THERMAL 2000 Operator's manual

Lexmark Z65n quick start guide

Lexmark

Lexmark Z65n quick start guide

Lexmark E360 Brochure & specs

Lexmark

Lexmark E360 Brochure & specs

Sony UP-DR200 Specifications

Sony

Sony UP-DR200 Specifications

Epson FX-2190IIN quick start guide

Epson

Epson FX-2190IIN quick start guide

Konica Minolta magicolor 7450 installation guide

Konica Minolta

Konica Minolta magicolor 7450 installation guide

Macherey-Nagel NANOCOLOR UV/VIS II user manual

Macherey-Nagel

Macherey-Nagel NANOCOLOR UV/VIS II user manual

FARGO electronics PERSONA C30 user manual

FARGO electronics

FARGO electronics PERSONA C30 user manual

Brother QL-570VM - B/W Direct Thermal Printer user guide

Brother

Brother QL-570VM - B/W Direct Thermal Printer user guide

Lexmark Multifunction Laser Using

Lexmark

Lexmark Multifunction Laser Using

Konica Minolta magicolor 3730DN Firmware update guide

Konica Minolta

Konica Minolta magicolor 3730DN Firmware update guide

manuals.online logo
manuals.online logoBrands
  • About & Mission
  • Contact us
  • Privacy Policy
  • Terms and Conditions

Copyright 2025 Manuals.Online. All Rights Reserved.