Rapid Oil Test Gauge
Operating the Rapid Oil Test Gauge
12
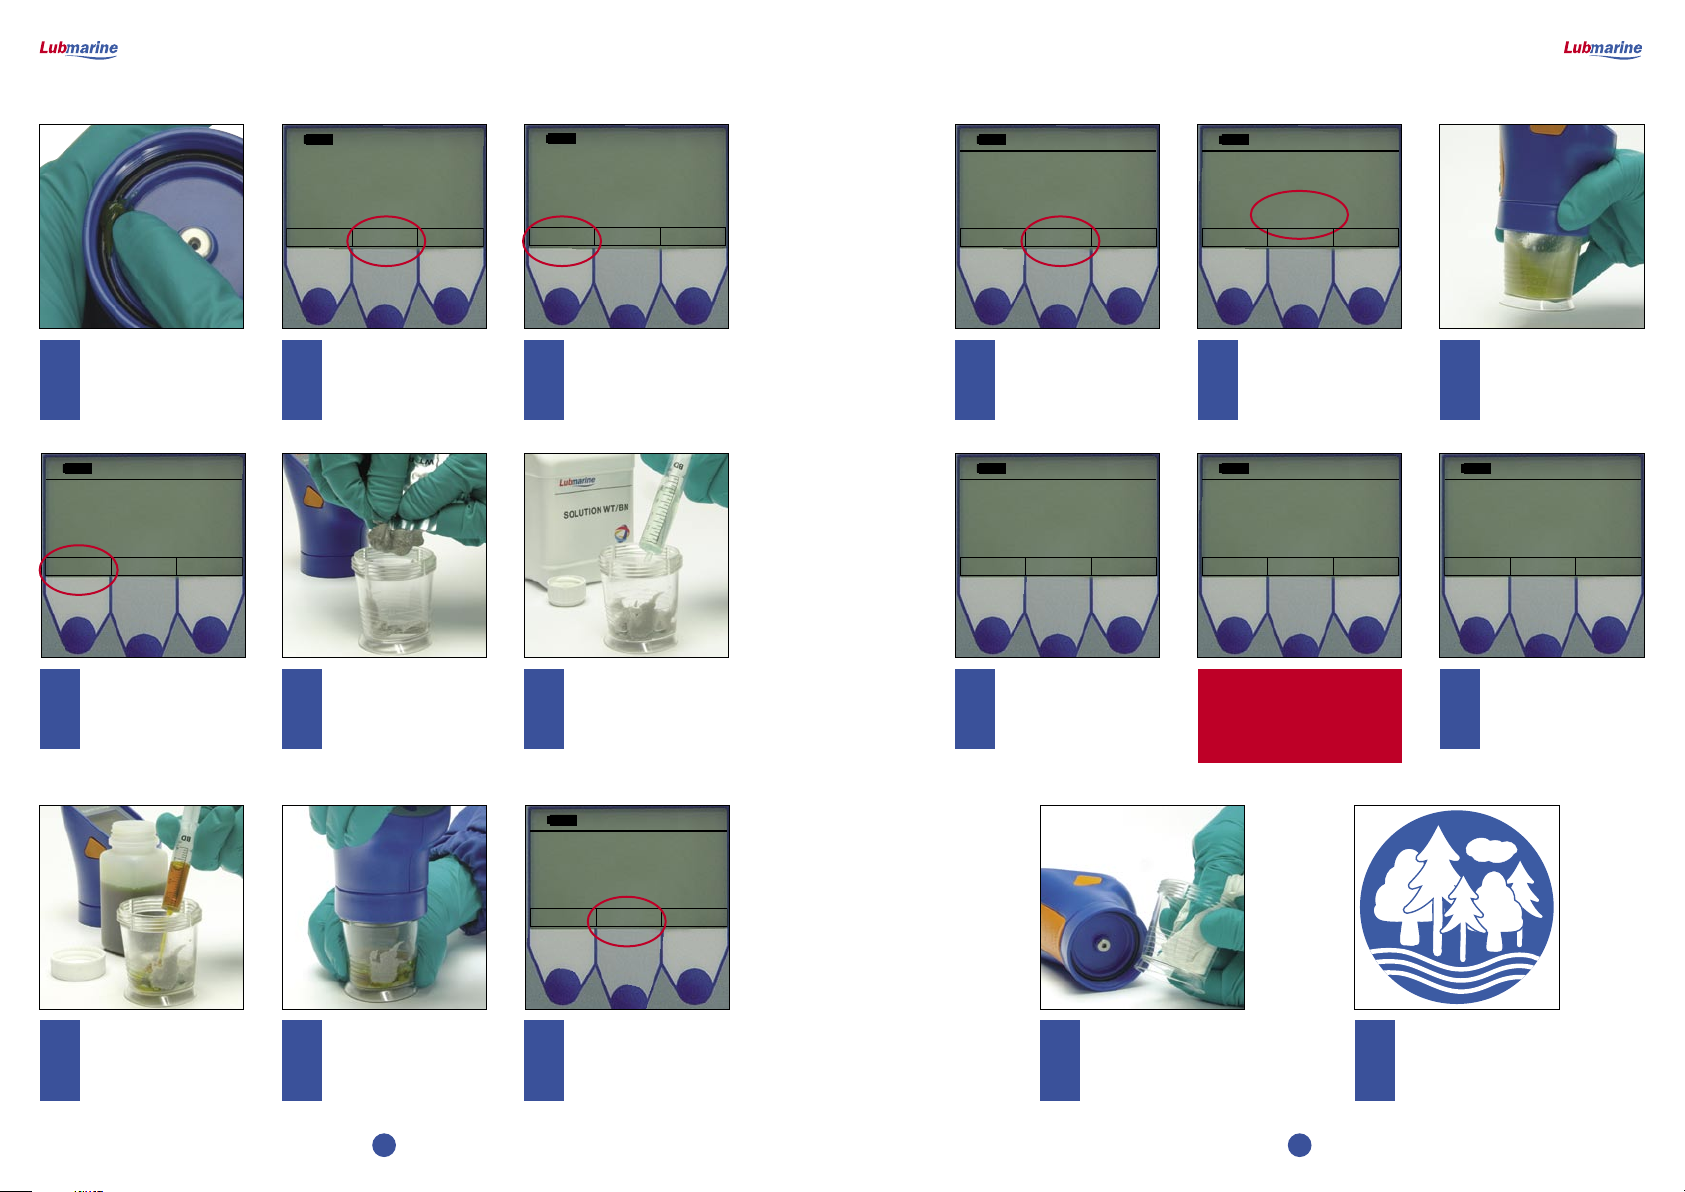
It is recommended to grease from time to
time the internal O’ring using silicon free
grease p/n DP6108.
In order to ensure the accuracy of subsequent tests and to preserve the instrument over time, the Rapid Oil Test Gauge shall always be kept
clean and dry :
The battery compartment cap and USB
port cap shall be kept in place at all
times in order to protect the internal
electronics of the instrument.
Any trace of oil, solutions or reagents
shall be removed from the gauge and
reaction flask after each use. Special
attention shall be paid to the measuring
port which must be kept perfectly free,
and to the internal O’ring.
Use dedicated cleaning fabric or
absorbing paper for cleaning purpose.
Proper cleaning solvents include White
Spirit or Petroleum Distillates p/n DP9206.
Never use toluene or other benzene
derivatives.
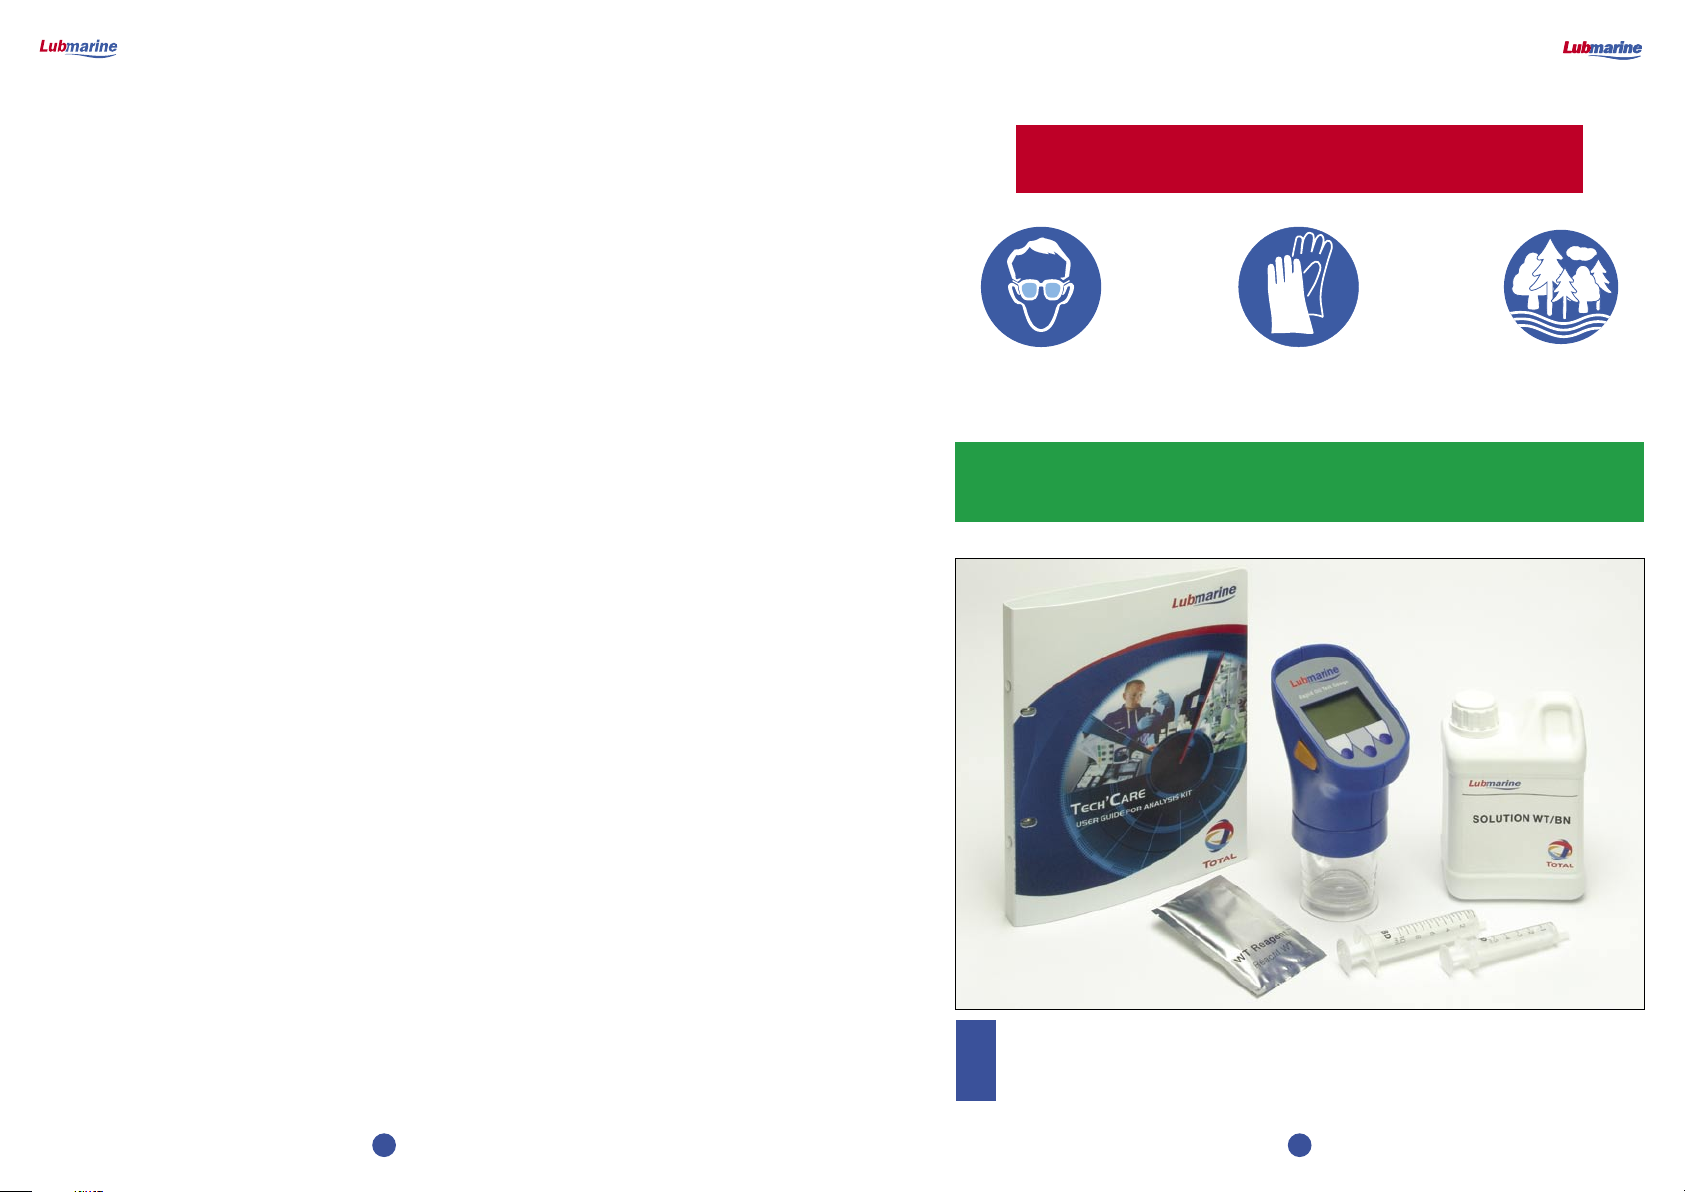
7. Preserving the Rapid Oil Test Gauge
The Lubmarine Rapid Oil Test Gauge was designed for maintenance free operation.
No maintenance is required apart from:
• Keeping the instrument clean with its O’ring greased as described in §7.
• Replacing the battery when necessary.
• If required by your quality assurance system: recalibrating the instrument at regular intervals.
8. Maintenance
Rapid Oil Test Gauge
Operating the Rapid Oil Test Gauge
13
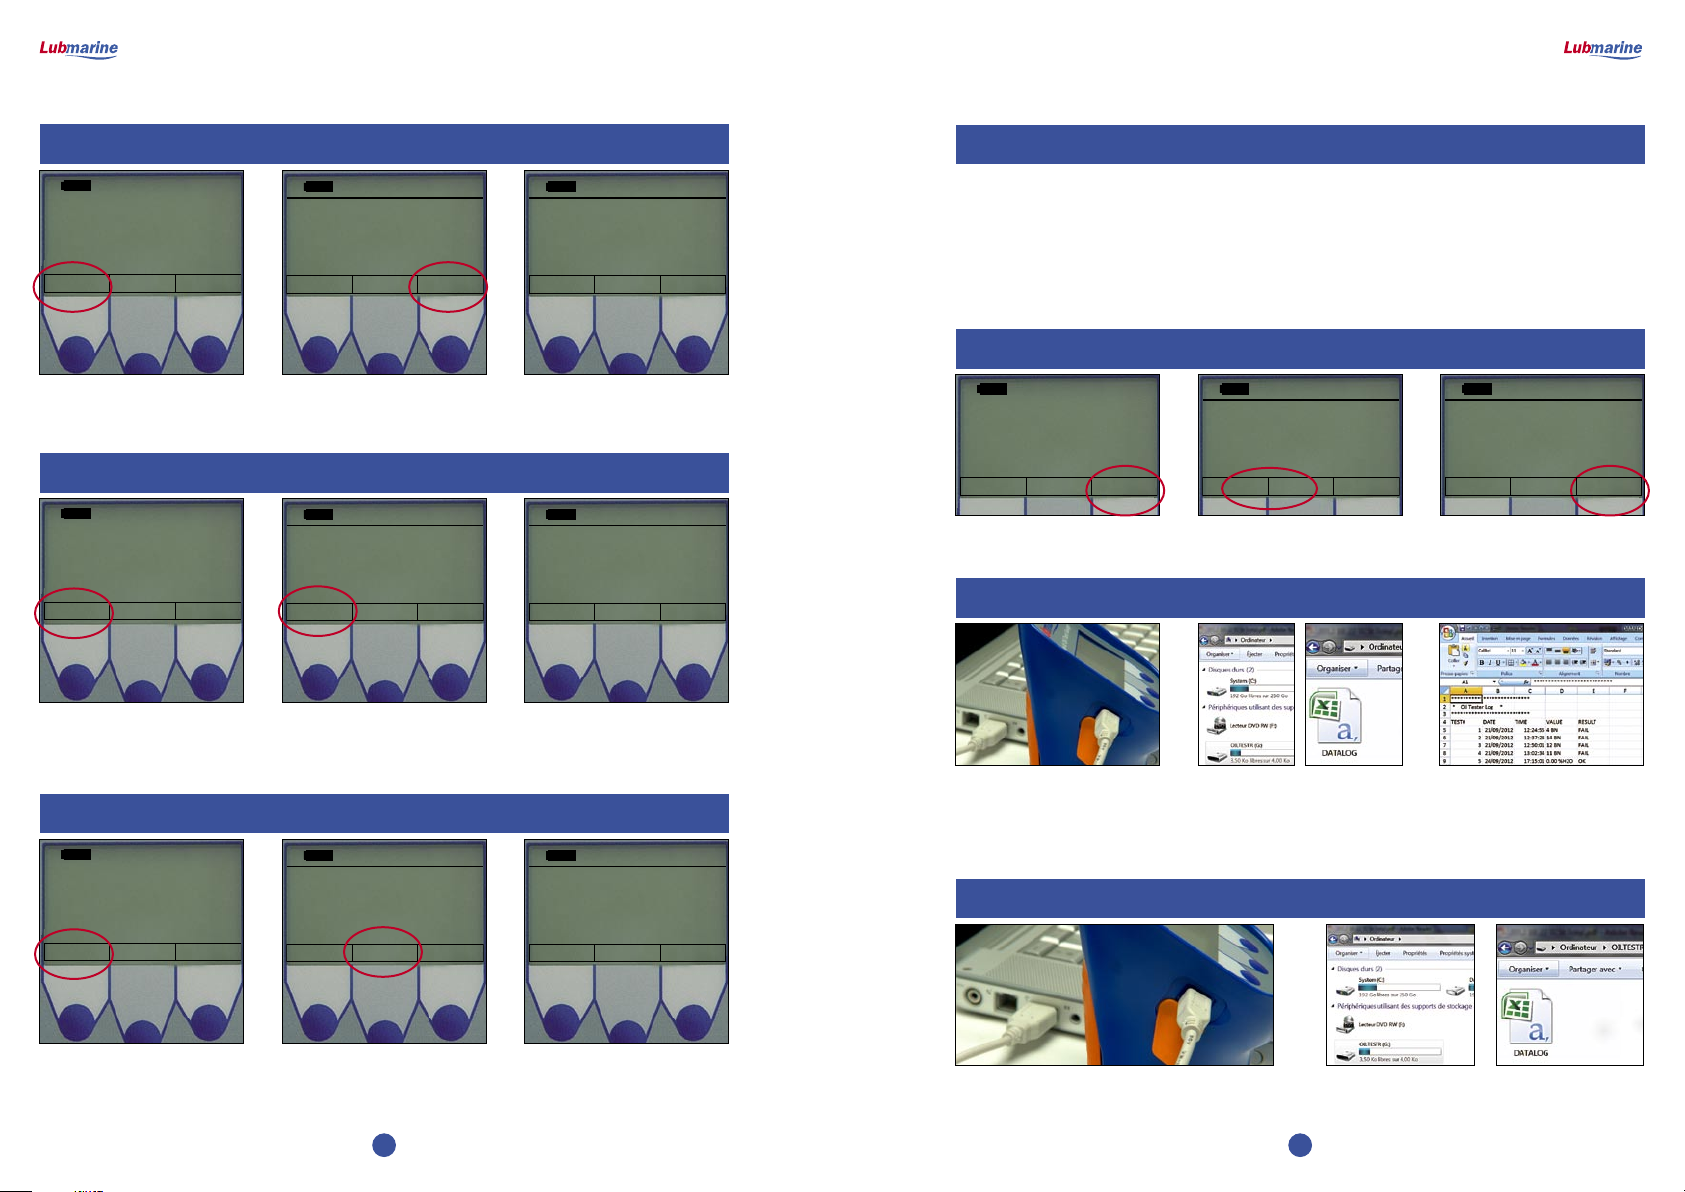
5 - The year is displayed.
Press the [▲] key to increment the year.
Press the [▼] key to decrement the year.
Press [Next] when done.
Press any of the 3 front panel keys to turn
the Rapid Oil Test Gauge on.
The instrument initializes and displays its
serial number and embedded software
version for a few seconds.
The instrument then displays the Main
Run Screen which offers three functions:
[Conf], [Test] and [Hist]
Press the key corresponding to the
function you want to run:
Select [Conf] to adjust the internal clock
and the oil monitoring function of your
instrument
Select [Test] to run a water test or a BN
test (optional)
Select [Hist] to view the test history
Refer to the appropriate section of this
manual for details on each function.
The instrument turns off automatically
if not used for 60 seconds in order to
preserve battery life.
Note: When first powered on after
the battery has been replaced, the
instrument accesses automatically
the clock adjustment function.
The Rapid Oil Test Gauge has an internal clock which is used to time stamp test results when they are stored in the instrument memory.
To adjust the internal clock:
6 - Adjust the month and press [Next]
when done.
7 - Adjust the day and press [Next] when
done.
8 - Adjust the hour and press [Next]
when done.
9 - Adjust the minutes and press [Save]
to store the data and return to the main
run screen.
1 - Press any of the 3 front panel keys to
turn the Rapid Oil Test Gauge on.
2 - Press the [Conf] key.
3 - Press the [Other] key.
4 - Press the [Time] key.
2 Adjusting the internal clock
1 Power on / Main run screen / Power off
The Lubmarine Rapid Oil Test Gauge has an oil monitoring function which can warn the operator in case of:
- Excessive water in oil content
- Insufficient oil alkaline reserve (low BN)*
If the function is On, the water in oil content or the BN value* is evaluated at the end of each test and the instrument shows if the test result is
acceptable or not. The information is also stored in the instrument memory with the test result.
The default settings of the function are:
- Function status: Off
- Water content alarm set to 1.5 %H2O
- BN alarm* set to 1 BN
(* The BN monitoring function is available only for Lubmarine
Rapid Oil Test Gauges having the BN Test option).
3 Oil Monitoring Function
Note:
When first powered on after the battery has been replaced, the instrument accesses automatically the clock adjustment function.