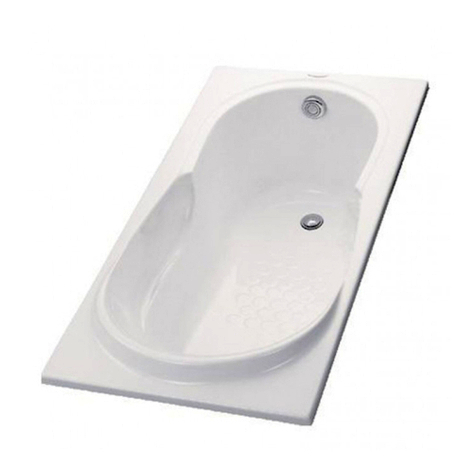
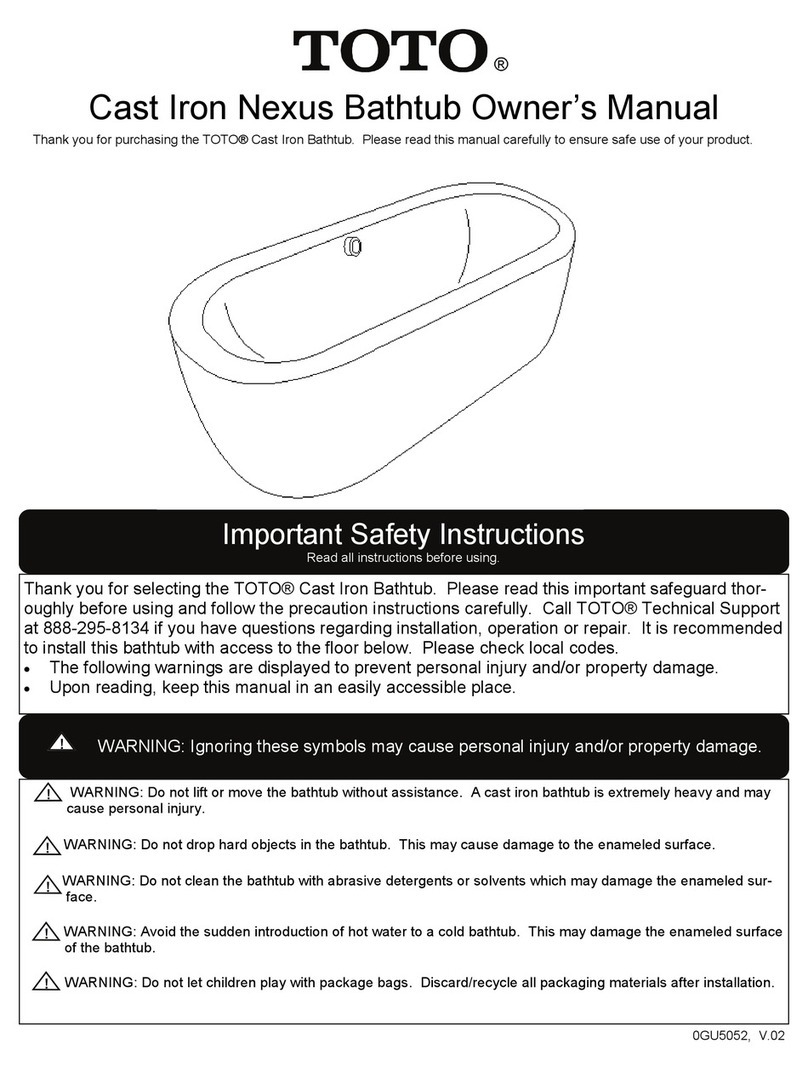
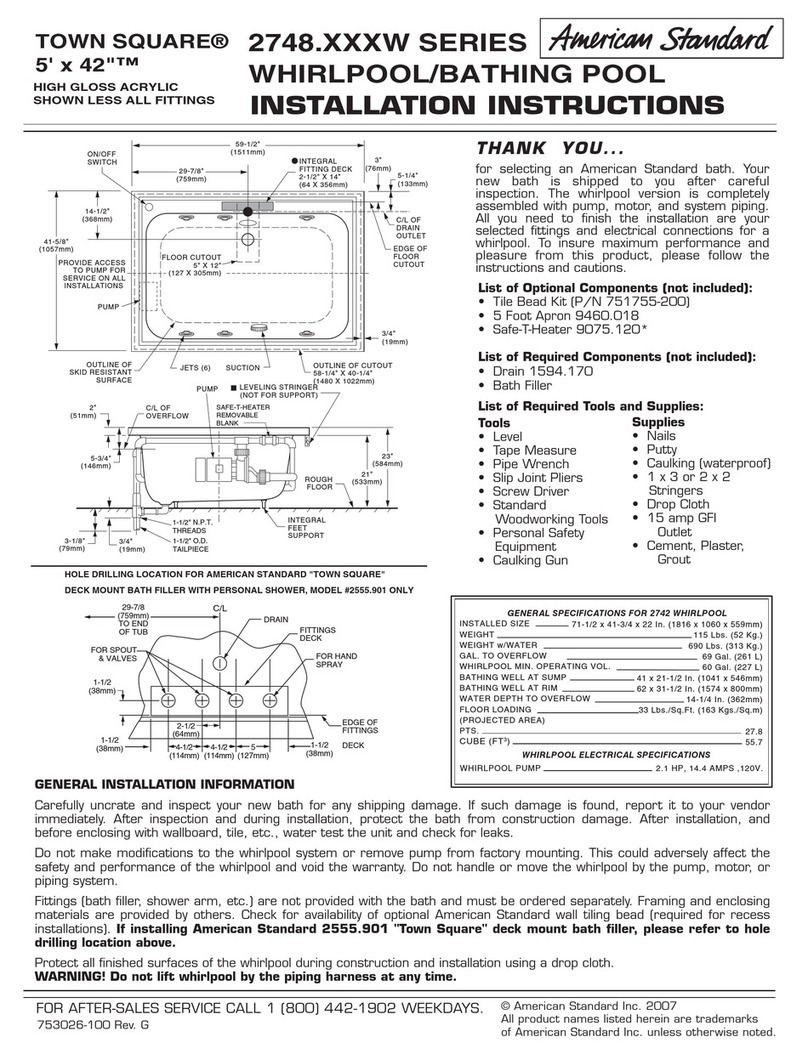
Toto PJYD2200 User manual

Installation Guide
To service installers
Please explain the FLOTATION TUB functions and operation to the customers.
Keep the power turned off when there is time until handing over the product in a new home.
FLOTATION TUB
PJYD2200
ƔCautions and warnings 2
ƔIncluded parts 4
ƔRequired tools 5
Ɣ6SHFL¿FDWLRQV 6
ƔDimension drawings 7
ƔElectrical construction 8
ƔInstallation procedures 9
ƔMeaning of the indications 10
ƔBuilding a base for the bathtub
10
ƔInstalling the bathtub 11
ƔConduct a trial run 14
ƔFinishing 15

2
Cautions and warnings
Please read the installation manual and follow these cautions and warnings carefully before beginning the
construction.
Follow all safety precautions and warnings.
WARNING When this appears next to a topic, this indicates that misoperation could result in death
or serious injury.
CAUTION When this appears next to a topic, this indicates that misoperation may result in injury
or physical damage.
ƔThe following symbols are used to classify and explain instructions that must be followed.
Symbol example Meaning of symbol
This symbol indicates something that is "Prohibited".
This symbol indicates something that is "Required".
WARNING
Prohibited
Do not stand on bathtub while working.
ƔDoing so could cause a fall or injury or damage the components.
Only install the supplied parts or directed parts, and do not apply any changes to
them.
ƔEspecially make sure not to change the dimensions of the product.
Do not bend, handle the power cords roughly or place heavy objects on them.
Ɣ 7KLVFRXOGUHVXOWLQD¿UHRUHOHFWULFVKRFN
Always observe
Make sure to follow the installation guide for installation.
Ɣ ,QFRPSOHWHLQVWDOODWLRQFDQUHVXOWLQD¿UHRUHOHFWULFVKRFN2WKHUZLVHWKHUHLVDFKDQFHRIOHDNDJHWKDW
could wet and cause damage to household property.
Make sure to follow the procedures for the drainage piping attachment.
ƔDefective construction can result in water leakage that could wet and cause damage to household
property.
After unpacking, swiftly dispose of any unnecessary packing materials.
ƔThe wood frame, nails, cardboard boxes, vinyl bags, or sealing straps may cause an injury.
If children play with the packaging materials there is a risk of suffocation or other accidents.
Have a specialized electrician conduct all electrical work.
ƔIf the work is not conducted properly, it may result in an injury or physical damage.
Attach a wiring circuit breaker and ground fault circuit interrupter (GFCI) to the
electrical equipment of the bathtub.
Attach the tap water supply equipment to the bathtub.
Make sure to connect the ground wire (ground).
8VHWKHVSHFL¿HG$&YROWDJHIRUWKHYROWDJH
Ɣ 7KLVPD\UHVXOWLQGDPDJHRUIDLOXUHWRWKHGHYLFHRUD¿UH
After completing the installation, make sure to check the operation of the wiring
circuit breaker and ground fault circuit interrupter (GFCI).
Ɣ ,IWKH*)&,LVQRWSURSHUO\RSHUDWLQJLWPD\UHVXOWLQD¿UHRUHOHFWULFVKRFN
3
WARNING
Always observe
Make sure to install the bathtub according to the installation guide and in a stable
location that can withstand its mass.
Ɣ 'HIHFWLYHLQVWDOODWLRQFDQUHVXOWLQDQLQMXU\FDXVHGE\WKHEDWKWXEIDOOLQJRUÀLSSLQJRYHU
When connecting the wiring, check to see that the power is turned off.
ƔThis may cause electric shock.
Ensure that you have an ergonomic working position during transport and assembly.
ƔTake care at every stage that your move is safe. Ensure that you have assistance to avoid risk of accident
or injury.
Observe the current local prevention of accidents and building regulations as well as
sanitary and environmental protection rules during installation.
CAUTION
Prohibited
Do not place a stepladder inside the bathtub or place heavy objects on the edge the
bathtub.
ƔThis may cause damage.
Do not drop or bump anything hard or heavy onto the bathtub.
ƔThis may cause the bathtub to crack and result in an injury, or leakage that could wet and cause damage
to household property.
Keep sources of heat at a distance.
Do not smoke.
ƔDoing so could cause damage.
Do not install the bathtub outdoors or in a location that is regularly exposed to
sunlight (such as a sun room).
ƔThis may cause the bathtub to freeze and cause damage or discolouration.
When delivering the bathtub, do not hold the hose or piping or bump anything hard
against it.
Always observe
When opening the packaging, make sure that all of the supplied parts and the
bathtub itself are not damaged, and if they are, do not use the damaged parts.
ƔReplace any damaged parts.
When installing the bathtub in a location that could result in damage due to water
OHDNDJHPDNHVXUHWRDSSO\ZDWHUSURRISURFHVVLQJFRQVWUXFWLRQRQWKHÀRRUVXUIDFH
Ɣ ,IWKHUHLVZDWHUOHDNDJHLWPD\FDXVHGDPDJHWRWKHÀRRUEHORZ
Remove the bathtub's protective sheet after the construction is completed.
Secure an area that enables proper space for the usage and maintenance of the bathtub.
%HIRUHFRPSOHWLQJWKHLQVWDOODWLRQPDNHVXUHWRFRQ¿UPWKHVHDODELOLW\RIHDFKSDUW
ƔIf water leakage is detected, remove the cause of the leakage.

4
Included parts
Instruction
Manual
Installation
Guide
A-1 A-2
A-3 A-4
A-5
A-6
A-7 A-8
: Bathtub : Polyethylene foamed sheet
: Instruction manual
: Cleaning spatula for NECK BATH
%DWKWXE¿[LQJSODWHVHW
: Installation guide
*Hand over A-3, 5 to the customer after the construction is completed.
: Drain trap (PP) : Flathead screwdriver (small)

5
Required tools
B-2 B-3 B-4
B-5 B-6 B-7
M12
M10
B-8
B-9
B-15
B-17 B-18
B-16
B-10 B-11
B-12 B-13 B-14
B-1
B-19
ijPP
H05VVF
3 x 1.5 mm2
ijaPP
AWG8
PVC adhesive
Silicone
Soft cloth that will not
damage the bathtub
Water detection sheet
PVC primer

6
6SHFL¿FDWLRQV
Item 6SHFL¿FDWLRQV
External dimensions 2200 mm (L) × 1050 mm (W) × 780 mm (H)
Bathtub depth 394 mm
Capacity 293 L
Weight 170 kg
Materials GALALINE
*$/$/,1(LVDQDUWL¿FLDOPDUEOHPDGHRI*)53VDQGZLFKVWUXFWXUH
Drainage method
Normal drainage (partial electrical valve automatic drainage)
2YHUÀRZGUDLQDJH
Drain plug Push-operated drain plug
Drainage rate (with trap) 48 L/min
2YHUÀRZUDWHZLWKWUDS 48 L/min
AIR-JET
Number of jet ports 8 locations
Ejection air amount Approx. 400L/min. (Strong mode)
Approx. 250L/min. (Weak mode)
NECK BATH
(Circulation)
Number of intake parts 1 location
Number of water outlets 1 location
:DWHUGLVFKDUJHÀRZUDWH Approx. 18 L/min
HYDROHANDS
(Circulation)
Number of intake parts 1 location
Number of water outlets 2 locations
:DWHUGLVFKDUJHÀRZUDWH Approx. 60 L/min
LED lighting
Irradiation part 1 location
Irradiated colour 1 colour
Controller Electrostatic capacitance-type touch panel
Rated voltage
220-240V AC
Philippines/Saudi Arabia 220V AC
Rated frequency
50 Hz
Philippines/Saudi Arabia 60 Hz
Rated current
3.5-4.0 A
Philippines/Saudi Arabia 4.0 A
Rated power consumption
700-850 W
Philippines/Saudi Arabia 850 W
Standby power consumption 2.8 W
Safety devices
Continuous operation preventing device
Overcurrent protection device
Overheating protection device (thermal protector)

7
Dimension drawings
>,QFDVHRIDWWDFKLQJDQRSWLRQÀRRUVWDQGLQJEDWKWXE¿OOHU@
For an optional water faucet, ask the dealer,contractor from whom you purchased the product,or TOTO.

8
Electrical construction
20A
25A I¨n 0.03A
B-11
H05VVF
B-11
+ aPP
220-240V
50/60Hz
700W/850W
Waterproof
Tile
/ aPP
Turn the wiring circuit breaker off during operation.
Protect the product with a wiring circuit breaker (I⊿n 0.03A and 25A differential switch, 20A magnetic
thermal switch) and ground fault circuit interrupter (GFCI).
Install both switches outside of the bathroom.
8VHD¿[HGFRQQHFWLRQWRVXSSO\SRZHUWRWKHEDWKWXE
Do not extend or relay the power cord, connect it as 1 cord.
When installing the bathtub, do it within the protection area and make sure that the person does not
touch any electrical devices from inside the bathtub.
Install the bathtub over 600 mm away from any electrical appliances or power sockets.

9
Installation procedures
1
2
3
>>P.10 >>P.11
4
5
6
>>P.12 >>P.13
7
8
9
>>P.14
10
①
②
11
12
>>P.15

10
Meaning of the indications
This operation must be conducted by a contractor.
Operation that must be checked.
,QGLFDWHVWKHZRUNÀRZ
Building a base for the bathtub
B-11
B-8
B-6
B-7
1
+ aPP
Waterproof
Tile
/ aPP
Please conduct site operation directly on the drain.
When embedding a power cable for the bathtub on the installation side, please use a sheath tube with
an inner diameter of less than 20 mm.

11
Installing the bathtub
2
1
B-14
2
Lift up
Lift up
3
Cardboard box, etc., for packaging the bathtub
B-17
B-18
B-2
Other Choices
41
2

12
A-8
B-11
4 5
Power supply
Brown
Blue
Green/
Yellow
3
B-2
IPX5
6
B-4 M12
51
5mm
A-2
2
5mm

13
3
A-6
A-6
B-4 M10
B-15
B-6 B-1 B-12
1 2 3 4
5 6
6
A(40mm) A(40mm)
WARNING
Check to see that the hole positions are not overlapping with the cavity portions of
the tile base.
ƔIf there are cavities, use an adhesive anchor to stabilise.
7
B-14
8

14
9
Conduct a trial run
B-16
Check to see that there is no
water leakage when the
product is operating or
stopped. Conduct a trial run
for 10 minutes.
10
If trouble occurs during the trial run
Symptoms Processing
The controller does not light
up, or operate any functions.
Is power being supplied?
Has there been a power outage?
Is it locked? Unlock by pressing and holding for over 3 seconds.
HYDROHANDS / NECK BATH
Is the water level in the bathtub too low? Fill the water above the
intake parts.
The drain plug does not
open or close.
Please call for a repair.
*Please refer to the instruction manual for other symptoms.

15
11 1
2
WARNING
6WDELOLVHWKHEDWKWXEZLWKD¿[LQJSODWH
ƔThe bathtub may shake if it is not properly stabilised.
Finishing
B-13
12
WARNING
6HFXUHHQRXJKVSDFHEHWZHHQWKHEDWKWXEDQGWLOHVDQG¿OOWKDWVSDFHZLWKVLOLFRQH
that does not contain alcohol.

©TOTO Ltd. All rights reserved.
2017. 11
Printed in China
NTE183
Other manuals for PJYD2200
1
Table of contents
Other Toto Bathtub manuals

Toto
Toto PJY1804HPWE User manual

Toto
Toto NEOREST VPKZ1800E User manual

Toto
Toto FBY1515LP#01 User manual

Toto
Toto Air Bath ABR781 User manual

Toto
Toto NEOREST LE PKL 1820 User manual

Toto
Toto NEOREST ABF992X#01DCP User manual

Toto
Toto ABR Series User manual

Toto
Toto PJY1724PW User manual

Toto
Toto FBF794S#01DCP User manual

Toto
Toto NEOREST SE User manual
Popular Bathtub manuals by other brands

Whirlpool
Whirlpool Ariel ARL-702 installation manual

Kohler
Kohler K-1151 Homeowner's guide

American Standard
American Standard 3052OD.X0X Installation instructions and owner's manual

Kohler
Kohler K-1111-H2 Roughing-In Guide

Kohler
Kohler K-1158 Roughing-In Guide

Kohler
Kohler Hourglass K-1209-LA Roughing-In Guide