manuals.online logo
Brands
  1. Home
  2. •
  3. Brands
  4. •
  5. Toto
  6. •
  7. Toilet
  8. •
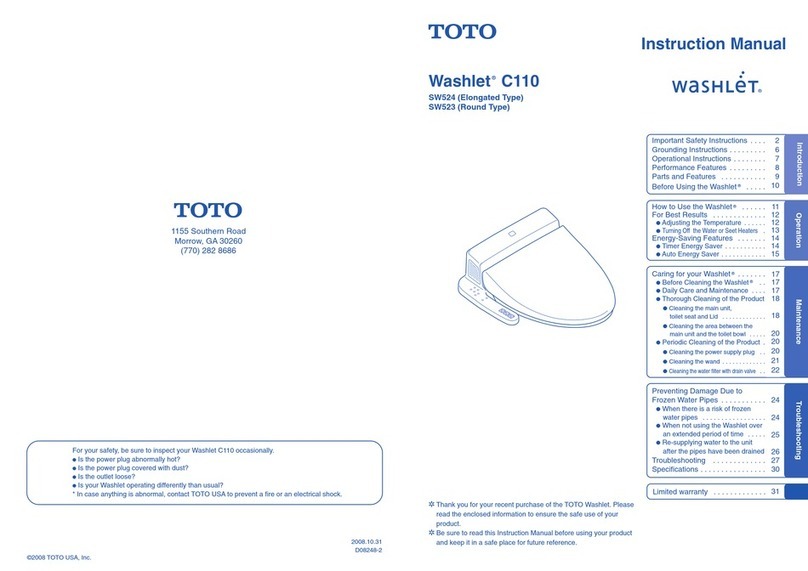
  9. Toto MS636D Series User manual

Toto MS636D Series User manual

Other Toto Toilet manuals

Toto MS625D Series User manual

Toto

Toto MS625D Series User manual

Toto NEOREST 600 MS990CG User manual

Toto

Toto NEOREST 600 MS990CG User manual

Toto CST474CEFG User manual

Toto

Toto CST474CEFG User manual

Toto WASHLET SW2043R User manual

Toto

Toto WASHLET SW2043R User manual

Toto AP WASHLET CWT4263046CMFG User manual

Toto

Toto AP WASHLET CWT4263046CMFG User manual

Toto MS604 Series User manual

Toto

Toto MS604 Series User manual

Toto CS819 Series User manual

Toto

Toto CS819 Series User manual

Toto USWN900 Series Guide

Toto

Toto USWN900 Series Guide

Toto MS980CMG User manual

Toto

Toto MS980CMG User manual

Toto NEOREST 750H User manual

Toto

Toto NEOREST 750H User manual

Toto NEOREST MS990CGR User manual

Toto

Toto NEOREST MS990CGR User manual

Toto WASHLET TCF803CG User manual

Toto

Toto WASHLET TCF803CG User manual

Toto CST243EF User manual

Toto

Toto CST243EF User manual

Toto MS855CD Series User manual

Toto

Toto MS855CD Series User manual

Toto B542E User manual

Toto

Toto B542E User manual

Toto WASHLET+ RX CWT4474047CMFGA MS Series User manual

Toto

Toto WASHLET+ RX CWT4474047CMFGA MS Series User manual

Toto C971 Series User manual

Toto

Toto C971 Series User manual

Toto MS604114CEF User manual

Toto

Toto MS604114CEF User manual

Toto CS761 Series User manual

Toto

Toto CS761 Series User manual

Toto NEOREST 750H User manual

Toto

Toto NEOREST 750H User manual

Toto WASHLET SW308301 User manual

Toto

Toto WASHLET SW308301 User manual

Toto CS320D Series User manual

Toto

Toto CS320D Series User manual

Toto CST423SF User manual

Toto

Toto CST423SF User manual

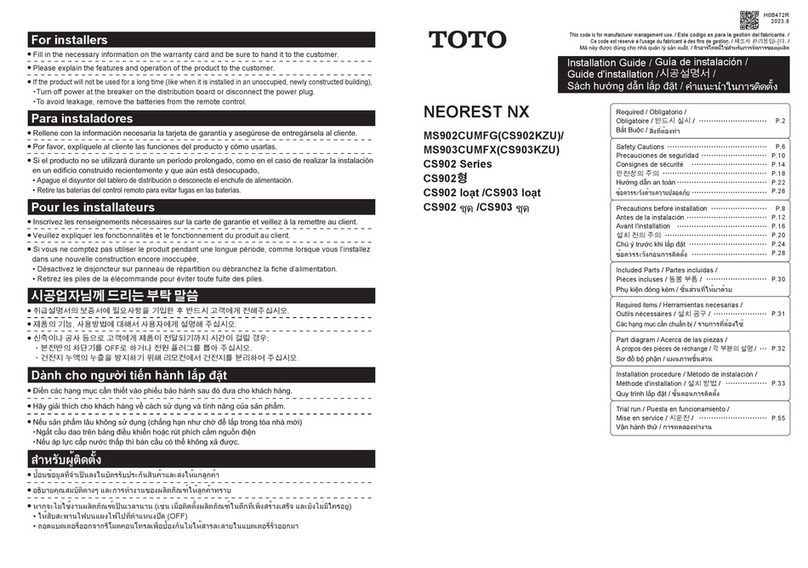
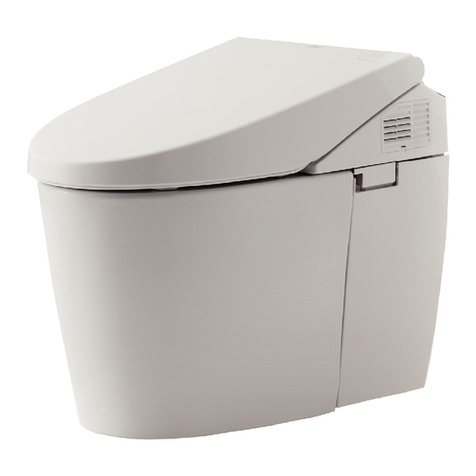
Toto NEOREST NX MS900CUMFG User manual

Toto

Toto NEOREST NX MS900CUMFG User manual

Popular Toilet manuals by other brands

nella LOCH NBMU-4062 ADA installation instructions

nella

nella LOCH NBMU-4062 ADA installation instructions

Crosswater US-PRO9005 manual

Crosswater

Crosswater US-PRO9005 manual

Kohler K-77780T-0 installation guide

Kohler

Kohler K-77780T-0 installation guide

Kohler K-6419 quick start guide

Kohler

Kohler K-6419 quick start guide

DENCK PURE-D user manual

DENCK

DENCK PURE-D user manual

Grohe Sensia ARENA user manual

Grohe

Grohe Sensia ARENA user manual

Kohler K-5171K Installation and care guide

Kohler

Kohler K-5171K Installation and care guide

Geberit AQUACLEAN MERA CLASSIC user manual

Geberit

Geberit AQUACLEAN MERA CLASSIC user manual

Kohler K-24097X Installation and care guide

Kohler

Kohler K-24097X Installation and care guide

Better Bathrooms BUN/BeBa 27555/78725 user manual

Better Bathrooms

Better Bathrooms BUN/BeBa 27555/78725 user manual

American Standard CONCEPT Cube TF-2704 installation manual

American Standard

American Standard CONCEPT Cube TF-2704 installation manual

BIOLAN ECO Instructions for installation, use and maintenance

BIOLAN

BIOLAN ECO Instructions for installation, use and maintenance

Thetford C260 Series user manual

Thetford

Thetford C260 Series user manual

KELISS T162A Series instruction manual

KELISS

KELISS T162A Series instruction manual

Silent Venus SVP600 Installation & maintenance

Silent Venus

Silent Venus SVP600 Installation & maintenance

Kohler K-22241K Installation and care guide

Kohler

Kohler K-22241K Installation and care guide

Kohler ESCALE K-32771T-NS installation instructions

Kohler

Kohler ESCALE K-32771T-NS installation instructions

BIOLAN GARDEN TOILET Instructions for installation, use and maintenance

BIOLAN

BIOLAN GARDEN TOILET Instructions for installation, use and maintenance

manuals.online logo
manuals.online logoBrands
  • About & Mission
  • Contact us
  • Privacy Policy
  • Terms and Conditions

Copyright 2025 Manuals.Online. All Rights Reserved.

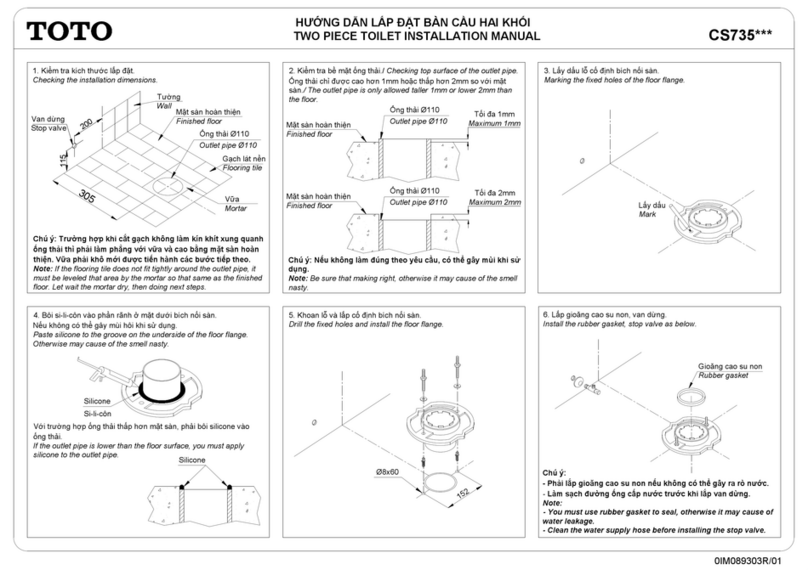
1. Kiểm tra kích thước lắp đặt.
Checking the installation dimensions.
2. Kiểm tra bề mặt ống thải/ Checking top surface of the outlet pipe.
Ống thải chỉ được cao hơn 1mm hoặc thấp hơn 2mm so với mặt
sàn/ The outlet pipe is only allowed taller 1mm or lower 2mm than the
floor.
Tối đa 1mm
Maximum 1mm
Ống thải Ø110
Outlet pipe Ø110
Tối đa 2mm
Maximum 2mm
Chú ý: Trường hợp khi cắt gạch không làm kín khít xung quanh
ống thải thì phải làm phẳng với vữa và cao bằng mặt sàn hoàn
thiện.Note: If the flooring tile does not fit tightly around the
outlet pipe, it must be leveled that area by the mortar so that
same as the finished floor.
Mặt sàn hoàn thiện
Finished floor
Ống thải Ø110
Outlet pipe Ø110
Chú ý: Nếu không làm đúng theo yêu cầu, có thể gây mùi khi sử
dụng.
Note: Be sure that making right, otherwise it may cause of the
smell nasty.
Ống thải Ø110
Outlet pipe Ø110
Tường
Wall
Gạch lát nền
Flooring tile
305
80
60
Mặt sàn hoàn thiện
Finished floor
Mặt sàn hoàn thiện
Finished floor
0IM062502N/05
MS636D***
HƯỚNG DẪN LẮP ĐẶT BÀN CẦU MỘT KHỐI
ONE PIECE TOILET INSTALLATION MANUAL
5. Bôi si-li-côn vào phần rãnh ở mặt dưới bích nối sàn.
Nếu không có thể gây mùi hôi khi sử dụng.
Paste silicone to the groove on the underside of the floor flange.
Otherwise may cause of the smell nasty.
3. Lấy dấu lỗ cố định bích nối sàn.
Marking the fixed holes of the floor flange.
Lấy dấu
Mark
Với trường hợp ống thải thấp hơn mặt sàn, phải bôi si-li-côn vào
ống thải.
If the outlet pipe is lower than the floor surface, you must apply
silicone to the outlet pipe.
Si-li-côn
Silicone
Si-li-côn
Silicone
4. Khoan lỗ.
Drill the fixed holes.
Ø8x45
Chú ý: Làm sạch sàn sau khi khoan.
Note: Clean the floor after drill.
Lỗ cấp nước
Water supplied
hole
01
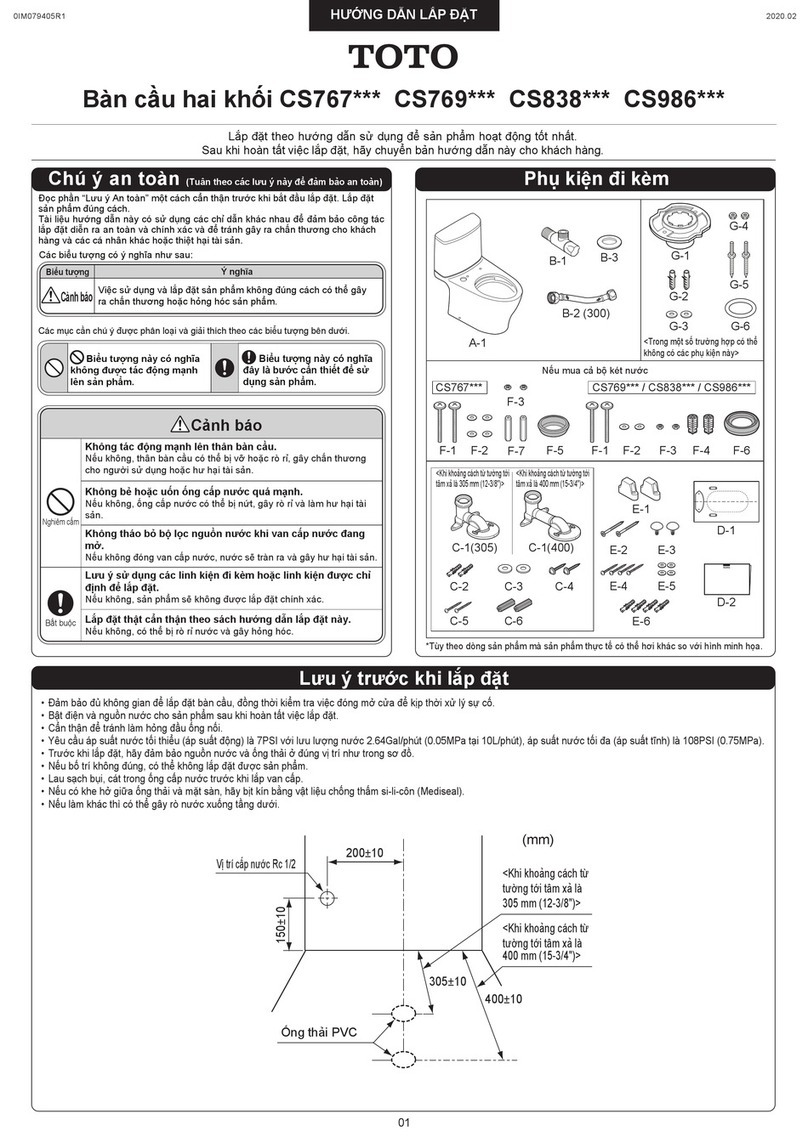
Vui lòng đọc kỹ tài liệu này trước khi tiến hành lắp đặt sản phẩm.
Lắp đặt theo đúng bản hướng dẫn lắp đặt này để đảm bảo an toàn
và có thể sử dụng đầy đủ các tính năng của sản phẩm.
Quét mã QR để xem phương pháp lắp đặt sản phẩm.
Hoặc truy cập theo đường link dưới đây:
https://vn.toto.com/tai-lieu/lap-dat-bao-duong
Please read this document carefully before proceeding to install the
product.
Install in accordance with this installation manual for safety and full
use of product features.
Scan the QR code to see the product installation method.
Or follow the link below:
https://vn.toto.com/tai-lieu/lap-dat-bao-duong
Lưu ý trước khi lắp đặt
HƯỚNG DẪN LẮP ĐẶT BÀN CẦU MỘT KHỐI
ONE PIECE TOILET INSTALLATION MANUAL
305
50
45
Lấy dấu/ Mark
130
160
Ø6x45
Ø6x45
7. Lắp ống nối sàn.
Install socket.
1
2
3
4
MS636D***
Chú ý: Làm sạch sàn sau khi khoan.
Note: Clean the floor after drill.
Chú ý: Làm sạch sàn sau khi khoan.
Note: Clean the floor after drill.
6. Lắp cố định bích nối sàn.
Install the floor flange.
8. Lấy dấu vị trí lắp bàn cầu.
Mark the position to install the toilet.
9. Khoan lỗ lắp tấm cố định.
Drill to install fixed plate.
10. Lắp tấm cố định.
Install the fixed plate.
Gioăng cao su non
P-seal
0IM062502N/05
02
Chú ý:
- Phải lắp gioăng cao su non (2) nếu không sẽ gây ra rò nước
- Trường hợp ống chờ nhỏ hơn và không lắp được bích (4) thì vẫn
phải lắp gioăng cao su non (2) (được đóng gói cùng mặt bích (4))
Note:
- You must use P-seal to seal (2), otherwise water leak happens.
- In case pipe wait smaller than hole of floor flange (4) and it cannot
be installed, then you still have to use P seal (2) (Packaged with
floor flange (4) )
1
2
HƯỚNG DẪN LẮP ĐẶT BÀN CẦU MỘT KHỐI
ONE PIECE TOILET INSTALLATION MANUAL MS636D***
14. Đặt bàn cầu vào vị trí lắp, để lại khoảng trống đủ để lắp dây cấp vào
van dừng. Lắp dây cấp với van dừng và đẩy kịch bàn cầu khớp với dấu lỗ
cố định đã lấy.
Put the toilet in the installation status, leaving enough the space to fit the
supply cord into the stop valve. Install the supply cord with the stop valve
and push the toilet to fit the fixed fixing hole.
13. Lắp bệ ngồi và nắp đậy/ Install seat & cover.
Chi tiết xem hướng dẫn lắp đặt đi kèm bệ ngồi và nắp đậy.
Refer installation manual attached to seat & cover.
0IM062502N/05
12. Lắp dây cấp nước vào van cấp.
Connect the flexible hose with the fill valve.
03
11. Lắp van dừng.
Install the stop valve.
Chú ý: Làm sạch đường ống cấp nước trước khi lắp van dừng.
Note: Clean the water supply hose before installing the stop valve.
HƯỚNG DẪN LẮP ĐẶT BÀN CẦU MỘT KHỐI
ONE PIECE TOILET INSTALLATION MANUAL MS636D***
16. Cố định bàn cầu và làm kín đáy bằng si-li-côn.
Fixed the toilet and close bottom surface by silicone.
Si-li-côn
Silicone
0IM062502N/05
04
15. Xác nhận rò rỉ.
Leak confirm
*Chú ý: Sau khi chạy thử (Xả nước), hãy xác nhận chắc chắn rằng không có vị trí kết nối
nào bị rò nước. Việc lắp đặt sản phẩm không chính xác có thể gây ra rò rỉ nước, làm hư
hại tài sản, ví dụ như các đồ gia dụng.
*Note: After conducting a test run, confirm that no connections are leaking water. Not
installing the product properly may cause water leaks that could result in flooding damage
to property, such as household belongings.