Tower Hobbies T637000 Operator's manual

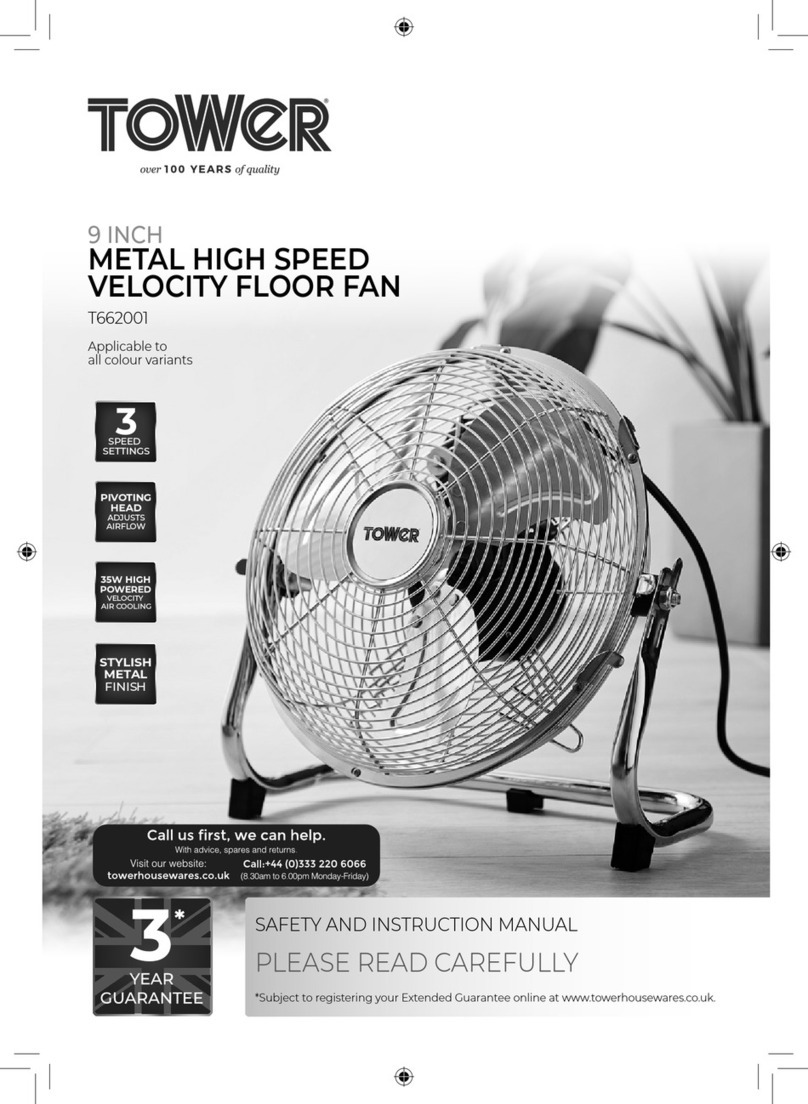
SAFETY AND INSTRUCTION MANUAL
PLEASE READ CAREFULLY
*Subject to registering your Extended Guarantee online at www.towerhousewares.co.uk.
16 INCH
METAL
PEDESTAL FAN
T637000
Applicable to
all colour variants
SPEED
SETTINGS
3
AUTOMATIC
OSCILLATION
COOLING
CIRCULATION
50W HIGH
POWERED
FINISH
STYLISH
METAL
70º

2
This box contains:
Instruction Manual
Fan Unit
1. Front Guard
2. Locking screw
3. Fan Blade
4. Rear Guard
5. Front Guard Nut (x1)
6. Telescopic Stand
7. Pivot Adjustment Screw
8. Tilt Adjustment Screw
9. Motor Housing
10. On/Off/Speed Control
11. Oscillating Control
12. Motor Spindle
13. Fan Blade Retaining Screw (x1)
14. Guard Retaining Clips
15. Stand Base
16. Weight
17. Clamping Washer
18. L - Shaped Screw
Specifications:
Description: 16 Inch Pedestal Fan
Model: T637000 aplicable to all colour variants
Rated Voltage: 220-240V~
Frequency: 50-60Hz
Power consumption: 50W
Technical Data:
HIGH VOLTAGE ROTATING PARTS
1
6
7
9
10
11
25
6 15 16 17 18
3 4 8
121314

3
DISPOSAL OF THE UNIT
Appliances bearing the symbol shown here may not be disposed of in domestic rubbish.
You are required to dispose of old electrical and electronic appliances like this separately.
Please visit www.recycle-more.co.uk or www.recyclenow.co.uk for access to information about the
recycling of electrical items.
Please visit www.weeeireland.ie for access to information about the recycling of
electrical items purchased in Ireland.
The WEEE directive, introduced in August 2006, states that all electrical items must be
recycled, rather than taken to landfill.
Please arrange to take this appliance to your local Civic Amenity site for recycling,
once it has reached the end of its life.
• Check that the voltage
of the main circuit
corresponds with the
rating of the appliance
before operating.
• Please ensure that the
appliance is used on a
stable, level, and heat
resistant surface.
• DO NOT immerse
cords, plugs or any
part of the appliance
in water or any other
liquid.
• DO NOT leave the
appliance unattended
while it is operating.
• Close supervision is
necessary when any
appliance is used by or
near children or pets.
• This appliance can
be used by children
aged from 8 years and
above and persons
with reduced physical,
sensory or mental
capabilities or lack
of experience and
knowledge if they have
been given supervision
or instruction
concerning use of the
appliance in a safe way
and understand the
hazards involved.
• Children shall not play
with the appliance.
• Cleaning and user
maintenance shall not
be made by children
without supervision.
Please read these notes carefully BEFORE using your
Tower appliance
Important Safety Information:

4
• Switch off at the wall
socket then remove the
plug from the socket
when not in use or
before cleaning.
• If the supply cord or
appliance is damaged,
stop using the
appliance immediately
and seek advice from
the manufacturer or
its service agent or
a similarly qualified
person.
• DO NOT let the cord
hang over the edge of a
table or counter or let it
come into contact with
any hot surfaces.
• The use of accessory
attachments is not
recommended
by the appliance
manufacturer apart
from those supplied
with this product. DO
NOT use extension
cords with the
appliance.
• DO NOT pull the plug
out by the cord as this
may damage the plug
and/or the cable.
• DO NOT use this
product for anything
other than its intended
use.
• This appliance is for
household use only.
• appliance by the power
cord.
• DO NOT use the
appliance outdoors.
• DO NOT run cord
under carpeting. DO
NOT cover cord with
throw rugs, runners or
the like. Arrange cord
away from trac area
to avoid anyone from
tripping over.
• DO NOT insert or allow
foreign objects to
enter any ventilation
opening as this may
cause an electric shock,
fire, or damage to an
individual or a property.
• To prevent overload
and blown fuses, be
sure that no other
appliance is plugged
into the same outlet
(receptacle) or into
another outlet
(receptacle) wired into
the same circuit.
• We DO NOT
recommend use of an
extension cord as it may
overheat and cause a
risk of fire. However,
if you have to use an
extension cord, the cord
should be No: 14 AWG
minimum size and
rated not less than 1875
watts, and has to be
used only for supplying
power to this fan.

5
• Never insert your
fingers, pencils or other
objects through the
cage during operation.
• The fan should be set
up on a stable and level
surface to avoid it being
knocked over.
• DO NOT expose the
fan to excessive heat
or humidity as this can
cause damage to the
electrical components.
• The fan should be kept
out of the reach of
children.
• In the unlikely event
the appliance develops
a fault, stop using
it immediately and
seek advice from the
Customer Support
Team.
• In the unlikely event
the appliance develops
a fault, stop using
it immediately and
seek advice from the
Customer Support
Team.

6
Before First Use:
Read all instructions and safety information
carefully before first use. Please retain this
information for future reference.
1. Remove the appliance from the
packaging and check for any visible signs
of damage to the unit and cable.
2. Assemble as instructed.
3. Your appliance is now ready for normal
use.
4. Dispose of the packaging in a responsible
manner.
5. Place the unit on a firm and level surface.
Assembling Your Metal Stand Fan:
1. Remove the L-shaped screw (18) and
clamping washer (17) from the telescopic
stand (6), then atttach it to the Base
(15). To do this, place the Weight (16) on
the underside of the base (15) and the
clamping washer (17) in the centre of
the weight. Thread the L-Shaped Screw
(18) through the assembly and into
the thread in the Telescopic Stand (6).
Tighten firmly but do not overtighten.
2. Next attach the motor housing (9) to
the top of the telescopic stand (6).First
remove all the screws, etc. (7, 8, 19 & 20)
from the motor housing bracket.
7
6
9
8
19
20
7
8
19
3. Place the Motor Housing on the top of
the stand and thread the Large Pivot Bolt
(20) through the bracket and screw in the
Small Retaining Screw (8) and tighten
(but do not over tighten).
4. Fit the Large Pivot Knob (7) onto the end
of the Bolt (20) and the Small Adjusting
Knob (19). Hold the fan motor upright
and tighten the Large Pivot Knob (7) and
the Small Adjusting Knob (19).
820
1.
20
19
7
Assembly of your stand fan grille:
2. Remove the 4 grille locking screws from
the main body.

7
3. Set the rear grille in the proper position
with the handle up. Let the four screws
go through the rear guard hole and
tighten (but do not over tighten).
4. Discard the plastic sleeve on the shaft.
Install the blade onto the shaft until the
retaining pin fits into the notch on the
blade, then use the screw to fix it and
tighten (but do not over tighten).
5. Mount the Front Safety Grille onto the
Rear Grille by hanging the top hook clip
of the front guard over the top of the
Rear Grille. Close the clasps all around
the grille, then secure it with the locking
screw and nut.
Note: When first inserting the locking screw
into the corresponding holes on the rim of the
fan grille, only tighten it loosely. Ensure you
have secured the front safety grille as detailed
above before tightening this screw in all the
way; otherwise, the front safety grille may not
be correctly installed
.
Adjustable tilting head:
Use the top two screws to adjust the angle of
the fan head.
Loosen the screws to move the head to the
desired angle, and tighten them to lock into
place.
CAUTION! Do not use the fan when the front
guard is not locked into place.
Note: Make sure that the fan is on a level
surface and away from any liquids.
Oscillating the fan will create a more uniform
cooling effect in the room.
Using your appliance:
Choose one of the following 3 speeds using the
speed dial.
0 Stop
I Low
II Medium
III High
Oscillation:
Push down the oscillation button to activate
the oscillation function. Pull the button back
up to stop the oscillation.
Cleaning and care:
Before cleaning always switch off the appliance
and remove the plug from the electrical
socket.
To clean the outside of the fan, wipe the
exterior with a soft, damp cloth.
Never use an abrasive cleaner.
When not in use, store the fan (preferably in its
original box) in a cool, clean and dry location.
Cleaning the fan blades:
Remove the front guard by unclipping the
locking clips located around the circumference
of the guard. The top lock does not unclip.
Use a small spanner to unscrew the nut and
bolt that holds the bottom of the front guard
to the back guard.
WARNING:
DO NOT immerse any electrical part of
the appliance in water such as motor units
or plugs.
Please see cleaning section for further
instructions.

8
Model Identifier(s): T637000 All colour variants
Item Symbol Value Unit
Maximum fan flow rate F 54.88 m3/min
Fan Power input P 48.29 W
Service value SV 1.14 (m3/min)/W
Standby power
consumption PSB 0.00 W
Fan sound power level LWA 64.63 dB(A)
Maximum air velocity C3.08 m/sec
Seasonal electricity
consumption Q15.45 kWh/a
Measurement standard for
service value IEC 60879:1986+ (corr. 1992)
Contact Details: RKW LTD, Sutton House, Berry Hill Industrial Estate, Berry
Hill Road, Stoke-on-Trent, ST4 2NL

9
Model Identifier(s): T637000 All colour variants
Item Symbol Value Unit
Maximum fan flow rate F 54.88 m3/min
Fan Power input P 48.29 W
Service value SV 1.14 (m3/min)/W
Standby power
consumption PSB 0.00 W
Fan sound power level LWA 64.63 dB(A)
Maximum air velocity C3.08 m/sec
Seasonal electricity
consumption Q15.45 kWh/a
Measurement standard for
service value IEC 60879:1986+ (corr. 1992)
Contact Details: RKW LTD, Sutton House, Berry Hill Industrial Estate, Berry
Hill Road, Stoke-on-Trent, ST4 2NL
Notes:

10
Notes:

11
Notes:

0323.V2
thank you!
We hope you enjoy your appliance for many years.
This product is guaranteed for 12 months from the date of original purchase.
If any defect arises due to faulty materials of workmanship, the faulty products must be returned to
the place of purchase.
Refund or replacement is at the discretion of the retailer.
The Following Conditions Apply:
The product must be returned to the retailer with proof of purchase or a receipt.
The product must be installed and used in accordance with the instructions contained in this
instruction guide.
It must be used only for domestic purposes.
It does not cover wear and tear, damage, misuse or consumable parts.
Tower has limited liability for incidental or consequential loss or damage.
This guarantee is valid in the UK and Eire only.
The standard one year guarantee is only extended to the maximum available for each particular
product upon registration of the product within 28 days of purchase. If you do not register the
product with us within the 28 day period, your product is guaranteed for 1 year only.
To validate your extended warranty, please visit
www.towerhousewares.co.uk and register with us online.
Please note that length of extended warranty offered is dependent on product type and that each
qualifying product needs to be registered individually in order to extend its warranty past the
standard 1 year.
Extended warranty is only valid with proof of purchase or receipt.
Your warranty becomes void should you decide to use non Tower spare parts.
Spare parts can be purchased from
www.towerhousewares.co.uk
Should you have a problem with your appliance, or need any spare parts,
please call our Customer Support Team on:
+44 (0) 333 220 6066
Table of contents
Other Tower Hobbies Fan manuals
Popular Fan manuals by other brands

Mondial Designs Limited
Mondial Designs Limited V-66-6P Instruction and Technical Service Manual

Sealey
Sealey SFF12DP instructions

Ebmpapst
Ebmpapst D3G160-LV13-30 operating instructions

Poly-Tex
Poly-Tex POLY-VENT instruction manual

Siemens
Siemens 8MR64 LV Series operating instructions

Swegon
Swegon PARASOL VAV Series Installation, commissioning maintenance