manuals.online logo
Brands
  1. Home
  2. •
  3. Brands
  4. •
  5. TPG
  6. •
  7. IP Phone
  8. •
  9. TPG BizPhone W56P Troubleshooting guide

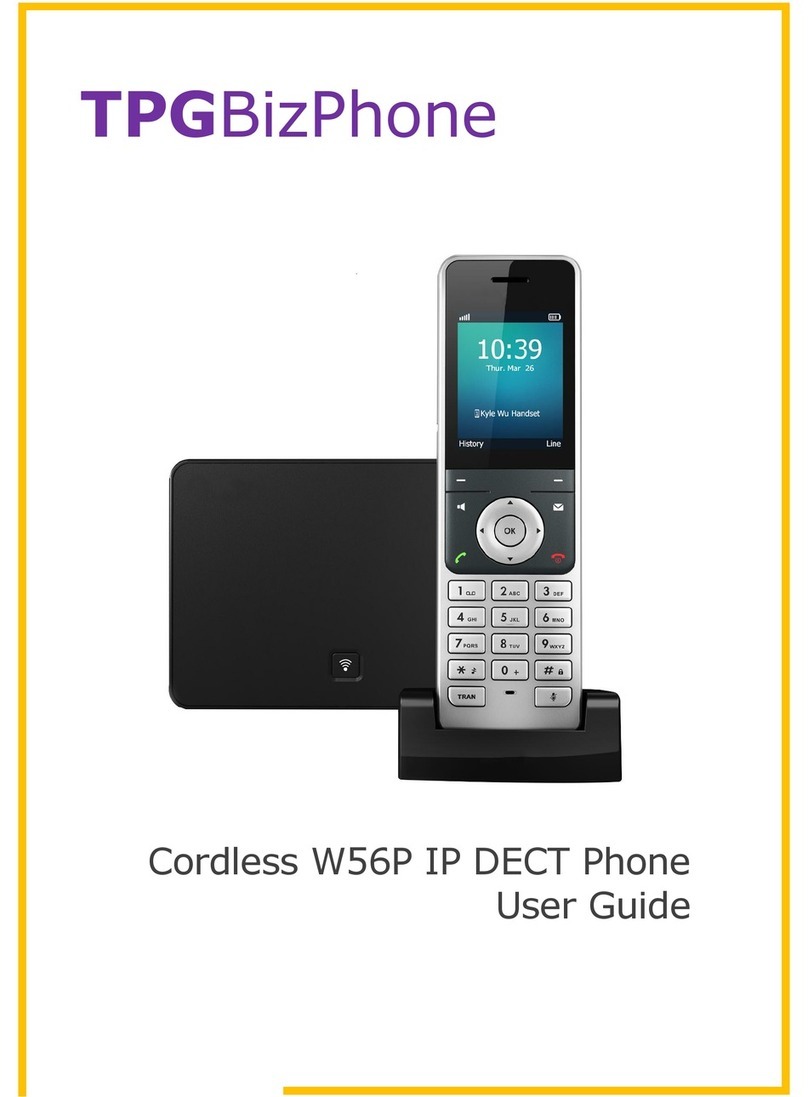
TPG BizPhone W56P Troubleshooting guide

TPG BizPhone
P a g e | 1 of 2
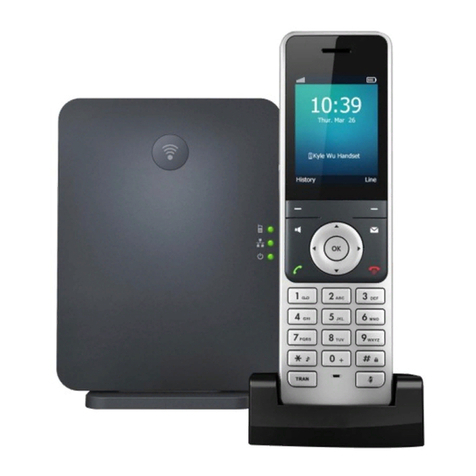
IP DECT W56P
Quick Startup Guide
Packaging Contents
The following contents are included in your W56P package:
Assembling the Phone
1. Connect the network and power for the base station in one of
the following ways, as shown below.
2. Insert the battery into the handset, as shown below:
3. Connect the charger cradle and charge the handset, as
shown below:
Note:
The handset should be used with original power adapter
(5V/500Ma) only. The user of the third-party power
adapter may cause damage to the handset.
The charging status of the handset is indicated in the
top right-hand corner of the LCD screen.
Startup the Phone
The IP Phone is pre-registered to the base station. After the IP
Phone is connected to the network and the power, it will
automatically start the initialization process by connecting to TPG
BizPhone’s servers to obtain the configuration and updates
(maximum 10 minutes).
The LCD screen will indicate the current status of the process
(initializing or configuration updating). The phone may reboot few
time during this process. After the final reboot, the phone is ready
to use.
BASIC OPERATIONS
Turning Handsets On
Press ,then the LCD screen lights up.
Place the handset in the charger cradle. The handset will be
turned on automatically.
Turning Handsets Off
Long press to turn the handset off.
P a g e | 2 of 2
HANDSET SETTINGS
Add a Contact
Press the OK key to enter the main menu and then select
Directory.
Press the Options soft key, and then select New Contact.
Enter the desired values in the Name, Number and Mobile
fields.
Press the Save soft key to accept the change.
Delete a Contact
Press the OK key to enter the main menu, and then select
Directory.
Press or to highlight the desired entry.
Press the Options soft key, and then select Delete to delete
the selected entry.
Assign a Speed Dial Number
Press the OK key to enter the main menu and then select
Settings -> Telephony -> Speed Dial.
Press or to highlight the desired digit key and then
press the Assign soft key.
Press or to highlight the desired entry and then press
the OK soft key.
If both the office and mobile numbers are stored, Press or
to highlight the desired number and then press the OK
soft key again.
Volume Adjustment
Press or during a call to adjust the receiver volume ot
speakerphone/earpiece.
Press or when the handset is idle to adjust the ringer
volume.
BASIC CALL FEATURES
Placing Calls
Enter the desired number when the handset is idle.
Press , or to dial out.
Placing Calls from Local Directory
Press when the handset is idle.
Press or to highlight the desired entry, and then press
or to dial out.
If both multiple numbers for the contact are stored, press
or to highlight the desired number, press or
to highlight the desired number, and then press or
again to dial out.
Placing Calls using the Speed Dial Key
Long press the Speed Dial key to place a call to preset
number directly.
Placing Calls from Call History
Press when the handset is idle.
Press or to highlight the desired entry, and then press
or to dial out.
Answering Calls
Press the Accept soft key or press or press or press
.
Ending Calls
Press .
Call Hold
Press Options soft key during a call, and then select Hold.
Call Resume
If there is only a call on hold, press the Resume soft key.
If there are two calls on hold, press the Resume soft key to
resume the current call, press the Swap soft key to swap
between calls.
Call Transfer –Blind Transfer
Press the Options soft key during a call, and then select
Transfer.
Enter the number you want to transfer the call to.
Press the Transfer soft key.
Call Transfer –Attended Transfer
Press the Options soft key during a call, and then select
Transfer.
Enter the number you want to transfer the call to.
Press , or to dial out.
Press the Transfer soft key after the call is answered
Call Forward
Press OK key to enter the main menu, and then select Call
Features -> Call Forward.
Press or to highlight the desired line, and then press
the OK soft key.
Press or to highlight the desired forwarding type
(Always/Busy/No Answer), and then press the OK soft key.
Select Enabled from the Status field.
Enter the number you want to forward the incoming calls to in
the Target field.
For No Answer Forward, press or to select the
desired ring time to wait before forwarding in the After Ring
Time field.
Press the Save soft key to accept the change.
NOTE: For more information about other features, refer to the BizPhone User Reference Guide (contact your Administrator)
Other manuals for BizPhone W56P

1

Other TPG IP Phone manuals

TPG BizPhone W56P User manual

TPG

TPG BizPhone W56P User manual

TPG BizPhone W60P User manual

TPG

TPG BizPhone W60P User manual

TPG BizPhone T43U Troubleshooting guide

TPG

TPG BizPhone T43U Troubleshooting guide

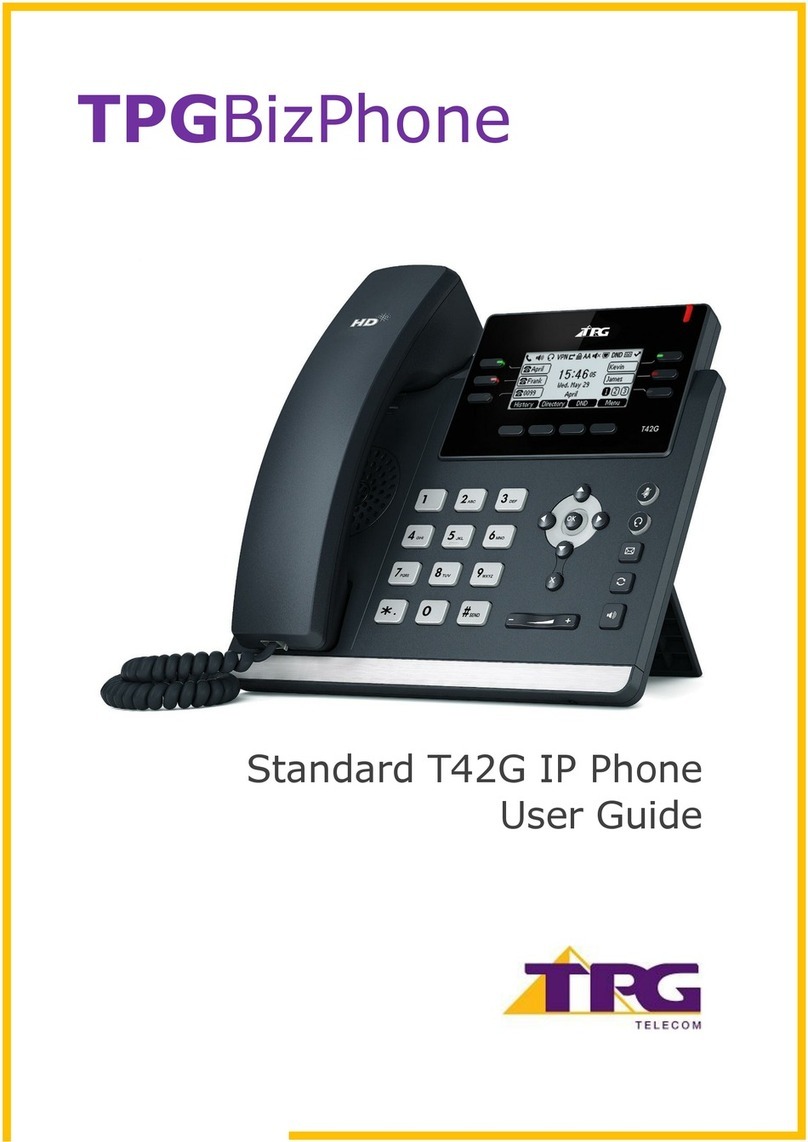
TPG T42G User manual

TPG

TPG T42G User manual

TPG Premium T48S User manual

TPG

TPG Premium T48S User manual

TPG BizPhone Standard T42S User manual

TPG

TPG BizPhone Standard T42S User manual

TPG T48U Troubleshooting guide

TPG

TPG T48U Troubleshooting guide

TPG BizPhone T48G Troubleshooting guide

TPG

TPG BizPhone T48G Troubleshooting guide

TPG W52P User manual

TPG

TPG W52P User manual

TPG BizPhone T48G User manual

TPG

TPG BizPhone T48G User manual

Popular IP Phone manuals by other brands

Unify OpenStage 20 T Quick reference card

Unify

Unify OpenStage 20 T Quick reference card

Avaya IP Office 9608 manual

Avaya

Avaya IP Office 9608 manual

Escene ES282-PC Quick operation guide

Escene

Escene ES282-PC Quick operation guide

Yealink Yealink SIP-T26P quick start guide

Yealink

Yealink Yealink SIP-T26P quick start guide

Cisco Cisco 7940 Quick installation guide

Cisco

Cisco Cisco 7940 Quick installation guide

BeyondTel WP-01 user manual

BeyondTel

BeyondTel WP-01 user manual

Cisco 7800 Series Administration guide

Cisco

Cisco 7800 Series Administration guide

Aastra 7446ip user guide

Aastra

Aastra 7446ip user guide

Aastra 6753I user guide

Aastra

Aastra 6753I user guide

Nortel Networks IP Phone 2002 Quick reference card

Nortel

Nortel Networks IP Phone 2002 Quick reference card

Mitel 5540 user guide

Mitel

Mitel 5540 user guide

V-tech IS8251 quick start guide

V-tech

V-tech IS8251 quick start guide

Splicecom PCS 520 Quick reference guide

Splicecom

Splicecom PCS 520 Quick reference guide

Genesys Polycom SoundPoint IP 450 SIP quick reference

Genesys

Genesys Polycom SoundPoint IP 450 SIP quick reference

Ovislink AirLive ePhone-1000 user manual

Ovislink

Ovislink AirLive ePhone-1000 user manual

Teo 7810 user guide

Teo

Teo 7810 user guide

Avaya IP Office 1603 Phone guide

Avaya

Avaya IP Office 1603 Phone guide

NEC Univerge SV9100 Feature handbook

NEC

NEC Univerge SV9100 Feature handbook

manuals.online logo
manuals.online logoBrands
  • About & Mission
  • Contact us
  • Privacy Policy
  • Terms and Conditions

Copyright 2025 Manuals.Online. All Rights Reserved.