TrackSense LyoPro User manual

TrackSense®LyoPro Version 3.3 Page 2 of 53
User Manual User Manual TrackSense LyoPro – MAN 7
CONTENTS
1. Safety Information ............................................................................................................4
1.1. Warnings......................................................................................................................4
1.2. General.........................................................................................................................4
1.3. Electrical Hazards......................................................................................................5
1.4. Directives ....................................................................................................................6
1.4.1. EMC…. ...................................................................................................................6
1.4.2. Low Voltage (Safety).........................................................................................6
1.4.3. Waste Electrical and Electronic Equipment ................................................6
1.4.4. Important Notice Regarding Ellab LyoPro Equipment..............................7
1.4.5. ARIB…....................................................................................................................8
1.5. Ellab Service ...............................................................................................................8
2. New Order Contents .........................................................................................................9
2.1. TrackSense®LyoPro Orders ....................................................................................9
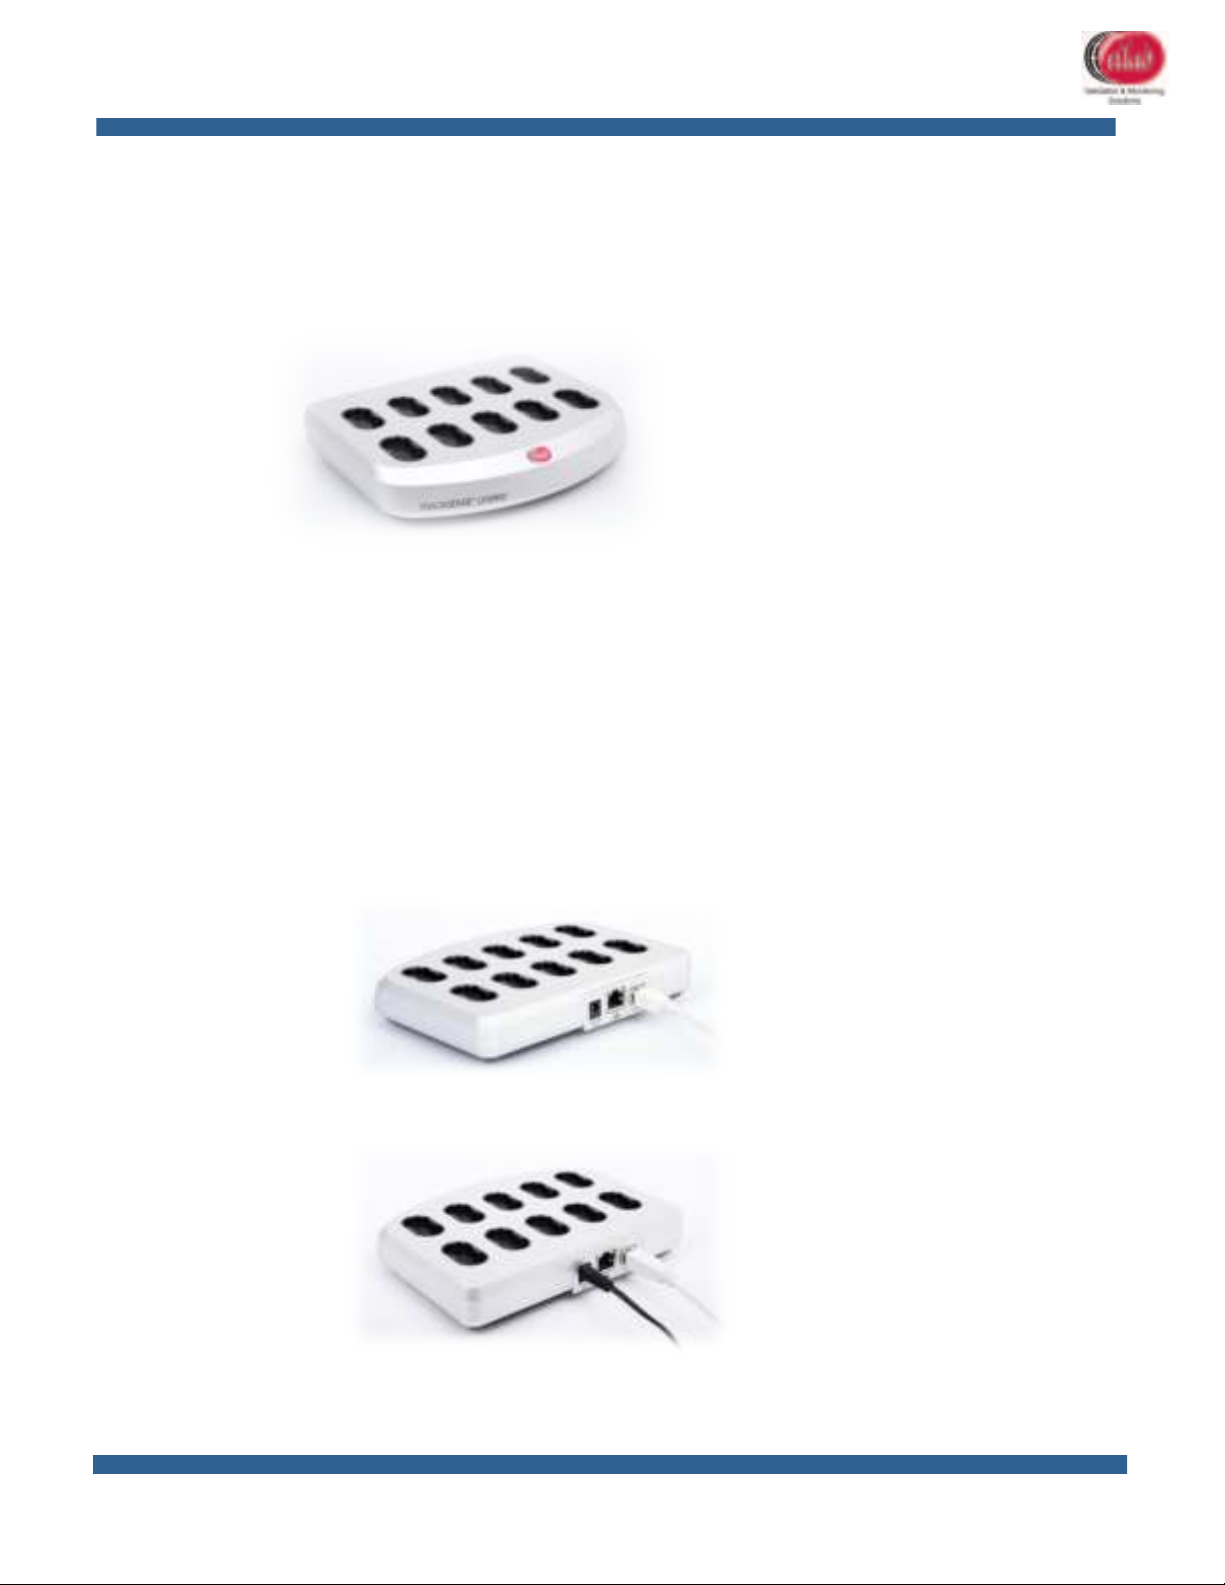
3. TrackSense®LyoPro 10-Slot Reader Station ..............................................................9
3.1. Proper Use of Reader Stations ...............................................................................9
3.1.1. LyoPro Reader Station................................................................................... 10
3.2. Communication Setup – Hardware Settings.................................................... 10
3.2.1. USB connection............................................................................................... 10
3.2.2. LAN connection............................................................................................... 11
3.3. LIVE Data Option – Access Point ......................................................................... 12
3.3.1. Specifications.................................................................................................. 12
3.3.2. Access Point: Sensitivity to ESD.................................................................. 13
3.3.3. Communication Setup – LIVE Hardware Settings ................................... 14
3.4. ValSuite®Software Installation Requirements............................................... 17
4. Activating ValSuite®...................................................................................................... 17
4.1. Online Activation -The PC is Connected to the Internet............................. 18
4.1.1. Manual Activation – The PC is Not Connected to the Internet ............ 18
4.1.2. Releasing the License.................................................................................... 19
5. How to Start Logging Data with TrackSense LyoPro.............................................. 19
6. TrackSense®LyoPro Loggers ....................................................................................... 23
6.1. TrackSense®LyoPro............................................................................................... 23
6.1.1. Data Logger Specifications .......................................................................... 23
6.1.2. Proper Use........................................................................................................ 24
6.1.3. Data Logger Serial Numbers ........................................................................ 24
6.1.4. Disassembling / Assembling Data Loggers.............................................. 25
6.1.5. Procedure for Cleaning TrackSense®LyoPro Data Loggers ................. 26
6.1.6. Procedure for Changing the Data Logger O-Ring ................................... 26
6.1.7. Extended Warranty ........................................................................................ 26
6.1.8. Thermocouple Sensor ................................................................................... 26
7. Battery............................................................................................................................... 27
7.1. TrackSense®LyoPro Battery ................................................................................ 27

TrackSense®LyoPro Version 3.3 Page 3 of 53
User Manual User Manual TrackSense LyoPro – MAN 7
7.1.1. Proper Use of TrackSense®LyoPro Batteries........................................... 28
7.1.2. Activating and Testing TrackSense®LyoPro Battery.............................. 29
8. Calibration........................................................................................................................ 30
8.1. Ellab Factory Calibration ...................................................................................... 30
8.1.1. Calibration Types – TrackSense®LyoPro .................................................. 30
8.2. In-House Calibration Solutions........................................................................... 30
8.2.1. Ellab Temperature Standard (ETS).............................................................. 31
8.2.2. Installation for Windows 7, 8 and Windows 10 ...................................... 33
8.2.3. Ellab Dry Blocks .............................................................................................. 33
8.3. ValSuite®Calibration Options............................................................................. 34
8.3.1. Manual Calibration......................................................................................... 34
9. Accessories ...................................................................................................................... 34
9.1. StopperClip .............................................................................................................. 35
9.2. LyoStopper............................................................................................................... 35
9.2.1. Standard Versions & Reference Numbers................................................ 35
9.3. LoggerNest............................................................................................................... 36
9.3.1. Standard Versions & Reference Numbers................................................ 36
9.3.2. Standard Versions & Reference Numbers – StopperClips.................... 37
9.4. LoggerClip................................................................................................................ 37
9.4.1. Standard Versions & Reference Numbers – LoggerClips...................... 38
9.5. BufferClip ................................................................................................................. 38
9.5.1. Standard Versions & Reference Numbers – BufferClips....................... 39
10. Examples on how to Configure LyoPro Using LyoStopper or Various
LoggerClips ................................................................................................................................ 39
11. Firmware Update............................................................................................................ 41
11.1. Reader Station and LyoPro Loggers................................................................... 41
11.1.1. Procedure for Updating the LyoPro Logger and Reader Station
Firmware…………................................................................................................................ 43
11.1.2. Procedure for Updating the LyoPro Reader Station firmware.......... 46
12. Ellab Service Contract ................................................................................................... 48
12.1. TrackSense®LyoPro Equipment Warranty ....................................................... 48
12.2. Extended Warranty ................................................................................................ 49
13. Technical Specifications............................................................................................... 50
14. FAQ..................................................................................................................................... 51
15. Changelog ........................................................................................................................ 53

TrackSense®LyoPro Version 3.3 Page 4 of 53
User Manual User Manual TrackSense LyoPro – MAN 7
1. Safety Information
Use this equipment only as specified in this manual. Otherwise, the protection
provided by the equipment may be impaired.
•“Warning” identifies conditions and actions that may pose hazards to the user
•“Caution” identifies conditions and actions that may damage the equipment
being used
1.1. Warnings
Disclaimer: Ellab manufactures equipment intended for use in thermal
validation, monitoring and stability studies. Equipment used for applications
other than these studies is used at the discretion and sole responsibility of the
customer. Ellab cannot accept any responsibility for the use of equipment for
any application other than thermal validation, monitoring and stability studies.
The customer needs to verify the temperature range of the equipment being
used before placing it into an application.
1.2. General
DO NOT use the equipment for any application other than its intended use, e.g.
thermal validation, monitoring and stability studies. Any other use of the
equipment may cause unknown hazards to the user.
DO NOT use the equipment in environments other than those listed in this
user’s guide and follow all safety guidelines. Only trained personnel should use
the equipment. Inspect the equipment for damage before each use.
DO NOT use the equipment if it appears damaged or operates abnormally.
Before initial use, after transport, or after storage in humid or semi-humid
environments, the equipment needs to be dried for a period of at least 2 hours.
If the equipment is wet or has been in a wet environment, take necessary
measures to remove moisture prior to applying power. The equipment is
intended for indoor use only.

TrackSense®LyoPro Version 3.3 Page 5 of 53
User Manual User Manual TrackSense LyoPro – MAN 7
1.3. Electrical Hazards
These guidelines must be followed to ensure that the safety mechanisms in the
equipment will operate properly. Equipment, when applicable, must be
plugged into a 115 VAC (± 10%) or 230 VAC (± 10%) 50/60 Hz electric outlet
as indicated on the label. The power is supplied by an 5V AC/DC adaptor which
can be plugged directly into a receptable. The receptacle must be installed in
accordance with local codes and ordinances.
Cautions:
Always operate TrackSense LyoPro Reader Stations at room temperature
between 5 °C and 50 °C (41 °F and 122 °F).
DO NOT operate this equipment in an excessively wet, oily, dusty, or dirty
environment. The equipment is a precision instrument. Although it has been
designed for optimum durability and trouble-free operation, it must be handled
with care. The equipment including any probes or loggers are sensitive
instruments that can easily be damaged. Always handle these devices with
care. Do not allow them to be dropped, struck, stressed or overheated.
TrackSense Clock (Internal)
When using TrackSense LyoPro loggers, ValSuite will start an internal clock in
the logger. Beware that the max time deviation at 23 °C will be +/- 5 seconds
over 24 hours.

TrackSense®LyoPro Version 3.3 Page 6 of 53
User Manual User Manual TrackSense LyoPro – MAN 7
1.4. Directives
1.4.1. EMC
Ellab equipment has been tested to meet the European Electromagnetic
Compatibility Directive (EMC Directive, 2014/30/EU).The Declaration of
Conformity for your instrument lists the specific standards at which the unit
was tested.
1.4.2. Low Voltage (Safety)
In order to comply with the European Low Voltage Directive (LVD)
2014/35/EU), Ellab equipment has been designed to meet the EN 61010-1
standard.
1.4.3. Waste Electrical and Electronic Equipment
All products supplied after February 1st, 2003 meet the requirements
of the Directive 2012/19/EU on the Waste from Electrical and
Electronic Equipment (WEEE).
This means that all Ellab products, which must be recycled or handled
separately, are marked with the WEEE label in accordance with Directive
2012/19/EU Waste from Electrical and Electronic Equipment.
In addition, Ellab A/S accept scrapped equipment from customers and sort it
for waste disposal. Used equipment returned to Ellab A/S for service may also
be scrapped in accordance with the Directive. However, it is not legal to ship
waste products across country borders for disposal.
Ellab distributors are obliged to register waste in accordance with their
national legislation, which may also require them to accept scrapped
equipment from end users and dispose of it according to their national laws.
This Declaration of Conformity is issued under the sole responsibility of the
manufacturer, pursuant to ISO/IEC 17050. It does not affect the warranty
obligations of the supplier.
We reserve the right to exceed the standards as part of our product
development program.

TrackSense®LyoPro Version 3.3 Page 7 of 53
User Manual User Manual TrackSense LyoPro – MAN 7
1.4.4. Important Notice Regarding Ellab LyoPro Equipment
FCC ID: XUS-LYODL1, FCC ID: XUS-LYORS1 and FCC ID: XUS-LYOAP1.
Changes or modifications not expressly approved by the party responsible for
compliance could void the user’s authority to operate the equipment.
This device complies with Part 15 of the FCC Rules.
Operation is subject to the following two conditions:
(1) this device may not cause harmful interference, and
(2) this device must accept any interference received, including interference
that may cause undesired operation.
Note: This equipment has been tested and found to comply with the limits for
a Class B digital device, pursuant to part 15 of the FCC Rules. These limits are
designed to provide reasonable protection against harmful interference in a
residential installation. This equipment generates, uses and can radiate radio
frequency energy and, if not installed and used in accordance with the
instructions, may cause harmful interference to radio communications.
However, there is no guarantee that interference will not occur in a particular
installation. If this equipment does cause harmful interference to radio or
television reception, which can be determined by turning the equipment off
and on, the user is encouraged to try to correct the interference by one or
more of the following measures:
- Reorient or relocate the receiving antenna.
- Increase the separation between the equipment and receiver.
- Connect the equipment into an outlet on a circuit different from that to which
the receiver is connected.
- Consult the dealer or an experienced radio/TV technician for help.
ISED CANADA
IC: 8758A-LYODL1, IC: 8758A-LYORS1 and IC: 8758A-LYOAP1.
CAN ICES-3 (B) / NMB-3(B)
This device contains licence-exempt transmitter(s)/receiver(s) that comply
with Innovation, Science and Economic Development Canada’s licence-exempt
RSS(s).
Operation is subject to the following two conditions:
1. This device may not cause interference.
2. This device must accept any interference, including interference that
may cause undesired operation of the device.

TrackSense®LyoPro Version 3.3 Page 8 of 53
User Manual User Manual TrackSense LyoPro – MAN 7
L’émetteur/récepteur exempt de licence contenu dans le présent appareil est
conforme aux CNR d’Innovation, Sciences et Développement économique
Canada applicables aux appareils radio exempts de licence. L’exploitation est
autorisée aux deux conditions suivantes :
1. L’appareil ne doit pas produire de brouillage ;
2. L’appareil doit accepter tout brouillage radioélectrique subi, même si le
brouillage est susceptible d’en compromettre le fonctionnement.
1.4.4.1. FCC and ISED Applicable to TrackSense LyoPro Access Point
FCC: To comply with FCC RF exposure requirements this device with its
antennas must be installed and operated with a min separation distance of
20 cm to any human body.
ISED: To comply with ISED RF exposure requirements this device with its
antennas must be installed and operated with a min separation distance of
20 cm to any human body.
This radio transmitter [IC: 8758A-LYOAP1] has been approved by Innovation,
Science and Economic Development Canada to operate with the antenna
types listed below, with the maximum permissible gain indicated.
Antenna types not included in this list that have a gain greater than the
maximum gain indicated for any type listed are strictly prohibited for use
with this device. Monopole Antenna / 2144150011 Molex / 5.3 dBi.
1.4.5. ARIB
Ellab LyoPro equipment has been tested to comply with the
requirements in the Japanese standard ARIB STD-T66 (Low-Power Data
Communication System/Wireless LAN System).
1.5. Ellab Service
Please contact your local Ellab sales representative for the proper service
center location. Contact information can be found at www.ellab.com.
When contacting Ellab for support, please have the following information
available:
•Model Number
•Serial Number
•Voltage
•Complete description of the problem
•ValSuite Software Version

TrackSense®LyoPro Version 3.3 Page 9 of 53
User Manual User Manual TrackSense LyoPro – MAN 7
2. New Order Contents
When a new system is ordered, the equipment is shipped in a custom Ellab
suitcase. The suitcase contains the following products:
2.1. TrackSense®LyoPro Orders
•Suitcase
•Reader Station
•Power supply
•Accessories Box
•Screwdriver
•Pen for battery
•O-Ring Sealant
•USB Cable
•Quick Guide
•USB key with Software and other
documents
•Access Point for live data (optional)
3. TrackSense®LyoPro 10-Slot Reader Station
3.1. Proper Use of Reader Stations
•The Ellab reader station is intended to be used at room temperature. The
station should not be exposed to temperatures below 5 °C or above 50 °C
•Do not immerse the reader station in water under any circumstances
•Although the TrackSense LyoPro 10-slot reader station is quite robust, it
should be handled with care. Dropping or exposing it to heavy mechanical
shock may loosen or damage the electronic connections
•Only use cables (USB) and power supplies provided by Ellab
Operating Temperature
5 to 50 °C
Environmental:
0 – 90% RH, non-condensing
Operating Voltage
External Adapter 100-240V AC, 50-60 Hz or USB
Weight:
1,100 Grams
Dimensions (H x W x D) :
35 x 177 x 148 mm
Material:
Aluminum
Reader/Logger Communication:
Radio Frequency (RF)

TrackSense®LyoPro Version 3.3 Page 10 of 53
User Manual User Manual TrackSense LyoPro – MAN 7
3.1.1. LyoPro Reader Station
•Contains 10 logger positions
•Connected to PC via USB or LAN (ethernet)
•Only 1 LyoPro reader station can be used at a time
3.2. Communication Setup – Hardware Settings
All TrackSense LyoPro 10-slot Reader Stations can be connected to PC via USB or
LAN (ethernet).
3.2.1. USB connection
•Connect the USB cable to the reader station and PC (USB 3.0 is
required)
•Connect the 5V DC power supply to the reader station (option)
•When connecting the 10-slot reader station, the generic driver is
automatically detected and installed.

TrackSense®LyoPro Version 3.3 Page 11 of 53
User Manual User Manual TrackSense LyoPro – MAN 7
3.2.2. LAN connection
1. Connect the 5V DC power supply and ethernet cable to the reader
station
2. Connect the reader station to the PC using the USB cable
3. Read and note the reader station IP address located under the
station
4. Open the ValSuite user menu, LyoPro Hardware Settings

TrackSense®LyoPro Version 3.3 Page 12 of 53
User Manual User Manual TrackSense LyoPro – MAN 7
5. Choose “Ethernet” and enter the IP address and Alias
6. Select “Add” and “OK”, then remove the USB cable from the
reader station
7. Use the “Test” function to control the functionality
8. The reader station should now function remotely
3.3. LIVE Data Option – Access Point
The TrackSense LyoPro system concept facilitates radio frequency data
transmission between data logger and reader station – as well as LIVE data
transmissions to a PC, running the ValSuite software package, via the built-in
transmitter to the external Access Point.
3.3.1. Specifications
•Temperature Range: +5 to +50 °C
•Anodized aluminum housing
•LED indicators
•Supports up to 100 loggers (requires ValSuite 6.0.16.0 or later)
•Up to 1-12 Access Points per session. Using multiple Access Points
requires the use of a separate power supply and a LAN hub
•Connection to PC through either USB or Ethernet (either crossed
Ethernet cable or standard Ethernet cable)
•Access Point includes two standard antennas, but remote antennas
are available for more difficult transmission environments

TrackSense®LyoPro Version 3.3 Page 13 of 53
User Manual User Manual TrackSense LyoPro – MAN 7
Operating Temperature 5 to 50 °C
Environmental:
0 – 90% RH, non-condensing
Operating Voltage
5V DC External Adapter 100-240V AC, 50-60 Hz
or USB
Weight:
792 grams
Dimensions (H x W x L) :
34.5 x 160 x 118 mm
Material:
Aluminum
3.3.2. Access Point: Sensitivity to ESD
The Access Point system is sensitive to Electrostatic Discharge (ESD) when the
antenna connector is open. The following techniques should be used to help
reducing the risk of component damage caused by static electricity.
1. Before handling any antenna / Access Point, immediately drain any
electrostatic charge on your body by touching a grounded object.
Alternatively, obtain and wear a commercially available wrist strap
device, which should be removed for potential shock reasons prior
to applying power to the unit
2. The antenna should only be removed/connected when the Access
Point is powered off and no other cables are connected to the Access
Point
3. Never touch the center pin in the open antenna connector
4. Leaving the antenna attached to the Access Point, even during
transportation, helps avoiding damage to the connector and is
therefore highly recommended

TrackSense®LyoPro Version 3.3 Page 14 of 53
User Manual User Manual TrackSense LyoPro – MAN 7
Note: In the event of a failure due to ESD, the Access Point will obtain a
permanently reduced sensitivity.
3.3.3. Communication Setup – LIVE Hardware Settings
Alias: insert name of template
Select Transmission Rate:
•5-9 sec for up to 32 loggers
•10-19 for 32-64 loggers
•20 or higher for 100 loggers
Important: Please note that due to limitations of the data package size, the ratio
between sample rate and transmission rate is automatically set to be less than
1:20.
Select channel numbers for antenna A and B – or use suggested default values.
3.3.3.1. USB
1. Connect the USB cable to the Access Point and PC
2. Verify that the USB is providing power to the Access Point (power
light should be green)
3. Once a LIVE data session has been started, verify that the Wireless
LED light on the Access Point is blinking green, indicating that
communication between the logger and Access Point has been
established
4. Insert name and choose connection mode: USB
5. Once the access Point has been defined and set up, drag and drop
the box into the Template box:

TrackSense®LyoPro Version 3.3 Page 15 of 53
User Manual User Manual TrackSense LyoPro – MAN 7
6. The completed template can now be selected and used when
starting a session
3.3.3.2. LAN
Note: When setting up an IP address on the Access Point, a USB cable must be
connected between the Access Point and PC.
1. Connect the Ethernet cable to the Access Point and LAN network
2. Connect the 5VDC power supply and USB cable to the Access Point.
Reference the software manual in order to properly setup the IP
address in the ValSuite software
3. Once a LIVE session has started, verify that the Wireless LED light on
the Access Point is blinking green, i.e. indicating that communication
between the data logger and Access Point has been established
4. Insert name and choose connection mode: Ethernet (Static or DHCP)

TrackSense®LyoPro Version 3.3 Page 16 of 53
User Manual User Manual TrackSense LyoPro – MAN 7
5. Once the access Point has been defined and set up, drag and drop
the box into the Template box:
6. The completed template can now be selected and used when
starting a session

TrackSense®LyoPro Version 3.3 Page 17 of 53
User Manual User Manual TrackSense LyoPro – MAN 7
3.4. ValSuite®Software Installation Requirements
ValSuite Pro 6.X System Requirements or higher:
•Multi Core Processor i5/i7 2.0 GHz or higher
•4GB Ram or higher (Scientific 8GB RAM)
•Resolution 1440 x 900 (with a fix resolution at 96dpi)
•Hard drive with 20GB of free space or more
•Software support 32 Bits on platform: Windows7 SP1, Windows 8.1,
Windows10, Windows Server 2008 Service Pack 2, Windows server 2008
R2 and Windows server 2012 R2
•Software support 64 Bits on platform: Windows7 SP1, Windows 8.1,
Windows10, Windows Server 2008 Service Pack 2, Windows server 2008
R2, Windows server 2008 SP2, Windows server 2012 R2 and Windows
server 2016
The ValSuite software is validated using Windows 10 64 Bits, language version:
English operating system. Installing and using this software requires a basic
knowledge of software installation and the Windows operating systems.
Note: Windows server 2003, Windows XP, Windows VISTA, Windows 2000,
Windows NT 4.00 and Windows ME are not supported.
Note: Do not update the ValSuite software during active sessions. The logger list
will be updated and replaced with a new, empty list.
4. Activating ValSuite®
ValSuite Pro is our reputable validation and calibration software ideal for
lyophilization. It is fully FDA CFR21 Part 11 compliant and combines all equipment
systems including LyoPro into a single platform.
•ValSuite Pro offers features like customized reports with clear pass/fail
criteria, test templates, data analysis, monitoring, live data and much more
•ValSuite Pro offers an outstanding Datapoint Process Report Generator (DPRG),
which produces fully compliant user reports in accordance with current norms
and standards related to validation processes and equipment qualifications
•ValSuite Pro is developed according to GAMP principles and is available in
multiple languages for Windows 7, 8 and 10 (32/64-Bit)
For further information please consult the specific ValSuite Software user manual.
Note: The first time you open ValSuite, the software needs to be activated.

TrackSense®LyoPro Version 3.3 Page 18 of 53
User Manual User Manual TrackSense LyoPro – MAN 7
4.1. Online Activation -The PC is Connected to the Internet
1. If the PC is connected to the internet, select the Online activation option
2. Write the license key (38 digit) from the Ellab e-mail, using the copy and
paste function
3. License key example:
B1U10-10R01-GHJ2K-M8N7P-3Q4ST-MG4XM-8GVHT-DU34E-M
Evaluation of a License key format:
Icon Description
The License Key is valid and ready to be activated, go to next step.
The License Key is invalid, try to copy and paste the key again or
retype the code.
The License Key has expired.
The License Key is a trail and will expire.
4. Select Activate
If the activation went well, the License window will close automatically.
The evaluation of the License key can have the following remarks:
Icon Description
The License Key is valid and can be activated
The License Key has already been activated on another PC.
5. The License window will close if the key is valid, and the ValSuite
software will be open
4.1.1. Manual Activation – The PC is Not Connected to the Internet
1. Select the Manual activation option if the PC is not connected to the
internet
2. Send an e-mail to Ellab with the computer ID

TrackSense®LyoPro Version 3.3 Page 19 of 53
User Manual User Manual TrackSense LyoPro – MAN 7
Example of computer ID: F0DEF14E64E41
3. In the ValSuite activation field, write the License key and receive the
Computer key from Ellab
4. Select Activate. If the activation went well, the License window will
close automatically.
The evaluation of the License key can have the following marks:
Icon
Description
The License Key is valid and ready to be activated.
The License Key has already been activated on another PC.
5. The License window will close automatically if the key is valid and the
ValSuite software will open
4.1.2. Releasing the License
Users who wish to release the license so that it may be used on another PC,
must follow the procedure below:
1. Select Help About ValSuite
2. Click License
3. Click Clear License. This will remove the license from this PC. The
license will then be released and ready to be used again on another
PC
5. How to Start Logging Data with TrackSense LyoPro
Starting TrackSense LyoPro Loggers:

TrackSense®LyoPro Version 3.3 Page 20 of 53
User Manual User Manual TrackSense LyoPro – MAN 7
1. Ensure that the battery has enough capacity to cover the expected session
length. If the battery is new, activate it separately in the delivered activator for
60 minutes before placing it in the LyoPro data logger with the + pole facing
downwards
2. If not already mounted, connect the thermocouple sensor to the data logger
using the supplied screwdriver. It is important that the RED wire goes in the
RED screw terminal. And that the BLUE wire goes in the BLUE terminal. Do not
tighten too hard in order to avoid possible damage to the thermocouple
3. Place the data logger(s) in the reader station slot(s)
4. Select LyoPro Hardware Settings in ValSuite main menu and chose USB
(default) or Ethernet connection and click OK
Table of contents