manuals.online logo
Brands
  1. Home
  2. •
  3. Brands
  4. •
  5. TREND
  6. •
  7. Power Tools Accessories
  8. •
  9. TREND TEMP/LB/A User manual

TREND TEMP/LB/A User manual

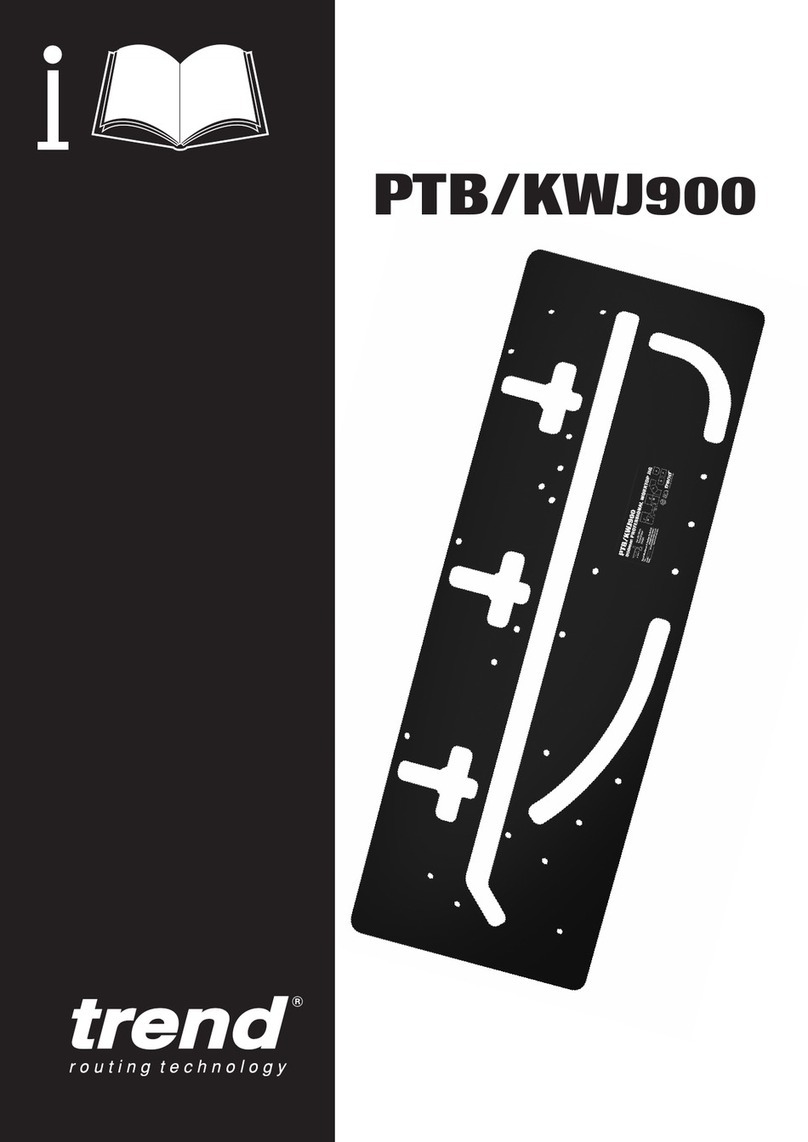
Clear plastic template for use with
any 1/2” shank plunge router to
accurately rout apertures for three
sizes of letter plate.
■
Clear plastic.
■
Sight marks.
■
Three sizes of letterbox
plate.
To suit letter plate sizes:
220 x 50mm.
210 x 60mm.
200 x 60mm.
Requires:
■
1/2” collet plunge router.
■
12mm x 50mm straight
cutter Ref. 3/73D or
C200D.
■
30mm guide bush
Ref. GB30*.
Size: 326mm x 290mm x 8mm.
LETTER BOX PLATELETTER BOX PLATE
TEMPLATE
FOR GUIDING THE ROUTER
TEMP/LB/A
*A Unibase may be required for
certain makes and models of
routers.
C0
TEMP/LB/A 28/2/05 4:07 pm Page 3
DESCRIPTION OF PARTS
OPERATION
Setting up
Fit new door following manufacturers instructions.
■Remove door from frame. Remove any
obstacles that may get in the way such as the
house number. Place door on trestles with
the outside face of the door face down (any
breakout when routing through door will be
hidden by letter plate surround).
■Mark position of letterbox aperture on front of
door.
■Draw centre lines on the front of the door.
The template is designed to suit the three most
common sizes of letterbox plate. The size printed
on the template is the finished aperture size.
To calculate which size will suit the letter plate,
either refer to the letter plate manufacturers
instructions, or alternatively turn letter plate over
to look at the back mechanism and measure the
swing flap length and add 4mm. The height
measurement should be taken from the base of
the swing flap to the top of the hinge mechanism.
Choose the correct aperture in the template to
suit the letter flap. Double check correct
aperture is chosen.
LETTERBOX PLATE TEMPLATE
REF. TEMP/LB/A
Thank you for purchasing this Trend product
which should give lasting performance if use in
accordance with these instructions. Please
read instructions carefully before use.
The following symbols are used throughout
these instructions.
Denotes risk of personal injury, loss of life or
damage to the tool in case of non-observance
of the instructions.
Refer to the instruction manual of your power
tool.
This unit must not be put into service until it has
been established that the power tool to be
connected to this unit is in compliance with
98/37/ec (identified by the CE marking on the
power tool).
INTENDED USE
The template is intended to be used with a
plunge router with suitable router cutter fitted to
make a letter box plate aperture in a door.
SAFETY
Please read and understand the safety points at
end of this instruction as well as the power tool
instructions before use.
ITEMS REQUIRED
■No. 2 Pozi®screwdriver.
■1/2" plunge router.
■30mm guide bush.
■12mm diameter x 50mm cut router cutter
with a 1/2" shank.
■2 x trestles.
■Hand tools including a chisel.
TEMP/LB/A 28/2/05 4:07 pm Page 4
Routing the Letter Box Aperture
■Plug router into mains supply.
■Position router with guide bush fitted into one
corner of the chosen template aperture, switch
router on, plunge down to depth of cut and
rout in a clockwise direction.
■After completing one circuit, adjust depth of
cut to cut 8mm deeper, repeat until full depth
is achieved and the letter plate aperture is
routed out. Use a vacuum cleaner to remove
excess wood chips in routed slot.
■Remove template fixing screws.
Following the letter plate manufacturer’s
instructions, position letter plate over recess and
mark positions of hinge and spring mechanism
and the fixing holes for the bolts.
Use a chisel to remove any material in aperture
to allow letter plate mechanism to function.
Adjust aperture size to ensure a good fit and that
the flap will swing properly and will not foul or
catch in the aperture.
Fitting Template to Door
■Position the template over the letter plate
position and align the centre lines on the
template to the centre lines on the door.
■Secure the letter plate template to the door
with the two countersunk screws supplied
through the countersunk
holes at the ends of the
chosen aperture. These
screw holes will be
hidden by the letter plate
when fitted.
■Check template is in correct position and
that the template is secure.
Setting up Router
■Isolate router from power supply and fit a
30mm guide bush to the router. A universal
sub-base Ref. UNIBASE may be required for
some makes and model of router.
■Fit the 12mm diameter cutter into the router
collet.
■Set the depth of cut for a maximum of 8mm
per pass using the router depth stop.
TEMP/LB/A 28/2/05 4:07 pm Page 5
© Copyright Trend 2005. Our policy of continuous improvement means that specifications may change without notice.
Trend Machinery and Cutting Tools cannot be held liable for any material rendered unusable or any form of
consequential loss. E&OE. ® All trademarks acknowledged.
RS 28982
Stockholding
& Supply
RECYCLABLE
Trend Machinery & Cutting Tools Ltd.
Odhams Trading Estate St. Albans Road
Watford WD24 7TR England
Enquires: ____________________0800 487363
Technical Support: ____0044 (0) 1923 224681
Fax:__________________0044 (0) 1923 236879
Email: [email protected]
Web: ____________www.trendmachinery.co.uk
Fitting of Letter Plate to Door
Following the letter plate manufacturers
instructions:-
■Drill the correct size holes in the door to fit
the bolts using a suitable size drill bit in a
drill.
■Fit letter plate in position.
■Re-hang door.
MAINTENANCE
The template has been designed to operate
over a long period of time with minimum of
maintenance. Continual satisfactory operation
depends upon proper tool care and regular
cleaning.
■Cleaning
Regularly clean template with a soft cloth.
Do not use solvents.
■Lubrication
Template does not require lubrication.
Safety Points
1. Always wear eye protection such as
goggles, ear protection and use effective
respiratory protection.
2. Before making adjustments to the router,
like changing the cutter, make sure the
power is isolated correctly.
3. Before re-connecting to the mains supply,
make sure the power switch on the router
is in the ‘off’ position.
4. Do not switch on the router with the
cutter in contact with the workpiece.
5. Before making adjustments always allow
the cutter to stop rotating.
6. When routing keep your hands, hair and
clothing clear of the cutter.
7. Make sure you follow the instructions
which came with your router.
8. Ensure all visors, guards and dust
extraction are fitted.
9. Trial cuts should be made in waste
material before starting any project.
PP C/TEMP/LB/A v1.0
RECYCLING
Template, accessories and packaging should be
sorted for environmentally friendly recycling.
GUARANTEE
All Trend products guaranteed against any
defects in either workmanship or material,
except products that have been damaged due
to improper use or maintenance.
TEMP/LB/A 28/2/05 4:07 pm Page 2

Other TREND Power Tools Accessories manuals

TREND CRB User manual

TREND

TREND CRB User manual

TREND MINI ELLIPSE JIG User manual

TREND

TREND MINI ELLIPSE JIG User manual

TREND HR/JIG User manual

TREND

TREND HR/JIG User manual

TREND VARIJIG User manual

TREND

TREND VARIJIG User manual

TREND DG/JIG User manual

TREND

TREND DG/JIG User manual

TREND MT/JIG User manual

TREND

TREND MT/JIG User manual

TREND TT/KWJ900 User manual

TREND

TREND TT/KWJ900 User manual

TREND trend COMBI 650 User manual

TREND

TREND trend COMBI 650 User manual

TREND ROUTASKETCH User manual

TREND

TREND ROUTASKETCH User manual

TREND VARIJIG User manual

TREND

TREND VARIJIG User manual

TREND H/JIG/8FT User manual

TREND

TREND H/JIG/8FT User manual

TREND MT/JIG User manual

TREND

TREND MT/JIG User manual

TREND LOCK JIG User manual

TREND

TREND LOCK JIG User manual

TREND Lock Jig A User manual

TREND

TREND Lock Jig A User manual

TREND PTB/KWJ900 User manual

TREND

TREND PTB/KWJ900 User manual

Popular Power Tools Accessories manuals by other brands

Mapal KS Short manual

Mapal

Mapal KS Short manual

Sherline Products 1074 quick start guide

Sherline Products

Sherline Products 1074 quick start guide

RG AVAK MaxDrill Series instruction manual

RG AVAK

RG AVAK MaxDrill Series instruction manual

Sealey SMS01 instructions

Sealey

Sealey SMS01 instructions

Victaulic VE226 Power Drive Kit installation instructions

Victaulic

Victaulic VE226 Power Drive Kit installation instructions

Woodhaven Micro Adjuster 3265 Assembly instructions

Woodhaven

Woodhaven Micro Adjuster 3265 Assembly instructions

Festool CMS-TS 75 Original operating manual

Festool

Festool CMS-TS 75 Original operating manual

Milescraft ToolStand 1097 manual

Milescraft

Milescraft ToolStand 1097 manual

CopterX GY240 Digital Gyro user manual

CopterX

CopterX GY240 Digital Gyro user manual

BLUM M35.X200.01 Series Safety, Set-Up, Operating and Maintenance Instructions

BLUM

BLUM M35.X200.01 Series Safety, Set-Up, Operating and Maintenance Instructions

RHEINZINK CLIPFIX 2.0 Operation, Installation, Maintenance, Spare Parts

RHEINZINK

RHEINZINK CLIPFIX 2.0 Operation, Installation, Maintenance, Spare Parts

Bosch GCY 30-4 Original instructions

Bosch

Bosch GCY 30-4 Original instructions

Mapal HydroChuck Short manual

Mapal

Mapal HydroChuck Short manual

Malco TurboXTools QHT1 quick start guide

Malco

Malco TurboXTools QHT1 quick start guide

Bosch FS 125 Original instructions

Bosch

Bosch FS 125 Original instructions

Toolland PM3115 user manual

Toolland

Toolland PM3115 user manual

jbc FAE010 instruction manual

jbc

jbc FAE010 instruction manual

Big Daishowa PULLSTUD Operation manual

Big Daishowa

Big Daishowa PULLSTUD Operation manual

manuals.online logo
manuals.online logoBrands
  • About & Mission
  • Contact us
  • Privacy Policy
  • Terms and Conditions

Copyright 2025 Manuals.Online. All Rights Reserved.