manuals.online logo
Brands
  1. Home
  2. •
  3. Brands
  4. •
  5. TRIAC
  6. •
  7. Controllers
  8. •
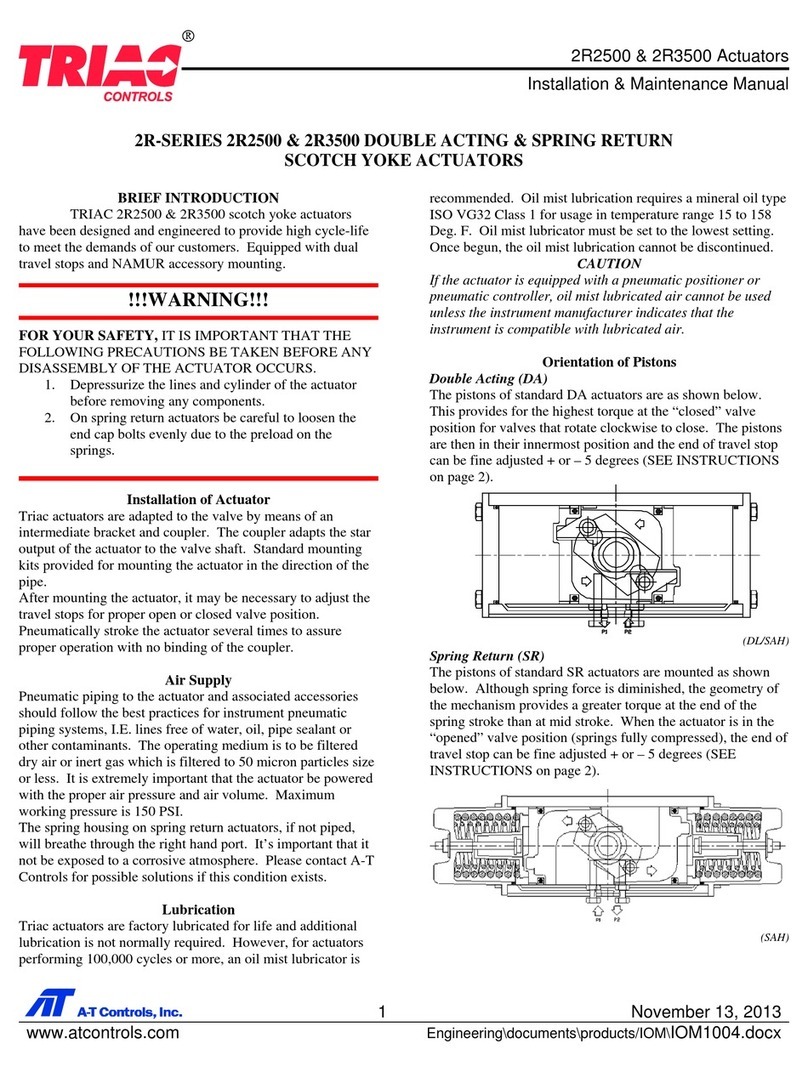
  9. TRIAC THD S11 SERIES Instruction Manual

TRIAC THD S11 SERIES Instruction Manual

THD SERIES S11-S27 HEAVY DUTY ACTUATORS
Installation & Maintenance Manual
1
September 25, 2015
www.atcontrols.com
documents\products\IOM\IOM8036
THD-SERIES S11DA280 THRU S27DA1020 & S11SR280 THRU S27SR1020 DOUBLE ACTING &
SPRING RETURN SCOTCH YOKE ACTUATORS
INTRODUCTION
A-T Controls THD scotch yoke actuators have been
designed and engineered to provide high cycle-life to meet the
demands of our customers. The actuators are equipped with
dual travel stops and accessory mounting.
!!!WARNING!!!
FOR YOUR SAFETY, IT IS IMPORTANT THAT BEFORE
REMOVING ANY COMPONENTS OF THE ACTUATOR,
ENSURE THAT ALL PNEUMATIC AND ELECTRICAL
SUPPLIES ARE DISCONNECTED AND LOCKOUT AND
TAGOUT PROCEDURES ARE IMPLEMENTED. PLEASE
CONSULT FACTORY IF YOU HAVE ANY QUESTIONS
ON ANY OF THE PROCEDURES LISTED BELOW.
1. Installation of Actuator
Triac actuators are adapted to the valve by means of an
intermediate bracket and coupler. The coupler adapts the
output of the actuator to the valve shaft. Standard mounting
kits provide for mounting the actuator in the direction of the
pipe. If different orientations are required please consult the
factory when the order is placed.
Before mounting the actuator on the valve insure that both
units are in the proper orientation, i.e. both units open or
closed. Make sure the coupler fits into the actuator and onto
the valve before assembly. Also check the bracket for proper
fit. After mounting the actuator, it may be necessary to adjust
the travel stops for proper open and closed valve position.
Always consult the manufactures installation manual for
specific details before proceeding. Pneumatically stroke the
actuator several times to assure smooth proper operation...
2. Air Supply
Pneumatic piping to the actuator and associated accessories
should follow the best practices for instrument pneumatic
piping systems, I.E. lines free of water, oil, pipe sealant or
other contaminants. The operating medium is to be filtered
dry air or inert gas which is filtered to 50 micron particles size
or less. It is extremely important that the actuator be powered
with the proper air pressure and air volume. Maximum
working pressure is 100 PSI. Consult the THD series catalog
for a complete listing of MOP (maximum operating pressure)
and MAWP (Maximum Allowable Working Pressure)
Spring return actuators are vented to the atmosphere through
the front flange. The Pressure Cylinder must be purged if a
corrosive atmosphere exists. Please contact Triac Controls for
possible solutions if this condition exists.
3. Lubrication
Triac actuators are factory lubricated for life and additional
lubrication is not normally required. However, for actuators
performing 100,000 cycles or more, an oil mist lubricator is
recommended. Oil mist lubrication requires a mineral oil type
ISO VG32 Class 1 for usage in temperature range 15 to 158
Deg. F. Oil mist lubricator must be set to the lowest setting.
Once begun, the oil mist lubrication cannot be discontinued.
CAUTION
If the actuator is equipped with a pneumatic positioner or
pneumatic controller, oil mist lubricated air cannot be used
unless the instrument manufacturer indicates that the
instrument is compatible with lubricated air.
4. Actuators in Storage or infrequently cycled.
Actuators in storage should be kept dry and protected from
adverse conditions until installed. Original port protectors must
be kept in the ports during storage. Actuators must be cycled
every 90 days in storage or in operation. Actuators that do not
cycle in 90 days should have a provision to jog the actuator to
check for operation if a full cycle cannot be achieved.
5. Double Acting Operation
Applying air pressure to the CCW Port drives the piston
toward the front flange which turns the yoke counterclockwise
when viewed from the accessory side of the actuator. When
pressure is applied to the CW Port the piston is driven towards
the end cap which turns the yoke clockwise. This is shown in
Figure 1
TABLE OF CONTENTS
SECTION DESCRIPTION
1INSTALLATION OF ACTUATOR
2AIR SUPPLY
3LUBRICATION
4STORAGE OF ACTUATORS/ INFREQUENTLY CYCLED
5DOUBLE ACTING OPERATION
6SPRING RETURN OPERATION
7TRAVEL ADJUSTMENT
8REPLACEMENT OF CYLINDER SEALS
9CONVERTING FROM DOUBLE ACTING
TO SPRING RETURN
10 CONVERTING FROM FAIL CLOSED TO FAIL OPEN
11 SEAL KIT AND REPAIR PARTS
12 BILL OF MATERIALS
THD SERIES S11-S27 HEAVY DUTY ACTUATORS
Installation & Maintenance Manual
2
September 25, 2015
www.atcontrols.com
documents\products\IOM\IOM8036
CW PORT
CCW PORT
Figure 1
6. Spring Return Operation
Applying air pressure to the CCW Port drives the piston
toward the adapter as the spring is compressed. This rotates
the yoke counterclockwise when viewed from the accessory
side of the actuator. When pressure is relieved at the CCW
Port the spring drives the piston towards the end cap which
turns the yoke clockwise. This is shown in figure 2. To
reverse the failure mode the spring and pressure cylinder are
swapped end for end.
CW PORT
CCW PORT
Figure 2
7. Travel Adjustment
The Triac THD actuators have + or - 8 degree adjustment of
the end of travel stops in both the open and close directions.
CAUTION: DO NOT ATTEMPT TO ADJUST STOP
BOLT WITH AIR PRESSURE OR SPRING FORCE
APPLIED TO THE STOP BOLT. ALWAYS JOG
ACTUATOR AWAY FROM STOP BOLT BEFORE
ADJUSTING.
On models S11 thru S13 the stop bolts are in the center body
of the actuator. Figure 3 shows the stop bolt locations for the
S11 thru S13. On models S16 thru S27 the stop bolts are
located in the end caps / end plates. The stop bolt on the end
cap is for Closed (clockwise rotation) and the stop bolt on the
spring cylinder / end plate is the Open (counterclockwise)
rotation. Loosen and remove the stop bolt cap first. The air
supply must be removed before the stop bolt can be turned.
Next loosen the hex nut and then position the stop bolt in or
out to the correct position. Use care not to damage the o-ring
seal. Retighten lock nut and replace stop bolt cap.
COUNTER-CLOCKWISE
STOP BOLT
CLOCKWISE
STOP BOLT
Figure 3
!!!WARNING!!!
FOR YOUR SAFETY, IT IS IMPORTANT THAT BEFORE
REMOVING ANY COMPONENTS OF THE ACTUATOR,
ENSURE THAT ALL PNEUMATIC AND ELECTRICAL
SUPPLIES ARE DISCONNECTED AND LOCKOUT AND
TAGOUT PROCEDURES ARE IMPLEMENTED.
8. Replacement of Cylinder Seals
When the cylinder seals must be replaced, because of
leakage or a preventive scheduled maintenance, the
following procedure must be followed. Note only the soft
parts indicated on pages 5 and 6 are included in a seal kit.
If additional parts are required they must be ordered
separately.
Due to the continuing improvement of the Heavy Duty
Actuators, seal kits provided by A-T Controls may contain
extra o-rings so that all revisions of the actuators are able to
be repaired. When disassembling the actuator, it is
recommended to match the old o-ring with the new o-ring
from the repair kit by comparing the o-ring diameter and
cross section.
1. Disconnect electrical supplies and shut off pneumatic
supply, vent actuator and remove from valve or damper.
2. For spring return actuators the spring tension must be
relieved before starting. Apply air pressure until the
piston moves off the stop bolt. Remove the stop bolt cap
(item 36) then loosen the hex nut (item 8) then back out
the stop bolt (item7) until the preload is relieved. Do not
remove the stop bolt with air pressure in the cylinder. For
THD SERIES S11-S27 HEAVY DUTY ACTUATORS
Installation & Maintenance Manual
3
September 25, 2015
www.atcontrols.com
documents\products\IOM\IOM8036
double acting units the actuator should be in the
clockwise position with the piston next to the end cap.
3. Vent all air pressure from the cylinder (item 10).
4. Remove the stop bolt, flat washer and seal (item 7, 8, 37).
5. Remove the tie rod nuts (item 16) from the tie rods (item
12).
6. Remove the end cap (item 15) from the cylinder (item
10).
7. Remove the cylinder from the adapter (item 18) by
pulling over the piston (item 17). Use caution not to
scratch the cylinder bore when sliding over piston.
8. Bend the safety tab on the lock nut retainer up and out of
the groove. Remove the outer hex nut (item 30) holding
the piston on the piston rod (item 11). Then remove the
safety tab and then loosen and remove the inner nut.
9. Remove the piston, rod washer and o-ring (item 3).
10. Remove 2 each flat head screws in the adapter and
remove the cover plate (item 32).
11. Remove the o-ring seal assembly (item 33) from the
counter-bore.
12. Remove the o-rings from the piston and both flanges.
13. Clean all parts with a mild solvent that will not attack the
coating on the parts.
14. The center body assembly should be inspected before the
pressure group is rebuilt.
15. Remove the indicator plate bolts and remove indicator
plate (item 6).
16. Remove the cover bolts and clean out the jacking screw
holes. Install a bolt into each jacking screw hole and
alternately tighten the screws to bring the cover plate up
so that it can be removed from the yoke bearing.
17. Inspect the bronze slider (item 20) for wear along with the
slot in the yoke arm.
18. Inspect the upper yoke bearing (item 4) for wear.
19. Wipe out old grease and replace with new grease on all
sliding surfaces.
20. Lightly grease new o-ring seal assembly (item 33) and
install in adapter. Replace cover plate and install 2 each
flat head socket cap screws.
21. Lightly grease the o-ring for the adapter and install in the
groove.
22. Place rod washer on piston rod with countersink facing
out toward the end cap. Lightly grease o-ring (item 31)
and slide over piston rod. Slide piston over piston rod and
install inner hex nut then keyed tab and outer locknut.
Then align outer hex nut with locking tab and bend tab
into slot.
23. Lightly grease piston grooves and install o-ring and back-
up strip.
24. Lightly grease cylinder completely on the inside surface
and carefully slide over the piston until seated on the
adapter.
25. Lightly grease the o-ring for the end cap and install in the
groove. Place end cap over the tie rods and seat on the
cylinder.
26. Reinstall the tie rod nuts and tighten in a diagonal pattern.
27. Reinstall the stop bolt, o-ring, flat washer and hex nut in
the rear flange. Screw in to the approximate position for
90 degree operation. On models S11 and S13 make sure
that stop bolts are fully retracted before air is applied
with the cover plate removed.
28. To pressure test a double acting actuator proceed to the
next step for a spring return go the step 33.
29. Connect 2 psig air to the adapter and cycle the actuator
then connect to the end cap and cycle the actuator several
times.
30. Apply 100 psig air to the adapter and check for leakage at
the adapter/cylinder connection. Also check for rod seal
leakage in the center body cavity. Place a flexible tube in
the end cap NPT port and check for leakage across the
piston by checking for bubbles in a cup of water. Relieve
air pressure on cylinder.
31. Place a light coating of permantex blue on cover gasket
and install. Place cover over the alignment pins and install
bolts and tighten. Remove any excess gasket sealer after it
is dry.
32. Apply 100 psig air to the end cap and check for leakage at
the adapter/cylinder connection. Place a flexible tube in
the adapter NPT port and check for leakage across the
piston. Relieve air pressure on cylinder.
33. To pressure test a Spring Return unit the cover must be
installed before any air pressure is applied to the unit.
Refer to step 31 for information on applying cover.
34. After cover is installed apply supply pressure to the end
cap and check for leakage at the end cap /cylinder
connection and check for leakage across the piston by
using the method in step 30 above.
35. Make any final adjustments on the end cap stop bolt and
check for leakage. Install the stop bolt cover and tighten.
On models S11 and S13 set the stop bolts at 90 degrees.
36. The actuator is now ready to return to service.
THD SERIES S11-S27 HEAVY DUTY ACTUATORS
Installation & Maintenance Manual
4
September 25, 2015
www.atcontrols.com
documents\products\IOM\IOM8036
9. Converting from Double Acting to Spring
Return
!!!WARNING!!!
FOR YOUR SAFETY, IT IS IMPORTANT THAT BEFORE
REMOVING ANY COMPONENTS OF THE ACTUATOR,
ENSURE THAT ALL PNEUMATIC AND ELECTRICAL
SUPPLIES ARE DISCONNECTED AND LOCKOUT AND
TAGOUT PROCEDURES ARE IMPLEMENTED.
1. Disconnect electrical supplies and shut off pneumatic
supply, vent actuator and remove from valve or damper.
2. Remove the stop bolt cap on the end cap of the air
cylinder and loosen the hex nut and back out the stop bolt.
The stop bolt must be backed off so that when 10 psig of
air is applied to the adapter there is no load on the stop
bolt.
3. Remove the cover bolts and clean out the jacking screw
holes. Install a bolt into each jacking screw hole and
alternately tighten the screws to bring the cover plate up
so that it can be removed from the yoke bearing.
4. Remove the end plate (item 35) also remove the stop bolt
cover, hex nut and stop bolt as these will be used in the
spring cartridge on models S16 thru S27.
5. Remove the set screws holding the stop screw pad in the
sliding block (item 22).
6. Remove the stop screw pad.
7. Install the spring pusher rod into the spring cartridge.
8. Place a light coat of blue permantex on the flange gasket
and apply to the actuator.
9. Lift Spring Cartridge and slide spring pusher rod into
access hole and into hole in the sliding block.
10. Install the 4 cap screws and lock washers provided with
the spring cartridge.
11. Place a light coating of permantex blue on cover gasket
and install. Place cover over the alignment pins and install
bolts and tighten. Remove any excess gasket sealer after it
is dry.
12. Install indicator plate and tighten bolts.
13. Install stop bolt and hex nut in rear of spring
cartridge.(models S16 thru S27)
14. Apply air pressure and check for smooth operation.
15. Adjust both stop bolts as necessary for proper travel and
check for leakage before installing stop bolt covers.
10. Changing from “Spring Closed” to “Spring
Open”
To convert from spring closed to spring open requires that the
air cylinder be removed and the spring cartridge removed and
placed on the opposite side of the actuator. Complete
instructions for rebuilding the air cylinder are listed above
along with instructions for installing the spring
11. Seal kits and Repair Parts
To order replacement seal kits or spare parts please provide
the following information:
Actuator Model Number
Serial Number
Type of seal kit (Nitrile standard, low temperature, Viton
Item Number, Description and quantity for repair parts.
THD SERIES S11-S27 HEAVY DUTY ACTUATORS
Installation & Maintenance Manual
5
September 25, 2015
www.atcontrols.com
documents\products\IOM\IOM8036
THD SERIES S11-S27 HEAVY DUTY ACTUATORS
Installation & Maintenance Manual
6
September 25, 2015
www.atcontrols.com
documents\products\IOM\IOM8036
THD SERIES S11-S27 HEAVY DUTY ACTUATORS
Installation & Maintenance Manual
7
September 25, 2015
www.atcontrols.com
documents\products\IOM\IOM8036
A-T Controls product, when properly selected, is designed to perform its intended function safely during its useful life. However, the purchaser or user of
A-T Controls products should be aware that A-T Controls products might be used in numerous applications under a wide variety of industrial service
conditions. Although A-T Controls can provide general guidelines, it cannot provide specific data and warnings for all possible applications. The
purchaser / user must therefore assume the ultimate responsibility for the proper sizing and selection, installation, operation, and maintenance of A-T
Controls products. The user should read and understand the installation operation maintenance (IOM) instructions included with the product, and train
its employees and contractors in the safe use of A-T Controls products in connection with the specific application.
While the information and specifications contained in this literature are believed to be accurate, they are supplied for informative purposes only. Because
A-T Controls is continually improving and upgrading its product design, the specifications, dimensions and information contained in this literature are
subject to change without notice. Should any question arise concerning these specifications, the purchaser/user should contact A-T Controls.
For product specifications go to http://download.a-tcontrols.com/
A-T Controls, Inc. • 9955 International Boulevard, Cincinnati, OH 45246 • Phone: (513) 530-5175 • Fax: (513) 247-5462 • www.atcontrols.com

This manual suits for next models

5

Other TRIAC Controllers manuals

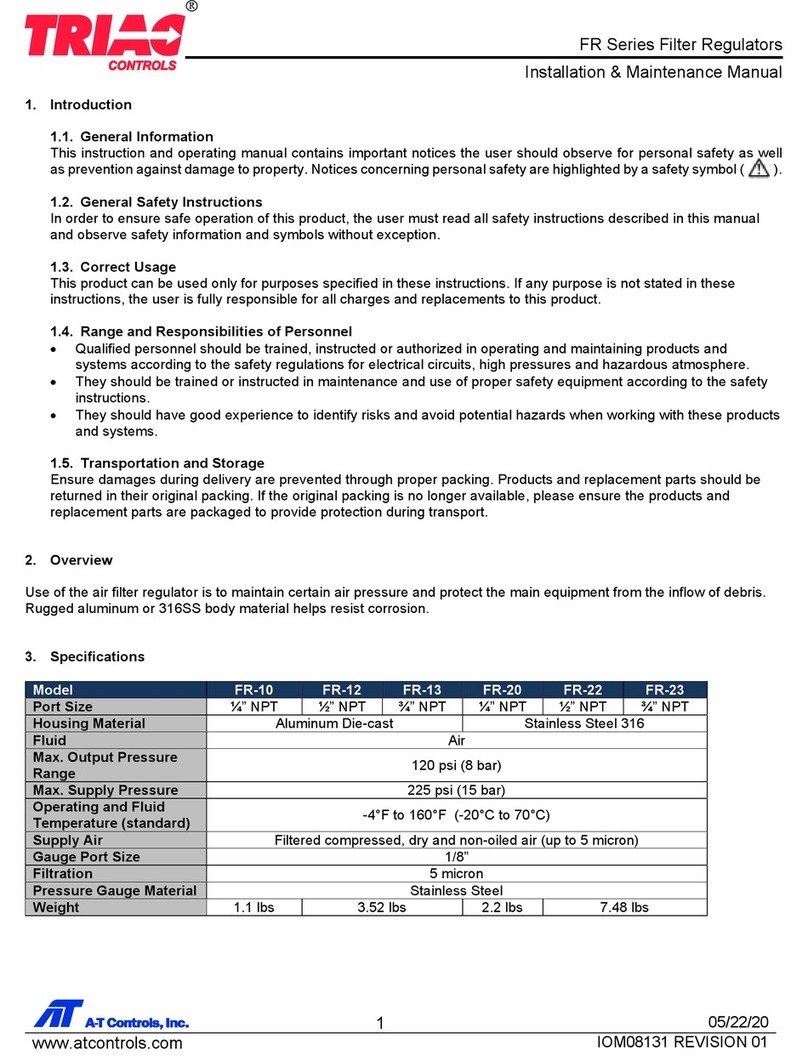
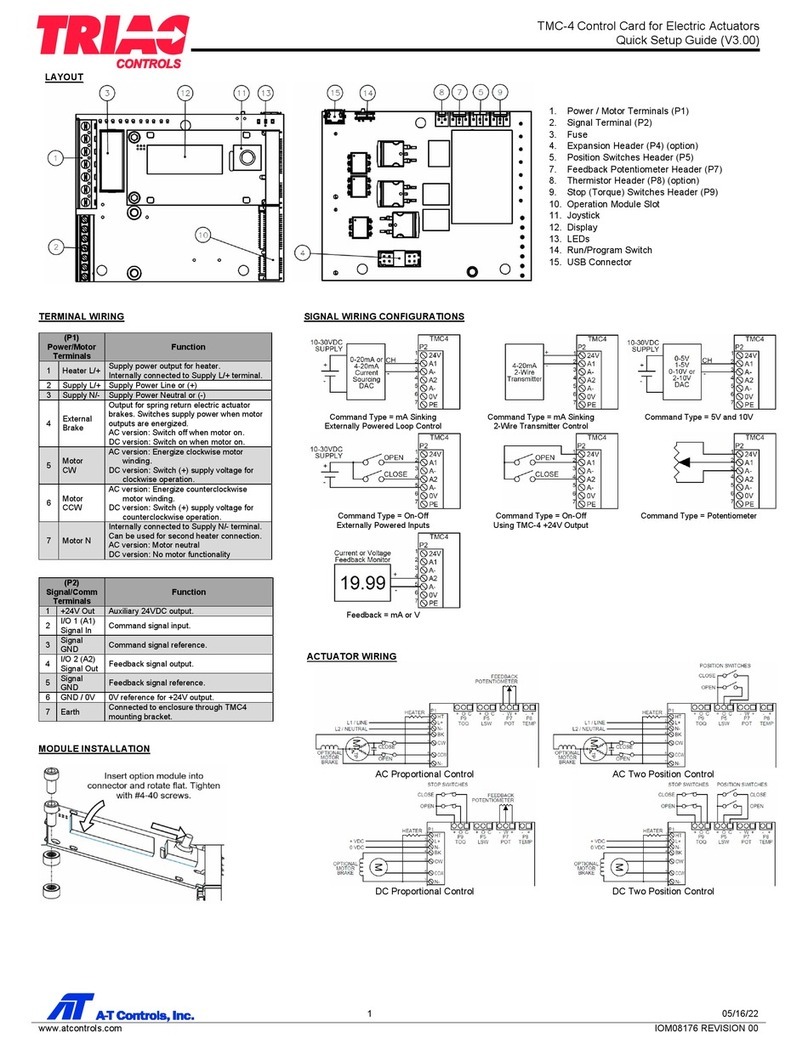
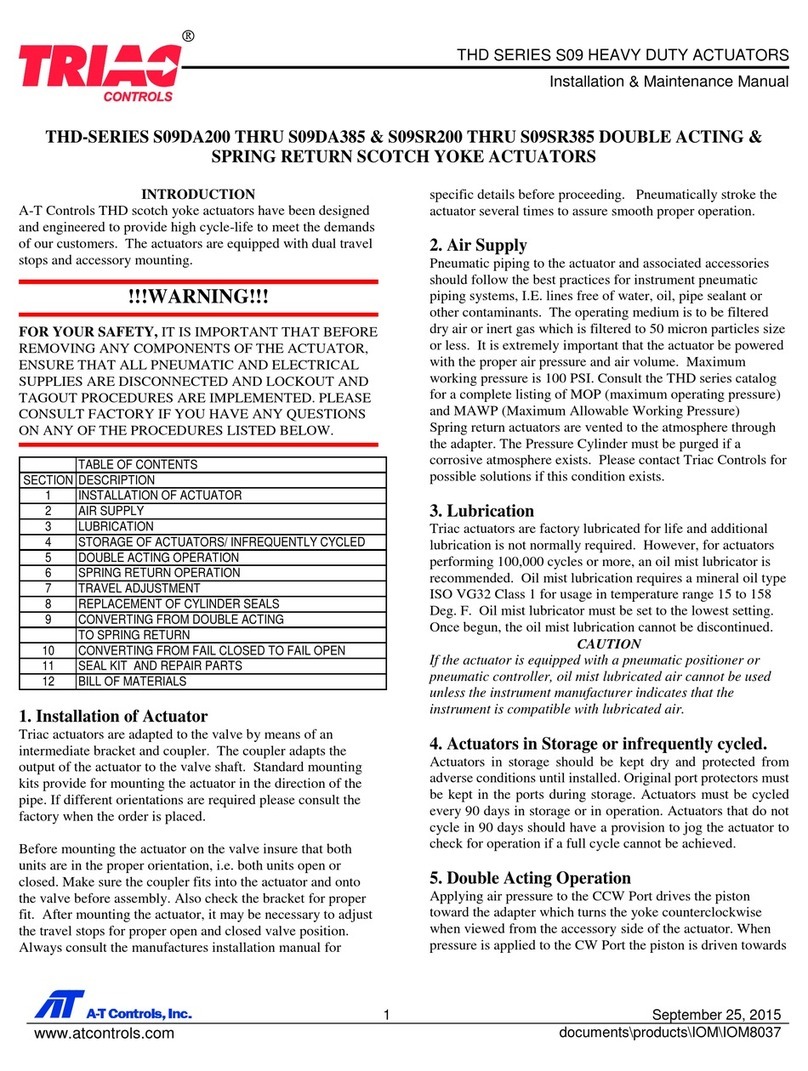
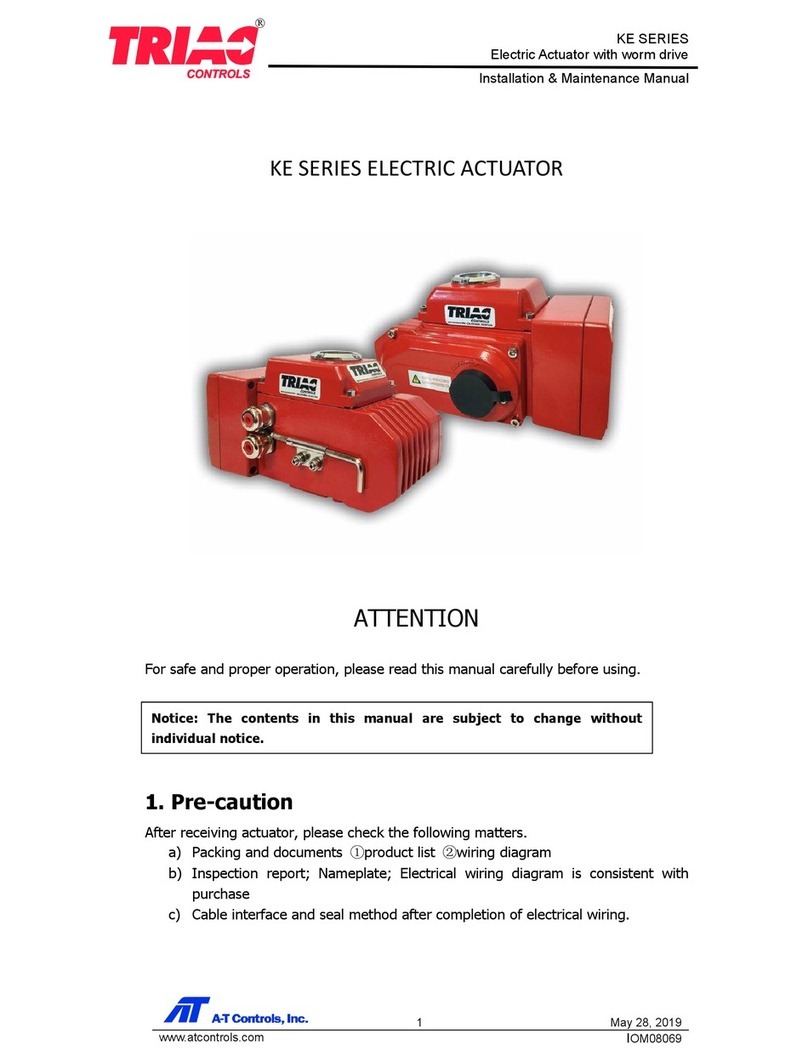
TRIAC 2R Series Instruction Manual

TRIAC

TRIAC 2R Series Instruction Manual

TRIAC 2R2500 Instruction Manual

TRIAC

TRIAC 2R2500 Instruction Manual

TRIAC KE Series Instruction Manual

TRIAC

TRIAC KE Series Instruction Manual

TRIAC FR Series Instruction Manual

TRIAC

TRIAC FR Series Instruction Manual

TRIAC TMC-4 User manual

TRIAC

TRIAC TMC-4 User manual

TRIAC THD S09 SERIES Instruction Manual

TRIAC

TRIAC THD S09 SERIES Instruction Manual

Popular Controllers manuals by other brands

COLORKINETICS iPlayer 3 user guide

COLORKINETICS

COLORKINETICS iPlayer 3 user guide

Securitytronix ST-PTZMINI-KB user manual

Securitytronix

Securitytronix ST-PTZMINI-KB user manual

Global American Inc. 3308520 user manual

Global American Inc.

Global American Inc. 3308520 user manual

EP Solar EPIPDB-COM series instruction manual

EP Solar

EP Solar EPIPDB-COM series instruction manual

Tolomatic ServoWeld CSW Installation operation & maintenance

Tolomatic

Tolomatic ServoWeld CSW Installation operation & maintenance

Sel C6200 FlexGen installation manual

Sel

Sel C6200 FlexGen installation manual

Go Power MPPT-PRO  Series user manual

Go Power

Go Power MPPT-PRO Series user manual

Oriental motor AR Series operating manual

Oriental motor

Oriental motor AR Series operating manual

DONG IL TECHNOLOGY LTD ASM-C instruction manual

DONG IL TECHNOLOGY LTD

DONG IL TECHNOLOGY LTD ASM-C instruction manual

pro user SCP30 operating manual

pro user

pro user SCP30 operating manual

NovaStar MX6000 Pro user manual

NovaStar

NovaStar MX6000 Pro user manual

digitalview HX-1920 instructions

digitalview

digitalview HX-1920 instructions

AL Tech ALTHC023 Installer Manual and Quick Guide

AL Tech

AL Tech ALTHC023 Installer Manual and Quick Guide

Savant SmartMediaPro 6 Deployment guide

Savant

Savant SmartMediaPro 6 Deployment guide

Show Tec 50348 manual

Show Tec

Show Tec 50348 manual

Samwontech TEMP2000 Series installation manual

Samwontech

Samwontech TEMP2000 Series installation manual

Delta 2SPA quick start guide

Delta

Delta 2SPA quick start guide

ICON BIA-iPRESS user manual

ICON

ICON BIA-iPRESS user manual

manuals.online logo
manuals.online logoBrands
  • About & Mission
  • Contact us
  • Privacy Policy
  • Terms and Conditions

Copyright 2025 Manuals.Online. All Rights Reserved.