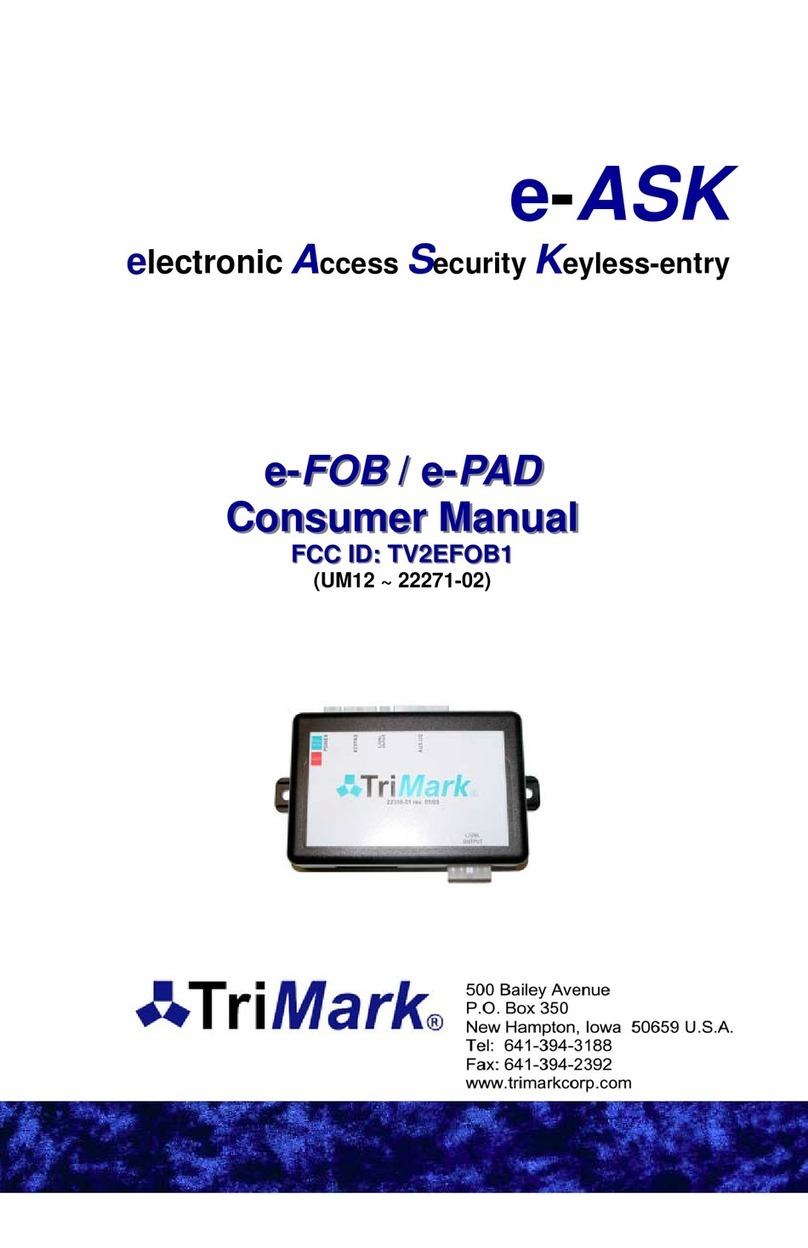
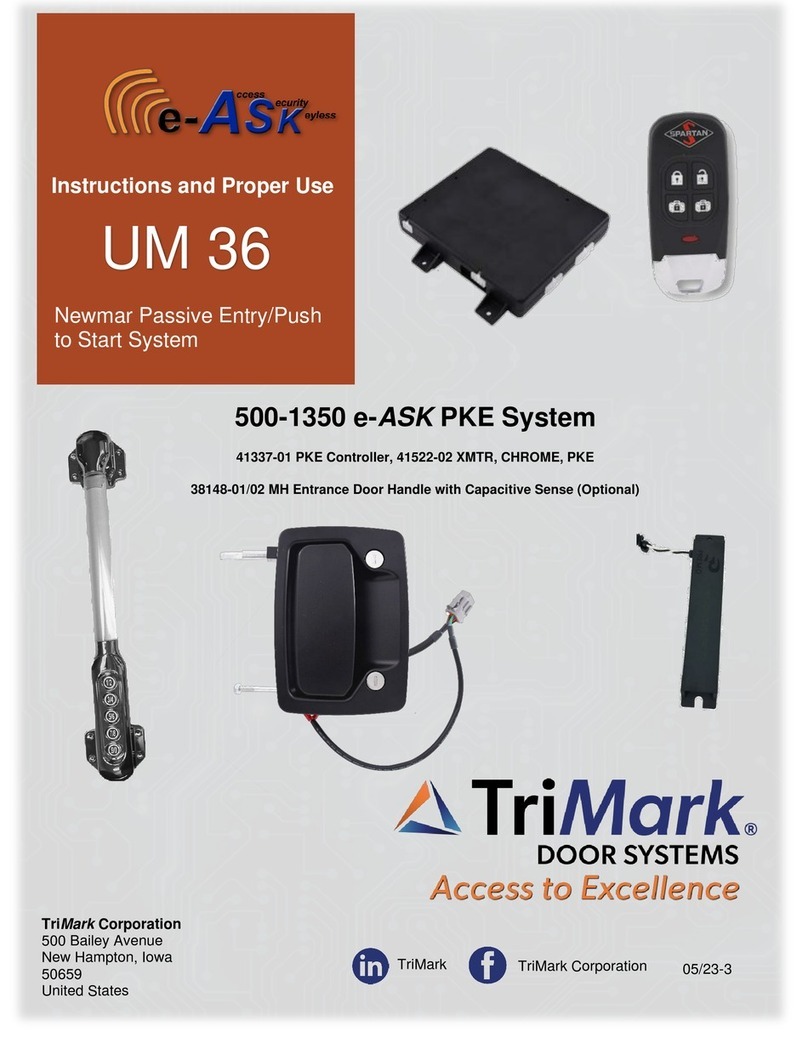
TriMark e-ASK UM06 User manual

Cargo Lock / Unlock Version
Consumer Manual
Consumer Manual
(UM06 ~ 18990-02)
e-ASK
electronic Access Security Keyless-entry

Table of Contents
Introduction............................................................................... 1
e-FOB Operation and Features ................................................ 2
e-PAD Operation and Features ................................................ 3
Locking Doors With Keypad.................................................... 3
Unlocking Doors With Keypad and Other Secure Operations .. 3
e-PAD Configurations............................................................. 4
e-PAD / e-FOB Dome/Porch Light Activation .......................... 4
e-PAD Protective Deactivating Security Feature ..................... 4
e-PAD Backlighting Power Management Feature.................... 4
Teaching e-PAD New Access Codes ....................................... 5
e-ASK I/O Module Features ...................................................... 6
Locking and Unlocking Confirmation....................................... 6
Deactivate Lock Confirmation ................................................. 6
Door Ajar Confirmation ........................................................... 6
Alarm Mode............................................................................ 6
Timed Dome/Porch Light ........................................................ 7
Compartment Light Activation ................................................. 7
Automatic Locking and Unlocking (Optional) ........................... 7
Troubleshooting ....................................................................... 8

e-ASK I/O module
e-PAD keypad
Introduction
This manual provides the necessary information for the proper
installation and use of TriMark’s e-ASK system. Included in this
comprehensive access, security, keyless-entry system are the following
elements:
• e-FOB: keyless entry radio frequency [RF] remote FOB
transmitter and receiver
• e-PAD: convenient keypad user interface
• e-ASK I/O module
The following illustration provide visual details to properly identify the
contents of the system.
e-FOB with RF receiver,
2 remote transmitter FOBs, and wiring harnesses
1
(Note: Horizontal or Vertical e-PADS are available)

e-FOB Operation and Features
The FOB transmitter and receiver are shipped programmed. When the
dealer has installed your e-FOB system, it will function as indicated
below. Only the unlocking function of the e-FOB remains while the
engine is running - other functions are deactivated. Both the Entry Lock
and Cargo Lock must be pressed to arm the alarm system. Press the
Entry or Cargo Unlock button to disarm the system and deactivate the
alarm mode.
2
Entry Lock
Cargo Lock
Entry Unlock
Cargo Unlock
Button Function
Entry Lock Locks all entry doors and arms security system.
Entry Unlock Unlocks entry doors and disarms security system. Also
activates the porch light.
Cargo Lock Locks all compartment doors and arms security
system.
Cargo Unlock Unlocks all compartment doors and disarms security
system. Also activates the compartment lights.

Authority code:
Locking Doors With Keypad
Press and hold down the (1 / 2) button for 1-2 seconds. An access
code is not needed to lock the doors.
Unlocking Doors With Keypad and Other Secure
Operations
Entering a valid 5-digit access code enables the keypad. After
entering an access code, the keypad is enabled for 5 seconds and a
sixth button press initiates a secure operation. Entering the correct
access code alone will not initiate a secure operation. The authority
code does not allow for secure operations. It is only used to assign
access codes (see page 4).
The following sequence illustrates how to perform secure operations
with e-PAD.
• Enter a valid 5-digit access code (see default access code
information above and page 5). Confirmation beeps indicate
the system is enabled.
• Press the (3 / 4) button within 5 seconds and all doors will
unlock.
If an unassigned button or no button is pressed while the system is
enabled, the keypad reverts back to disabled state.
e-PAD Operation and Features
The e-PAD is shipped with default Authority and Access codes. When
all necessary wiring connections are made, the e-PAD system will
function as indicated below. Unless the OEM or dealer has changed the
default codes, the Authority and Access codes are as follows:
Access code:
Digit 1 Digit 2 Digit 3 Digit 4 Digit 5
1 / 2 3 / 4 5 / 6 7 / 8 9 / 0
Digit 1 Digit 2 Digit 3 Digit 4 Digit 5
7 / 8 7 / 8 7 / 8 7 / 8 7 / 8
3

4
e-PAD Configurations
SECURE OPERATIONS ARE DEPENDENT ON SYSTEM
CONFIGURATION. The e-PAD system can be configured in a variety
of ways. Ask your dealer for the 6th digit operation for your vehicle.
The following table can be used to document the 6th digit operation of
your vehicle.
e-PAD / e-FOB Dome/Porch Light Activation
The dome/porch light is activated for a timed duration whenever a
keypad button is pressed or when system is unlocked from FOB
transmitter or vehicle switch. Contact your dealer to adjust duration.
The dome/porch light is deactivated with engine start.
e-PAD Protective Deactivating Security Feature
After repeated entry of incorrect codes (20 button presses without
enabling), the keypad is deactivated for 1 minute. This helps prevent
unauthorized access by entering random codes. No beep will sound
with button press while the system is disabled.
e-PAD Backlighting Power Management Feature
In order to provide continuous backlighting, but not drain the vehicle
battery, the e-PAD deactivates backlighting if battery voltage is low.
When continuous backlighting is off, the keypad still “wakes” up when
a button is pressed. In this case, the backlighting is activated for only
one minute.
6th Digit Pressed Operation
Button (1 / 2)
Button (3 / 4)
Button (5 / 6)
Button (7 / 8)
Button (9 / 0)

5
Teaching e-PAD New Access Codes
With an active authority code, additional access codes can be
programmed with the following instructions.
1. Press the middle (5 / 6) button for 5 seconds. Release after the
keypad provides a confirmation beep. The backlighting LED of
the keypad will flash indicating the learn mode.
2. Enter in your predefined 5-digit authority code. Keypad will
provide two confirmation beeps.
3. Press and release the button that corresponds to the access
number. For example, press (1 / 2) button for access #1 and
press (3 / 4) button for access #2. The keypad will provide a
confirmation beep after this single button press.
4. Enter new 5-digit access code. The keypad will provide
confirmation beeps.
5. Re-enter new 5-digit access code. The keypad will provide
confirmation beeps.
After performing the above sequence, the keypad will automatically
revert back to default operation mode. Repeat process to assign
additional access codes.
Up to 5 different access code can be assigned at one time. As additional
access codes are defined, pre-existing access codes are over-written.
For example, if a new access code is assigned for access #3, the
previous #3 access code is no longer valid.
The following table can be used to document the access code
assignment.
User # User Name Digit 1 Digit 2 Digit 3 Digit 4 Digit 5
1
2
3
4
5

6
e-ASK I/O Module Features
Locking and Unlocking Confirmation
• After locking either the entry door or compartment doors from
e-FOB transmitter, the headlights flash once and the siren
sounds once. When the entry door and compartment doors
are both locked within one minute, the headlights flash and
siren sounds twice.
• Locking all doors via vehicle switch or keypad provides
headlight flash only.
• Locking confirmation is deactivated while engine is running.
Deactivate Lock Confirmation
The system defaults to confirmation ON with power-up. Horn and
headlight confirmation can be toggled off and on from the keypad.
1. Enter valid access code. Hold down (9 / 0) button until double
beep sounds.
2. Release. Press (1 / 2) button.
Door Ajar Confirmation
A triple siren chirp sounds if any compartment or entry door is open
when the entry and compartment doors are locked. If a door is open,
the alarm is not armed.
The following table describes audio/visual activations at various
conditions.
Outputs Single Lock
confirmation
Unlock
confirmation Alarm
Siren Not used Not used 1 minute or when
shut off
Horn 1 chirp 2 chirps Not used
Headlights 1 flash 2 flashes 1 minute or when
shut off
Alarm Mode
After locking entry door and compartment doors within one minute
of each other, the system is armed. The alarm is activated when
entry door or compartment doors are opened or with a signal from
external shock sensing or motion detector. When alarm is
triggered, the siren is continuously activated and headlights flash for
one minute. Unlocking all doors via FOB transmitter, keypad, or
starting the engine deactivates alarm mode.

7
Timed Dome/Porch Light Activation
The dome/porch light is activated by pressing any keypad button or
by unlocking entry door via FOB transmitter. The dome/porch light
duration can be varied. Contact your dealer to adjust duration.
Starting the engine deactivates the light.
Compartment Light Activation
Compartment lights are activated upon unlocking compartment
doors. The activation duration is variable. Contact your dealer to
adjust duration. Starting the engine deactivates the lights.
Automatic Locking and Unlocking (optional)
The system may include auto-locking. When auto-locking is enabled,
doors are locked 5 seconds after the engine is started. Doors unlock
when the engine is turned off. The alarm is not enabled/disabled by
automatic locking/unlocking.

8
Troubleshooting
Problem Possible Solution
e-FOB Hints
Button press does not provide
correct operation
Verify power to the I/O module and
RF receiver.
Re-teach the FOB transmitter to the
receiver. Ensure that only Lock
button is pressed while in learn
mode.
No operation or intermittent
operation
Mount RF receiver away from
enclosed metal areas and fully
extend antennae.
Check FOB transmitter battery
voltage. Batteries need to be
changed every 1-2 years depending
on usage.
Alarm mode starts when
powered
Press Entry Unlock of FOB
transmitter
One particular e-FOB function
does not work.
Check wire connection of affected
function at RF module, wiring
harness, and I/O module.
Lost FOB transmitter Contact your dealer for a
replacement FOB transmitter.
e-PAD Hints
No response with button press
Verify power to the I/O module.
Verify that keypad cable is
connected. (rest of system will
function).
Access code is not recognized
Verify that code has not been
changed. Reassign keypad with
instructions starting on page 5.
Confirm use of an access code, not
the authority code.
Continuous keypad backlighting
is off until a button is pressed.
Vehicle battery voltage has dropped
below 11 V.
Unexpected, secure operation
occurs
Verify DIP switches are set to correct
configuration setting
e-ASK I/O Hints
No response in any system
element Verify power to the I/O module.
Lights and panic mode do not
turn off with ignition start.
Verify that connector J11, pins 7, 8
and 9 are wired properly.
Output relay latches on or off.
Verify that power to relay comes from
connector J12, pin 1.
Cycle power to system. If condition
continues, replace relay.
This product has been manufactured with methods to ensure high
quality and to meet the high expectations of our customers. TriMark
warrants this product to be free from workmanship defects and will
remedy issues per TriMark's warranty policy.
Remote transmitter FOBs, batteries, and other equipment subject to
normal wear and deterioration may need to be replaced periodically by
dealer and/or end user and are not covered by this warranty. TriMark
will not be liable for indirect, special, incidental or consequential
damages.
Contact TriMark for specific mounting details, such as drawings,
placement suggestions, mounting hardware, etc.

UM06
18990-02
01/08-3
This manual suits for next models
1
Table of contents
Other TriMark Remote Starter manuals

TriMark
TriMark 500-1300 e-ASK User manual

TriMark
TriMark e-ASK UM 36 User manual

TriMark
TriMark e-FOB User manual

TriMark
TriMark e-ASK UM15 User manual

TriMark
TriMark e-FOB User manual

TriMark
TriMark e-ASK UM27 User manual

TriMark
TriMark e-ASK User manual

TriMark
TriMark e-ASK User manual

TriMark
TriMark e-PAD User manual

TriMark
TriMark 500-1300 e-ASK User manual
Popular Remote Starter manuals by other brands

Ultra Start
Ultra Start 32 SERIES install guide

Cobra
Cobra CJIC 550 operating instructions

Directed Electronics
Directed Electronics 435 owner's guide

CrimeStopper
CrimeStopper RS700 IIIER installation instructions

ADS
ADS iDatastart HC1151A Product guide

Ultra Start
Ultra Start 1500 SERIES installation guide