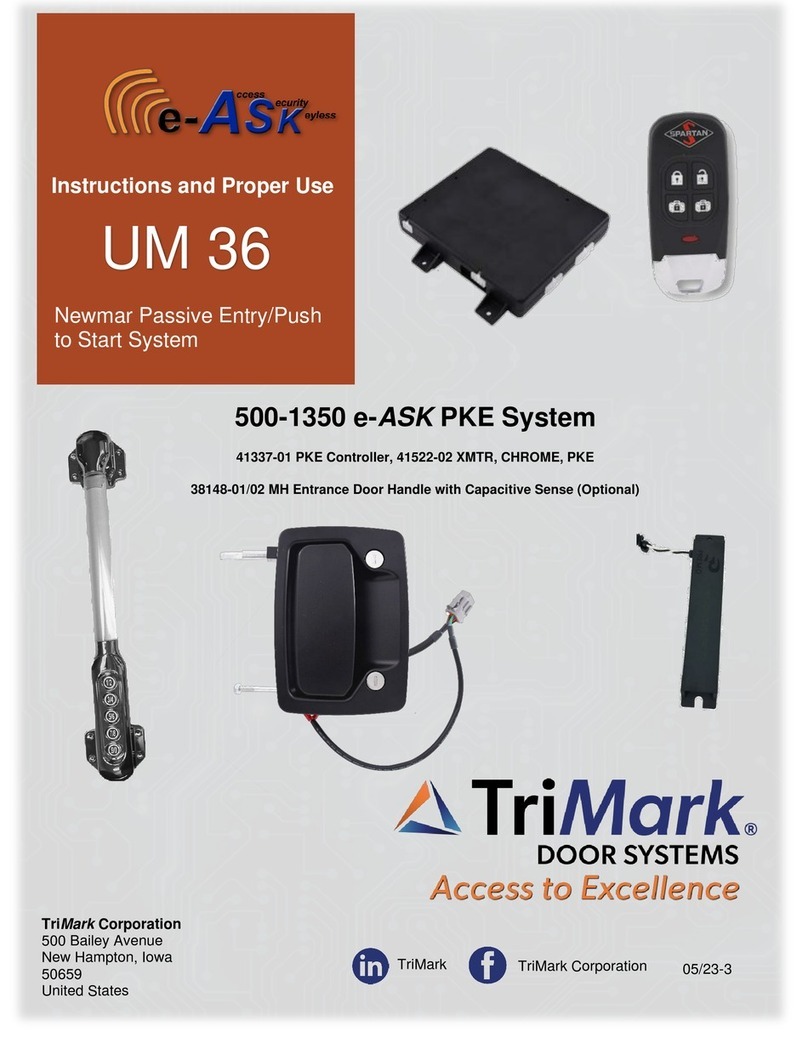
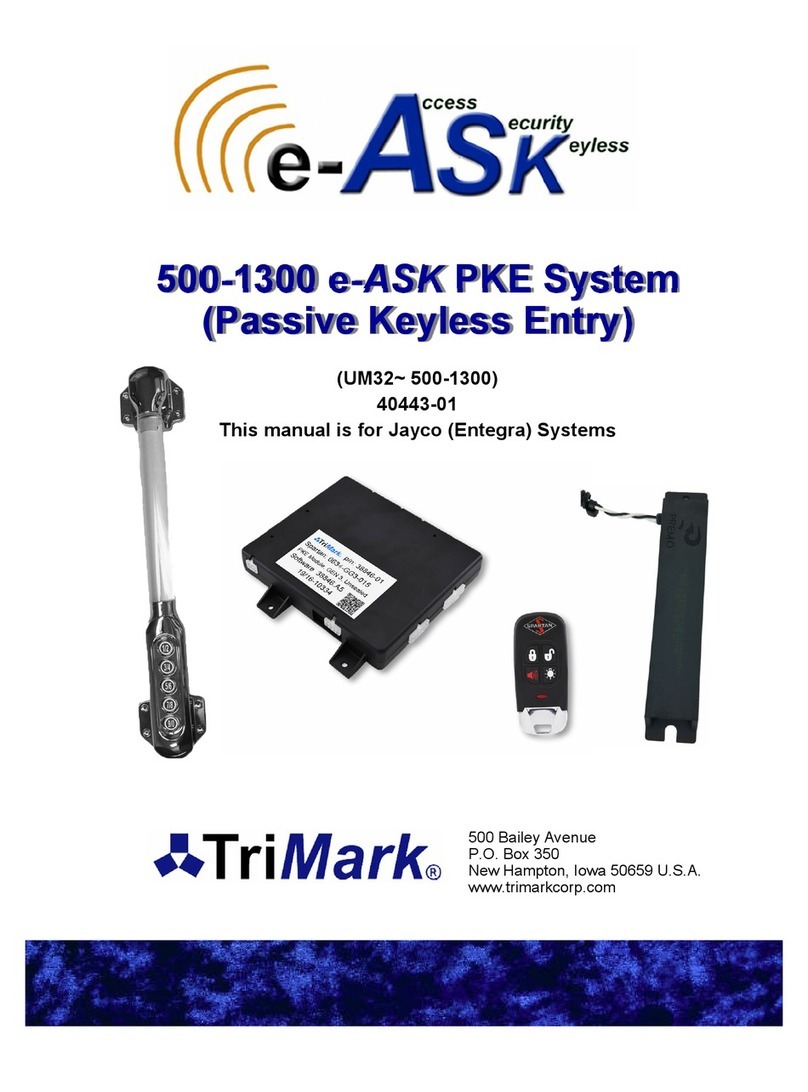
TriMark e-ASK User manual

e-ASK
electronic Access Security Keyless-entry
CAN Multiplex System
Consumer Manual
(UM25 ~ 24324-01)

Table of Contents
Introduction ................................................................................... 1
e-FOB Operation and Features - Standard Mode ...................... 2
e-FOB Operation and Features - Cargo Mode ........................... 3
Standard e-PAD Operation and Features ................................... 4
Locking Doors With Keypad ....................................................... 4
Secure Operations ..................................................................... 4
Doorbell e-PAD Operation and Features .................................... 5
Locking Doors With Keypad ....................................................... 5
Doorbell Operation ..................................................................... 5
Secure Operations ..................................................................... 5
e-PAD Configuration ................................................................ 6
Keypad Setting Configurations ................................................... 6
Optional Keyless Entry System Features .................................. 7
Dome/Porch Light Activation ...................................................... 7
e-GRAB Handle Lighting ........................................................... 7
Door Ajar Warning ...................................................................... 7
Lock and Unlock Confirmation ................................................... 7
e-PAD Protective Deactivation Feature ..................................... 7
Deactivate Lock Confirmation .................................................... 8
Alarm .......................................................................................... 8
Compartment Light Activation .................................................... 9
Auxiliary 1 Output Activation ...................................................... 9
Teaching Additional Transmitter FOBs ...................................... 9
Teaching Keypad New Authority/Access Codes ...................... 11
Assign New Access Codes ........................................................ 12
Troubleshooting ...........................................................................
14
About the “Yellow Programming Wire” ....................................... 14
CAN Error Diagnostic Codes ..................................................... 15

More eASK Hints ....................................................................... 16
Warrenty Information ................................................................. 17
Appendix A: Installation and Application Notes ..................... I
General Mounting Guidelines .................................................... I
Appendix B: Available e-PAD Configurations .......................... II
Non-doorbell .............................................................................. II
Doorbell ..................................................................................... III

TriMark CAN RF Controller
Introduction
This manual provides the necessary information for the proper use of
TriMark’s CAN e-ASK system.
The RF controller and FOB transmitters are shipped programmed.
After following installation instructions as shown in this manual, the
system will function as described.
Note: Some features discussed in this manual may not be available on
your vehicle’s installation. Consult with your dealer for more
information about features specific to your vehicle.
1
CAN-enabled
e-GRAB Handle
CAN-enabled Keypad —
available vertical or horizontal

e-FOB Operation and Features - Standard Mode
Button Function
Lock Locks doors and arms security system.
Unlock Unlocks doors and disarms security system. Also
activates the dome light.
Panic Activates panic mode when pressed and held for 2
seconds.
* Auxiliary
Button
Auxiliary output. Possible assignment includes: interior/
exterior lighting, awning extension/retraction, gas cap
release, hood release, etc.
Panic button
Unlock button
* Auxiliary button
Lock button
Note:
Only the unlocking function of the e-FOB remains while the
system detects that the engine is running—other functions are
deactivated.
2

e-FOB Operation and Features - Cargo Mode
Button Function
Entry Lock Locks entry door and arms security system.
Entry Unlock Unlocks entry door and disarms security system.
Also activates the dome light.
Cargo Lock Locks cargo doors and arms security system.
Cargo Unlock Unlocks cargo doors and disarms security system.
Also activates compartment lights.
Note:
Only the unlocking function of the e-FOB remains while the
system detects that the engine is running—other functions are
deactivated.
Cargo Lock
Entry Unlock
Cargo Unlock
Entry Lock
3

Standard e-PAD Operation and Features
The e-PAD is shipped with default Authority and Access Codes. If the
OEM or dealer has not changed the default codes, the Authority and
Access Codes are:
Access code:
Authority code:
Locking Doors With Keypad
Press and hold down the (1 / 2) button for 1-2 seconds.
An Access Code is not needed to lock the doors.
Secure Operations
Entering a valid 5-digit Access Code provides a double-beep and
enables a secure operation. After entering an Access Code, the
keypad is enabled for 5 seconds and the next button pressed initiates
a secure operation, such as unlocking the doors.
Notes:
The Authority Code does not allow for secure operations. It is
only used to assign access codes (see page 12 for information
on setting access codes).
If an unassigned button is pressed, or no button is pressed,
within 5 seconds of a correctly entered Access Code, the
keypad reverts back to disabled state.
If the keypad does not Double-beep after the 5th digit of your
entered Access Code, then you have not entered the correct
Access Code.
The secure keypad operations are set depending on the system
configuration. See page 6 for more information.
Digit 1 Digit 2 Digit 3 Digit 4 Digit 5
1 / 2 3 / 4 5 / 6 7 / 8 9 / 0
Digit 1 Digit 2 Digit 3 Digit 4 Digit 5
7 / 8 7 / 8 7 / 8 7 / 8 7 / 8
4

Doorbell e-PAD Operation and Features
Access code:
Authority code:
Locking Doors With Keypad
Press and hold down the (1) button for 1-2 seconds. An
Access Code is not needed to lock the doors.
Door Bell Operation
The doorbell button sends a CAN message to the RF Controller
instantly when pressed. An Access Code is not necessary for the
doorbell.
Secure Operations
Entering a valid 5-digit Access Code provides a double-beep and
enables a secure operation. After entering an Access Code, the keypad
is enabled for 5 seconds and the next button pressed initiates a secure
operation, such as unlocking the doors.
Note:
The Authority Code does not allow for secure operations. It is
only used to assign access codes (see page 12 for information on
setting access codes).
If an unassigned button is pressed, or no button is pressed, within
5 seconds of a correctly entered Access Code, the keypad
reverts back to disabled state.
If the keypad does not Double-beep after the 5th digit of your
entered Access Code, then you have not entered the correct
Access Code.
The secure keypad operations are set depending on the system
configuration. See the next page for more information.
Digit 1 Digit 2 Digit 3 Digit 4 Digit 5
1 2 3 4 4
Digit 1 Digit 2 Digit 3 Digit 4 Digit 5
4 4 4 4 4
5

6
e-PAD Configuration
Keypad Setting Configurations:
Entering a 5-digit access code enables the keypad. After entering the
Access Code, the next button pressed initiates a secure operation, such
as unlocking specific doors or some other operation. The following
table should be filled out by your dealer to explain the function of each
button. Not all buttons have a function in some installations. Common
configurations are listed in Appendix B on page II
Secure Function
Button Pressed Secure Operation
Button (1 / 2) or (1)
Button (3 / 4) or (2)
Button (5 / 6) or (3)
Button (7 / 8) or (4)
Button (9 / 0)

7
Optional Keyless Entry System Features
Not all of these features may be installed on your vehicle. Consult with your Dealer.
Dome/Porch Light Activation
The dome/porch light is activated for a timed duration (5-60 seconds)
whenever a keypad button is pressed or when system is unlocked from
FOB transmitter or vehicle switch. The time duration is dependent on a
mechanical setting inside the control module. The dome/porch light is
deactivated an engine-start is detected, or entry doors are locked using
a keyless device. Your Dealer should be able to adjust the timing of
your porch light if desired.
e-Grab Handle Lighting
The grab handle is lit continuously with a circuit installed separately
from the rest of the keyless entry system The timing and control of that
light is determined by an outside circuit, but is typically tied to the
parking lights circuit or porch light circuit. The e-PAD back lighting is lit
with a button press and while training new access and authority codes.
Lock and Unlock Confirmation
Standard mode e-FOB: The headlights flash once and the horn
honks once with a lock command. On unlock, the headlights
flash twice.
Cargo mode e-FOB: There is no unlock confirmation. The
headlights flash once and the horn honks once when either the
entry or compartment doors are locked. When both entry and
compartment doors are locked within 10 seconds, headlights
flash twice and the horn honks twice.
Keypad: The headlights flash once with a lock command. On
unlock, the headlights flash twice.
Locking and unlocking confirmation is deactivated if the keyless
entry system detects that the engine is running.
Door Ajar Warning
A triple siren chirp sounds if any compartment or entry door is open
when the entry and compartment doors are locked (security input
grounded). If a door is open, the alarm is not armed.
e-PAD Protective Deactivation Security Feature
If a correct code is not entered after 20 button presses, the keypad
enters an inactive mode that disables button recognition for 1 minute.
This helps prevent unauthorized access by entering random codes.
There is no button feedback while the system is disabled.
Deactivate Lock Confirmation
The system defaults to confirmation ON with power-up. Horn and
headlight confirmation can be toggled off and on from the keypad.
1. Press and hold the (5 / 6) or (3) button for 5 seconds until the
keypad beeps.
2. Enter the Authority Code. The buzzer stays on.
3. Hold the (1 / 2) or (1) button for 5 seconds. A double-beep
sounds.
4. The ON/OFF status of confirmation output (lights and horn) is
toggled.
Alarm
After locking all doors, the system is armed. In cargo mode, both the
entry door and compartment doors must be locked within 10 seconds to
set the alarm. The alarm is activated when any entry door or
compartment door is opened if it is being monitored by an installed
security swtich, or by an input from a security sensor (shock sensor,
motion sensor or other sensing device).
When alarm is triggered, the siren is continuously activated and
headlights flash for 1 minute.
To deactivate alarm mode:
Unlock all doors via e-FOB transmitter.
Unlock system via e-PAD or vehicle switch.
Start the engine (only works if engine monitoring is installed).
The following table describes audio/visual activations at various
conditions.
8
Outputs Lock
Confirmation
Unlock
Confirmation Alarm
Siren Not used Not used 1 minute or when shut off
Horn 1 chirp 2 chirps Not used
Headlights 1 flash 2 flashes 1 minute or when shut off

Compartment Light Activation
Compartment lights are activated upon unlocking compartment doors
(bank A-D) or toggling vehicle switch. The activation duration is
controlled via trim pot. Starting the engine deactivates the light.
Auxiliary ( * ) Output Activation
Standard Mode: With proper wiring and system configuration, Aux 1
output can be activated with the “STAR” or “GEAR” button on the
standard version e-FOB transmitter, via keypad, or toggled with vehicle
switch. Ask your dealer for the function that has been assigned to this
button and for adjustment of activation duration. This output ceases
when the preset time duration expires or if system detects that the
engine has started.
Teaching Additional Transmitter FOBs
There are 2 ways that the receiver can be put into e-FOB learn mode.
The first requires that a CAN keypad be connected to the network. This
option allows the module to be put into train mode without accessing the
module. The 2nd option requires access to the module. Up to (10)
transmitters can be trained at one time.
Option 1 (CAN keypad connected to network):
1. Hold the (5 / 6) (3) button of keypad for 5 seconds. The keypad
will beep and the LEDs will flash.
2. Enter authority code. The buzzer stays on.
3. Hold (9 / 0) (DB) for 5 seconds. A double-beep plays.
4. The receiver module is now in e-FOB learn mode. (The LED
under the receiver enclosure will be blinking rapidly).
5. Next press lock button of each transmitter to be trained. (LED
stays solid for 2 seconds as each one is trained.) Press the
transmitter button for 0.5-2.0 seconds. A three second delay
must occur between each transmitter.
6. After 60 seconds of e-FOB button inactivity, or by simply
pressing any key on the keypad, 4 beeps will sound and the
module will return to normal operation.
9

Option 2 (no CAN keypad connected to network):
1. Remove power from module.
2. Move DIP switches 4-6 to the “ON” position.
3. Connect module to CAN network.
4. Connect power and GND to module (J1 P4,16 and J1 P7,19).
5. Wait about 5 seconds. LED will flash continuously.
6. Press any transmitter button for about 5 seconds until LED
pattern changes, then release. This trains the first transmitter.
7. Press any button of 2nd transmitter, LED pattern changes
immediately. This synchs the 2nd transmitter.
8. Repeat step 7 until all transmitters are trained.
9. Remove power from module.
10. Move DIP switches 4-6 to normal position and verify DIP
switches 1-3 are in proper position.
11. Reconnect power to module.
12. Verify that FOBs are synched to the CAN module. CAN module
needs to be connected to a valid CAN network (2+ modules on
network) or CAN must be disabled to verify functionality.
Notes:
Up to 10 transmitters can be synched with a module. If a 11th
transmitter is added an earlier transmitter becomes invalid.
All transmitters must be trained together. Training at least one
key fob after putting the module into train mode erases all
previous FOBs.
If you place the system in learn mode and teach nothing, the
system will return to a normal mode in 60 seconds.
The memory for codes will not be erased if power is removed
10

Teaching Keypad New Authority / Access Codes
IMPORTANT: READ ALL INSTRUCTIONS AND ALL NOTES
BEFORE BEGINNING TO KNOW WHAT TO EXPECT DURING THE
PROGRAMMING PROCESS.
The Authority Code has only one purpose: it grants the owner sthe
ability to set new Access Codes. The Authority Code must be
EXACTLY 5 digits long. Changing the Authority Code erases all
previous Access Codes and sets a new Access Code in memory
bank 1 that is the same as the new Authority Code.
Important: Authority and Access Codes should be different for the
greatest security.
Preparation:
1. Find the wiring harness coming out of the back of the keypad.
This is usually behind the passenger armrest next to the
entrance door. In some cases, the keypad may need to be
removed from the side of the vehicle to access the harness in
the correct location. See Page 16.
Programming:
2. With the keypad still
plugged in, short the
yellow wire to ground until
the keypad begins to beep
(tucking the stripped, loose
yellow wire into the back of
the connector with the
black wire works).
3. The keypad will beep for 3
seconds; remove the short
before the keypad stops
beeping. The keypad is
now in “Learn Mode.”
4. Enter a new 5-digit Authority Code (double chirps after each
button press). The keypad chirps 3 times after the 5th digit’s
entry.
5. Re-enter the new Authority Code for confirmation. The keypad
will chirp FOUR times for successful confirmation. A long beep
indicates a failure to change the code.
6. Test the new code to confirm it.
11

12
My New Authority Code
Digit 1 Digit 2 Digit 3 Digit 4 Digit 5
The following area can be used to document the new Authority Code:
Notes:
While in “Learn Mode,” each button push provides a double-
chirp and the backlight flashes.
The authority code is to be controlled by individuals (owners of
vehicle, fleet manager, etc.) who manage the distribution of
access codes to vehicle users.
The authority code should be changed when the vehicle is
sold.
The authority code does not enable secure functions (lock/
unlock doors, etc.)—it is only used to assign access codes.
Doorbell systems only allow codes using buttons 1-4 and
provides memory for 4 unique access codes.
The keypad automatically leaves “Learn Mode” when the new
code is set.
Assign New Access Codes
The Access Codes are used for secure functions, such as unlocking
doors. The Access Codes must be EXACTLY 5 digits long. With a
valid Authority Code, a new Access Code can be programmed with
the following instructions.
Programming:
1. Press the (5 / 6) or (3) button for 5 seconds until the keypad
beeps. The backlighting of the keypad will flash indicating the
keypad is in “Learn Mode.”
2. Enter the 5-digit Authority Code (see page 4 for the code).
If you enter an INCORRECT Authority Code, the keypad
will beep for 1 second, and leave “Learn Mode.”
If you enter a CORRECT Authority Code, the keypad will
provide a constant beep that will only stop after you have
defined a memory bank to store the new Access Code.

13
Memory # User Name Digit 1 Digit 2 Digit 3 Digit 4 Digit 5
1/2 (1)
3/4 (2)
5/6 (3)
7/8 (4)
9/0
3. Press and release the button that corresponds to the memory
bank. For example, press (1 / 2) or (1) button for Memory #1
and press (3 / 4) or (2) button for Memory #2. During this
activity you are choosing 1 of 5 (4) memory banks.
4. Enter a new 5-digit Access Code. The keypad chirps 3 times
after the 5th digit’s entry.
5. Re-enter the new Access Code for confirmation. The keypad
will chirp 3 times after a successful confirmation. A long beep
indicates a failure to change the code.
6. Test the new code to confirm a successful change.
Repeat process to assign additional Access Codes to different
memory slots.
Notes:
Up to 5 (or 4 for doorbell keypads) different Access Codes can
be assigned at any time. As additional Access Codes are
defined, pre-existing Access Codes are overwritten. For
example, if a new Access Code is assigned to Memory #3, the
previous Access Code in Memory #3 is no longer valid.
If an error is made at any point, or if time runs out, the keypad
will exit “Learn Mode,” provide a 1-2 second beep, and not
change anything.
The following area can be used to document the new Access Code
assignments:

14
Troubleshooting
The keypad’s “Yellow Programming Wire”:
In order to complete many higher-level reprogramming tasks, access
to the keypad’s “yellow programming wire” is required. Access to this
wire is usually intentionally restricted and difficult in an effort to detract
unauthorized manipulation of the security system. Typically, a vehicle
manufacturer will provide an access panel inside the vehicle to allow
users with access to the inside of the vehicle relatively unobstructed
access to the harness. Unfortunately, this is not always the case, and
some vehicles require the keypad to be completely removed from the
vehicle to gain access to the harness at the correct location.
Depending on the model of keypad that is installed on the vehicle, the
yellow programming wire will be located in one of two places.
1. ON EMBEDDED KEYPADS WITH A BLACK
BEZEL (22636-xx)
These keypad are multi-function keypads
with support for many operating modes. For
the purposes of this CAN system manual,
only the CAN modes are discussed. This
keypad has two wire harnesses; one is a 4-
pin CAN connector, the other is a 9-pin
discrete signal connector. In these keypads,
the “yellow programming wire” can be found
securely mounted in the 9-pin discrete signal
connector.
2. ON CHROME e-GRAB CAN-ENABLED KEYPADS (24295-xx)
These keypads have a more restricted level of function support
because of the lack of space within the e-GRAB base. One
consequence of this restriction is being limited to only one
harness coming from the keypad. Since the 9-pin discrete signal
connector is not present on
these keypads, the “yellow
programming wire” does not
have a location to be securely
mounted. Instead, the “yellow
programming wire” is drawn
through the convoluted
sheathing that protects the
CAN wire harness, and then
looped around and tucked
back into the sheathing. While this does protect the wire from
being unintentionally grounded, it can also be difficult to find
during troubleshooting and reprogramming.

15
CAN Error Diagnostic Codes:
In many cases, when a problem is detected with the CAN bus, one or
both TriMark CAN-enabled devices will announce an error. Similar
codes are used with CAN vehicle module and CAN keypad. The
keypad uses back lighting and buzzer for announcing codes while the
vehicle module uses an internal red LED.
1. At power up, the CAN devices will attempt to claim their preferred
network address on the CAN bus. After this, they will announce a
successful power-up using either the internal LED or a buzzer and
backlighting.
This “long announcement" communicates a CPU reset and why:
One 1-second announcement = normal power on
Two 1-second announcements = watchdog timer reset the
CPU (this indicates a software bug)
Three 1-second announcements = brownout reset. The
power supply fell below the 2.0V requirement momentarily.
2. After the long announcement, a series of "short announcements"
indicate other errors that may have occurred:
Two short announcements = CAN bus error. This means
there is an electrical problem with the CAN bus (possibly a
problem with bus termination), or simply that the device
reporting this error is the only node attached to the bus. If
there is intentionally only one CAN-enabled device on the
network, CAN communication must be disabled for normal
operation.
Three short announcements = the device reporting this
error couldn't claim its preferred CAN address. This is
probably because another device on the bus is set to the
same function instance. This is considered a fatal error so
the device will reset itself and try again.
3. For some problems, the keypad provides five short beeps followed
by a pause to indicate a CAN bus error. Make sure that both
network wires are intact and connected to all TriMark CAN-
enabled devices.

Problem Description Possible Solution
e-FOB Hints
Button press does not provide
correct operation
Verify RF receiver is powered and active.
Re-teach the FOB transmitter to the
receiver.
No operation or intermittent
operation
Move RF receiver away from enclosed
metal areas and fully extend antennae.
Check FOB transmitter battery voltage.
Batteries need to be changed every 1-2
years depending on usage.
One particular e-FOB function
does not work
Check wire connection of affected
function at RF module, wiring harness,
and I/O module.
e-PAD Hints
No response with button press
Verify RF receiver is powered and active.
Verify that keypad cable is connected
and undamaged.
Access code is not recognized
Verify that code has not been changed.
Reassign keypad with instructions
starting on pages 11-12.
Make sure an access code is being used,
not the authority code.
Key FOB works correctly,
keypad beeps, but no output
Verify that the keypad and RF receiver
are using the same CAN protocol.
Unexpected, secure operation
occurs
Verify DIP switches are set to correct
configuration setting.
16

e-ASK System Hints
No response in any system
element Verify power to the RF Receiver.
Lights and panic mode do not
turn off with ignition start
Verify that ignition input is wired
properly.
This product has been manufactured with methods to ensure high
quality and to meet the high expectations of our customers. TriMark
warrants this product to be free from workmanship defects and will
remedy issues per TriMark’s warranty policy.
Remote transmitter FOBs, batteries, and other equipment subject to
normal ear and deterioration may need to be replaced periodically by
dealer and/or end user and are not covered by this warranty. TriMark
will not be liable for indirect, special, incidental or consequential
damages.
This system complies with part 15 of the FCC Rules. Operation is
subject to the following two conditions: (1) This device may not cause
harmful interference and (2) This device must accept any interference
received including interference that may cause undesired operation.
Note: The manufacturer is not responsible for any radio or television
interference caused by unauthorized modification to this equipment.
Such modification could void the user’s authority to operate the
equipment.
17
Other manuals for e-ASK
6
Table of contents
Other TriMark Remote Starter manuals

TriMark
TriMark e-FOB User manual

TriMark
TriMark 500-1300 e-ASK User manual

TriMark
TriMark e-ASK UM27 User manual

TriMark
TriMark e-PAD User manual

TriMark
TriMark e-ASK User manual

TriMark
TriMark e-ASK UM15 User manual

TriMark
TriMark 500-1300 e-ASK User manual

TriMark
TriMark e-ASK UM06 User manual

TriMark
TriMark e-ASK UM 36 User manual

TriMark
TriMark e-FOB User manual