EN Operating manual – Laser distance measuring device BD25 7
Carrying out measurements
Risk from laser radiation!
Class 2 laser radiation.
Lasers of class 2 only radiate in the visible range and
during continuous wave operation (lasting beam) no more
than 1 milliwatt (mW) of output will be emitted. Looking
directly into the laser beam for a longer period of time
(more than 0.25 seconds) can cause damage to the
retina.
Avoid looking directly into the laser beam. Never look into
the laser beam using optical aides. Do not suppress the
winking reflex when looking into the laser beam
unintentionally. Never point the laser beam at people or
animals.
Carrying out single distance measurement
1. Briefly press the Switch-on/measurement button (7) to
activate the laser.
2. Point the laser at the target area.
3. Briefly press the Switch-on/measurement button (7) again to
perform a distance measurement.
– The measured value is immediately indicated on the
display.
Adding / subtracting measured values
1. Carry out a single distance measurement.
2. Press the Plus key (17) to add the next measured value to the
previous one.
Press the Minus key (8) to subtract the next measured value
from the previous one.
3. Press the Switch-on/measurement button (7) to determine
the next measured value.
– The overall result will be indicated in the lower
measurement value display. The individual measured
values will be indicated in the upper measurement value
displays.
Performing an area measurement
1. Briefly press the Area/room volume key (16) one time.
– The symbol for area measurement appears on the
display.
2. Briefly press the Switch-on/measurement button (7) to carry
out the first measurement (e.g. length).
3. Briefly press the Switch-on/measurement button (7) again to
carry out the second measurement (e.g. width).
– Upon pressing the Switch-on/measurement button (7) for
the second time the device independently calculates the
area and displays this value in the lower measurement
value display. The most recently measured value will be
indicated in one of the upper measurement value displays.
Performing a volume measurement
1. Briefly press the Area/room volume key (16) twice.
– The symbol for volume measurement appears on the
display.
– The side to be measured in each case is indicated on the
display by flashing.
2. Briefly press the Switch-on/measurement button (7) to carry
out the first measurement (e.g. length).
3. Briefly press the Switch-on/measurement button (7) again to
carry out the second measurement (e.g. width).
4. Briefly press the Switch-on/measurement button (7) again to
carry out the third measurement (e.g. height).
– Upon pressing the Switch-on/measurement button (7) for
the third time the device independently calculates the
volume and displays this value in the lower measurement
value display.
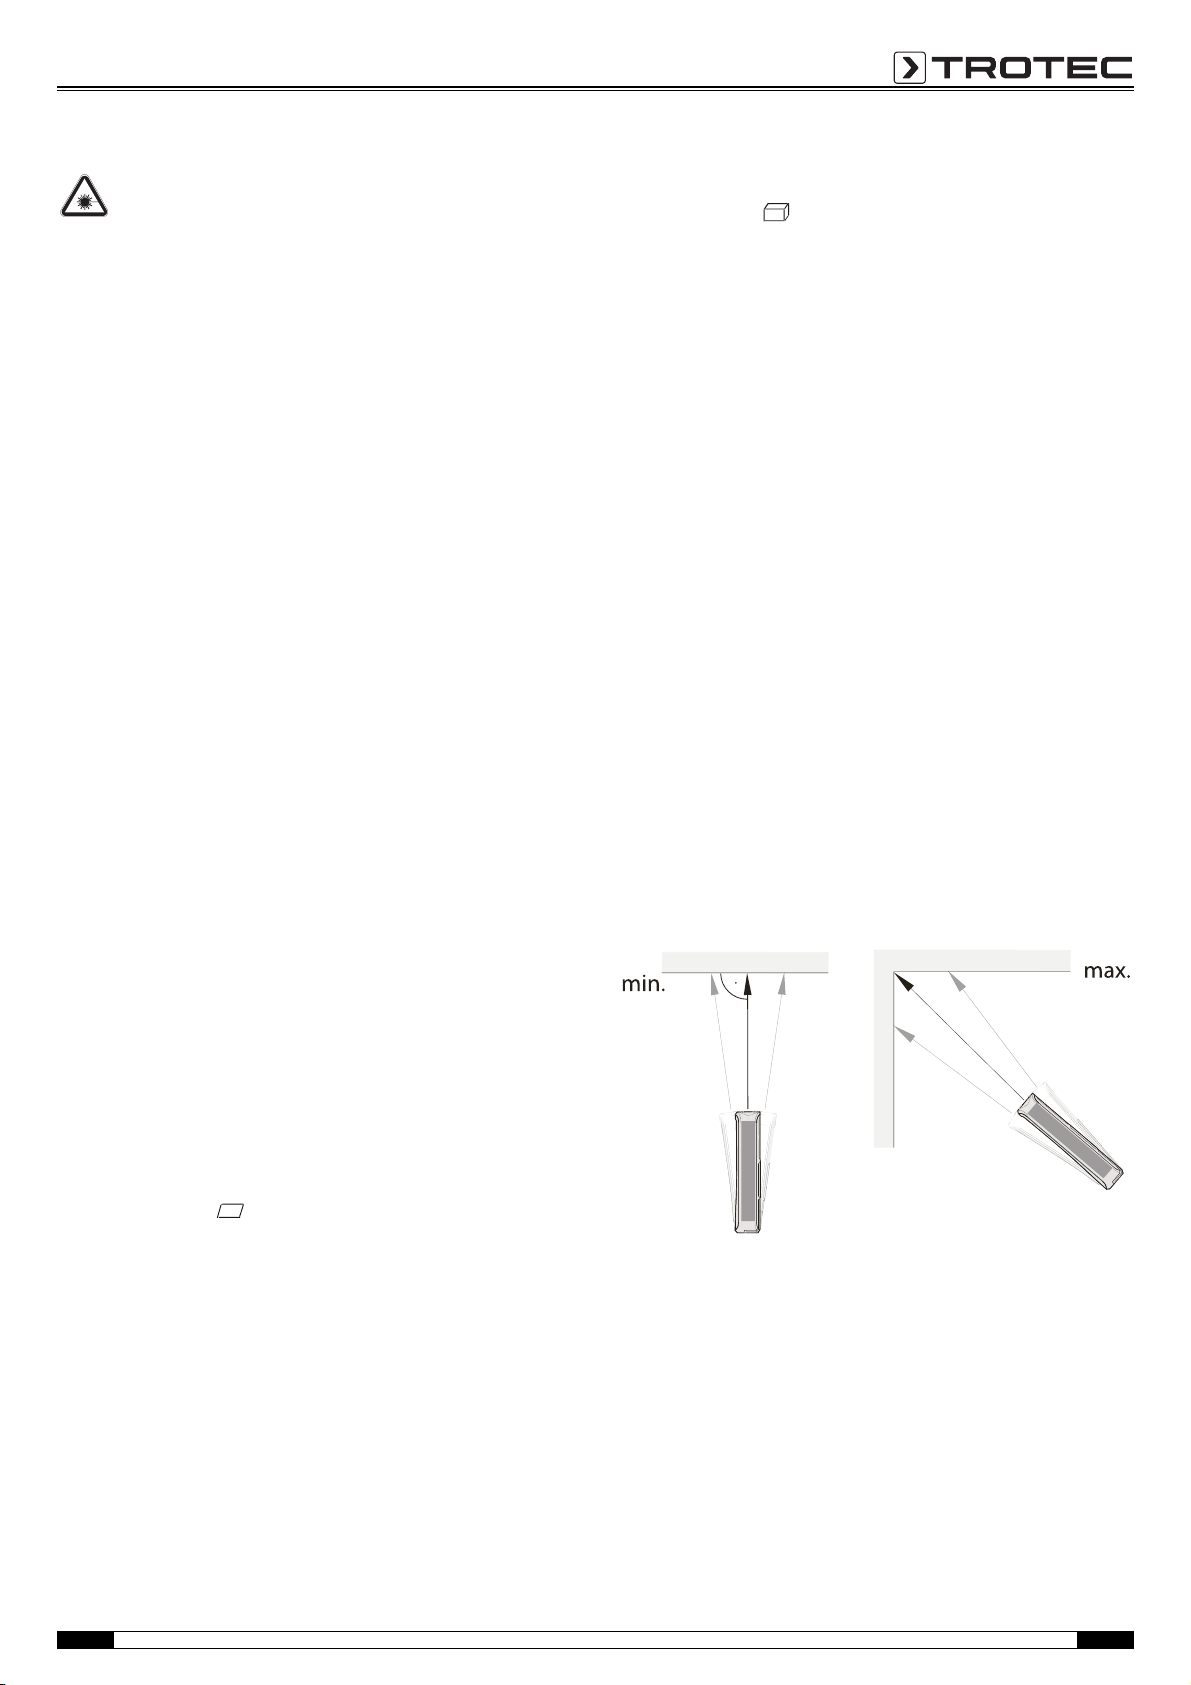
Performing a non-stop /min and max measurement
Use the non-stop measuring function to correlate measurements
e.g. with construction drawings. With this measurement method
the device can be moved closer toward the target with the
measured value being recalculated roughly every 0.5 seconds.
The corresponding maximum and minimum measurements are
displayed in the first and second line respectively.
For instance, you can direct the laser beam at a wall and then
retreat from it step by step. Keep reading the measured values
until the desired distance is achieved.
1. Press the Switch-on/measurement button (7) for a long time
until an acoustic signal can be heard.
2. With reference to the aim point, move the device slowly back
and forth as well as up and down (e.g. in a corner).
3. Briefly press the Switch-on/measurement button (7) to
terminate the non-stop measurement.
– The maximum and minimum measured values and the
difference (Δ) between these two are indicated on the
display. Additionally, the last measured value will be
displayed in the bottommost line.