3
Trademark information
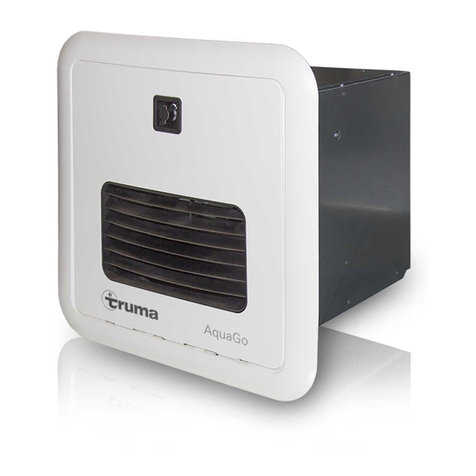
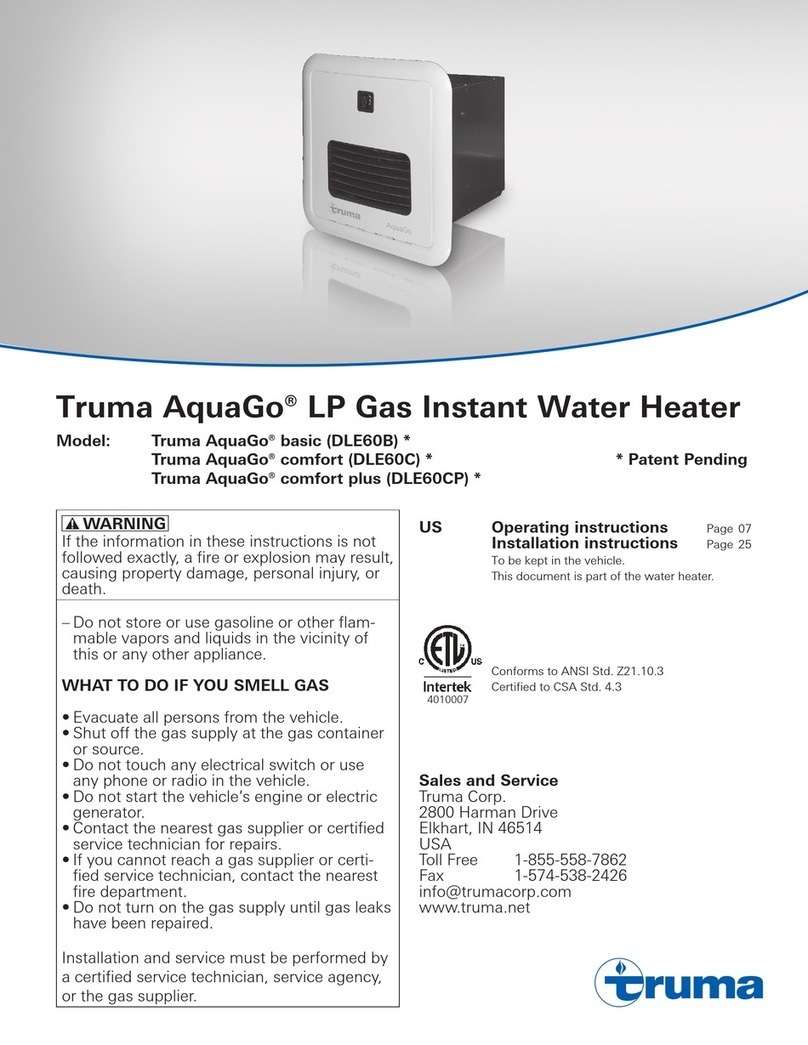
Truma AquaGo referred to as AquaGo below.
Truma AquaGo comfort AU referred to as
AquaGo comfort below.
Truma AquaGo comfort plus AU referred to as
AquaGo comfort plus below.
Intended use
The AquaGo instant water heater (appliance) may be used
only to heat tap water in recreational vehicles (RVs) that are
used for recreation, travel or camping.
RVs are recreational vehicles designed as temporary living
quarters for recreation, camping or travel use. Such vehicles
have their own power or are towed by another vehicle.
Prohibited use
Any use other than the intended use (see above) is prohibited.
Examples of prohibited use:
• Use in a marine environment.
• Use as part of a space heating system.
• Use in mobile homes.
• Use in food trucks or roadside food vending vehicles.
• Use in construction trailers
• Use as a pool heater
Glossary
electric antifreeze kit AquaGo electric antifreeze kit
appliance AquaGo instant water heater
AWG American Wire Gauge
control panel Control panel CP classic AquaGo
heating cartridge AquaGo electric antifreeze kit cartridge
MWG Metric Wire Gauge
Model
Truma AquaGo comfort AU (DLE6AC)
Truma AquaGo comfort plus AU (DLE6ACP)
Table of contents
Overview / Designation of parts ..................................... 2
Trademark information ..................................................... 3
Intended use ....................................................................... 3
Prohibited use .................................................................... 3
Glossary ............................................................................... 3
Model ................................................................................... 3
Consumer Safety Information
Safety symbols and signal words ................................... 4
Safety behaviour and practices ...................................... 4
Safety features ................................................................... 6
Operating instructions
How the appliance works ................................................. 7
Pressure relief valve .......................................................... 7
Access door ........................................................................ 8
Opening the access door ...................................................... 8
Removing the access door ................................................... 8
Closing the access door ........................................................ 8
Starting the appliance ....................................................... 9
Inspections before each use ................................................. 9
Operating procedures ........................................................... 9
Switching ON the appliance ................................................. 9
Operating modes (control panel) ........................................ 10
Description of the yellow status LED 3 .............................. 10
Switching OFF the appliance .............................................. 10
Operation in frost conditions ......................................... 11
Winterising ........................................................................ 11
Winterising the appliance ................................................... 11
Winterising the RV with a winterising fluid ........................ 11
AquaGo technical data .................................................... 12
Approval ............................................................................ 12
Maintenance ..................................................................... 13
Draining the water and cleaning the water inlet filter ........ 13
Decalcification .................................................................. 14
Decalcification frequency ................................................... 14
Performing decalcification .................................................. 14
Interrupting decalcification ................................................. 16
Accessories ....................................................................... 16
Troubleshooting ............................................................... 17
Truma warranty policy .................................................... 18
Installation Instructions
Safety behaviour and practices .................................... 19
Selecting a suitable location .......................................... 19
Preparing for installation ................................................ 19
Unpacking the appliance .................................................... 19
Preparing the installation site .............................................. 19
Preparing the gas connection ............................................. 20
– Gas side connection ......................................................... 20
– Gas rear connection ......................................................... 21
Preparing the water connection ......................................... 21
Preparing the 12 VDC electrical connection ....................... 21
Connection diagrams .......................................................... 22
Mounting the control panel ................................................ 23
Installing the appliance ................................................... 23
Gas connection ................................................................. 24
Connecting the gas line (gas side connection) ................... 24
Connecting the gas line (gas rear connection) ................... 25
Functional check .............................................................. 26
APPENDIX A – Error Codes ............................................ 27
APPENDIX B – Functional Diagram .............................. 29
APPENDIX C – Spare Parts (all models) ....................... 31
APPENDIX D – Electrical Connection Diagram .......... 33
APPENDIX E – Notes for painting the access door
and cover plate ...................................... 34

