Trust Compact Scan USB 19200
2
1. Introduction
This instruction manual is intended for users of the Trust Compact Scan USB 19200. Some experience with
computers is necessary when installing this product. In case of doubt consult one of the Trust Customer Care
Centres. The last page of this electronic instruction manual, as well as the reverse of the printed quick
installation manual, contains more information about these Customer Care Centres.
1.1 Conventions
This manual uses the following layout conventions for instructions:
<key> Requires the user to press a key. The key legend is shown between the angle brackets.
‘System’ This is a software-specific term, e.g. a term used by Windows.
[DIR] Text in this font is to be typed by the user.
(Term) The text between the parentheses (….) is the English term, e.g. (File), referred to in the
accompanying illustration.
Additional information is shown as follows:
Note: If you connect the scanner to a USB-HUB, the USB-HUB should have its own power supply.
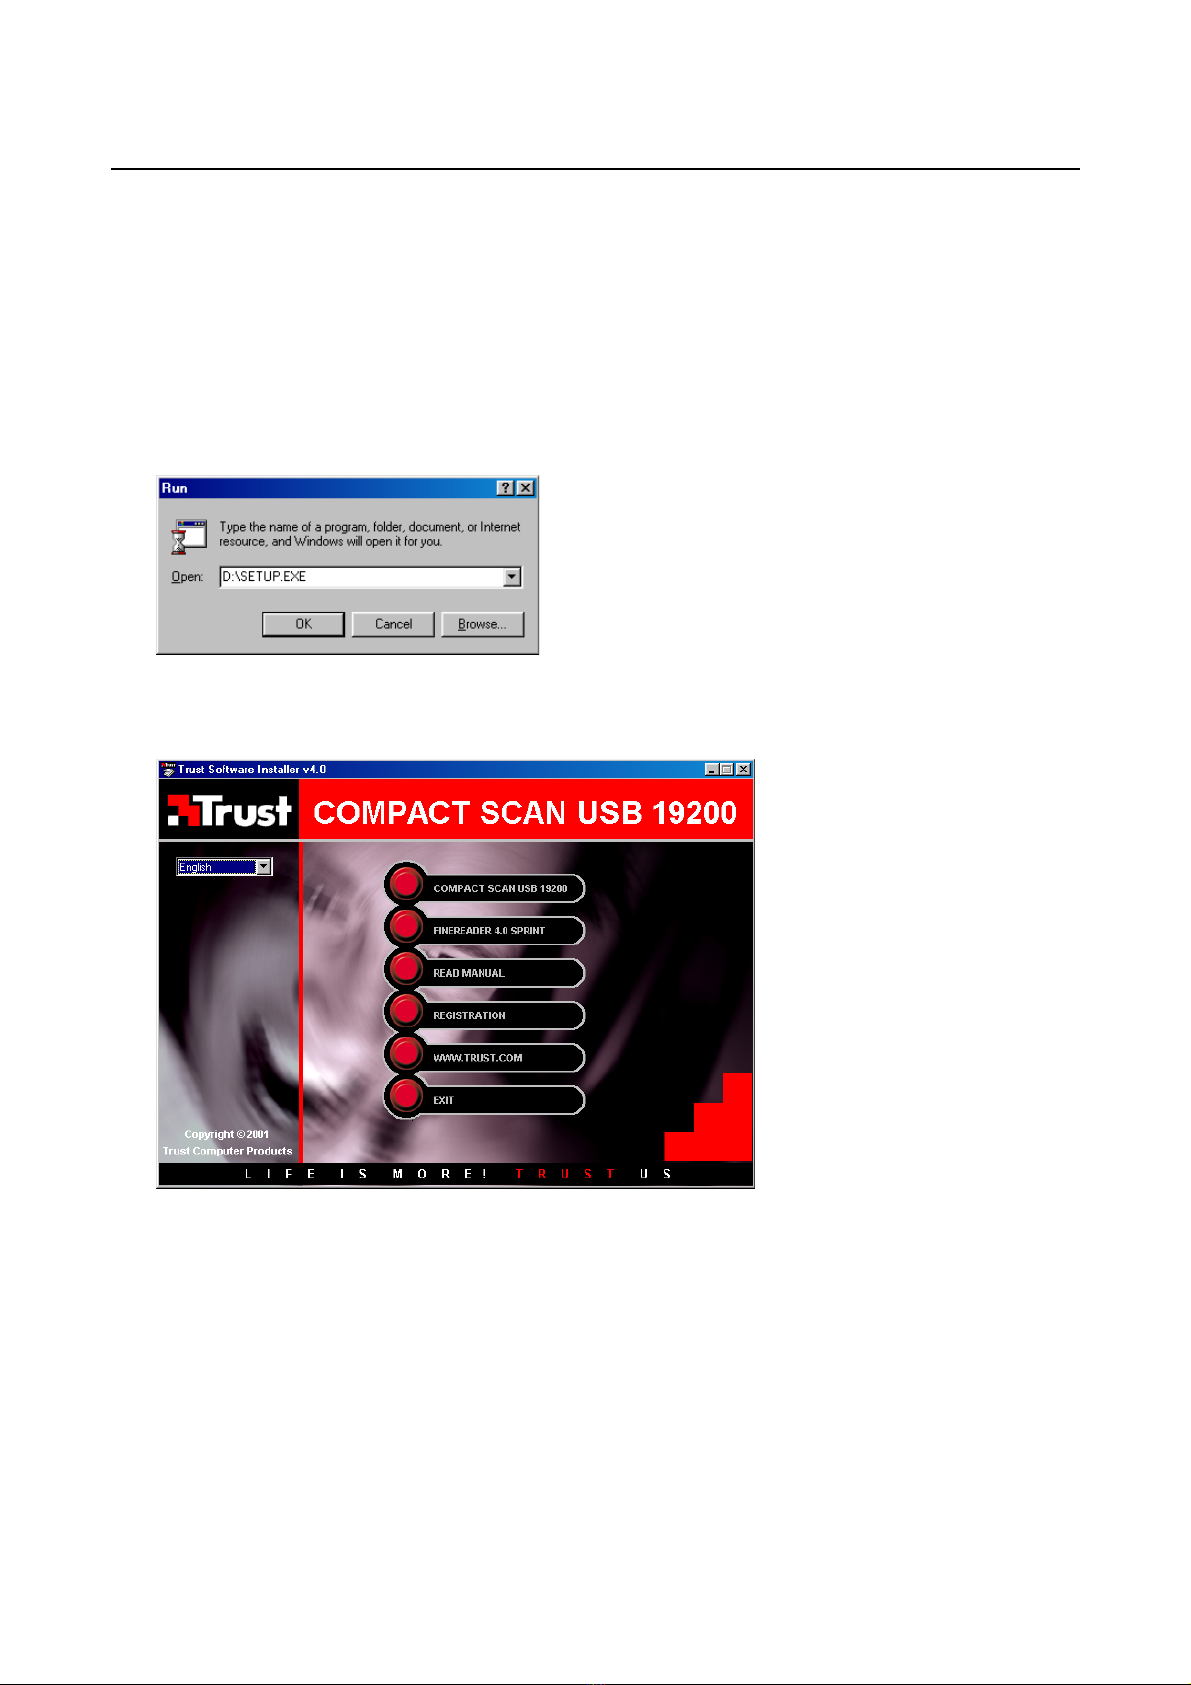
The examples given assume that the letter “D” has been assigned to your CD-ROM station. If your system
uses a different letter for your CD-ROM drive, such as "E", you should replace the drive letter "D" in the text
with "E”.
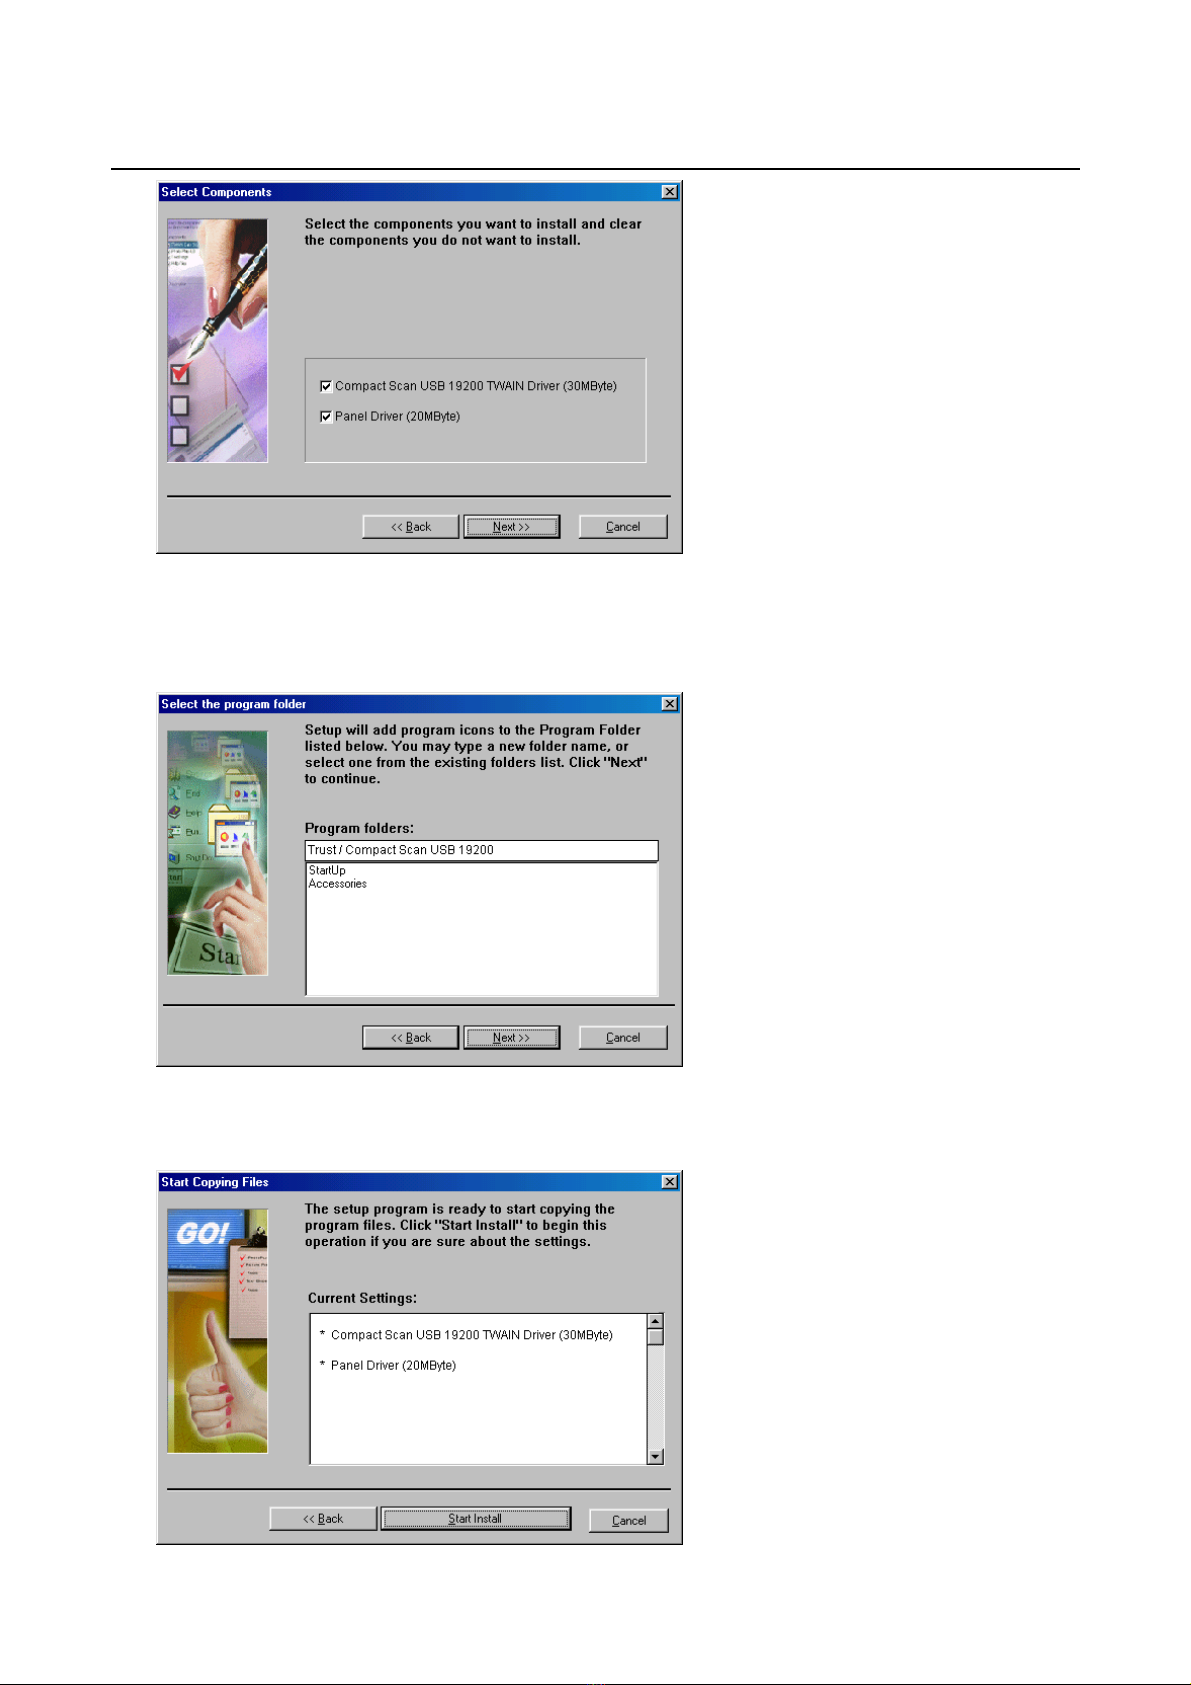
1.2 Contents of the package
Check the contents of the package before reading the User's manual. You should have the following items:
•Scanner;
•CD-ROM with drivers and applications;
•CD-ROM with PhotoExpress 3.0;
•This manual.
Should there be anything missing or damaged, contact one of the Trust Customer Care Centres. You will find
more information about this on the reverse of this instruction manual.
1.3 Minimum system requirements
•Intel Pentium 166MMX CPU
•Free USB port
•16 MB RAM
•60 MB free hard disk space (for steering program, additional HDD room necessary for applications)
•4x CD-ROM drive
•Windows 98, ME or 2000