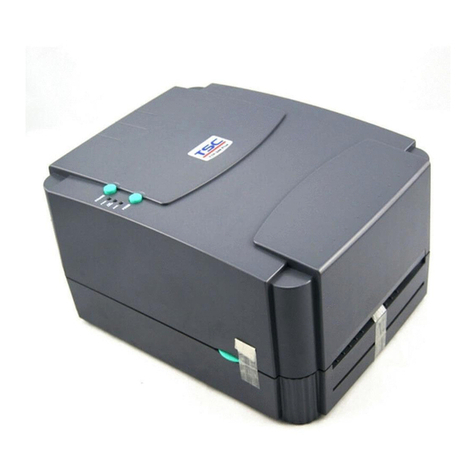
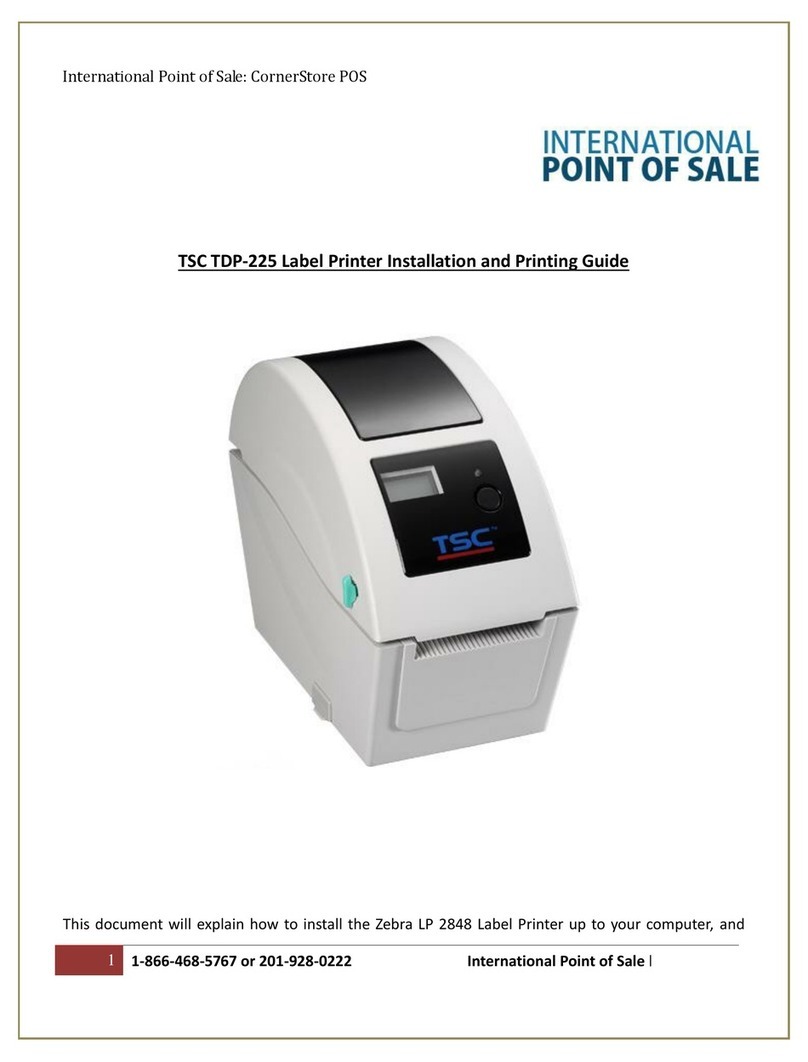
TSC TDP-225 User manual

TDP-225 /TDP-324/ TDP-225W/ TDP-324W
SERVICE
MANUAL
DIRECT THERMAL BAR CODE PRINTER

i
TDP-225/TDP-324/TDP-225W/TDP-324W
Bar Code Printer Service Manual
TABLE OF CONTENT
1. OVERVIEW................................................................................................................1
1.1 Front View ...............................................................................................................1
1.2 Interior View ............................................................................................................2
1.3 Rear View.................................................................................................................3
2. ELECTRONICS..........................................................................................................4
2.1 Summary of Board Connectors.............................................................................4
2.2 Pin Configuration....................................................................................................8
3. MECHANISM...........................................................................................................10
3.1 Replacing Feed Button PCB (Feed Button PCB with LCD Module/ Option for
TDP-225/324 Model)....................................................................................................10
3.2 Replacing the Main Board and RS-232 (Ethernet interface board/ Option for
TDP-225/324 model)....................................................................................................12
3.3 Replacing the Platen Roller Assembly................................................................15
3.4 Replacing the Media Holder Hub (For TDP-225/324 model)..............................16
3.5 Replacing the Print Head Assembly....................................................................17
3.6 Replacing the Stepping Motor.............................................................................18
3.7 Peel-off Module Installation (Option) ..................................................................19
3.8 Cutter Module Installation (Option).....................................................................21
3.9 Replacing the Media Holder.................................................................................23
3.10 Replacing the Head Open Sensor .....................................................................24
4. TROUBLESHOOTING.............................................................................................25
4.1 LED Status.............................................................................................................25
4.2 Print Quality ..........................................................................................................26
4.3 LCD display (Option for TDP-225/324 model).....................................................28
5. MAINTENANCE....................................................................................................... 29
UPDATE HISTORY......................................................................................................31
TDP-225 Series
Bar Code Printer Service Manual
1
1. OVERVIEW
1.1 Front View
TDP-225/324 model
TDP-225W/324W model
1. Top cover open lever
2. MicroSD card socket
3. Media view window
4. LED indicator
5. Feed button
6. Paper exit chute
7. LCD display (Option for TDP-225/324 model)
* Recommended MicroSD card specification.
SD card spec
SD card capacity
Approved SD card manufacturer
V1.0, V1.1
MicroSD 128 MB
Transcend, Panasonic
V1.0, V1.1
MicroSD 256 MB
Transcend, Panasonic
V1.0, V1.1
MicroSD 512 MB
Transcend, Panasonic
V1.0, V1.1
MicroSD 1 GB
Transcend, Panasonic
V2.0 SDHC CLASS 6
MicroSD 4 GB
Transcend
- The DOS FAT file system is supported for the SD card.
- Folders/files stored in the SD card should be in the 8.3 filename format
1
3
4
5
2
6
1
3
4
5
2
6
7

TDP-225 Series
Bar Code Printer Service Manual
2
1.2 Interior View
1. Top cover
2. Media holder
3. Media guide
4. Printhead
5. Gap sensor (receiver)
6. Gap sensor (transmitter)
7. Platen roller
8. Black mark sensor
9. Media holder lock switch
7
6
5
4
1
8
3
2 (TDP-225 model)
2 (TDP-225W
model)
9

TDP-225 Series
Bar Code Printer Service Manual
3
1.3 Rear View
TDP-225/324 model
TDP-225W/324W model
1. Power switch
2. Power jack socket
3. USB interface
4. RS-232C interface(Option for TDP-225W/324W mode)
5. Fan-fold paper entrance chute
6. Ethernet interface (Option for TDP-225/324 model)
1
4
3
2
5
6
1
3
2

TDP-225 Series
Bar Code Printer Service Manual
4
2. ELECTRONICS
2.1 Summary of Board Connectors
Main board
Connector
Description
Remark
1
USB connector
JP56
2
RS-232 interface board connector
JP50
3
Gap sensor receiver connector
JP34
6
1
2
3
4
5
13
7
8
9
10
11
12

TDP-225 Series
Bar Code Printer Service Manual
5
Pin
Description
Voltage
1
Power
3.3V
2
GAP sensor receiver AD
0~3.3V
4
Feed key and LED connector
JP28
Pin
Description
Voltage
1
Power
3.3V
2
LED green
LED light on: 1.1~1.4V
LED light off: 1.6~1.9V
3
LED red
LED light on: 1.4~1.7V
LED light off: 1.8~2.1V
4
Feed switch
0V: Push key
3.3V: Stand-by
5
GND
0V
5
Print head connector
JP55
6
Micro processor
7
Stepping motor connector
JP14
8
Black mark sensor connector
JP17
Pin
Description
Voltage
1
Power
3.3V
2
Gap sensor emitter
Emitter on : 2.1~2.3V
Emitter off: 2.6~2.8V
3
Black mark sensor
emitter
Emitter on : 2.1~2.3V
Emitter off: 2.6~2.8V
4
Black mark sensor
receiver AD
0~3.3V
9
Head open sensor connector
JP16
Pin
Description
Voltage
1
Power
0V to 1.2V to 0V, 10ms square wave
continued
2
Head open
sensor receiver
Head close: 3.3V to under 1.0V to 3.3V,
10ms square wave continued
Head open: 3.3V continued
3
GND
0V
10
LCD connector (Option)
JP1
11
Peel-off sensor connector
JP19

TDP-225 Series
Bar Code Printer Service Manual
6
Pin
Description
Voltage
1
Power
3.3V
2
Reserved
3
Peel sensor emitter
Emitter on: 2.1~2.3V
Emitter off: 2.6~2.8V
4
Peel sensor receiver AD
0~3.3V
5
GND
0V
12
Cutter connector
JP35
Pin
Description
Voltage
1
Cutter power
24V
2
GND
0V
3
Cutter direction
0V: Cutter positive cut
5V: Cutter negative cut
4
Cutter enable
0V: Cutter work
5V: Cutter stop
5
Cutter position sensor
switch
0V: Cutter stop
3.3V: Cutter work
6
GND
0V
7
Logic power
5V
8
Reserved
13
microSD socket
JP2
Standard board
Connector
Description
Remark
1
RS232 connector
JP5
2
Main board connector
JP50
1
2

TDP-225 Series
Bar Code Printer Service Manual
7
Option board
Connector
Description
Remark
1
Ethernet connector/RJ-45
JP4
2
Main board connector
JP50
2
1

TDP-225 Series
Bar Code Printer Service Manual
8
2.2 Pin Configuration
RS-232
PIN
CONFIGURATION
1
+5 V
2
TXD
3
RXD
4
CTS
5
GND
6
RTS
7
N/C
8
RTS
9
N/C
USB
PIN
CONFIGURATION
1
N/C
2
D-
3
D+
4
GND
Ethernet (Option)
PIN
CONFIGURATION
1
Tx+
2
Tx-
3
Rx+
4
N/C
5
N/C
6
Rx-
7
N/C
8
N/C

TDP-225 Series
Bar Code Printer Service Manual
9
USB host (TDP-225W/324W/Option)
PIN
CONFIGURATION
1
+5V
2
D-
3
D+
4
GND

TDP-225 Series
Bar Code Printer Service Manual
10
3. MECHANISM
Please turn off the power switch and unplug the power adapter before replacing parts.
3.1 Replacing Feed Button PCB (Feed Button PCB with LCD
Module/ Option for TDP-225/324 Model)
1. Open the printer top cover by pulling the tabs located on each side towards the front
of the printer, and then lift the top cover to the maximum open angle.
2. Use the screwdriver to remove the 6 screws from the top inner cover.
3. Disconnect the harness from the feed button PCB and remove the 3 screws from the
feed button PCB holder.
Screws
Screws

TDP-225 Series
Bar Code Printer Service Manual
11
4. Remove three screws that fixed the feed button PCB to the holder.
5. Replace the feed button PCB or feed button PCB with LCD module.
6. Reassemble the parts in the reverse procedure.
Screws
Feed button PCB
Feed button
PCB harness
Screws
LCD harness
(Option)
Feed button PCB with LCD
module (Option)

TDP-225 Series
Bar Code Printer Service Manual
12
3.2 Replacing the Main Board and RS-232 (Ethernet interface
board/ Option for TDP-225/324 model)
1. Open the top cover and remove the lower front cover.
2. Close the top cover. Then turn the printer upside down and use the screwdriver to
remove the 4 screws from lower cover.
3. Remove the lower cover.
Lower front cover
Screws
Screws

TDP-225 Series
Bar Code Printer Service Manual
13
4. Remove 2 screws from the main board and RS-232/Ethernet interface board.
5. Disconnect all connectors from the main board.
6. Remove/Replace the main board and RS-232/Ethernet interface board.
Main board
RS-232
Interface
board
Lower cover
Screws
Ethernet
Interface
board
(Option)

TDP-225 Series
Bar Code Printer Service Manual
14
7. Take off the interface plate from the lower cover.
8. Reassemble the PCB, lower cover and lower front cover in reverse procedures.
9. Insert the under side of interface plate first then push the upper side of interface
plate to replace it.
Interface plate
PUSH

TDP-225 Series
Bar Code Printer Service Manual
15
3.3 Replacing the Platen Roller Assembly
1. Open the printer top cover and remove the lower front cover.
2. Take out the platen roller assembly from the lower inner cover by pressing on the
right side and left side holder tabs of platen.
4. Replace a new platen roller assembly.
5. Reassemble the parts in the reverse procedures.
Tabs
Lower front cover

TDP-225 Series
Bar Code Printer Service Manual
16
3.4 Replacing the Media Holder Hub (For TDP-225/324 model)
1. Open the printer top cover.
2. Hold the media holder and push the bottom of the media holder hub to remove the media
holder hub.
3. Refer to the same steps to remove the other media holder hub.
4. Reassemble the parts in the reverse procedures.
PUSH

TDP-225 Series
Bar Code Printer Service Manual
17
3.5 Replacing the Print Head Assembly
1. Open the printer top cover.
2. Press left concave of the print head bracket then pick up the print head assembly.
3. Disconnect the print head harness. Replace the print head assembly.
4. Reassemble the parts in the reverse procedures.
Print head assembly

TDP-225 Series
Bar Code Printer Service Manual
18
3.6 Replacing the Stepping Motor
1. Refer to section 3.2 to remove main board and RS-232/Ethernet interface board.
2. Use the screwdriver to remove the 2 screws.
3. Remove/Replace the stepping motor.
4. Reassemble the parts in the reverse procedures.
Screws
Stepping motor
Other manuals for TDP-225
4
This manual suits for next models
3
Table of contents
Other TSC Label Maker manuals

TSC
TSC CPX4D Series User manual

TSC
TSC TTP-248M User manual

TSC
TSC ME240 series User manual

TSC
TSC Alpha-3R User manual

TSC
TSC TX200 Series User manual

TSC
TSC PEX1000 Series User manual

TSC
TSC CPX4P Series User manual

TSC
TSC M23 series Owner's manual

TSC
TSC CPX4D Series Operating and maintenance manual

TSC
TSC TDP-225 User manual