Tuni Prism WA01072 User manual

User Manual
CareCo, Hubert Road, Brentwood, Essex, CM14 4JE
Product Code: WA01072
lightweight rollator

INDEX
1. Product Features
2. Parts List
3. Labelling
4. Warnings
5. Instructions for use
6. Warranty
1
2-4
4
5-7
7-11
11
1. INTRODUCTION
Thank you for purchasing the Tuni Prism outdoor rollator. This product is intended for
use by people who need assistance with mobility in outdoor activities.
This product is adjustable from 93 to 101cm (Adjustable handle height) and should only be used
between temperature range -20C to 50C

1
2. PRODUCT FEATURES
The Tuni Prism rollator is newly designed with below features:
Handle height is adjustable.
The backrest is detachable.
The rollator is foldable
The front wheels roll freely and can be quickly released.
There is a curb climber attached to the end of rear wheel tubing in order for help moving
over blocks or steps.
The brake system consists of both upward running brakes and downward parking
brakes.
Rear wheels with curb climber can be quick released.
3. Parts List
1
3
6
8
10
11
2
13
12
5
7
9
4
1. Handgrip
2. Brake
3. Bell
4. Backrest
5. Handle
6. Snap button
7. Seat
8. Frame
9. Shopping bag
10. Cross brace
11. Rear wheel
12. Front wheel
13. Front wheel fork
(Figure 1)

2
Note: Each part is not more than 5kg.
No. Description Quantity
1 Handgrip 2
2 Handle tubing 2
3 Backrest 1
4 Seat 1
5 Cane holder 1
6 Front wheel 2
7 Front wheel fork 2
8 Rear wheel 2
9 Cross brace 2
10 Main frame tubing 2
11 Button 2
12 Brake 2
13 Bell 1

3
4. LABELLING
Compliance with all requirement of EU directives
Logo of Genteel Homecare Products Co., Ltd
Read carefully the instructions before use
Max capacity label: 136KG
Warning label for seat
Capacity for shopping bag

4
DO NOT install or use this equipment without first reading and understanding this instruc-
tion manual. If you are unable to understand the Warnings, Cautions or Instructions, contact a
healthcare professional, dealer or technical personnel before attempting to install this equip-
ment - otherwise, injury or damage may occur.
Each individual should always consult with their physician or therapist to determine proper
adjustment and usage.
Rollators are NOT intended to be self-propelled while seated.
A physical/occupational therapist should assist in the height adjustment of the rollator for
maximum support and correct brake activation, the fixture of the screw, the position of the
quick release/assembly kits.
Always ensure screws are fastened to the connector, so that the connector can’t move when
forced.
Ensure all snap buttons fully protrude through adjustment holes. Failure to follow these
warnings can result in personal injury.
Care should be taken to ensure that ALL hand and height adjustments are secure, and that
casters and moving parts are in good working order before using this or any mobility aid.
All wheels MUST be in contact with the floor at ALL TEMES during use. This will ensure the
rollator is properly balanced. The brakes MUST be in the locked position BEFORE using the
seat.
When using the rollator in a stationary position, the hand brakes MUST be locked.
Warning for stability
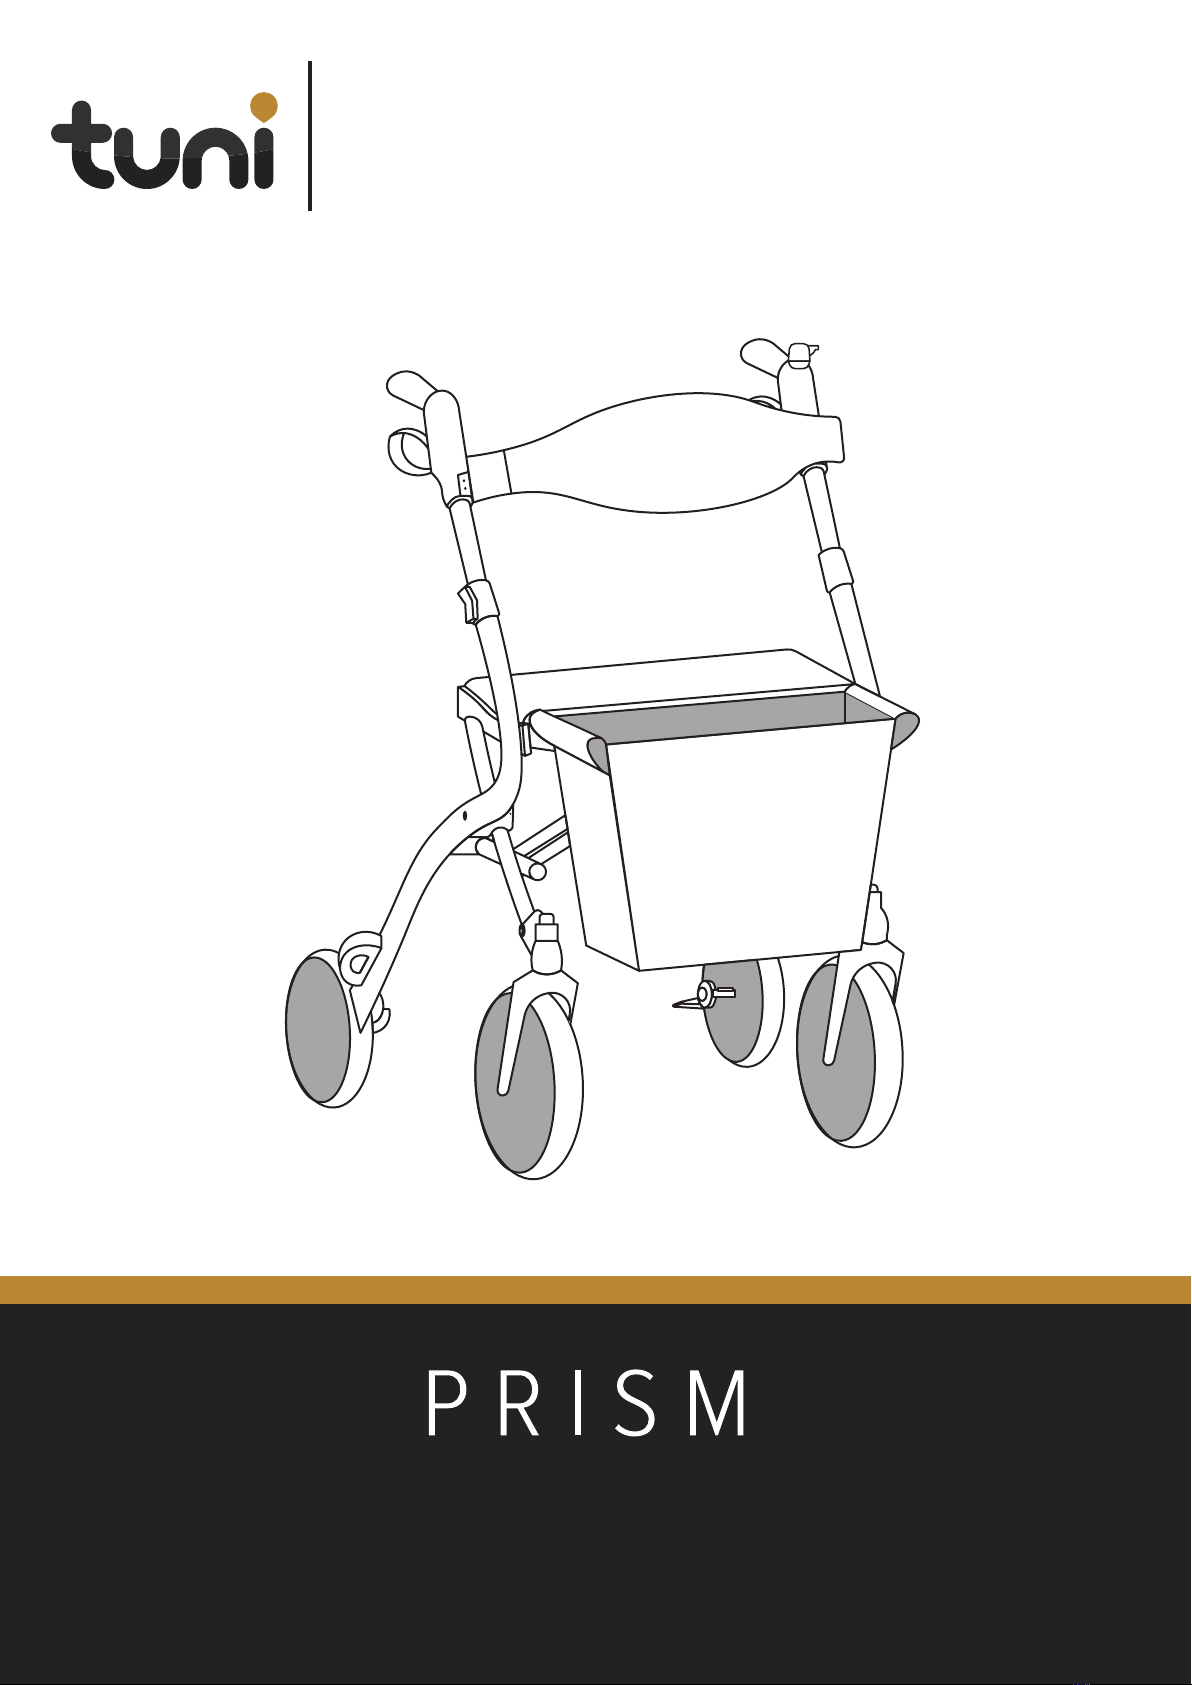
The maximum loading is 136KG (300lbs) including the
weight in the accessory.
The capacity for the shopping bag is 6kg (11lbs)
Warning for folding / assembly
When the rollator is opened or set up, make sure the seat tubing is tight using with the
levers at both sides of the seat, and make sure the bolts are tightly locked with no movement
between the joints. Do not hang additional weight on either side of the rollator as this may
cause injury due to unevenly distributed loads.
Safety warning
Handle the tubing with care, as violently shaking may cause malfunction of the brake
cable inside the tubing. Always make sure the handle height on both sides is the same and the
knob is tightened. Regularly check the product joints to make sure it is safe for use and locked in
the right position.
5. WARNINGS

5
Height Adjustment
1. The handle height adjustment knob must always be locked during usage to avoid injury.
2. Before tightening the knob, always make sure the hole of the handle bar matches with
the hole on the frame. Otherwise, it may cause damage to the knob or the handle bar.
6. INSTRUCTIONS FOR USE
Instructions
1. Open the box and take out the product out with care.
2. Place the product on a platform and assemble the rear wheel tubing into the frame, then
tighten it by button as shown in below picture.
3. Insert the front wheel part into the housing until a click is heard which means in safe
status as shown in picture below.
(Figure 2)
(Figure 3)

6
Note: before usage, apply some load on the handle bar of rollator to see if there is any
movement. If no movement and the lever is fixed there tightly, then the rollator can be
used.
4. Lift the seat upward, to fold the rollator as shown in picture below.
The rollator could be folded
inwards side after the seat is
lifted up.
(Figure 4)
Installation / Adjustment of the handle
Note: Pull out of handle bar with gentle and stable force to protect brake system and avoid
accident. To adjust the height of the handle bar loosen the knob, and adjust the handle to the
desired height. The user should be able to rest their hands comfortably on the handle bar -
once this position is reached, tighten the knob to lock in place.

7
Assembly / adjustment of brake cable
Note: Do not pull the brake cable out of the handle tube when installing or adjusting the
handle height to avoid accident or damage to the brake system.
1. The position of brake cable
Note: The brake cable should moves through inside the handle tubing whilst in use.
2. Choose to release brake or tighten brake following below instruction:
A. Release the adjustment knob: turn it in counter-clockwise direction.
B. Lock the adjustment knob: turn it clockwise side.
Use/Lock/Activate the brake
NOTE: Refer to Assembly warnings in the Safety warning in this instruction sheet.
Use of hand brake:
Pull the the brake up towards the hand grips.
A. REMAIN STATIONARY—hold the brake handle UP
B. CONTINUE MOBILITY – release the brake handle
Lock of the brake
Push DOWN on the bottom portion of the brake handle as shown until an audible “click” is
heard as shown in Figure B.
Figure A (To be adjusted)
Figure B (Locking position)

8
Activate the brake
1. Pull UP the brake handles to release as shown in Figure A
2. Release the brake
Care and maintenance
1. Ensure that all fixing hardware is secure at ALL times.
2. Check screw securing seat to side slot for tightness. If not, tighten them.
3. Replace any broken, damaged or worn items immediately.
Maintanence of Wheels
1. Clean wheels with warm water and mild cleanser. Dry with clean rag.
2. Lubricate with 3-in-1 oil periodically or if wheels begin to squeak.
Instruction for washing
Clean the rollator and its wheels with warm water and mild cleanse. DO NOT use any
chemicals with causticity. Otherwise, it may damage the surface of the rollator.
7. WARRANTY
Quality / Warranty Declaration
Products are to be fit for purpose and of excellent quality and performance. For valid warranty
claims CareCo (UK) Ltd will, at their discretion, replace / repair / refund items mutually agreed
to be defective.
The scooter’s warranty is as follows:-
»Frame: Two year limited warranty
»Controllers: One and a half year limited warranty
»Electronic Components and Charger: One year limited warranty
»Warranty Exclusion: The following items are not covered by warranty:-
Motor Brushes / Wheel Tyres / Arm Pads
Seat Cushion / Fuses and Bulbs / Tiller Cover
Rear Shroud / Front Shroud Batteries and Consumable Parts
Any damage or defect of any nature occurring from the misuse, abuse of the product, improper
operation or improper storage is not to be covered. The warranty is to start from the date of
arrival of our products.
Table of contents
Other Tuni Mobility Aid manuals
Popular Mobility Aid manuals by other brands

Roscoe Medical
Roscoe Medical ROS-RLTRAN quick start guide

Direct Healthcare Group
Direct Healthcare Group SystemRoMedic MiniLift160EE user manual

Schuchmann
Schuchmann Fridolin 1 Instructions for use

Mobility Research
Mobility Research LiteGait quick start guide

hugo
hugo 700-957 quick start guide

Invacare
Invacare Lynx L-3X parts catalog