manuals.online logo
Brands
  1. Home
  2. •
  3. Brands
  4. •
  5. Tunturi
  6. •
  7. Fitness Equipment
  8. •
  9. Tunturi Platinum Cable Cross Stand Alone Unit User manual

Tunturi Platinum Cable Cross Stand Alone Unit User manual

Other Tunturi Fitness Equipment manuals

Tunturi SM80 User manual

Tunturi

Tunturi SM80 User manual

Tunturi WB50 User manual

Tunturi

Tunturi WB50 User manual

Tunturi Cardio Fit R25 Rower User manual

Tunturi

Tunturi Cardio Fit R25 Rower User manual

Tunturi CT80 User manual

Tunturi

Tunturi CT80 User manual

Tunturi Power Roller 11TUSFU031 User manual

Tunturi

Tunturi Power Roller 11TUSFU031 User manual

Tunturi RC20 Cross Fit Rack User manual

Tunturi

Tunturi RC20 Cross Fit Rack User manual

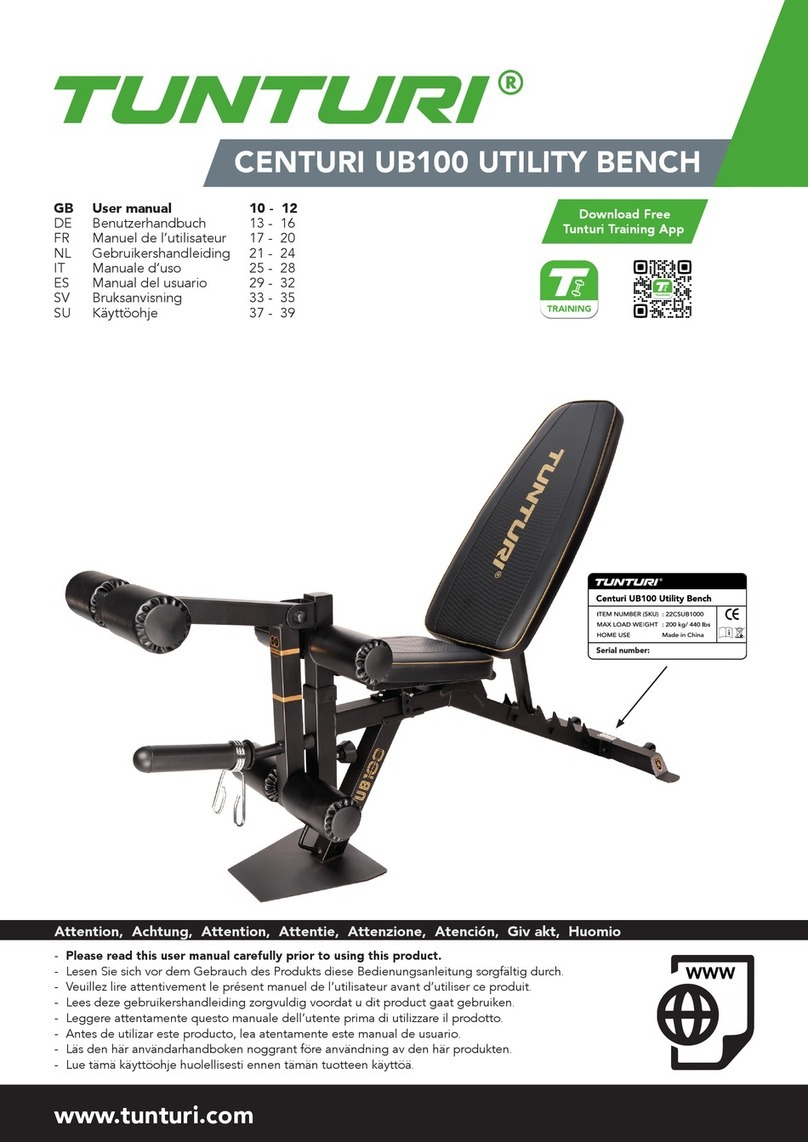
Tunturi CENTURI UB100 User manual

Tunturi

Tunturi CENTURI UB100 User manual

Tunturi PT 40 User manual

Tunturi

Tunturi PT 40 User manual

Tunturi UB20 User manual

Tunturi

Tunturi UB20 User manual

Tunturi CT 40 User manual

Tunturi

Tunturi CT 40 User manual

Tunturi Pro Power Rack RC20 User manual

Tunturi

Tunturi Pro Power Rack RC20 User manual

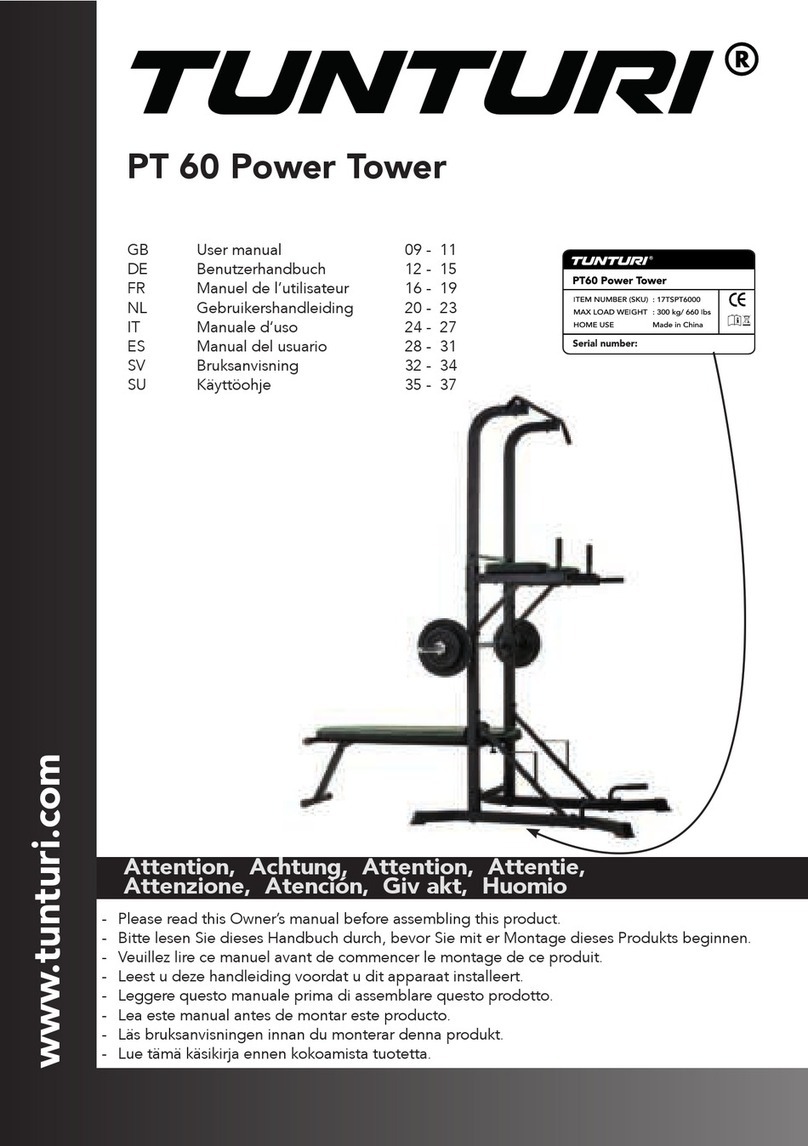
Tunturi PT 60 User manual

Tunturi

Tunturi PT 60 User manual

Tunturi Pure Cross F 8.1 User manual

Tunturi

Tunturi Pure Cross F 8.1 User manual

Tunturi PT 60 User manual

Tunturi

Tunturi PT 60 User manual

Tunturi HG40 User manual

Tunturi

Tunturi HG40 User manual

Tunturi C50-R User manual

Tunturi

Tunturi C50-R User manual

Tunturi R20 Rower User manual

Tunturi

Tunturi R20 Rower User manual

Tunturi 17TSHG1000 User manual

Tunturi

Tunturi 17TSHG1000 User manual

Tunturi R50W User manual

Tunturi

Tunturi R50W User manual

Tunturi Pure Olympic Bench User manual

Tunturi

Tunturi Pure Olympic Bench User manual

Tunturi Cardio Fit V10 User manual

Tunturi

Tunturi Cardio Fit V10 User manual

Tunturi Platinum User manual

Tunturi

Tunturi Platinum User manual

Tunturi Pure CF 4.0 User manual

Tunturi

Tunturi Pure CF 4.0 User manual

Tunturi UB 8.0 User manual

Tunturi

Tunturi UB 8.0 User manual

Popular Fitness Equipment manuals by other brands

Revitive Arthritis-Knee user manual

Revitive

Revitive Arthritis-Knee user manual

Domyos BM100 operating instructions

Domyos

Domyos BM100 operating instructions

Movement EDGE PUXADA ALTA Assembly manual

Movement

Movement EDGE PUXADA ALTA Assembly manual

Lifeline LLUWB-BLK owner's manual

Lifeline

Lifeline LLUWB-BLK owner's manual

Precor CW-816 Assembly guide

Precor

Precor CW-816 Assembly guide

Balanced Body Precision Rotator Discs manual

Balanced Body

Balanced Body Precision Rotator Discs manual

G-FITNESS AIR ROWER user manual

G-FITNESS

G-FITNESS AIR ROWER user manual

CAPITAL SPORTS Dominate Edition 10028796 manual

CAPITAL SPORTS

CAPITAL SPORTS Dominate Edition 10028796 manual

Martin System TT4FK user guide

Martin System

Martin System TT4FK user guide

CIRCLE FITNESS E7 owner's manual

CIRCLE FITNESS

CIRCLE FITNESS E7 owner's manual

G-FITNESS TZ-6017 user manual

G-FITNESS

G-FITNESS TZ-6017 user manual

Accelerated Care Plus OMNISTIM FX2 CYCLE/WALK user manual

Accelerated Care Plus

Accelerated Care Plus OMNISTIM FX2 CYCLE/WALK user manual

pedalo 20230165 manual

pedalo

pedalo 20230165 manual

Saebo SaeboStim Pro Instructions for use

Saebo

Saebo SaeboStim Pro Instructions for use

Performance HyperVibe User instructions

Performance

Performance HyperVibe User instructions

Scalamobil S27 Operator's manual

Scalamobil

Scalamobil S27 Operator's manual

Precor Experience Series Service manual

Precor

Precor Experience Series Service manual

FYTTER RedMIUM BENCH BE-T6R manual

FYTTER

FYTTER RedMIUM BENCH BE-T6R manual

manuals.online logo
manuals.online logoBrands
  • About & Mission
  • Contact us
  • Privacy Policy
  • Terms and Conditions

Copyright 2025 Manuals.Online. All Rights Reserved.

www.tunturi.com Cable Cross Stand Alone Unit Owner’s Man-
Owner’s Manual
Revision 0
Record Serial Number Here
Platinum by Tunturi
www.tunturi.fi
Date of Purchase
September 2010
Cable Cross Stand Alone Unit
Platinum by Tunturi 2 Cable Cross Stand Alone Unit Owner's
__________ Page
Instructions 2
Parts Listing 3
Hardware Comparison 4-7
Pre-Assembly Instructions 8
Congratulations on the purchase of your new Cable Cross Stand Alone Unit. This gym will provide you with a lifetime of en-
joyment to meet your strength training needs. Platinum by Tunturi strives to build the best quality multi-station gyms and to package
these gyms in such a way to avoid any damage during shipping.
In order to get started with your assembly you should first familiarize yourself with this manual. It is recommended that you
read through each step thoroughly before you begin. Begin by opening your boxes and separating all of your parts. Verify that all
parts are accounted for and have no damage. When all parts are accounted for, you may begin your assembly. Some items may
have been pre-assembled for your convenience. Please note that hardware quantities shown reflect total quantities for your gym and
may not reflect actual quantities in each bag. Assemble your gym on a solid level surface. This will ensure the best possible perform-
ance, function, and safety for the gym and your workout.
Assemble your gym according to the step by step instructions found in this manual. Failure to do so will void your warranty
and may result in personal injury. After assembly, you should check each station to ensure correct operation. If a problem arises,
recheck your assembly with these instructions to verify correct assembly. If you are unable to correct a problem or have questions
with your assembly please contact your authorized Tunturi dealer.
Platinum by Tunturi has built this gym to give you a safe, effective and enjoyable workout. However, there
is a risk assumed by individuals who use this type of equipment. It is very important that all warnings and
instructions are read and followed before beginning any exercise program.
It is also very important to read and follow the preventative maintenance schedule described in this
manual. If any of the warning labels or stickers are worn, faded, torn, scratched or missing they should be replaced
immediately.
WARNING:There is a risk assumed by individuals who use this type of equipment. To minimize risk
always follow these rules.
1) It is essential that you consult with your physician before beginning any exercise program.
2) Inspect equipment before each use for loose, worn, or frayed parts (including cables, nuts and bolts). Replace
parts at first signs of wear (use only genuine Tunturi replacement parts). Use of equipment that is damaged,
worn, frayed or not completely assembled on a solid, level surface may result in injury.
3) Make sure all adjustment pins are fully engaged before using equipment.
4) Keep all parts of the body and clothing outside the path of any moving parts of the gym. Be alert to the
possibility of injury. Do not be careless.
5) Minors and children should not be allowed to play on or around this gym.
6) If you have any questions on proper use or maintenance of this gym, do not hesitate to call your local
PLATINUM BY TUNTURI distributor or TUNTURI www.tunturi.com
__________ Page
Main Assembly 9-13
Maintenance 14
Floor plan Layout 15
Contact 16
Table of Contents
Instructions
Warning
www.tunturi.com 3 Cable Cross Stand Alone Unit Owner’s
Frame Components
ITEM NO. DESCRIPTION QTY
1 Side Frame 2
2 Short Base Frame 1
3 Upright Support Frame 2
4 Wall Mount Tube 2
5 Selector Tube 2
6 Right Side Height Adjustment 1
7 Left Side Height Adjustment 1
8 Swivel Pulley Holder 2
9 Upper Support Brace 1
10 Pulley Holder/ Support Plate 4
11 Extended Upper Support Brace 1
12 Front Angle Bracket 1
13 Rear Angle Bracket 1
Tools Required
Hardware
ITEM NO. DESCRIPTION QTY
14 HCS 3/8”-16 x 5 1/4” 8
15 HCS 3/8”-16 x 2 3/4” 4
16 HCS 3/8”-16 x 2 1/2” 10
17 3 1/2” Pulley 4
18 Threaded Collar 2
19 HCS 3/8”-16 x 1 1/4 4
20 FHSCS 3/8”-16 x 3” 2
21 FHSCS 3/8”-16 x 5 1/4” 2
22 3/8” Flat Washer 64
23 3/8” Nylock 34
24 HCS 3/8”-16 x 2 1/4” 4
25 Plate 2
• 9/16” Wrench
• 9/16” Ratchet
• 3/4” Wrench
• Allen Wrench Set
• Tape Measure
Platinum by Tunturi 2 Cable Cross Stand Alone Unit Owner's
__________ Page
Instructions 2
Parts Listing 3
Hardware Comparison 4-7
Pre-Assembly Instructions 8
Congratulations on the purchase of your new Cable Cross Stand Alone Unit. This gym will provide you with a lifetime of en-
joyment to meet your strength training needs. Platinum by Tunturi strives to build the best quality multi-station gyms and to package
these gyms in such a way to avoid any damage during shipping.
In order to get started with your assembly you should first familiarize yourself with this manual. It is recommended that you
read through each step thoroughly before you begin. Begin by opening your boxes and separating all of your parts. Verify that all
parts are accounted for and have no damage. When all parts are accounted for, you may begin your assembly. Some items may
have been pre-assembled for your convenience. Please note that hardware quantities shown reflect total quantities for your gym and
may not reflect actual quantities in each bag. Assemble your gym on a solid level surface. This will ensure the best possible perform-
ance, function, and safety for the gym and your workout.
Assemble your gym according to the step by step instructions found in this manual. Failure to do so will void your warranty
and may result in personal injury. After assembly, you should check each station to ensure correct operation. If a problem arises,
recheck your assembly with these instructions to verify correct assembly. If you are unable to correct a problem or have questions
with your assembly please contact your authorized Tunturi dealer.
Platinum by Tunturi has built this gym to give you a safe, effective and enjoyable workout. However, there
is a risk assumed by individuals who use this type of equipment. It is very important that all warnings and
instructions are read and followed before beginning any exercise program.
It is also very important to read and follow the preventative maintenance schedule described in this
manual. If any of the warning labels or stickers are worn, faded, torn, scratched or missing they should be replaced
immediately.
WARNING:There is a risk assumed by individuals who use this type of equipment. To minimize risk
always follow these rules.
1) It is essential that you consult with your physician before beginning any exercise program.
2) Inspect equipment before each use for loose, worn, or frayed parts (including cables, nuts and bolts). Replace
parts at first signs of wear (use only genuine Tunturi replacement parts). Use of equipment that is damaged,
worn, frayed or not completely assembled on a solid, level surface may result in injury.
3) Make sure all adjustment pins are fully engaged before using equipment.
4) Keep all parts of the body and clothing outside the path of any moving parts of the gym. Be alert to the
possibility of injury. Do not be careless.
5) Minors and children should not be allowed to play on or around this gym.
6) If you have any questions on proper use or maintenance of this gym, do not hesitate to call your local
PLATINUM BY TUNTURI distributor or TUNTURI www.tunturi.com
__________ Page
Main Assembly 9-13
Maintenance 14
Floor plan Layout 15
Contact 16
Table of Contents
Instructions
Warning
3 Cable Cross Stand Alone Unit Owner’s
Frame Components
ITEM NO. DESCRIPTION QTY
1 Side Frame 2
2 Short Base Frame 1
3 Upright Support Frame 2
4 Wall Mount Tube 2
5 Selector Tube 2
6 Right Side Height Adjustment 1
7 Left Side Height Adjustment 1
8 Swivel Pulley Holder 2
9 Upper Support Brace 1
10 Pulley Holder/ Support Plate 4
11 Extended Upper Support Brace 1
12 Front Angle Bracket 1
13 Rear Angle Bracket 1
Tools Required
Hardware
ITEM NO. DESCRIPTION QTY
14 HCS 3/8”-16 x 5 1/4” 8
15 HCS 3/8”-16 x 2 3/4” 4
16 HCS 3/8”-16 x 2 1/2” 10
17 3 1/2” Pulley 4
18 Threaded Collar 2
19 HCS 3/8”-16 x 1 1/4 4
20 FHSCS 3/8”-16 x 3” 2
21 FHSCS 3/8”-16 x 5 1/4” 2
22 3/8” Flat Washer 64
23 3/8” Nylock 34
24 HCS 3/8”-16 x 2 1/4” 4
25 Plate 2
•9/16” Wrench
•9/16” Ratchet
•3/4” Wrench
•Allen Wrench Set
•Tape Measure
www.tunturi.fi
Platinum by Tunturi 4 Cable Cross Stand Alone Unit Owner's
Bolt Length Note: Bolt length is measured from
the underside of the head of the bolt.
www.tunturi.com 5 Cable Cross Stand Alone Unit Owner’s
Platinum by Tunturi 4 Cable Cross Stand Alone Unit Owner's
Bolt Length Note: Bolt length is measured from
the underside of the head of the bolt.
5 Cable Cross Stand Alone Unit Owner’s
www.tunturi.fi
Platinum by Tunturi 6 Cable Cross Stand Alone Unit Owner's
www.tunturi.com 7 Cable Cross Stand Alone Unit Owner’s
Platinum by Tunturi 6 Cable Cross Stand Alone Unit Owner's
7 Cable Cross Stand Alone Unit Owner’s
www.tunturi.fi
www.tunturi.fi
www.tunturi.fi
Platinum by Tunturi 8 Cable Cross Stand Alone Unit Owner's
Pre-Assembling Instructions
IMPORTANT: It is important to fix the Cable Cross Stand Alone Unit,
either to the wall or to the floor. This security is needed in order to prevent
the Unit from moving/falling over when weights are being pulled. Units
which are not secured tightly to the wall or floor are not covered by the
Warranty.
Also make sure the wall or floor is able to withstand enough force to sup-
port the Cable Cross Unit. Weak walls/floors or any damage done to the
walls/floors by use of the Cable cross unit is not covered in the Warranty.
See Step 4 for mounting the product.
Mount to the wall
Mount to the wall
Mount to the floor
www.tunturi.com 9 Cable Cross Stand Alone Unit Owner’s
Step 1:
Item # Description Qty.
1 Side Frame 1
2 Short Base Frame 1
3 Upright Support Frame 1
4 Wall Mount Tube 1
Item # Description Qty.
5 Selector Tube 1
6 Right Side Height Adjustment 1
8 Swivel Pulley Holder 1
14 HCS 3/8”-16 x 5 1/4” 4
15 HCS 3/8”-16 x 2 3/4” 2
16 HCS 3/8”-16 x 2 1/2” 1
17 3 1/2” Pulley 2
18 Threaded Collar 1
22 3/8” Flat Washer 18
23 3/8” Nylock 9
24 HCS 3/8”-16 x 2 1/4” 2
25 Plate 1
PLEASE FOLLOW ALL DIRECTIONS VERY CAREFULLY FOR PROPER
INSTALLATION.
Step 1a: Repeat Step
1
Note: For a more consistent
appearance, position all
bolts in the direction shown
in each figure.
• All Flat Washers and Nylocks
are 3/8” unless noted otherwise.
3/8”x2 1/4”
(Qty=2) 3/8”x2 1/2” (Qty=1)
Plate
Platinum by Tunturi 8 Cable Cross Stand Alone Unit Owner's
Pre-Assembling Instructions
IMPORTANT: It is important to fix the Cable Cross Stand Alone Unit,
either to the wall or to the floor. This security is needed in order to prevent
the Unit from moving/falling over when weights are being pulled. Units
which are not secured tightly to the wall or floor are not covered by the
Warranty.
Also make sure the wall or floor is able to withstand enough force to sup-
port the Cable Cross Unit. Weak walls/floors or any damage done to the
walls/floors by use of the Cable cross unit is not covered in the Warranty.
See Step 4 for mounting the product.
Mount to the wall
Mount to the wall
Mount to the floor
9 Cable Cross Stand Alone Unit Owner’s
Step 1:
Item # Description Qty.
1 Side Frame 1
2 Short Base Frame 1
3 Upright Support Frame 1
4 Wall Mount Tube 1
Item # Description Qty.
5 Selector Tube 1
6 Right Side Height Adjustment 1
8 Swivel Pulley Holder 1
14 HCS 3/8”-16 x 5 1/4” 4
15 HCS 3/8”-16 x 2 3/4” 2
16 HCS 3/8”-16 x 2 1/2” 1
17 3 1/2” Pulley 2
18 Threaded Collar 1
22 3/8” Flat Washer 18
23 3/8” Nylock 9
24 HCS 3/8”-16 x 2 1/4” 2
25 Plate 1
PLEASE FOLLOW ALL DIRECTIONS VERY CAREFULLY FOR PROPER
INSTALLATION.
Step 1a: Repeat Step
1
Note: For a more consistent
appearance, position all
bolts in the direction shown
in each figure.
•All Flat Washers and Nylocks
are 3/8” unless noted otherwise.
3/8”x2 1/4”
(Qty=2) 3/8”x2 1/2” (Qty=1)
Plate
www.tunturi.fi
www.tunturi.fi
Platinum by Tunturi 10 Cable Cross Stand Alone Unit Owner's
Step 2:
Item # Description Qty.
9 Upper Support Brace 1
10 Pulley Holder/ Support Plate 2
16 HCS 3/8”-16 x 2 1/2 4
19 HCS 3/8”-16 x 1 1/4 2
22 3/8” Flat Washer 12
23 3/8” Nylock 6
Note: Attach the Pulley
Holder/Support Plates to the Upper
Support Brace loosely BEFORE
installing the Upper Support Brace.
This will help continue to make the
installation process effortless.
DO NOT TIGHTEN HARDWARE
UNTIL NEXT STEP.
www.tunturi.com 11 Cable Cross Stand Alone Unit Owner’s
Step 2a:
Repeat step 2 for
Item # Description Qty.
11 Extended Upper Support Brace 1
10 Pulley Holder/ Support Plate 2
16 HCS 3/8”-16 x 2 1/2 4
19 HCS 3/8”-16 x 1 1/4 2
22 3/8” Flat Washer 12
23 3/8” Nylock 6
DO NOT TIGHTEN HARDWARE
UNTIL NEXT STEP.