01
03
04
08
10
Safety Instrucons
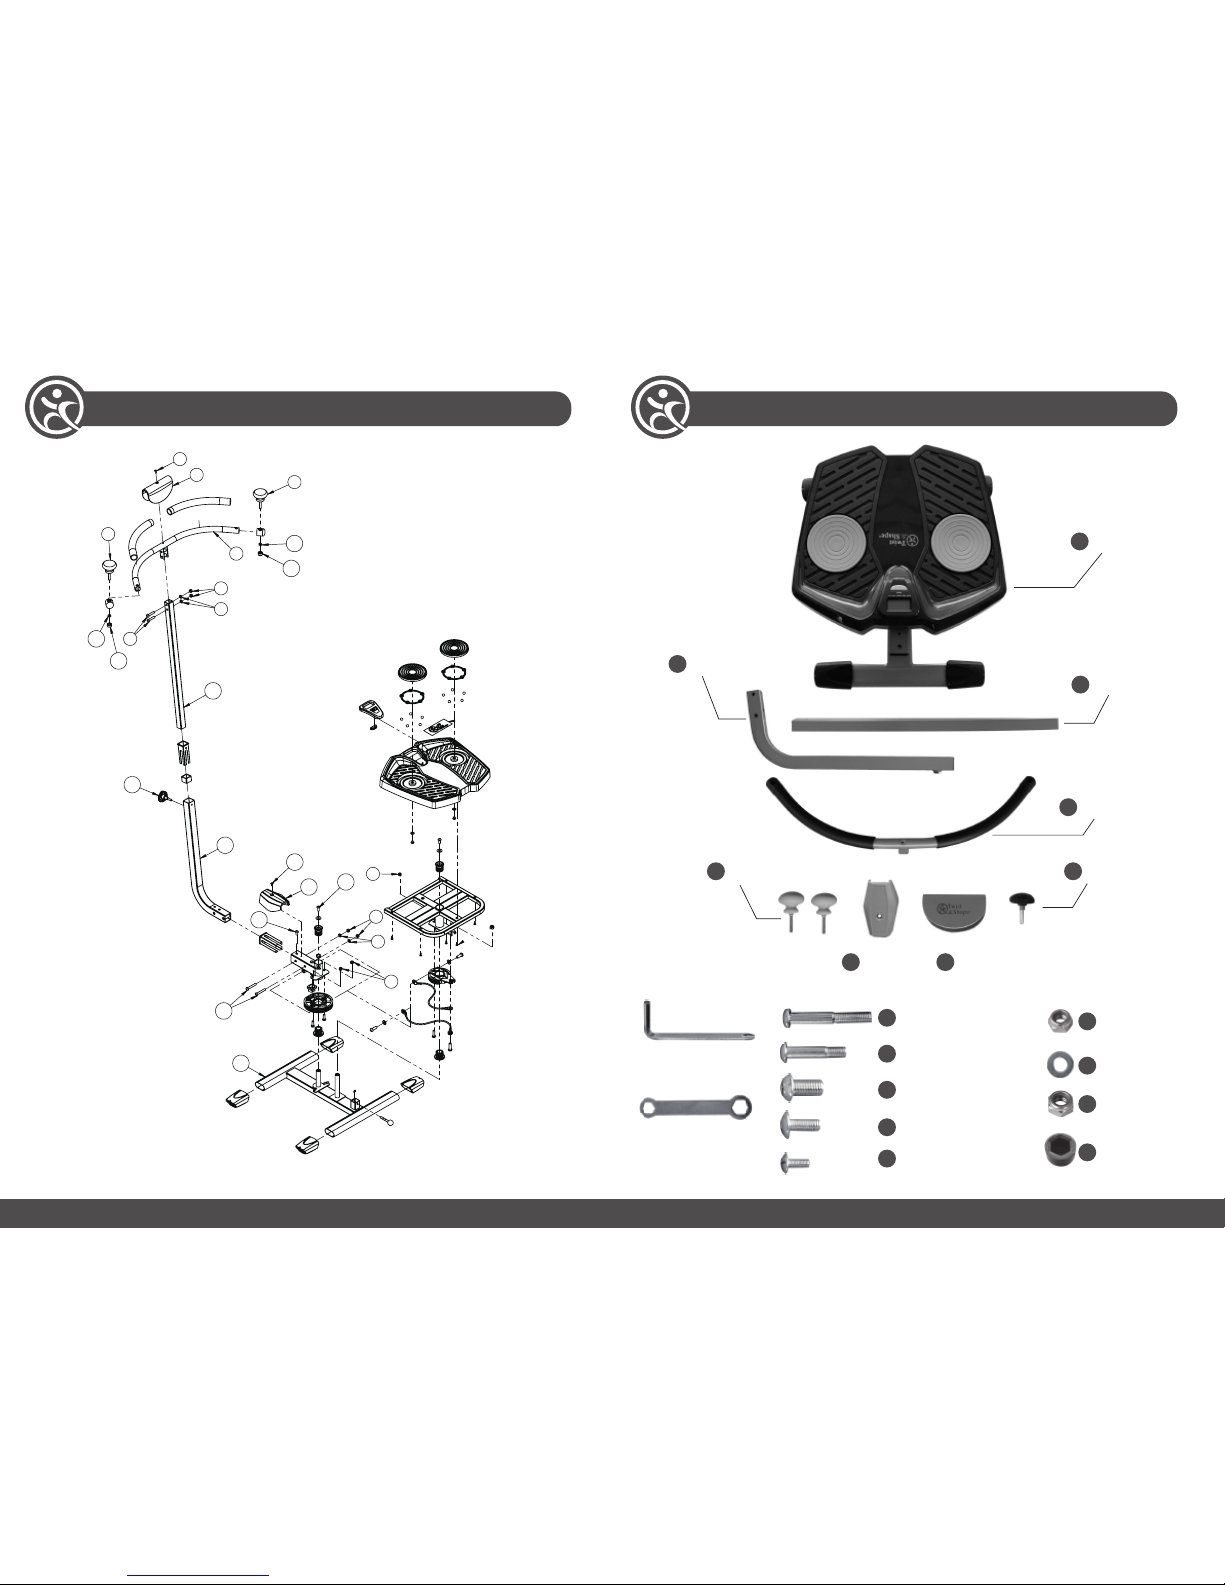
Accessories diagram
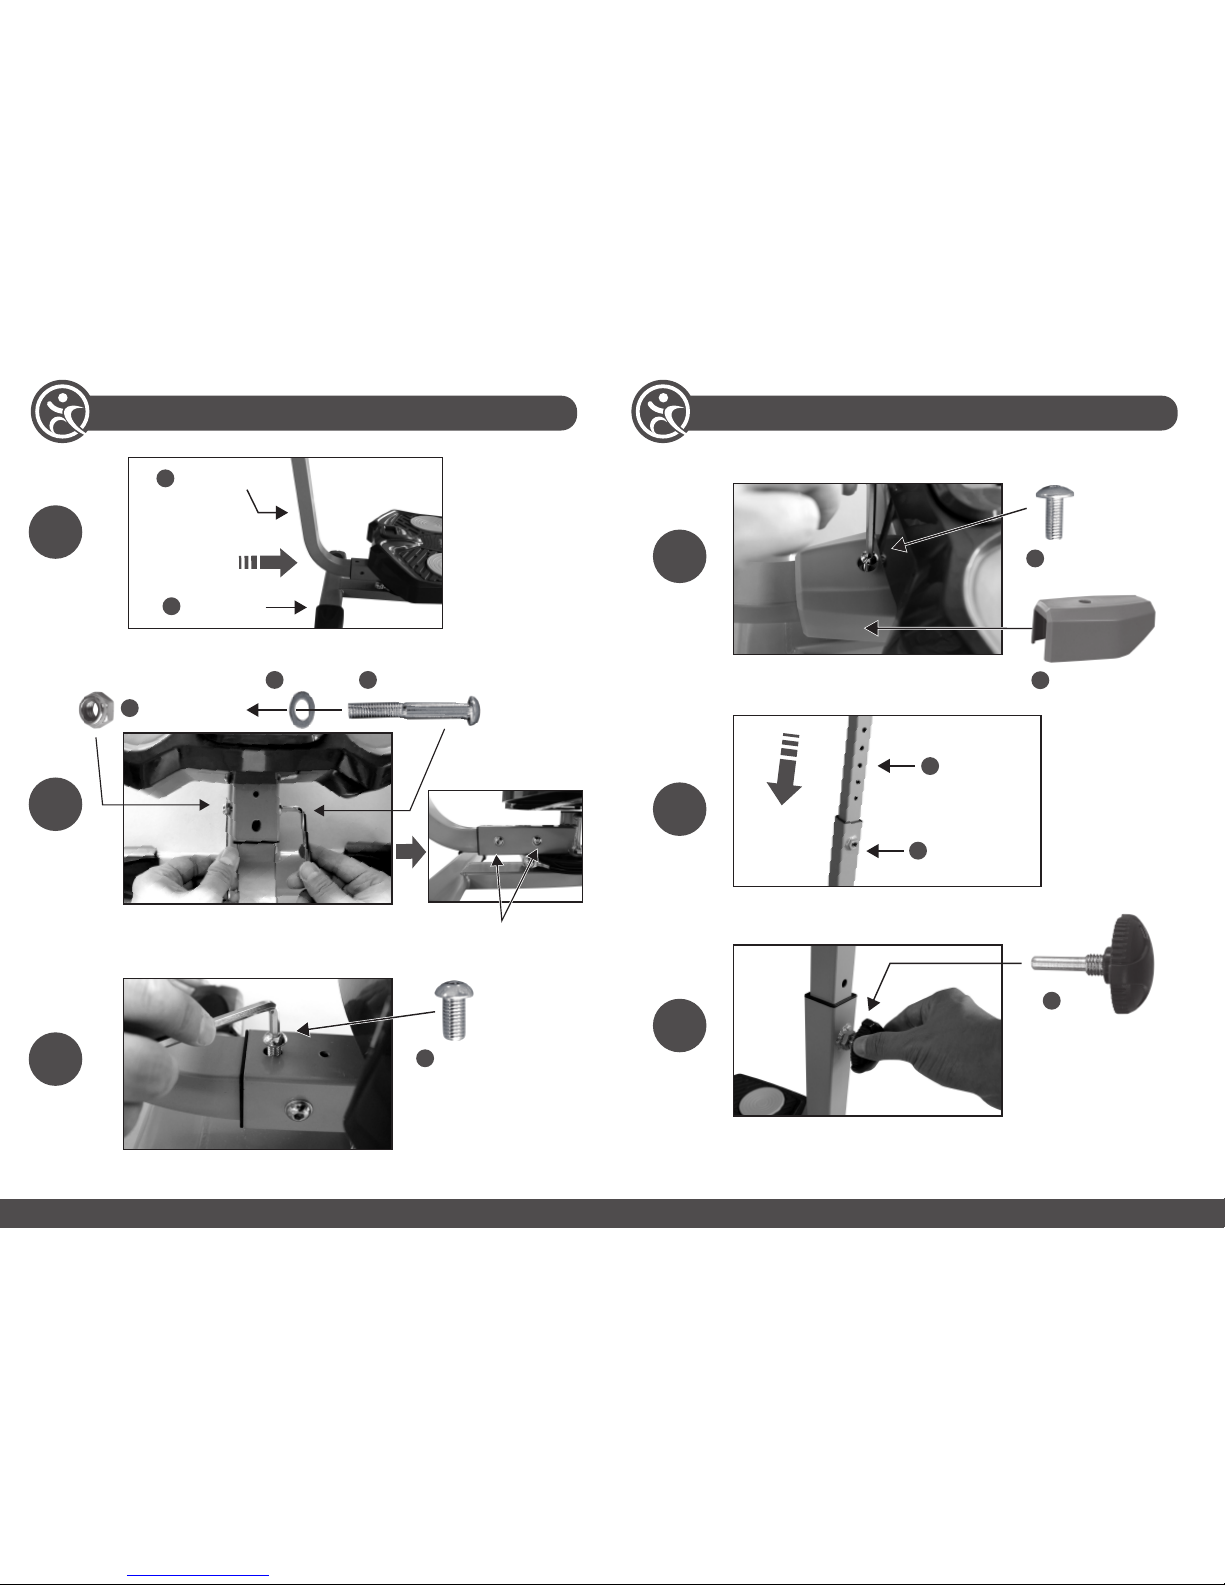
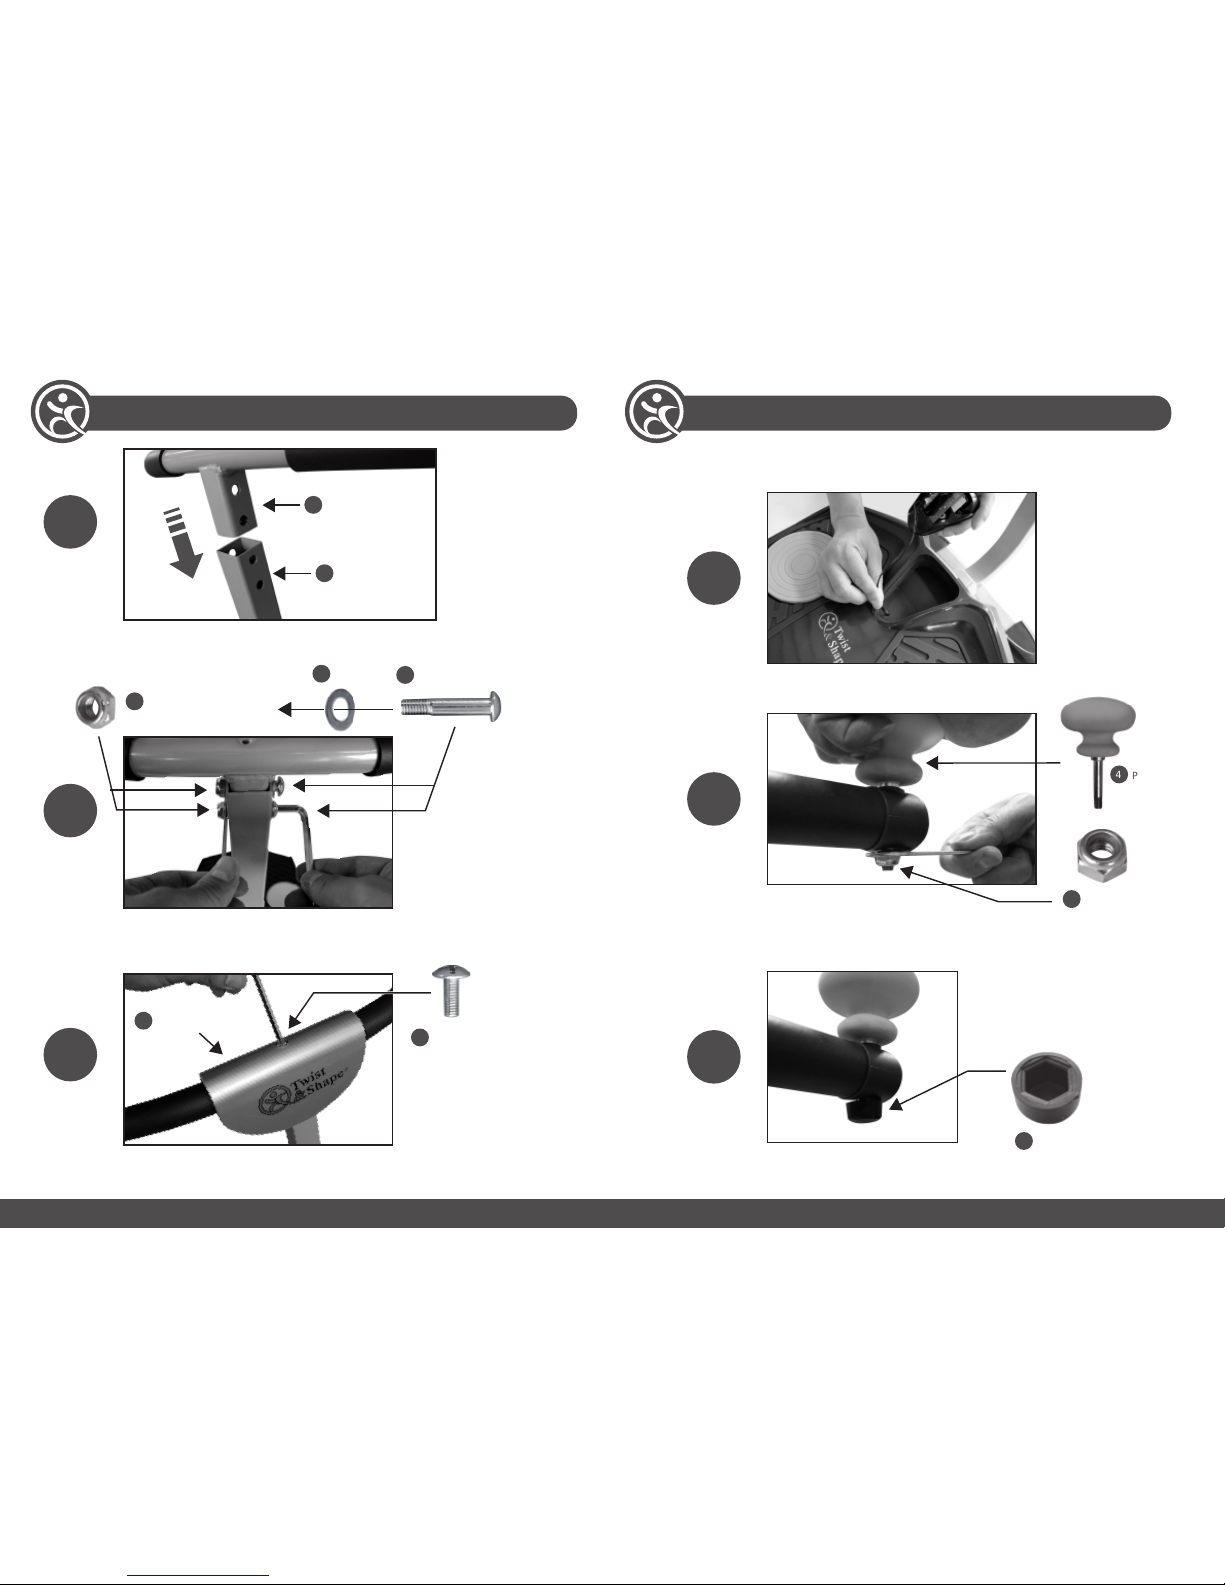
Product assembly
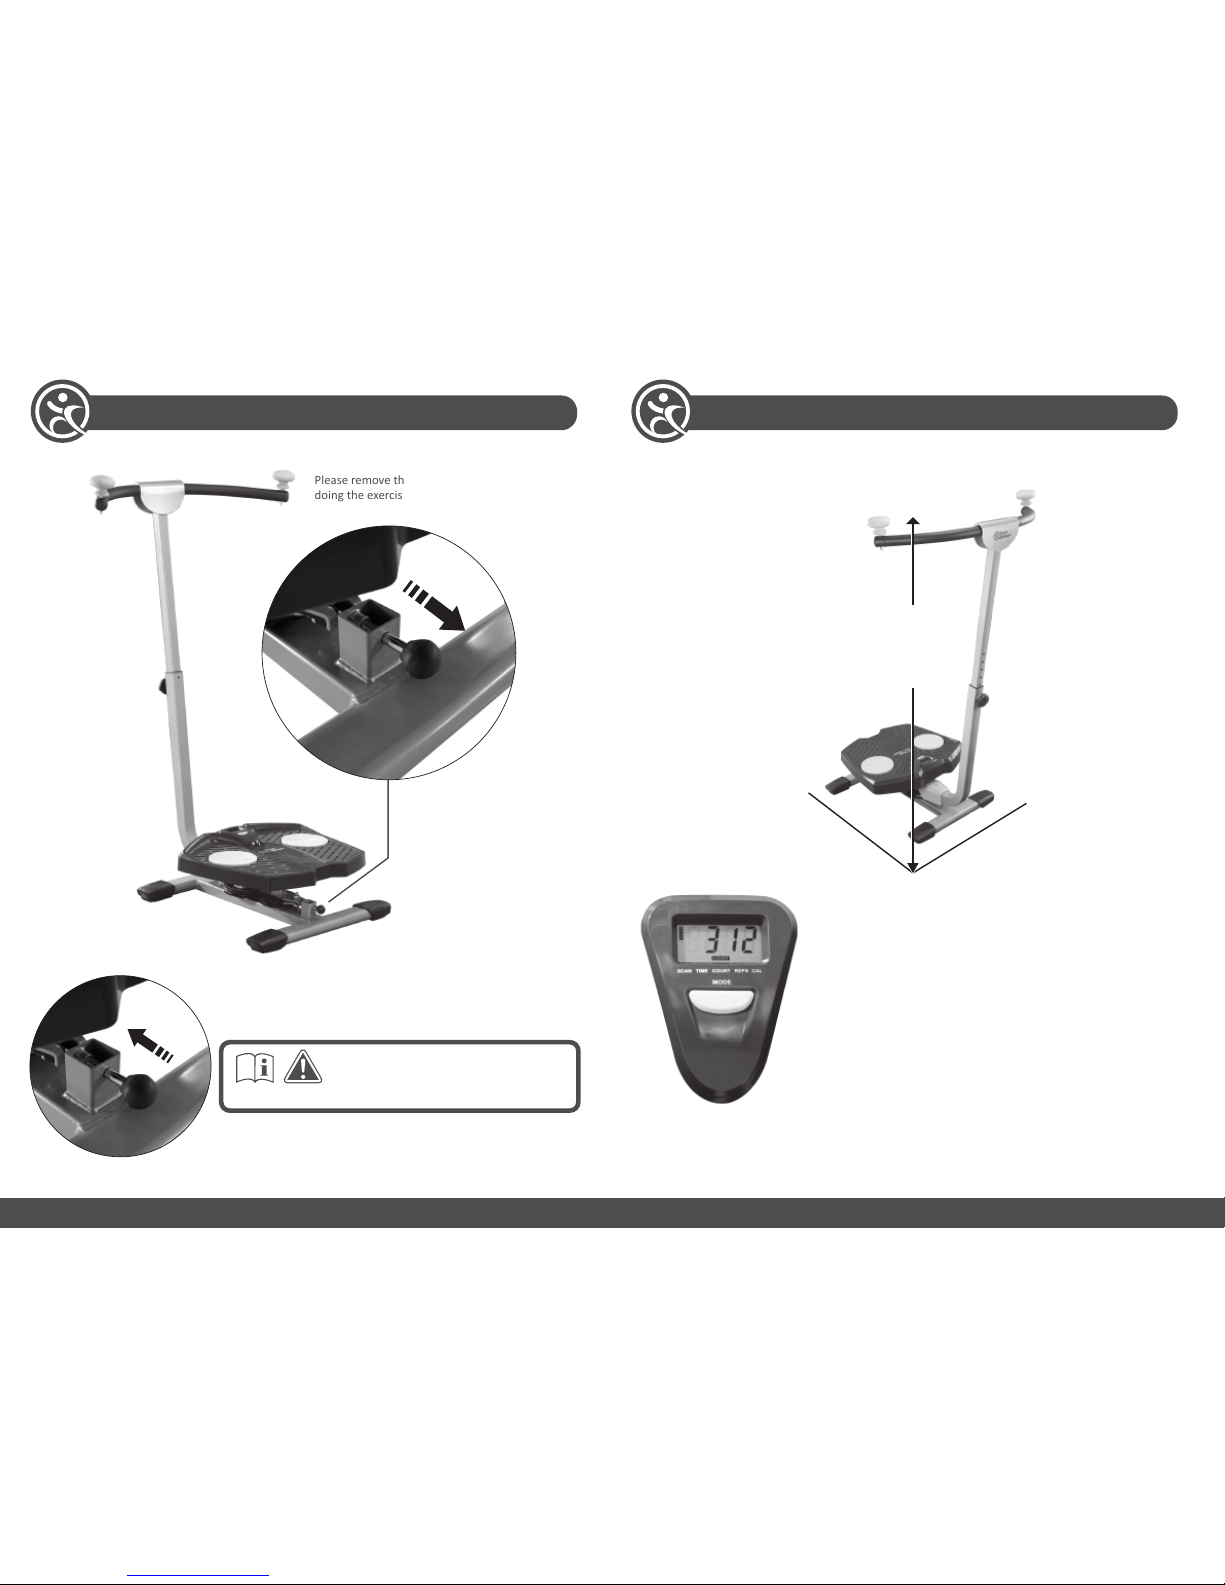
Use of product
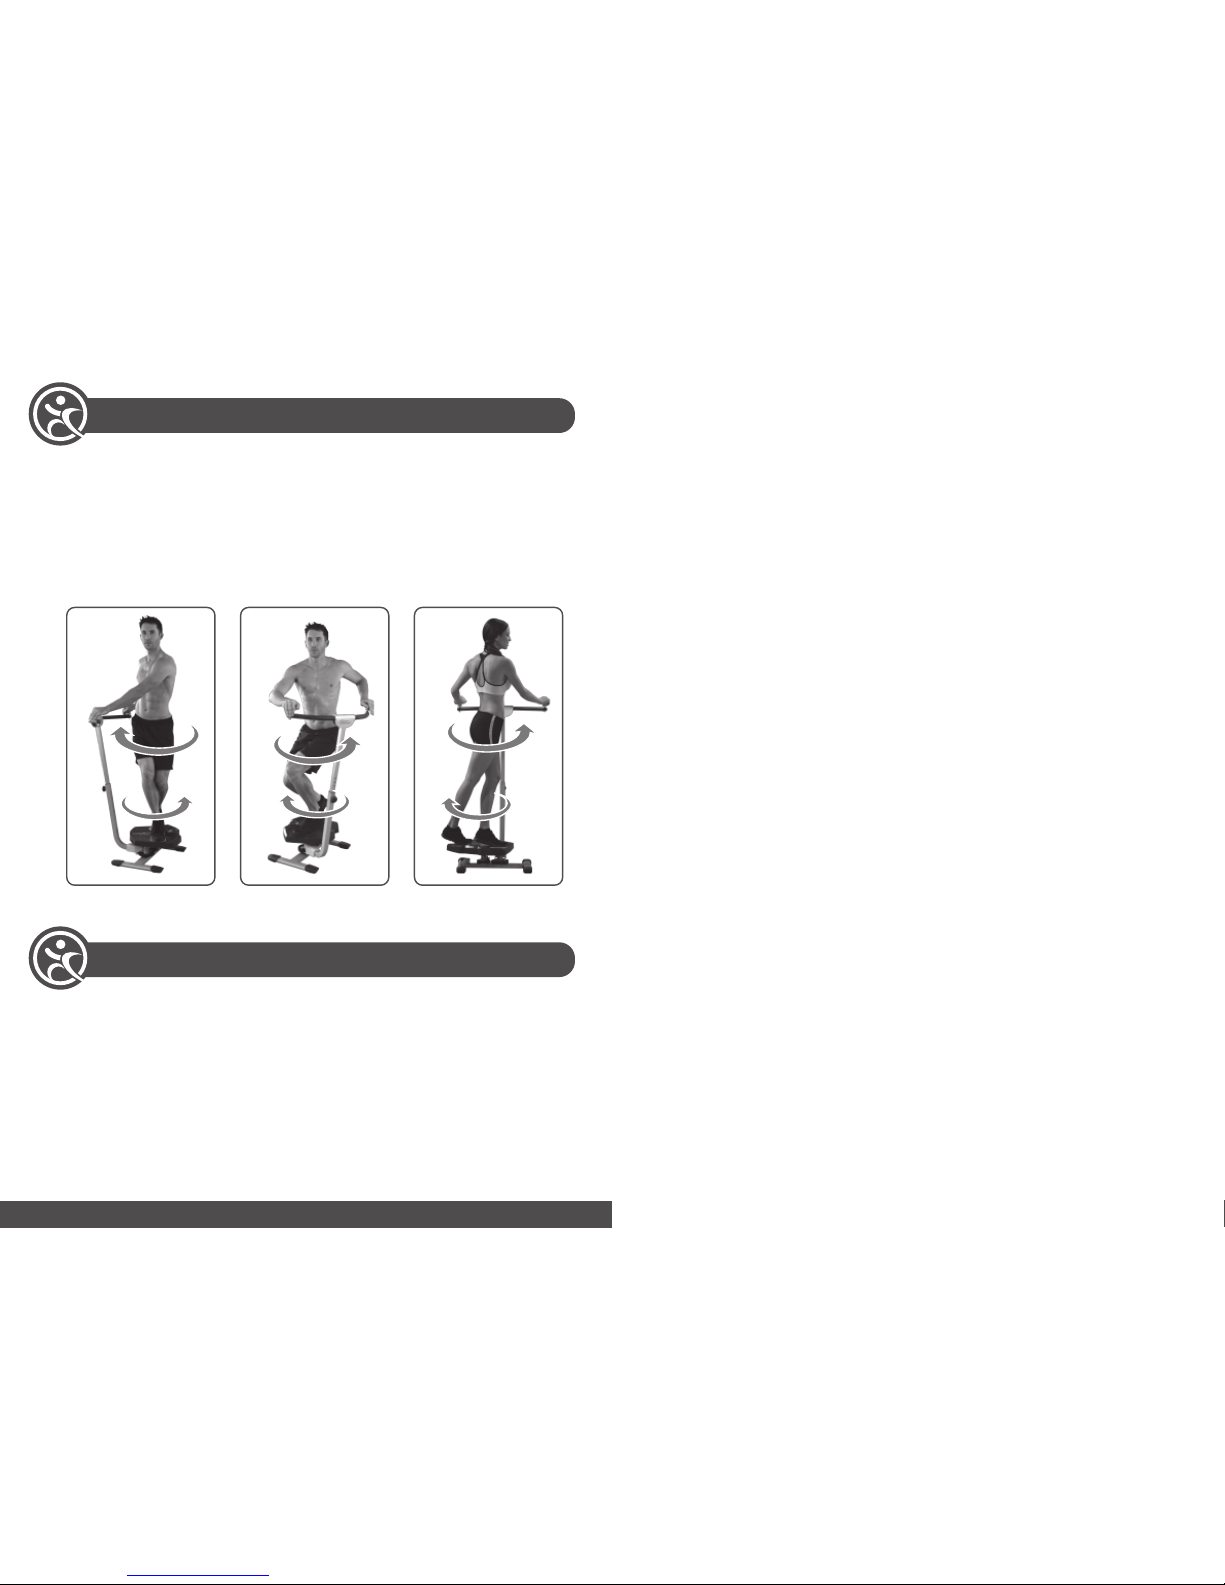
Exercise method
01
1.Before beginning this or any exercise program, consult a physician or health
professional, who can assist you in planning a program appropriate for your age
and physical condion. This is especially important if you are over age 35 or
have pre-exisng health problems. We assume no responsibility for personal
injury or property damage sustained by or through the use of this product.
2.Use the equipment on a solid, flat level surface with a protecve cover for your
floor or carpet. For safety, the equipment should have at least 0.5 meter
all-around free space.
3.It is important to keep children, pets, furniture and other objects away from this
equipment during its use.
4.Check your equipment before each use to ensure that all parts are assembled,
and all nuts, bolts, knobs, pins are ghten and in proper place.
5.THIS EQUIPMENT IS NOT SUITABLE FOR CHILDREN. Do not allow children to play
on or around it.
6.Always warm up and stretch before each training session. If you feel faint or
experience dizziness, nausea, shortness of breath, chest pain, irregular
heartbeat, or any other abnormal symptoms, STOP the workout at once.
CONSULT A PHYSICIAN IMMEDIATELY.
7.Do not place your hands or fingers underneath the unit while it is being used.
Keep hands away from moving parts.
8.Be sure to keep longer hair ed up to avoid geng caught on equipment.
9.Always wear proper workout clothing and shoes when using your Rock Gym. Do
not wear loose clothing. Do not wear shoes with leather sole or high heels.
10.Workout within your recommended exercise level, do not work to exhauson.
If you feel any pain or experience abnormality, stop your workout immediately.
Consult your physician immediately.
11.This equipment is designed and intended for indoor home and consumer use
only, not for commercial use.
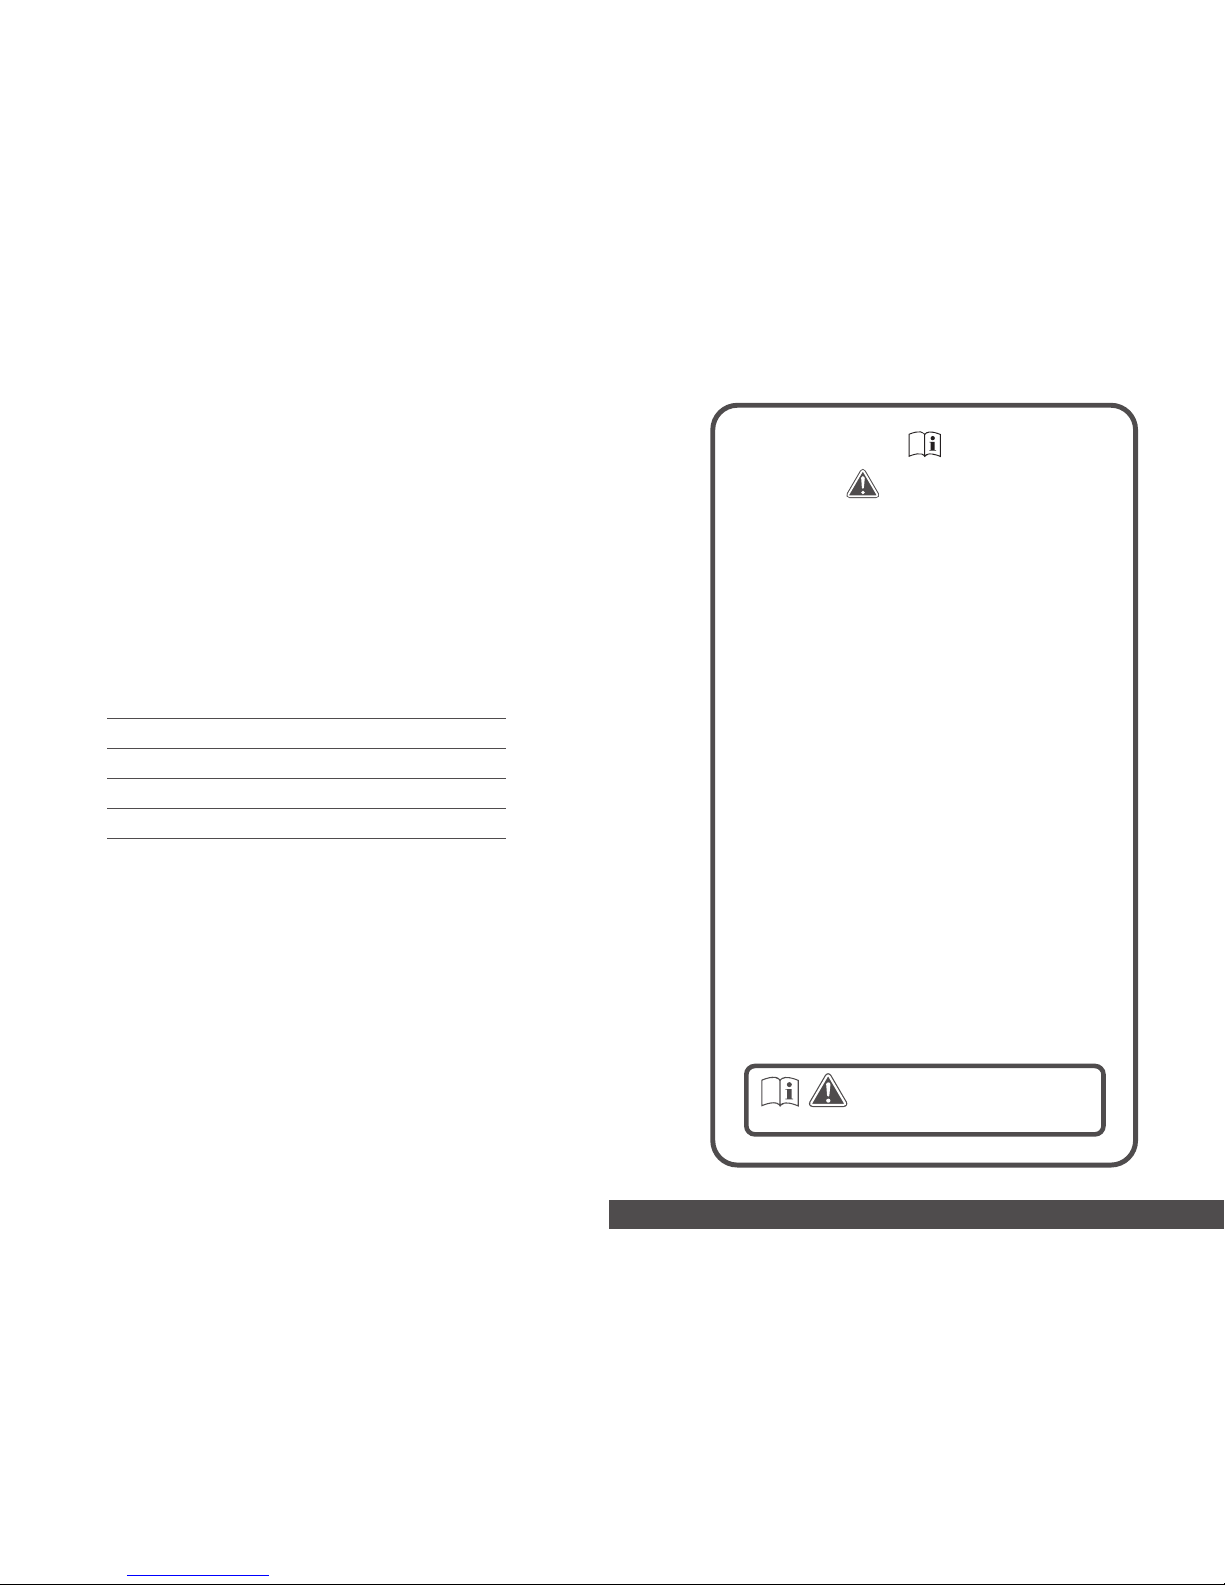
WARNING
To avoid injury or pinching when moving
the unit, secure the base plate by pushing
#30 ball-pin in while the base plate (#37) is
squarely facing forward.