TYCROP ProPass 180EH User manual

ProPass180EH
Wireless Update Operator’s Manual

All information, illustrations, and specifications in
this manual are based on the latest information at
the time of publication. We reserve the right to
make changes at any time without notice.
TYCROP Manufacturing Ltd.
Rosedale, British Columbia, V0X 1X0, Canada
www.tycropturf.com
Copyright © 2009 TYCROP Manufacturing Ltd.
All rights reserved
Manual Number: 0002-9057
Printed in Canada, October 27, 2011

The Color-Coded Operating
System
The ProPass now features a unique color-coded operation
system that takes the guess-work out of setting up your
TYCROP. Simply choose your spread, identify the color
and then adjust each setting to match that color to get a
perfect spread every time.
1. CHOOSE YOUR SPREAD
The system starts with the main operation decal found on
the tailgate of the ProPass.
This decal shows the range of spreads available and
classifies them by color. Each color represents a different
rate of application from Ultra-Light through Ultra-Heavy.
The spread density is indicated by the shaded ovals (light
through heavy). The approximate width is also indicated.
2. CHECK YOUR BLADES
The lighter spreads (BLUE PANEL) remind the operator
to ensure the spinner blades are in A POSITION.
When the blades are in A Position, the inside bolts
(closest to the center of the disc) are tight to the blade
wall and the outside bolts (closest to the edge of the disc)
are away from the blade wall.
This is critical as this position is engineered to give the
optimum spread and distribution at high speeds and low
sand volume.
For heavier settings (GOLD PANEL) the blades should
be in B POSITION to provide the best distribution at
higher volumes and slower disc speeds.
When the blades are in B Position, the inside bolts
(closest to the center of the disc) are away from the
blade wall and the outside bolts (closest to the edge of the
disc) are tight to the blade wall.
It takes only a few minutes to slide the blades into the
proper position – incorrect blade position is one of the
main reasons spread patterns fail.
3. SET ADJUSTMENTS
Once you have selected the desired spread and ensured
the blades are properly adjusted the rest of the ProPass
adjustments can be set.
Each setting is indicated on the machine by
corresponding color decals.
For example:
If you want a light dusting, the BLUE area indicates that
your tailgate, floor speed, spinner speed and base slide
adjustment should all be in their BLUE positions.
LIGHT
Approx. Width: 30'
Blade Position: A
Floor Speed: 100%
Spinner Speed: Blue / 100%
Tailgate: Blue
Slide Adjustment: Blue

For filling aerification holes, simply adjust all settings
to RED.
ULTRA HEAVY
Approx. Width: 9'
Blade Position: B
Floor Speed: 100%
Spinner Speed: Red / 15%
Tailgate: Red
Slide Adjustment: Red
TAILGATE
The TAILGATE controls the
VOLUME of material that flows from
the ProPass. The 5" tailgate is divided
into colors with a target starting line in
each color section.
You can increase or decrease the
amount of material with the tailgate as
long as you stay within the
corresponding color section.
SPINNER SPEED
Standard Hydraulics: Set
the hydraulic control to the
dotted start line in the
corresponding color area. You can vary the speeds if
required within the corresponding color section.
Wireless control: Set
according to the percentage
indicated in the colored
section of the decal and on
the chart on the back of the
wireless controller.
SLIDE ADJUSTMENT
The SLIDE ADJUSTMENT
provides ideal positioning of the sand as it falls onto the
discs. The decal not only indicates the color coded start
position for each application, it illustrates the adjustment
required to fine tune your spread. (see step 4 below)
FLOOR SPEED
The floor speed for every setting is 100% - this was
developed and tested in order to have one less factor to
adjust in the Color-Coded Operating System.
NOTE: Use the tailgate to reduce material volume. If the
minimum tailgate height is insufficient to reduce material
flow, then decrease floor speed.

4. FINE TUNING
The color-coded operation system was developed to take
the guess work out of getting a PERFECT SPREAD.
However, with so many variables such as sand weight,
granule size, moisture content etc. there may unevenness
in your spread.
To correct this, the base setting adjustment has an
illustration indicating the correct re-positioning of the
base.
When the spread pattern is heavy on the inside of the
spread simply slide the base in - towards the hopper. If
your spread is heavy on the outside, slide the base out -
away from the hopper.
A PERFECT SPREAD
The color-coded operation system helps the ProPass
achieve a PERFECT spread at ANY depth.
From ULTRA-LIGHT to ULTRA-HEAVY, from your
greens to your tee-boxes, from light dustings to deep
aeration hole filling - the ProPass can handle it all.
And always remember that if your spread
isn't perfect - it isn't right.
Call us anytime and we can help you get
there!
1-800-845-7249
www.tycropturf.com

Wireless Control
When finished working with the ProPass, always press
the E-Stop button (see Figure 1) to disable the electrical
system. When beginning work with the ProPass you must
pull the E-Stop button back out before turning on the
controller.
Figure 1: E-Stop Button
To Power On
Press the controller’s On/Off button and wait for the
controller to find the base. Ensure that there are no
buttons being pressed on the pendant while it is
performing its start-up routine.
Manual Override
Should the controller ever be lost, damaged or fail the
ProPass functions and operation are still possible in order
to complete tasks or continue work until the problem is
resolved.
The override access is on the driver side of the hydraulic
system. (see Figure 2)
Figure 2: Manual Override
To adjust the floor, turn the black knob clockwise.
Maximum floor speed is used in the Color-Coded
Operating System so this adjustment can be made while
no hydraulic flow is present. This is most relevant when
you have a hopper full of sand.
Figure 3: Manual Override Decal
To adjust the spinner speed, use a flat-head screwdriver
to increase by turning clockwise or decrease by turning
counter-clockwise.
If adjusting with hydraulic flow active, ensure the
FLOOR is turned off if you do not wish to have sand
being spread as you adjust.
Once your settings are acceptable, use the hydraulic flow
control on your tow vehicle to turn the system on and off
for operation.
NOTE: Do not use the manual override while operating
with the 11hp engine option. The hydraulic flow is
constant and there is no safe on/off capability. Use the
manual override for stationary operation only.

Wireless Controller
A. LCD Display
B. Controller Status LED’s
C. ALL START: Start Floor and Option
D. On / Off
E. Preset 1
F. Preset 2
G. Preset 3
H. ALL STOP: Stops all functions
I. START: FLOOR
J. STOP: FLOOR
K. DECREASE SPEED: FLOOR
L. INCREASE SPEED: FLOOR
M. STORE: Saves preset settings
N. START: OPTION
O. STOP: OPTION
P. DECREASE SPEED: OPTION
Q. INCREASE SPEED: OPTION
Figure 4: Wireless Controller
C
D
E
F
G
H
B
A
I
P Q
N
L
J
K
O
M

Operating the Wireless Controller
The wireless controller operates the FLOOR and
SPINNER speeds of the ProPass through the BASE
RECEIVING UNIT that is located on the ProPass and
connected to the hydraulic system. The BASE UNIT must
have electric power in order to program or operate the
WIRELESS CONTROLLER.
If your WIRELESS CONTROLLER reads WAITING FOR
BASE then the BASE UNIT is not getting electric power.
Check that your cables are properly connected and that
the E-STOP button is not engaged.
Safety
The WIRELESS CONTROLLER activates rapidly
rotating parts and pinch hazards. Be sure to always be in
line of sight of the ProPass when operating, adjusting or
programming the WIRELESS CONTROLLER.
To ensure that the activation of the spinners and the floor
is intentional, you must press the START buttons twice:
once to SELECT and once to ENGAGE. This helps
prevent accidental START when making manual
adjustments on the machine.
If no buttons are pressed for 10 seconds when
programming or preparing to operate the WIRELESS
CONTROLLER , it will enter into an IDLE MODE and
resort back to the last saved program or setting.
WORKING MODE
Any time the WIRELESS CONTROLLER is turned on it
is set to operate in WORKING MODE. It defaults to the
last SAVED setting and allows you to operate the
ProPass according to those settings.
TO PROGRAM FOR WORKING MODE:
1) Connect the ProPass to the electrical power
source - do not engage hydraulic flow
2) Power ON the WIRELESS
CONTROLLER
3) Press to view current saved OPTION
setting on LCD display
4) Set SPINNER SPEED to desired
percentage
5) Press to STORE the setting
6) Press to exit OPTION settings
7) Press to view current saved FLOOR
setting on LCD display
8) Set the FLOOR SPEED to
desired percentage
9) Press to STORE the setting
10) Press to exit FLOOR Setting
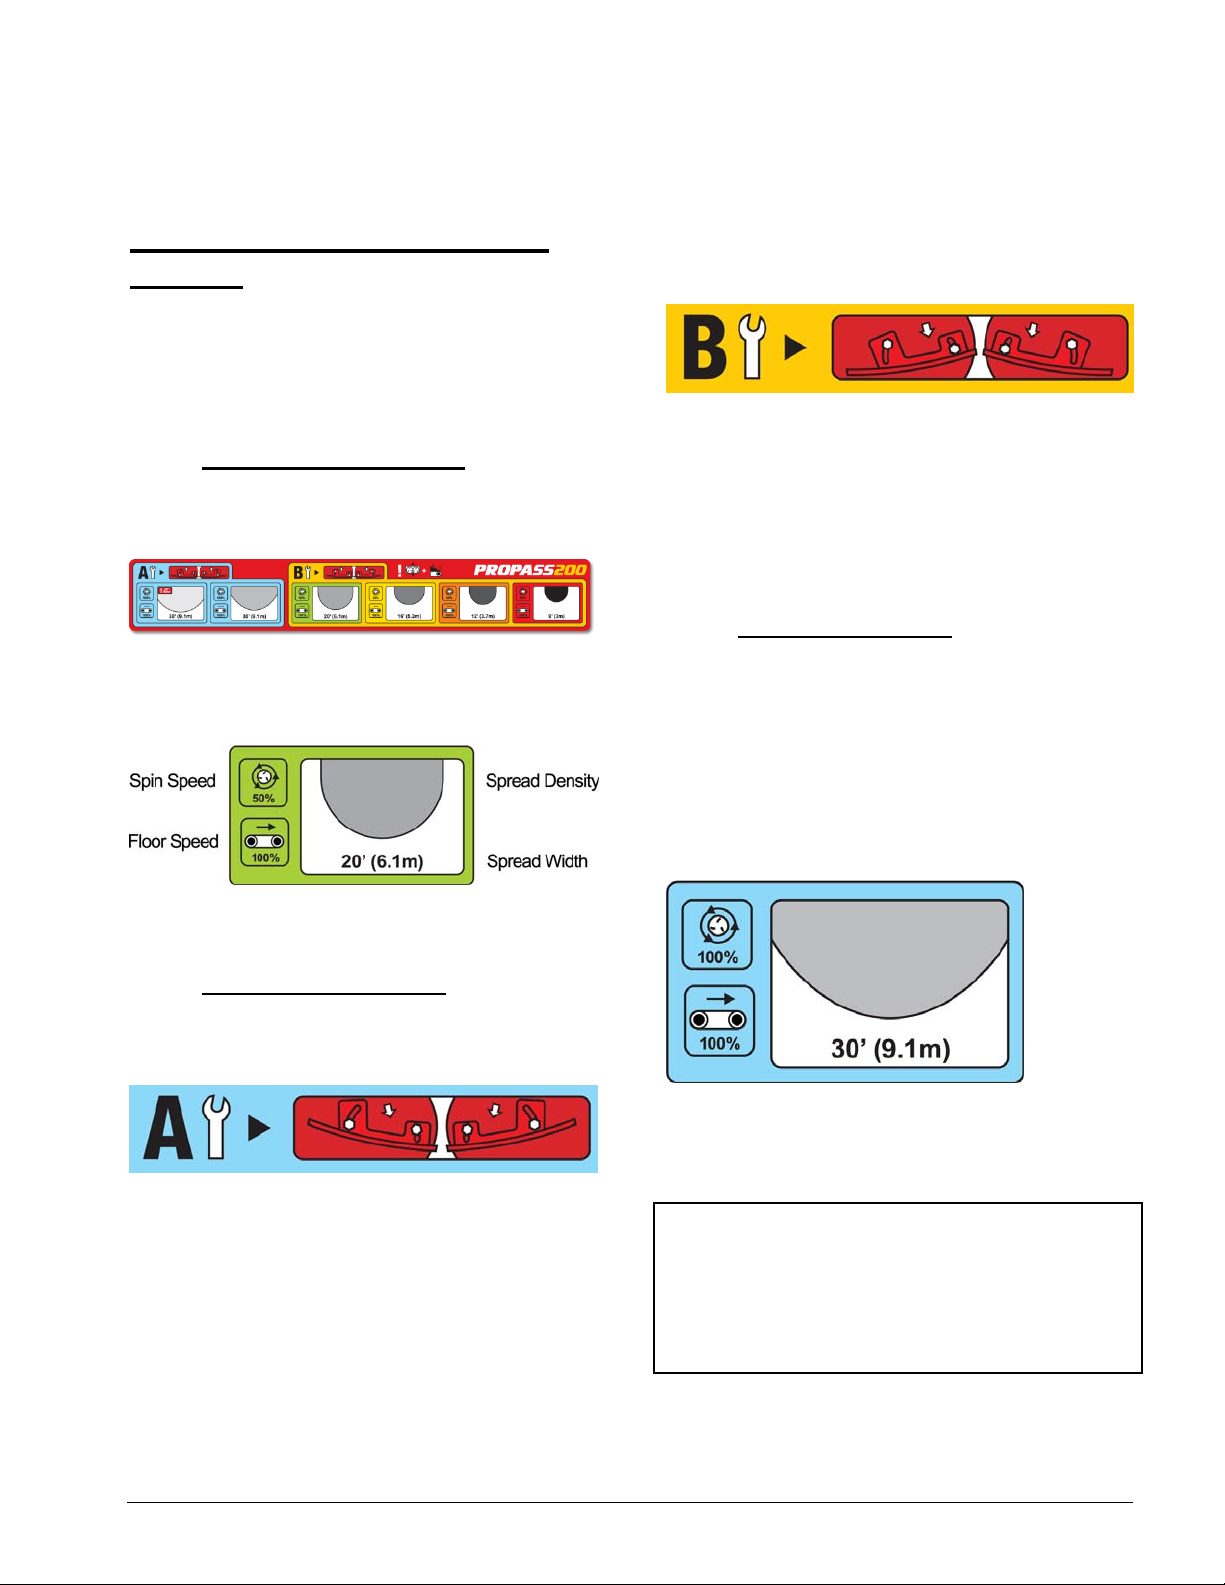
CAUTION: It is recommended that you
POWER OFF your WIRELESS CONTROLLER
and power-off your work vehicle (to ensure no
hydraulic flow) when making any physical
adjustments to the BLADES or FLOOR.

11) Press to confirm your settings for
WORKING MODE
The CONTROLLER is now set to operate at these
settings. If the unit is powered off, these settings will be
recalled automatically when powered back on.
WORKING MODE WITH ALL START:
You can also save both of your adjusted settings together.
1) Press to view both current saved settings
on the LCD display
2) Set your and to
desired percentages
3) Press to STORE
4) Press to exit
5) Press to confirm your settings for
WORKING MODE
Keep in mind, the WIRELESS CONTROLLER will return
to its last saved default setting after 10 seconds if no
buttons are touched.
TO OPERATE IN WORKING MODE:
1) Ensure hydraulic flow is active
2) POWER ON the WIRELESS
CONTROLLER
3) Press to SELECT the SPINNERS, press
again to ENGAGE the SPINNERS.
4) The LCD display will indicate when the
SPINNERS have reached their target speed
percentage.
5) When you are ready to spread material, press
to SELECT the FLOOR and then
again to ENGAGE the FLOOR.
6) When you wish to STOP spreading, press
to stop the flow of material.
7) To begin spreading again, press
to SELECT and ENGAGE the FLOOR.
8) When you are finished topdressing press
to stop the FLOOR then to stop the
SPINNERS.
If you wish to START all functions at once:
1) Press to SELECT the FLOOR and the
SPINNER and confirm the settings
2) Press to ENGAGE the FLOOR and the
SPINNER
NOTE: With ALL START, the SPINNER starts first and
after a brief delay, the FLOOR engages.
If you wish to STOP all functions at once:
1) Press to DISENGAGE the FLOOR and
the SPINNER.

ADJUSTING THE SETTINGS
Adjustments can be made while the ProPass is in
operation or when the ProPass is at idle. Any changes
you make to the settings on the WIRELESS
CONTROLLER can be SAVED and will become your
new WORKING MODE.
If you make a change to the settings, and do not SAVE
them, the WIRELESS CONTROLLER will default back
to the last saved setting.
TO SAVE SPINNER SPEED WHILE IDLE:
1) Press to view current saved setting on
LCD display
2) Set to desired percentage
3) Press to STORE the setting
(hydraulics will activate)
4) Press to exit settings (hydraulics will
stop)
TO SAVE FLOOR SPEED WHILE IDLE:
1) Press to view current saved setting on
LCD display
2) Set to desired percentage
3) Press to STORE the setting
(hydraulics will activate)
4) Press to exit OPTION settings
(hydraulics will stop)
ADJUSTING DURING OPERATION:
You can make settings adjustments as the ProPass is
operating by increasing or decreasing the FLOOR or
SPINNER speeds and observing the results directly. If
you make a change to the settings and do not SAVE
them, the WIRELESS CONTROLLER will default back
to the last saved WORKING MODE. Any settings made
while the ProPass is in OPERATION will remain active
until SAVED or STOPPED.
TO SAVE SPINNER SPEED WHILE
OPERATING:
1) Set to desired percentage
2) Press to STORE the setting
TO SAVE FLOOR SPEED WHILE
OPERATING:
1) Set to desired percentage
2) Press to STORE the setting
CAUTION: When SAVING changes to your
adjustments, the ProPass will activate if there
is any hydraulic flow. While adjusting or
SAVING be sure to stay clear of moving parts
and press STOP to complete.

PRESET MODE
The WIRELESS CONTROLLER comes with 3 PRESET
buttons that allow you to STORE commonly used or
recently adjusted settings for use in WORKING MODE.
For example: ‘1’ may be an Light setting for frequent
topdressing, ‘2’ may be a Medium setting and ‘3’ may be
a Heavy setting.
Use your PRESET buttons to suit your course conditions,
maintenance practices and topdressing program.
PROGRAMMING THE PRESETS:
1) Connect the ProPass to the electrical power – do
not engage hydraulic flow
2) POWER ON the WIRELESS
CONTROLLER
3) Select to view current saved setting
4) Adjust SPINNER to desired
setting
5) Press to ACTIVATE
6) Select to view current saved setting
7) Adjust the FLOOR to desired
setting
8) Press to ACTIVATE
9) Press and hold and ONE of the PRESET
numbers ,OR
10) Press to exit
Repeat this process for each PRESET number as
required.
STORING WORKING MODE TO PRESET:
If you are in WORKING MODE and your ProPass is
IDLE, you can add the current settings to one of the
PRESET buttons.
1) Press to view both settings
2) Press again to ACTIVATE (hydraulics
will engage)
3) Press and hold and ONE of the PRESET
numbers ,OR
4) Press to exit (hydraulics will stop)
CAUTION: When SAVING changes to your
adjustments, the ProPass will activate if there
is any hydraulic flow. While adjusting or
SAVING be sure to stay clear of moving parts
and press STOP to complete.

TO OPERATE IN PRESET MODE:
1) Ensure hydraulic flow is off
2) POWER ON the WIRELESS
CONTROLLER
3) Press the ,OR – FLOOR
and SPINNER settings will be displayed
4) Press to STORE to WORKING
MODE
5) Press to exit
6) Ensure hydraulic flow is active
7) As you approach the area requiring topdressing
press to SELECT the SPINNERS
8) Press to ENGAGE the SPINNERS.
9) When you are ready to spread material, press
to SELECT the FLOOR
10) Press to ENGAGE the FLOOR.
11) When you wish to stop spreading, press
to stop the flow of material.
12) To begin spreading again, press
to ENGAGE.
If you wish to START all functions at once:
1) Press ,OR
2) Press to SELECT the FLOOR and the
SPINNERS.
1) Press to ENGAGE the FLOOR and the
SPINNERS.
If you wish to STOP all functions at once:
1) Press to DISENGAGE the FLOOR and
the SPINNER.
NOTE: With ALL START, the SPINNER starts first and
after a brief delay, the FLOOR engages. When ALL
STOP is pressed, the FLOOR stops first followed by the
SPINNERS.
CHANGING PRESET WHILE IDLE:
You can change between PRESETS either at idle or
while operating.
1) Press ,OR – FLOOR and
SPINNER settings will be displayed
2) Press to ACTIVATE
3) Press to STORE to WORKING MODE
(hydraulics will engage)
CAUTION: When changing or saving
PRESETS while idle, the ProPass will activate
if there is any hydraulic flow. While adjusting
PRESETS be sure to stay clear of moving
parts and press ALL STOP to complete.

4) Press to exit (hydraulics will stop)
CHANGING PRESET WHILE OPERATING:
1) Press ,OR – FLOOR and
SPINNER settings will be displayed
2) Press to ENGAGE and STORE
to WORKING MODE
TO STORE SPINNER SPEED TO PRESET
WHILE IDLE:
1) Press to view current saved setting on
LCD display
2) Set to desired percentage
3) Press to STORE the setting
(hydraulics will activate)
4) Press and hold and ONE of the PRESET
numbers ,OR
5) Press to exit settings (hydraulics will
stop)
TO STORE FLOOR SPEED TO PRESET
WHILE IDLE:
1) Press to view current saved setting on
LCD display
2) Set to desired percentage
3) Press to STORE the setting
(hydraulics will activate)
4) Press and hold and ONE of the PRESET
numbers ,OR
5) Press to exit OPTION settings
(hydraulics will stop)
TO STORE SPINNER SPEED TO PRESET
WHILE OPERATING:
1) Set to desired percentage
2) Press to STORE to WORKING MODE
3) Press and hold and ONE of the PRESET
numbers ,OR
TO STORE FLOOR SPEED TO PRESET
CHANGES WHILE OPERATING:
1) Set to desired percentage
2) Press to STORE to WORKING MODE
3) Press and hold and ONE of the PRESET
numbers ,OR

Maintenance Instructions
Wireless Controller
Install or Replace the Batteries
1. Place the Remote face down and remove the four
screws holding the battery cover in place. Remove
the battery cover.
Note: The four screws holding the battery cover in
place are ‘captive’ to the cover—the cover holes are
threaded. Although they are not easily removed from
the cover itself, be aware that the screws if over-
loosened while opening the battery compartment can
be completely removed increasing the risk of loss.
2. Remove the discharged batteries and properly
dispose in accordance with local regulations.
3. Plug each fresh battery into a terminal cradle
observing proper polarity. (If the batteries are
improperly installed, the unit will not be damaged,
but it will fail to operate.) The cradle is embossed
with polarity markings for each terminal—
emphasized in Figure 5. Make sure they are firmly
seated in the unit.
4. Replace the battery cover. Secure the cover with
the four screws. Make sure they are tightened
enough to compress the seal, but be careful not to
over-tighten.
Figure 5: Battery Compartment
—
—
—
—
Table of contents
Other TYCROP Farm Equipment manuals
Popular Farm Equipment manuals by other brands

ketrop
ketrop BirdYell Hand instruction manual

J.ASSY
J.ASSY VISUM Monitor Operator's manual

Farmi Forest Corporation
Farmi Forest Corporation VALBY HF 231 OPERATION, MAINTENANCE AND SPARE PARTS MANUAL

RHINO
RHINO RHINO 2409 Assembly manual

GREAT PLAINS
GREAT PLAINS Ultra-Till I 3030 Series Operator's manual

Trixie
Trixie 39340 Assembling instructions