TypeS Formula DRIFT Pro Series Original instructions

1
PRO SERIES LED
WP ITM. LM532675
Installation Guide & Safety Information
Important, retain for future reference:
Read carefully
INTERIOR SMART COB LIGHTING KIT

2
PACKAGE CONTENTS
4 x 24” COB LED Strips with Smart Hub
24” Wire
59” Wire
Fuse

3
PACKAGE CONTENTS
ACCESSORIES
Cable Ties
x 4
3M VHB™ Double-sided Tape x 4
(For Smart Hub)
ALCOHOL
WIPE
ALCOHOL
WIPE
Alcohol Pads
x 2
ADHESION
PROMOTER
ADHESION
PROMOTER
Adhesion Promoter Pads
x 4

4
Working voltage:
Types of LED:
Watt:
Maximum amperage:
Replacement fuse:
IP Rating of LED Strip:
Bluetooth distance:
Frequency band:
DC 12V only
144 x 0402 Red LED
144 x 0402 Green LED
144 x 0402 Blue LED
8.5W
0.7A
2A
NA
30ft (no obstacle)
2.4 GHz
INSTALLATIONTECHNICAL SPECIFICATIONS

5
INSTALLATION
Installing the LED strips:
1. Choose your desired location to install the light strips
(Refer to the gure on the right for the recommended
installing location for each LED strip and the Smart Hub.)
2. Clean the surface thoroughly with the alcohol pads
provided and let it dry completely. Apply adhesion
promoter to the same area.
3. Peel off the 3M™ tape backer at the bottom of the light
strips and carefully apply to the desired area.
4. Secure the Smart Hub away from the car engine or any
moving components. Make sure to avoid placing the
Smart Hub or cables near any extremely HOT location
or next to the car engine. Use 3M™ double-sided tape to
secure all Smart Hubs to any at location.

6
Smart Hub hardwire cables are color coded, RED for POSITIVE (+) and
BLACK for NEGATIVE (-). Connect the RED cable to the POSITIVE (+)
battery clamp as illustrated. The POSITIVE battery post will be slightly
larger than the NEGATIVE post, and will be marked with a PLUS (+)
sign. There may also be a RED protective cover over the positive battery
post. Connect the BLACK cable to the NEGATIVE (-) battery clamp as
illustrated. The NEGATIVE will be marked with a MINUS (-) sign. There
may also be a BLACK plastic protective cover over the negative battery
post.
NOTE: After connecting the Smart Hub to the car battery, the LED
power indicator will ash Blue. If the LED power indicator does not ash
once connected, please double check your power connections.
The Smart Hub has built-in voltage protection to prevent car battery
from draining in case the lights are accidentally left on. The lights
will be turned off automatically and the Smart Hub will be on standby
mode when the voltage drops to approximately 12V. Once on
standby mode, if the car battery is producing below 12V, do not turn
on the LED lights until your next engine start or when the power is
back to 12V or above.
CONNECT TO POWER
Connecting the Smart Hubs to power:
Power Indicator
WARNING: DO NOT mix up the cables or allow the metal ends to touch together because this may damage the battery,
charging system and/or electronics on a vehicle. When installing, please make sure your engine is not running.
7
APP INSTALLATION
Install the TYPE S LED APP on your smart device. Scan below QR code or search for the TYPE S LED APP in the
APP Store or Google Play. Once installed, open the APP and begin enjoying your TYPE S Pro Series Exterior Smart
LED Kit!
Compatible with phones
with Android™ 4.3 or higher.
Note: not all Android™
phones are equipped
with Bluetooth® v5.2 required
for this application.
Compatible with iPhone
4s & higher, iPad3, iPad
Mini, iPad Air & higher, and
iPod touch 5th Generation
& higher. Requires iOS 9.0
or higher.

8
USING THE APP
Home Page Pro Series Page
Tap “PRO SERIES” icon to start. The
APP will automatically pair to the Smart
Hub when both the lights and your
device are powered on and within the
30-foot Bluetooth® range. We strongly
recommend that you setup a private
password to prevent unauthorized
devices from connecting to the Smart
Hub. (Refer to password instructions
on page 15)
NOTE: The Smart Hub has built-in
voltage protection to prevent car battery
from draining in case the lights are
accidentally left on. The lights will be
turned off automatically and the Smart
Hub will be on standby mode when
the voltage drops to approximately
12V. Once on standby mode, if the car
battery is producing below 12V, do not
turn on the LED lights until your next
engine start or when power is back to
12V or above.
Master On/Off
Switch
LED Zone
Functions
Save Preset
Password
LED Modes
Brightness
Speed
A
B
D
E
F
G
C

9
USING THE APP
A. Master On/Off Switch
B. LED Zone Functions
Zone On/Off: Press each zone icon
to turn LED On or Off.
Move Zone Icon:
Press and hold the zone icon, select
“Move” to position each zone icon at
your desired location.
Rename Zone Icon:
Press and hold the zone icon, select
“Rename” to rename each icon.
(NOTE: Maximum 4 characters).
Select Multiple:
You can select and control multiple
zones at a time. Press and hold the
zone icon, select “Select Multiple”
then select your desired zones by
pressing “Conrm”. To ungroup your
selection, press and hold the zone
icon and select “Ungroup”.
LED Zone Functions Rename Zone IconMove Zone Icon

10
USING THE APP
C. Preset Functions
Save Preset:
Save your favourite settings.
After choosing your settings, press
“Save Preset” and enter your preset
name. Save up to 10 Presets.
Select Preset:
To select your previously saved preset
setting, simply press “Select Preset” and
choose your saved setting.
Delete Saved Preset Setting:
To delete a saved preset setting, press
“Select Preset”, press and hold the
preset you wish to delete. Press “Yes”
to delete.
NOTE: Make sure the preset you wish
to delete is not currently in use.
Select Color:
Choose from up to 49 different colors.
Press “Select Color”, select your
desired color and press “Conrm”.
Select ColorSave Preset Select Preset

11
D. Password
You can set up a password to prevent other devices from controlling your lights. Once you
have entered your password, it will be saved in the APP and the Smart Hub.
NOTE: To set or change the password, your device must be connected to the Smart Hub
simply follow on-screen instructions. Changing the password without connecting to the Smart
Hub may cause an invalid password the next time your APP and Smart Hub are activated.
If you forget your password, simply reset by pressing the Smart Hub’s reset button for three
seconds or disconnect the power from the car battery.
E. LED Modes
Choose up to 22 different modes including unique
scan effects and Preset color themes.
F. Brightness
Slide bar to adjust brightness setting.
G. Speed
Slide bar to adjust the speed of the movement from each LED mode.
USING THE APP
Password
Reset Button

12
USING THE APP
Music Mode
Sync lights with the beat of music
Music Mode allows music to control the lighting tempo through your smartphone or
tablet. Sync lighting with your music in two ways: 1.) Through locally downloaded
music les, or 2.) Through an enabled microphone on the smartphone / tablet.
Tap Local Music to choose music from your music library. Tap Microphone to activate
your smartphone / tablet’s microphone; it will capture audio played from another
source / device.
Due to copyright limitations, Music Mode is not available when playing audio from
streaming services such as: Apple Music, Spotify, Pandora, YouTube, etc. Even if
music les are saved to the smartphone or tablet from a streaming service, Music
Mode will not work. We will provide a TYPE S LED APP update if streaming service
support is available in the future.
CAUTION: When using Music Mode, keep the engine running. Low voltage battery
protection will be disabled while in Music Mode. Low voltage battery protection will be
enabled once the TYPE S LED APP is manually closed or disconnected.

13
WARNINGS
Important Safety Instructions:
1. SAVE THESE INSTRUCTIONS - This manual contains important safety and operating instructions for LED Kit
model LM532675.
2. NEVER use the APP while operating your vehicle. Use the APP when vehicle is stationary only.
3. Before using this LED Kit, read all instructions and cautionary markings to ensure the product is properly & safely
installed.
4. Do not expose LED Kit to rain, moisture, or snow.
5. Use of an attachment not recommended or sold by the LED Kit manufacturer may result in a risk of re, electric
shock, or injury to persons.
6. Do not operate with damaged cord.
7. Do not disassemble LED Kit; take it to a qualied serviceperson when service or repair is required. Incorrect
reassembly may result in a risk of electric shock or re.
8. To reduce risk of electric shock, disconnect all power before attempting any maintenance or cleaning. Turning off
the lights will not reduce this risk.
WARNING: Do not install or use product if it, in any way, impairs the safe operation of your vehicle. Follow manufacturer’s
instructions to ensure the product is properly & safely installed. Neither the manufacturer nor the reseller can be held
responsible or liable for consequential, incidental, or indirect damages to either person or property resulting from the
installation or improper use of this product. Check your state, provincial, or local laws before installing.
This product is not DOT approved.

14
WARNINGS
FCC Compliance Statement:
This device comply with Part 15 of the FCC rules. Operation is subject to the following two conditions: (1) This device
may not cause harmful interference, and (2) this device must accept any interference received, including interference
that may cause undesired operation.
WARNING: Changes or modications to this unit not expressly approved by the party responsible for compliance could
void the user’s authority to operate the equipment. The manufacturer is not responsible for any radio or TV interference
caused by unauthorized modications or change to this equipment. Such modications or change could void the user’s
authority to operate the equipment.
NOTE: This equipment has been tested and found to comply with the limits for Class B digital device, pursuant to part
15 of the FCC Rules. These limits are designed to provide reasonable protection against harmful interference in a
residential installation. This equipment generates, uses and can radiate radio frequency energy and, if not installed and
used in accordance with the instructions, may cause harmful interference to radio or television reception, which can
be determined by turning the equipment off and on, the user is encouraged to try to correct the interference by one or
more of the following measures:
- Reorient or relocate the receiving antenna.
- Increase the separation between the equipment and the receiver.
- Connect the equipment into an outlet on a circuit different from that to which the receiver is connected.
- Consult the dealer or an experienced radio/TV technician for help.
The device has been evaluated to meet general RF exposure requirement.

15
WARNINGS
This equipment complies with FCC RF radiation exposure limits set forth for an uncontrolled environment.
WARNING: This product can expose you to chemicals including DEHP and DINP, which are known to the State of
California to cause cancer and birth defects or other reproductive harm. For more information go to www.P65Warnings.
ca.gov.
The Bluetooth® word mark and logos are registered trademarks owned by the Bluetooth SIG, Inc. and any use of such
marks by Winplus Co. Ltd is under license. Other trademarks and trade names are those of their respective owners.
3M VHB™ is a trademark of 3M company.
Pro Series Interior Smart COB Lighting Kit
LM532675
Responsible Party:
TYPE S
2975 Red Hill Ave., Ste. 100,
Costa Mesa, CA 92626, U.S.A.
Tel: 1.866.294.9244

16
ML-532675_V1
A Horizon Brands Company
2975 Red Hill Ave., Ste. 100, Costa Mesa,
CA 92626, U.S.A.
©2021 TYPE S. All rights reserved.
www.typesauto.com
This manual suits for next models
1
Table of contents
Other TypeS Automobile Accessories manuals

TypeS
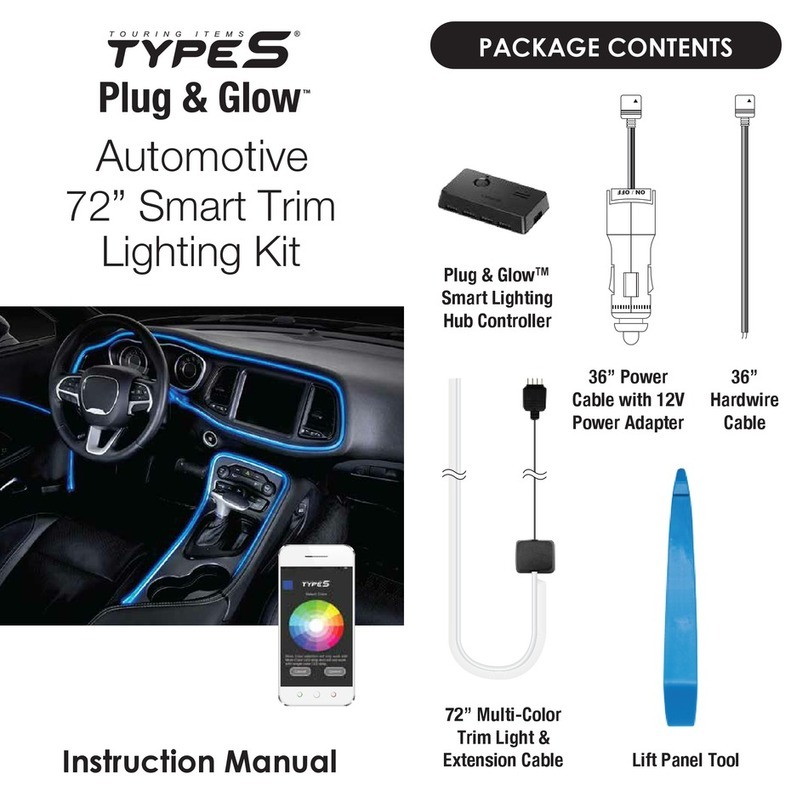
TypeS TERRA PRO LM57170 Guide

TypeS
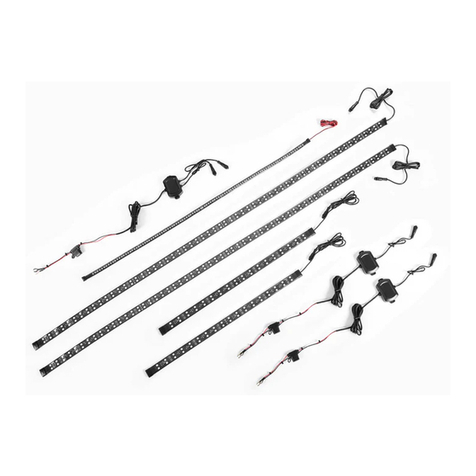
TypeS Formula DRIFT PSL PRO Series Original instructions

TypeS
TypeS Plug & Glow LM55879-1 User manual

TypeS
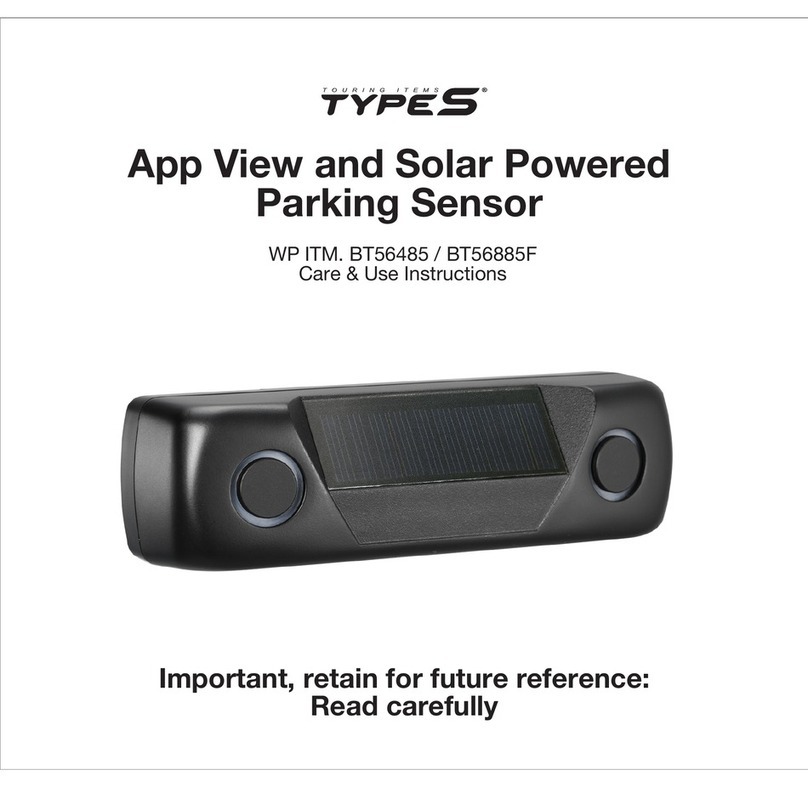
TypeS BT56485 Guide

TypeS
TypeS Plug and Glow User manual

TypeS
TypeS MICRO LIGHT KIT User manual

TypeS
TypeS BT56485F Guide

TypeS
TypeS BT530034 Guide

TypeS
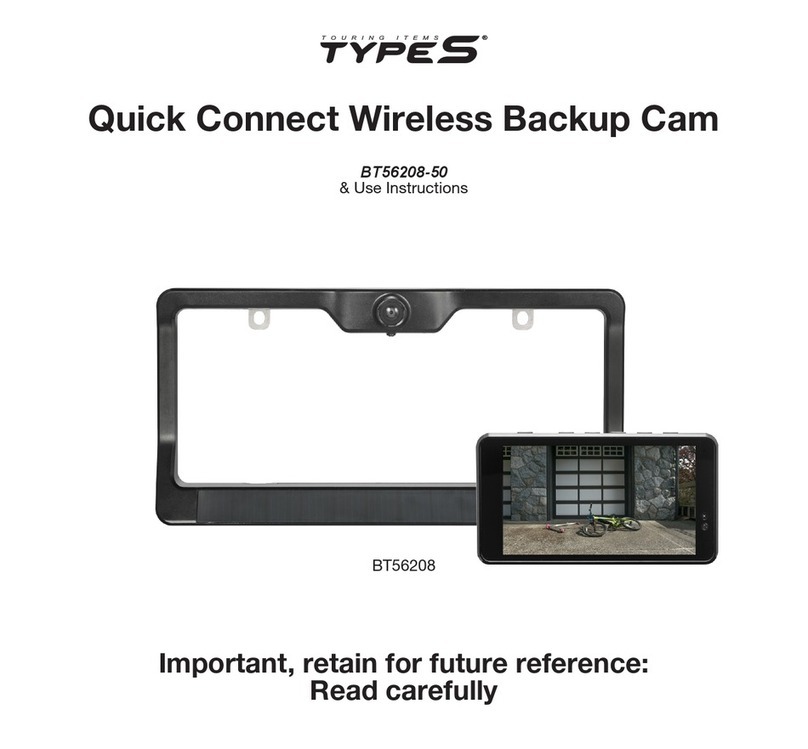
TypeS BT56208 User manual

TypeS
TypeS SC533475 User manual
Popular Automobile Accessories manuals by other brands

Caraudio-Systems
Caraudio-Systems dvbLOGiC DVB-E65-TV manual

Global Sat
Global Sat MR-350P installation guide

Air Lift
Air Lift 27691 instruction manual

Weather Guard
Weather Guard 237 Assembly and installation instructions

Bigfoot
Bigfoot T2801 manual

Let's Go Aero
Let's Go Aero GearSpace User's product manual