manuals.online logo
Brands
  1. Home
  2. •
  3. Brands
  4. •
  5. U-Line
  6. •
  7. Label Maker
  8. •
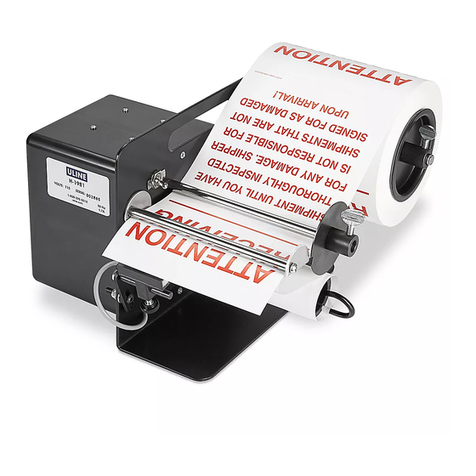
  9. U-Line H-8783 User manual

U-Line H-8783 User manual

PAGE 1 OF 3 0220 IH-8783
πH-8783
UNIVERSAL LABEL REWINDER
1-800-295-5510
uline.com
ASSEMBLY
SETUP
PARTS
NOTE: Assembly of the unit requires a Phillips
screwdriver.
1. Align holes in base with holes in bottom of tower.
2. Use four Phillips screws to attach base to tower.
(See Figure 1)
TOOL NEEDED
Phillips Screwdriver
PARTS
#DESCRIPTION QTY.
1Mounting Flange 1
2Thumbscrew 1
3 Lexan Disk 2
4 3" Core Holder 2
5Empty Core 1
6Shaft 1
7Tower 1
8Base 1
9Phillips Screw 4
10 Roller 1
11 AC Adapter 1
12 Power Cord 1
12
4
4
36
10
11
12
5
3
7
8
9
Figure 1 Tower
Base
Philips
Screw
1. Remove plastic overlay from Lexan disks.
2. Slide a Lexan disk onto the shaft.
NOTE: Ensure the disk rests on the small ridge
on the shaft.
3. Select a 3" core holder with the small metal blades
on the edge.
4. Slide and thread the 3" core holder onto shaft with
beveled edge facing away from tower.
PAGE 2 OF 3 0220 IH-8783
SETUP CONTINUED
OPERATION
5. Slide an empty cardboard core onto shaft. Ensure
it fits snugly onto 3" core holder and flush against
Lexan disk. (See parts diagram on page 1)
NOTE: The empty core should be
approximately the same width as the label
and backing being rewound.
6. Insert mounting flange through hole in the other
Lexan disk. Ensure the disk rests on the small ridge
on the flange. Thread the non-bladed 3" core
holder onto flange with beveled edge facing away
from Lexan disk. Tighten. Slide outer disk assembly
onto shaft and into empty cardboard core.
7. Hand-tighten the thumbscrew to the flat side shaft.
CAUTION! Do not push outer disk in too far as it
will pinch the labels.
CAUTION! Do not lift or carry unit using speed
control arm as it will cause damage to unit.
CONNECTING POWER CABLE AND AC CORD
1. Plug power supply into inlet on tower.
2. Plug AC cord into power supply. (See Figure 2)
3. Plug the other end of AC cord into a grounded
electrical outlet.
LABEL THREADING
NOTE: The unit has a winding direction switch
directly above the power inlet that allows user
to select mode of rewinding: labels wound on
inside of roll or labels wound on outside of roll.
FOR OUTSIDE WINDING
1. Slide winding direction switch to the lower position.
2. Position and align rewinder with printer.
3. Thread the supply. (See Figure 3)
NOTE: Feed supply under pick-up arm.
4. Tape supply to empty core.
5. Turn on rewinder.
FOR INSIDE WINDING
1. Slide winding direction switch to upper position.
2. Position and align rewinder with printer.
3. Thread the supply. (See Figure 4)
NOTE: Feed supply under pick-up arm.
4. Tape supply to empty core.
5. Turn on rewinder.
REMOVING THE SUPPLY
1. Loosen thumbscrew on outer disk.
2. Remove outer disk assembly from shaft.
3. Remove roll of rewound labels.
Figure 2
Power
Switch
OFF
ON
Power
Inlet
Winding
Direction
Switch
AC Cord
Figure 3
Rewinder Printer
Figure 4
Rewinder Printer
PAGE 3 OF 3 0220 IH-8783
TROUBLESHOOTING
OPERATING ISSUE RECOMMENDATIONS
Rewinder feeds supply,
instead of rewinding. Ensure the direction switch is set properly.
Core does not stay on
core holder. Ensure the inside core holder is the one with the small
metal clips on the edge.
Supply is pinched when
rewinding. Ensure the outer disk has not been pushed in too far.
Rewinder is pulling
too hard on supply or
supply perforations are
breaking.
Ensure the supply is fed under the pick-up arm and then
attached to the empty core or coreless adapter.
πCHICAGO • ATLANTA • DALLAS • LOS ANGELES • MINNEAPOLIS • NYC/PHILA • SEATTLE • MEXICO • CANADA
1-800-295-5510
uline.com

Other U-Line Label Maker manuals

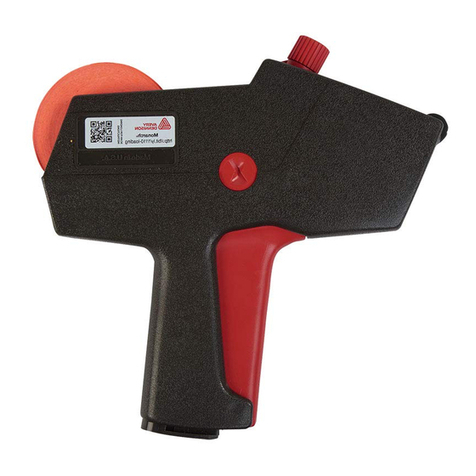
U-Line MONARCH 1115 User manual

U-Line

U-Line MONARCH 1115 User manual

U-Line H-1276 User manual

U-Line

U-Line H-1276 User manual

U-Line Dymo LabelWriter 450 Twin Turbo User manual

U-Line

U-Line Dymo LabelWriter 450 Twin Turbo User manual

U-Line MONARCH 1110 User manual

U-Line

U-Line MONARCH 1110 User manual

U-Line DYMO 450 User manual

U-Line

U-Line DYMO 450 User manual

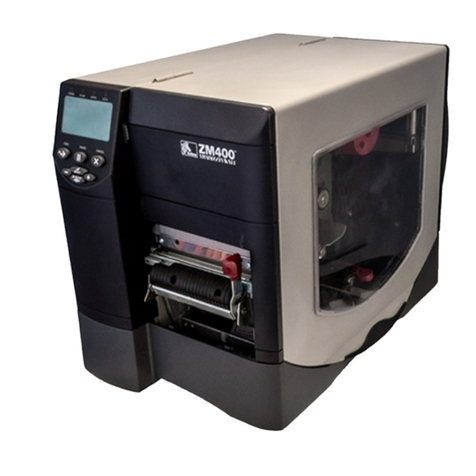
U-Line ZEBRA ZM400 User manual

U-Line

U-Line ZEBRA ZM400 User manual

U-Line BROTHER H-8754 User manual

U-Line

U-Line BROTHER H-8754 User manual

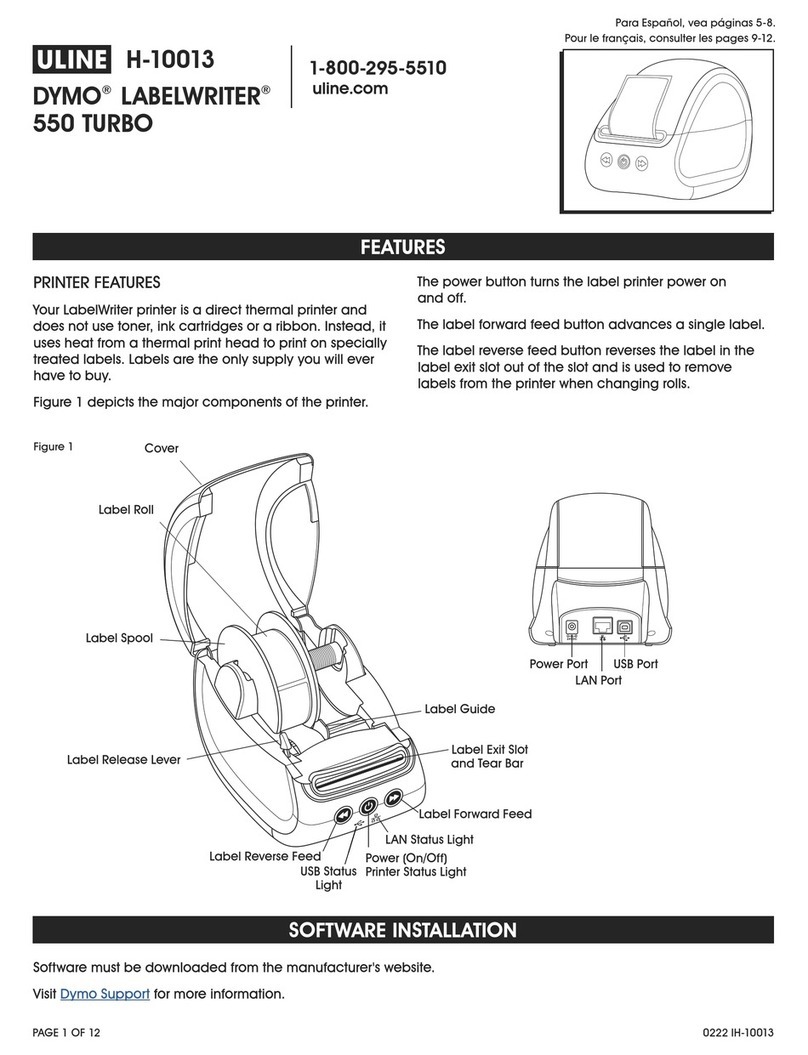
U-Line DYMO LABELWRITER 550 TURBO User manual

U-Line

U-Line DYMO LABELWRITER 550 TURBO User manual

U-Line H-1276 User manual

U-Line

U-Line H-1276 User manual

Popular Label Maker manuals by other brands

Phomemo M220 quick guide

Phomemo

Phomemo M220 quick guide

TAKE-A-LABEL TAL-3100T Operation manual

TAKE-A-LABEL

TAKE-A-LABEL TAL-3100T Operation manual

Dymo LabelManager 100 user guide

Dymo

Dymo LabelManager 100 user guide

InfoSight LabeLase 1000 Service manual

InfoSight

InfoSight LabeLase 1000 Service manual

Saturn LAWA-A manual

Saturn

Saturn LAWA-A manual

Intermec EasyCoder PX6i user guide

Intermec

Intermec EasyCoder PX6i user guide

Dymo Rhino 3000 Industrial Label Printer Selection guide

Dymo

Dymo Rhino 3000 Industrial Label Printer Selection guide

SATO Argox D2 Series Quick installation guide

SATO

SATO Argox D2 Series Quick installation guide

HPRT HM-T3 PRO quick start guide

HPRT

HPRT HM-T3 PRO quick start guide

Dymo LabelPoint 250 user guide

Dymo

Dymo LabelPoint 250 user guide

Brother P-touch PT-9600 user guide

Brother

Brother P-touch PT-9600 user guide

BIXOLON SLP-DL410 user manual

BIXOLON

BIXOLON SLP-DL410 user manual

Dymo LabelManager 100 Instructions for use

Dymo

Dymo LabelManager 100 Instructions for use

Output Solutions C-680 LabelJet user manual

Output Solutions

Output Solutions C-680 LabelJet user manual

Brother PT-E800T user guide

Brother

Brother PT-E800T user guide

Dymo LetraTag Instructions for use

Dymo

Dymo LetraTag Instructions for use

Rongta Technology RP311 user manual

Rongta Technology

Rongta Technology RP311 user manual

Brother PT-9500PC - P-Touch 9500pc B/W Thermal Transfer... Service manual

Brother

Brother PT-9500PC - P-Touch 9500pc B/W Thermal Transfer... Service manual

manuals.online logo
manuals.online logoBrands
  • About & Mission
  • Contact us
  • Privacy Policy
  • Terms and Conditions

Copyright 2025 Manuals.Online. All Rights Reserved.