manuals.online logo
Brands
  1. Home
  2. •
  3. Brands
  4. •
  5. Ubiquiti
  6. •
  7. Wireless Access Point
  8. •
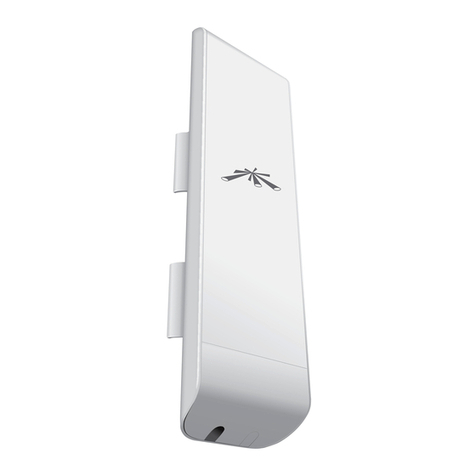
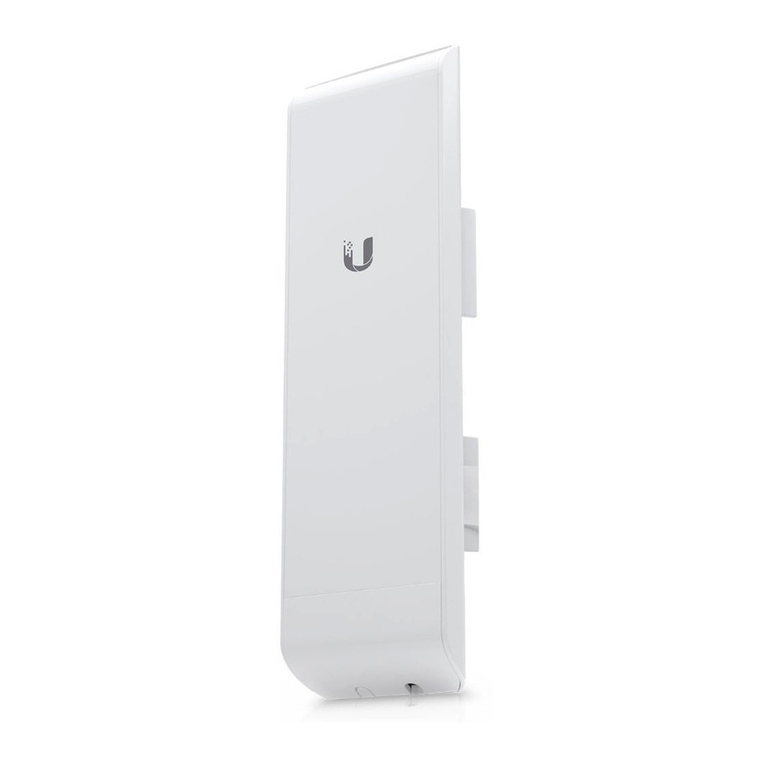
  9. Ubiquiti NanoStation 5AC Loco User manual

Ubiquiti NanoStation 5AC Loco User manual

Other manuals for NanoStation 5AC Loco

1

This manual suits for next models

1

Other Ubiquiti Wireless Access Point manuals

Ubiquiti LTU-Pro User manual

Ubiquiti

Ubiquiti LTU-Pro User manual

Ubiquiti nano station M User manual

Ubiquiti

Ubiquiti nano station M User manual

Ubiquiti M900 User manual

Ubiquiti

Ubiquiti M900 User manual

Ubiquiti LiteBeam AC GENZ User manual

Ubiquiti

Ubiquiti LiteBeam AC GENZ User manual

Ubiquiti NBE-M5-16 User manual

Ubiquiti

Ubiquiti NBE-M5-16 User manual

Ubiquiti M2 GPS Rocket M Series User manual

Ubiquiti

Ubiquiti M2 GPS Rocket M Series User manual

Ubiquiti UAP-PRO User manual

Ubiquiti

Ubiquiti UAP-PRO User manual

Ubiquiti airFiber AF-11 User manual

Ubiquiti

Ubiquiti airFiber AF-11 User manual

Ubiquiti BULLETM2-HP-US User manual

Ubiquiti

Ubiquiti BULLETM2-HP-US User manual

Ubiquiti UniFI UAP-AC User manual

Ubiquiti

Ubiquiti UniFI UAP-AC User manual

Ubiquiti AirCube ACB-AC User manual

Ubiquiti

Ubiquiti AirCube ACB-AC User manual

Ubiquiti IsoStation AC User manual

Ubiquiti

Ubiquiti IsoStation AC User manual

Ubiquiti UniFi UAP-IW-HD User manual

Ubiquiti

Ubiquiti UniFi UAP-IW-HD User manual

Ubiquiti AG-PRO-INS User manual

Ubiquiti

Ubiquiti AG-PRO-INS User manual

Ubiquiti UniFi UAP-IW-HD User manual

Ubiquiti

Ubiquiti UniFi UAP-IW-HD User manual

Ubiquiti AirCube ACB-AC User manual

Ubiquiti

Ubiquiti AirCube ACB-AC User manual

Ubiquiti UniFi UAP-AC-LITE User manual

Ubiquiti

Ubiquiti UniFi UAP-AC-LITE User manual

Ubiquiti LiteBeam LBE5AC120-U User manual

Ubiquiti

Ubiquiti LiteBeam LBE5AC120-U User manual

Ubiquiti Rocket M3 User manual

Ubiquiti

Ubiquiti Rocket M3 User manual

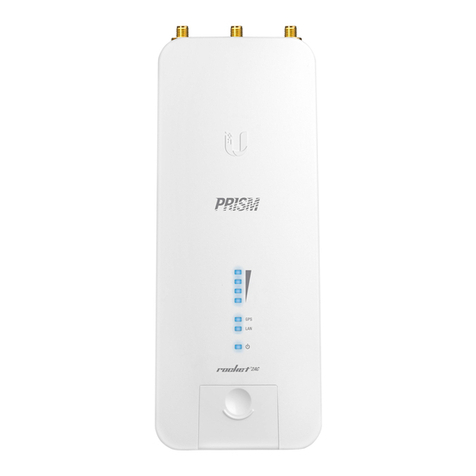
Ubiquiti Rocket Prism 5AC User manual

Ubiquiti

Ubiquiti Rocket Prism 5AC User manual

Ubiquiti PowerStation2 User manual

Ubiquiti

Ubiquiti PowerStation2 User manual

Ubiquiti AmpliFi MeshPoint HD User manual

Ubiquiti

Ubiquiti AmpliFi MeshPoint HD User manual

Ubiquiti NanoStation M User manual

Ubiquiti

Ubiquiti NanoStation M User manual

Ubiquiti UniFi AC SHD User manual

Ubiquiti

Ubiquiti UniFi AC SHD User manual

Popular Wireless Access Point manuals by other brands

TRENDnet TPL-410AP user guide

TRENDnet

TRENDnet TPL-410AP user guide

EnGenius EWS377-FIT quick start guide

EnGenius

EnGenius EWS377-FIT quick start guide

D-Link DWL-6700AP Quick installation guide

D-Link

D-Link DWL-6700AP Quick installation guide

Aerohive Networks Aerohive AP121 Hardware reference guide

Aerohive Networks

Aerohive Networks Aerohive AP121 Hardware reference guide

Vonets VAP11G Step-by-step guide

Vonets

Vonets VAP11G Step-by-step guide

Monoprice MW301A user guide

Monoprice

Monoprice MW301A user guide

D-Link DWL-2700AP - AirPremier Outdoor Wireless Access... user manual

D-Link

D-Link DWL-2700AP - AirPremier Outdoor Wireless Access... user manual

D-Link DWL-2100AP - AirPlus Xtreme G Quick installation guide

D-Link

D-Link DWL-2100AP - AirPlus Xtreme G Quick installation guide

TP-Link Auranet EAP225 Quick installation guide

TP-Link

TP-Link Auranet EAP225 Quick installation guide

D-Link DWL-2100AP - AirPlus Xtreme G Quick installation guide

D-Link

D-Link DWL-2100AP - AirPlus Xtreme G Quick installation guide

Aruba IAP-335 user guide

Aruba

Aruba IAP-335 user guide

Advantek Networks AWN-AP-54MR user manual

Advantek Networks

Advantek Networks AWN-AP-54MR user manual

IP-COM AP355 user guide

IP-COM

IP-COM AP355 user guide

Buffalo AirStation WLA-L11G user manual

Buffalo

Buffalo AirStation WLA-L11G user manual

EnGenius EnStationACv2 user manual

EnGenius

EnGenius EnStationACv2 user manual

D-Link DAP-3662 Quick installation guide

D-Link

D-Link DAP-3662 Quick installation guide

Edimax CAP1200 user manual

Edimax

Edimax CAP1200 user manual

xG Technology xMax CN1300 installation guide

xG Technology

xG Technology xMax CN1300 installation guide

manuals.online logo
manuals.online logoBrands
  • About & Mission
  • Contact us
  • Privacy Policy
  • Terms and Conditions

Copyright 2025 Manuals.Online. All Rights Reserved.

17.02.2020 Loco5AC Quck Start Gude
https://dl.ubnt.com/qsg/Loco5AC/Loco5AC_EN.html 1/12
NanoStat

on loco Z

p T

e
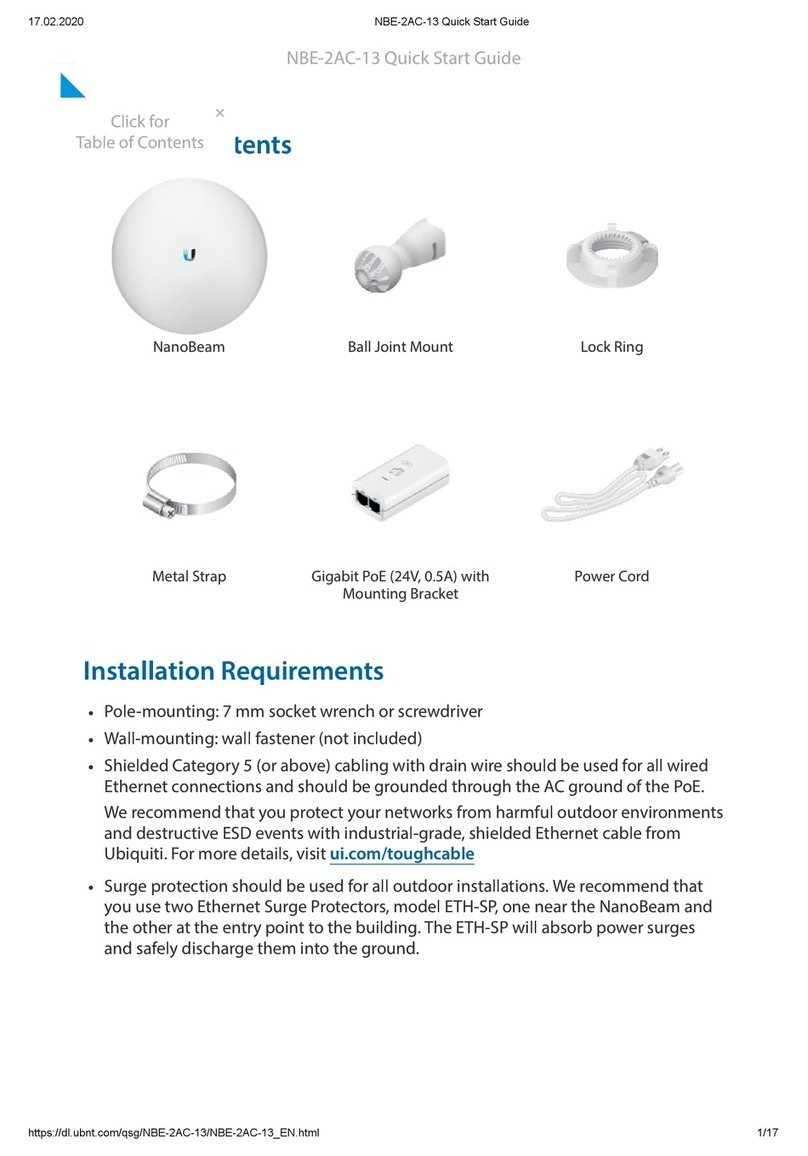
Package Contents
Installat

on Requ

rements
Sh

elded Category 5 (or above) cabl

ng w

th dra

n w

re should be used for all
outdoor w

red Ethernet connect

ons and should be grounded through the AC
ground of the PoE.
We recommend that you protect your networks from harmful outdoor env

ronments
and destruct

ve ESD events w

th

ndustr

al-grade, sh

elded Ethernet cable from
Ub

qu

t

. For more deta

ls, v

s

t
u

.com/toughcable
Surge protect

on should be used for all outdoor

nstallat

ons. We recommend that
you use two Ethernet Surge Protectors, model ETH-SP, one near the NanoStat

on
loco and the other at the entry po

nt to the bu

ld

ng. The ETH-SP w

ll absorb power
surges and safely d

scharge them

nto the ground.
Loco5AC Qu

ck Start Gu

de
17.02.2020 Loco5AC Quck Start Gude
https://dl.ubnt.com/qsg/Loco5AC/Loco5AC_EN.html 2/12
Power LED
Ethernet Port
D

agram Show

ng Use of Ethernet Surge Protectors
Hardware Overv

ew
Port V

ew
The Power LED w

ll l

ght blue when the dev

ce

s connected to a power source.
Loco5AC Qu

ck Start Gu

de
17.02.2020 Loco5AC Quck Start Gude
https://dl.ubnt.com/qsg/Loco5AC/Loco5AC_EN.html 3/12
Reset Button
10/100/1000 Ethernet port used to connect the power and should be connected to
the LAN and DHCP server.
To reset to factory defaults, press and hold the Reset button for more than 10
seconds wh

le the dev

ce

s powered on.
Hardware Installat

on
1.
2.
Pole Mount
1.
Loco5AC Qu

ck Start Gu

de
17.02.2020 Loco5AC Quck Start Gude
https://dl.ubnt.com/qsg/Loco5AC/Loco5AC_EN.html 4/12
2.
3.
Loco5AC Qu

ck Start Gu

de
17.02.2020 Loco5AC Quck Start Gude
https://dl.ubnt.com/qsg/Loco5AC/Loco5AC_EN.html 5/12
Connect

ng Power
WARNING:
The sw

tch port must comply w

th the power spec

f

cat

ons l

sted

n
th

s
“Spec

f

cat

ons”
.
Access

ng a

rOS v

a W

-F

Loco5AC Qu

ck Start Gu

de
17.02.2020 Loco5AC Quck Start Gude
https://dl.ubnt.com/qsg/Loco5AC/Loco5AC_EN.html 6/12
Ver

fy connect

v

ty

n the a

rOS® Conf

gurat

on Interface us

ng the UNMS™ app or Web
Portal. Both are ava

lable for 15 m

nutes

mmed

ately after you power on the dev

ce. If
necessary, you can power cycle the dev

ce to re-enable

ts W

-F

.
UNMS App
1. Download the UNMS app.
2. Connect your dev

ce’s W

-F

to the SSID named: <model>:<MAC Address>
3. Launch the app and follow the on-screen

nstruct

ons.
Web Portal
1. Connect your dev

ce’s W

-F

to the SSID named: <model>:<MAC Address>
2. Launch your web browser and go to: http://setup.u

.com
3. Select your Country and Language. You must agree to the Terms of Use to use the
product. Cl

ck Cont

nue.
Note:
Ensure that DHCP

s enabled on your W

-F

adapter.
Note:
Ensure that your W

-F

connect

on has DHCP enabled.
Loco5AC Qu

ck Start Gu

de
17.02.2020 Loco5AC Quck Start Gude
https://dl.ubnt.com/qsg/Loco5AC/Loco5AC_EN.html 7/12
4. Create a username and password. Conf

rm your new password and then cl

ck Save.
The a

rOS Conf

gurat

on Interface w

ll appear, allow

ng you to custom

ze your sett

ngs
as needed. For add

t

onal deta

ls, refer to the User Gu

de ava

lable at
u

.com/download/a

rmax-ac
Installer Compl

ance Respons

b

l

ty
Dev

ces must be profess

onally

nstalled and

t

s the profess

onal

nstaller’s
respons

b

l

ty to make sure the dev

ce

s operated w

th

n local country regulatory
requ

rements.
Loco5AC Qu

ck Start Gu

de
17.02.2020 Loco5AC Quck Start Gude
https://dl.ubnt.com/qsg/Loco5AC/Loco5AC_EN.html 8/12
The Output Power f

eld

s prov

ded to the profess

onal

nstaller to ass

st

n meet

ng
regulatory requ

rements.
Spec

f

cat

ons
Loco5AC
D

mens

ons 179 x 77.5 x 59.1 mm
(7.05 x 3.05 x 2.33")
We

ght 180 g (6.35 oz)
Processor MIPS 74K
Memory DDR2 64 MB
Antenna Ga

n 13 dB

Network

ng Interface (1) 10/100/1000 Ethernet Port
Power Method Pass

ve PoE 2-Pa

r (Pa

rs 4, 5+; 7, 8 Return)
Power Supply 24V, 0.3A G

gab

t PoE Supply*
Max. Power Consumpt

on 7W
Supported Voltage Range 24V ±10%
ESD/EMP Protect

on ±24kV Contact / A

r
Operat

ng Temperature -40 to 70° C (-40 to 158° F)
Operat

ng Hum

d

ty 5 to 95% Noncondens

ng
Cert

f

cat

ons CE, FCC, IC
Loco5AC Qu

ck Start Gu

de
17.02.2020 Loco5AC Quck Start Gude
https://dl.ubnt.com/qsg/Loco5AC/Loco5AC_EN.html 9/12
* Not

ncluded. Recommended PoE Adapter: POE-24-12W-G.
Operat

ng Frequency (MHz)
Worldw

de 5150 - 5875
US/CA U-NII-1 5150 - 5250
U-NII-2A 5250 - 5350
U-NII-2C 5470 - 5725
U-NII-3 5725 - 5850
Management Rad

o (MHz)
Worldw

de 2412 - 2472
US/CA 2412 - 2462
Safety Not

ces
1. Read, follow, and keep these

nstruct

ons.
2. Heed all warn

ngs.
3. Only use attachments/accessor

es spec

f

ed by the manufacturer.
WARNING:
Do not use th

s product

n locat

on that can be submerged by water.
WARNING:
Avo

d us

ng th

s product dur

ng an electr

cal storm. There may be a remote
r

sk of electr

c shock from l

ghtn

ng.
Electr

cal Safety Informat

on
1. Compl

ance

s requ

red w

th respect to voltage, frequency, and current requ

rements

nd

cated
on the manufacturer’s label. Connect

on to a d

fferent power source than those spec

f

ed may
result

n

mproper operat

on, damage to the equ

pment or pose a f

re hazard

f the l

m

tat

ons
are not followed.
2. There are no operator serv

ceable parts

ns

de th

s equ

pment. Serv

ce should be prov

ded only
by a qual

f

ed serv

ce techn

c

an.
L

m

ted Warranty
u

.com/support/warranty
The l

m

ted warranty requ

res the use of arb

trat

on to resolve d

sputes on an

nd

v

dual bas

s, and,
where appl

cable, spec

fy arb

trat

on

nstead of jury tr

als or class act

ons.
Compl

ance
FCC
Changes or mod

f

cat

ons not expressly approved by the party respons

ble for compl

ance could
vo

d the user’s author

ty to operate the equ

pment.
Loco5AC Qu

ck Start Gu

de
17.02.2020 Loco5AC Quck Start Gude
https://dl.ubnt.com/qsg/Loco5AC/Loco5AC_EN.html 10/12
Th

s dev

ce compl

es w

th Part 15 of the FCC Rules. Operat

on

s subject to the follow

ng two
cond

t

ons.
1. Th

s dev

ce may not cause harmful

nterference, and
2. Th

s dev

ce must accept any

nterference rece

ved,

nclud

ng

nterference that may cause
undes

red operat

on.
Th

s equ

pment has been tested and found to comply w

th the l

m

ts for a Class A d

g

tal dev

ce,
pursuant to part 15 of the FCC Rules. These l

m

ts are des

gned to prov

de reasonable protect

on
aga

nst harmful

nterference when the equ

pment

s operated

n a commerc

al env

ronment. Th

s
equ

pment generates, uses, and can rad

ate rad

o frequency energy and,

f not

nstalled and used

n accordance w

th the

nstruct

on manual, may cause harmful

nterference to rad

o
commun

cat

ons. Operat

ons of th

s equ

pment

n a res

dent

al area

s l

kely to cause harmful

nterference

n wh

ch case the user w

ll be requ

red to correct the

nterference at h

s own expense.
Th

s rad

o transm

tter has been approved by FCC.
ISED Canada
CAN ICES-3(A)/NMB-3(A)
Th

s dev

ce compl

es w

th ISED Canada l

cence-exempt RSS standard(s). Operat

on

s subject to the
follow

ng two cond

t

ons:
1. Th

s dev

ce may not cause

nterference, and
2. Th

s dev

ce must accept any

nterference,

nclud

ng

nterference that may cause undes

red
operat

on of the dev

ce.
Th

s rad

o transm

tter has been approved by ISED Canada.
The dev

ce for operat

on

n the band 5150-5250 MHz

s only for

ndoor use to reduce the potent

al
for harmful

nterference to co-channel mob

le satell

te systems.
CAN ICES-3(A)/NMB-3(A)
Le présent appare

l est conforme aux CNR d’ISDE Canada appl

cables aux appare

ls rad

o exempts
de l

cence. L’explo

tat

on est autor

sée aux deux cond

t

ons su

vantes :
1. l’appare

l ne do

t pas produ

re de brou

llage;
2. l’appare

l do

t accepter tout brou

llage rad

oélectr

que sub

, même s

le brou

llage est
suscept

ble d’en compromettre le fonct

onnement.
Le présent émetteur rad

o a été approuvé par ISDE Canada.
Les d

spos

t

fs fonct

onnant dans la bande 5150-5250 MHz sont réservés un

quement pour une
ut

l

sat

on à l’

ntér

eur af

n de rédu

re les r

sques de brou

llage préjud

c

able aux systèmes de
satell

tes mob

les ut

l

sant les mêmes canaux.
IMPORTANT NOTE
Rad

at

on Exposure Statement
Th

s equ

pment compl

es w

th rad

at

on exposure l

m

ts set forth for an uncontrolled
env

ronment.
Th

s equ

pment should be

nstalled and operated w

th m

n

mum d

stance 25 cm between the
rad

ator and your body.
Th

s transm

tter must not be co-located or operat

ng

n conjunct

on w

th any other antenna or
transm

tter.
Loco5AC Qu

ck Start Gu

de