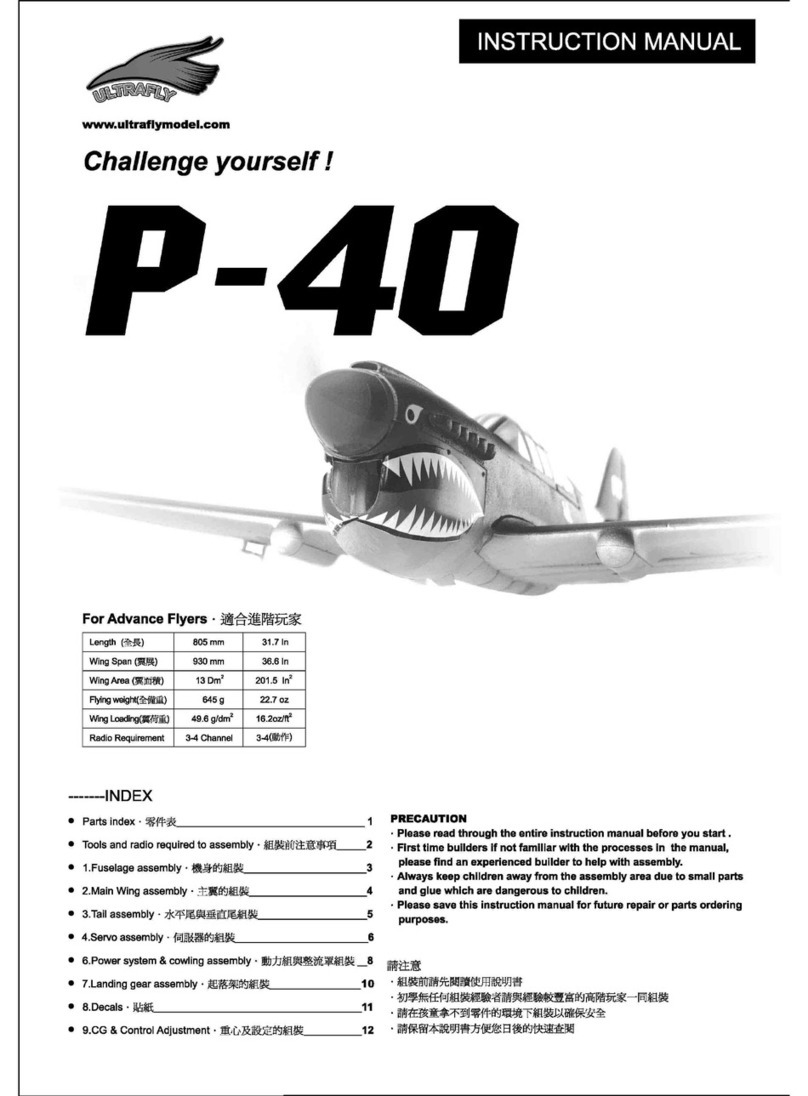
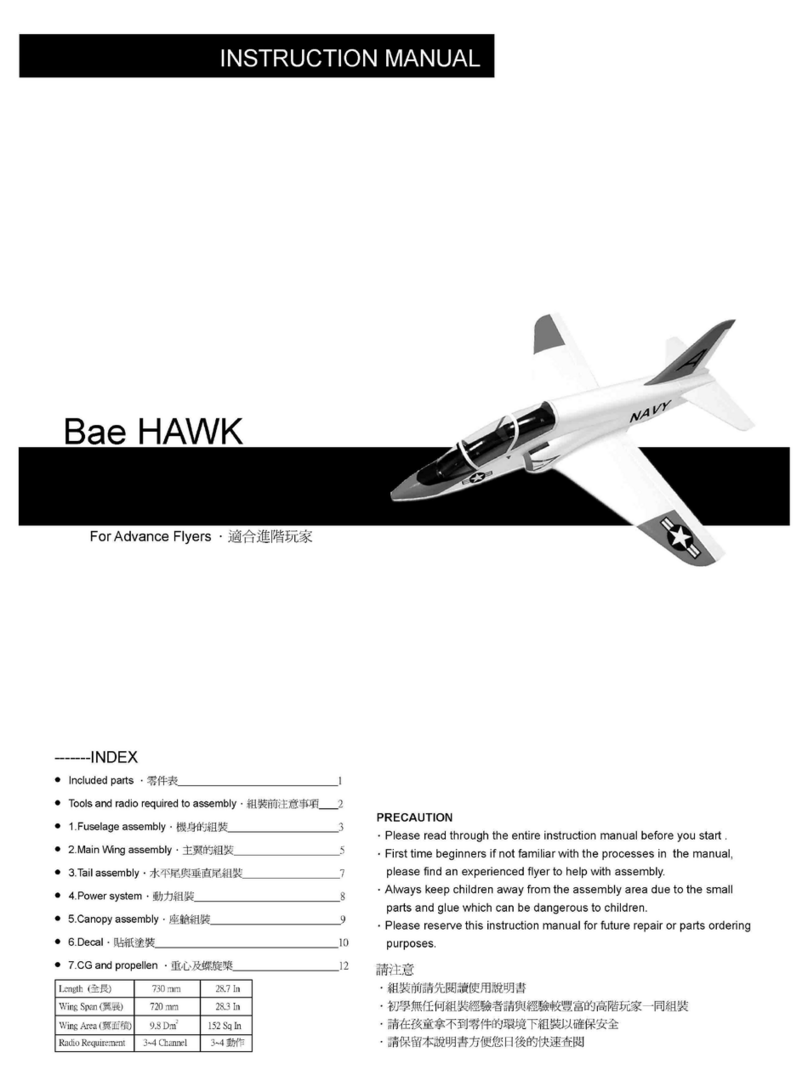
Ultrafly FIGHTING FALCON User manual

F-16
For Advance Flyers
PRECAUTION
.Please read through the entire instruction manual before you start .
.First time beginner if not familiar with the process in the manual,please
find an experienced player to help assemble.
.Always keep children away from the assembly area for the small parts
and glue are dangerous to children.
.Please reserve this instruction manual for future repair or parts ordering
purpose.
INSTRUCTION MANUAL
.適合進階玩家
請注意
.組裝前請先閱讀使用說明書
.初學無任何組裝經驗者請與經驗較豐富的高階玩家一同組裝
.請在孩童拿不到零件的環境下組裝以確保安全
.請保留本說明書方便您日後的快速查閱
●Parts index.零件表______________________________________ 1
●Tools and radio required to assembly.組裝前注意事項______2
●1.Canopy assembly.座倉罩的組合_________________________3
●2.fuselage assembly.機身的組裝__________________________6
●3.Tail assembly.水平尾與垂直尾組裝______________________7
●4.Power system .動力組組裝 _____________________________8
●5.Belly cover assembly.機腹蓋的組合_____________________9
●6.CG&Control surface setting.重心與控制面設定__________12
-------INDEX
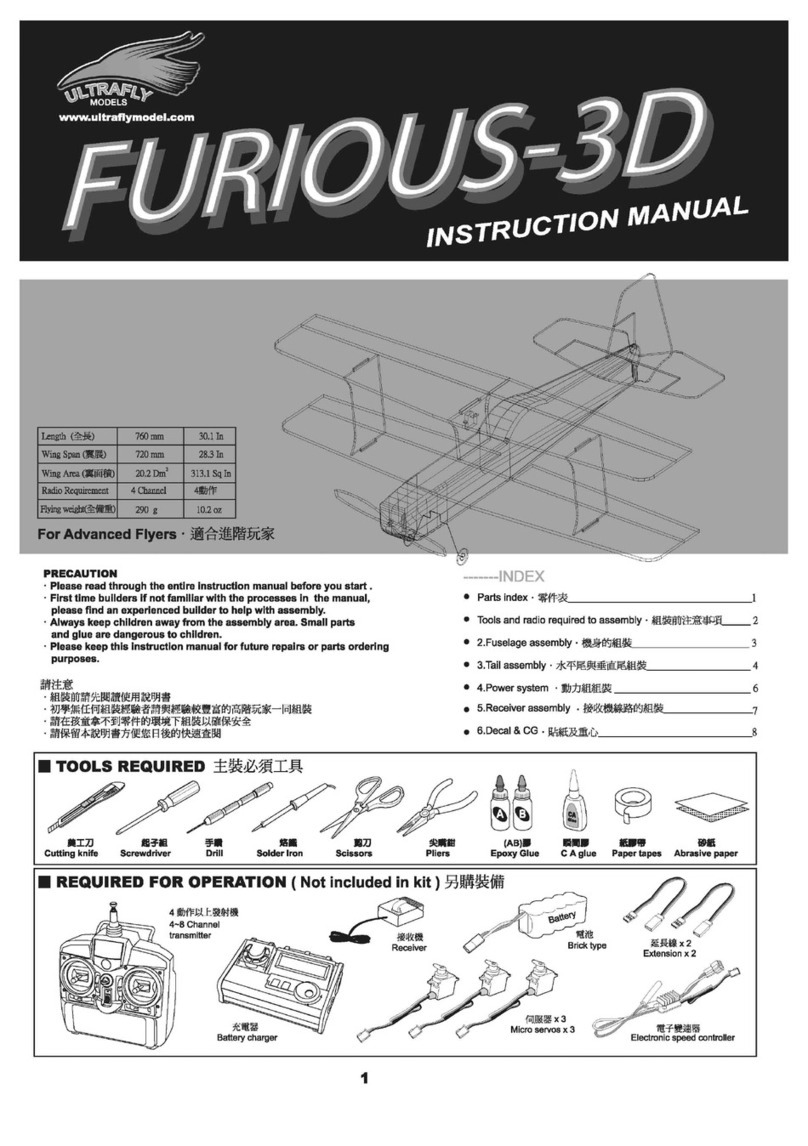
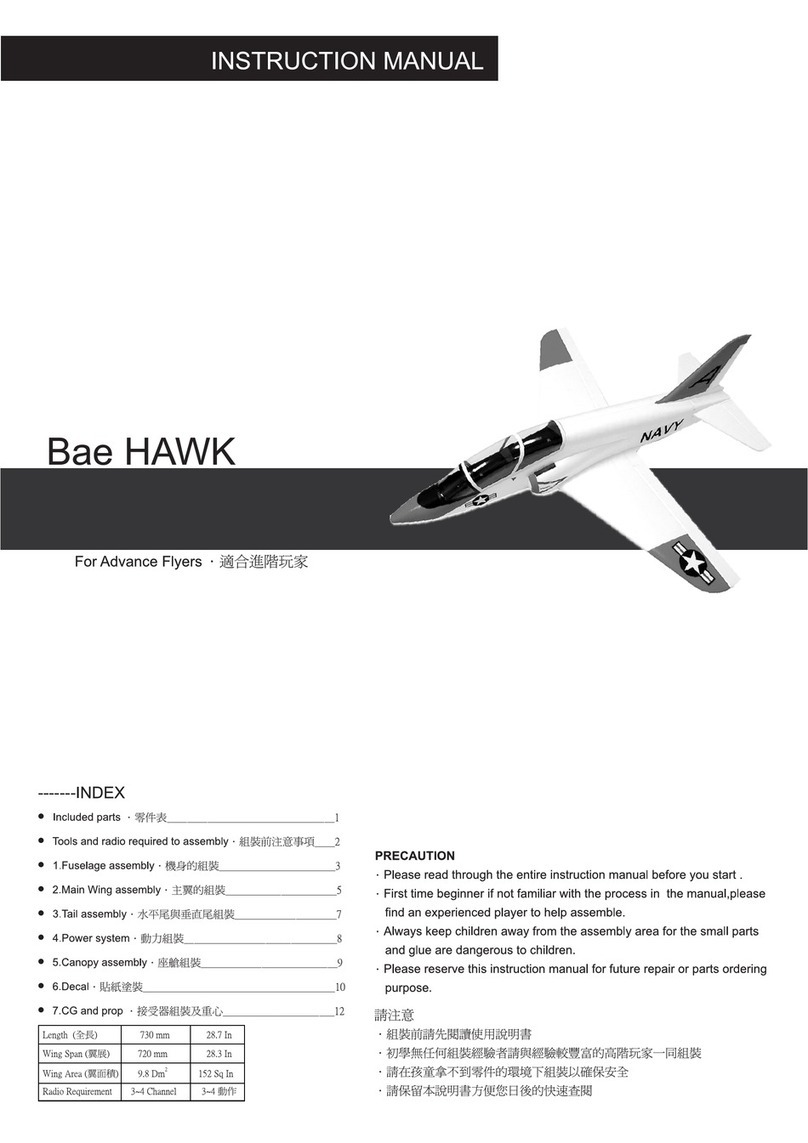
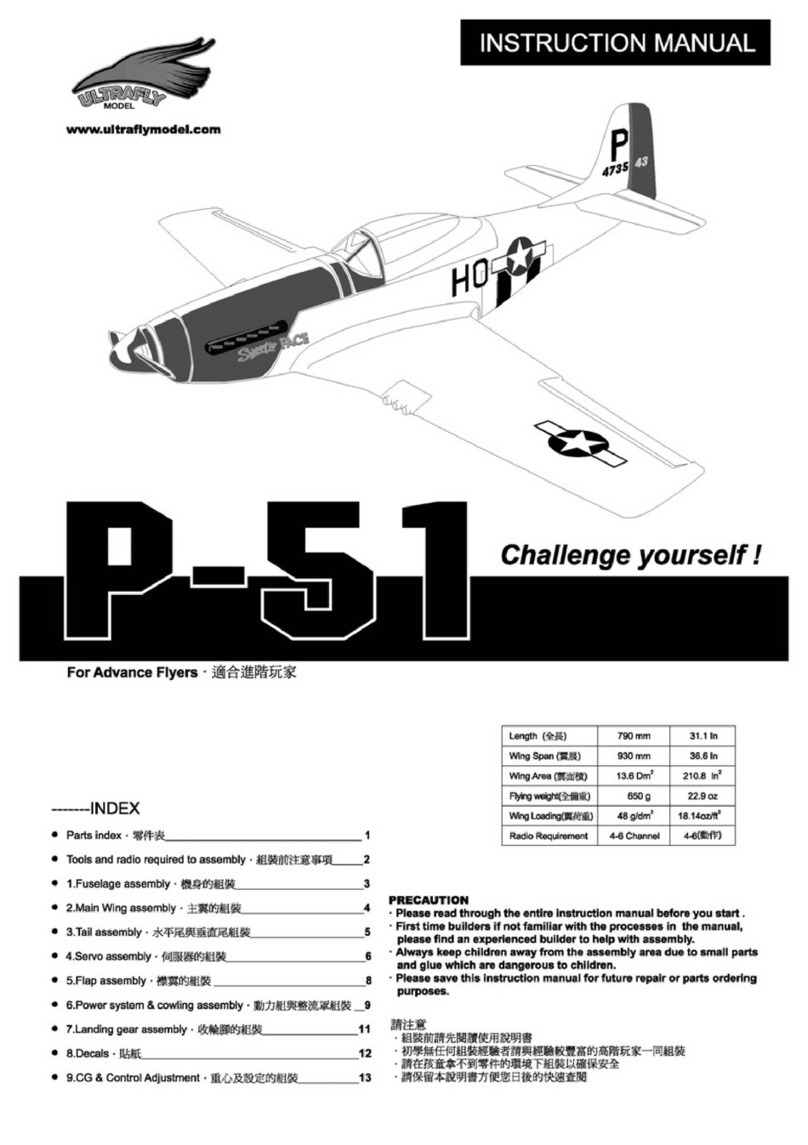
Length (全長)
Wing Span (翼展)
Wing Area (翼面積)
Radio Requirement
Flying weight(全備重)
835 mm 32.9 In
633 mm
590 g 20.8 oz
24.9 In
9 Dm2139.5 Sq In
3 Channel 3動作
FIGHTING FALCON

Dear Ultrafly Customer,
Thank you for choosing the Ultrafly Model F-16! With this foam airplane,
Ultrafly reaches a new high level of product quality— the result of steady
improvements in engineering and molding processes that keep Ultrafly at the
forefront of all foam model manufacturers. We’re dedicated to deliver the finest
products possible for your modeling pleasure. If you have comments or suggestions,
please feel free to e-mail us at sales@ultraflymodel.com.
The full-size F-16, developed with experience gained from the Vietnam War,
ranks among the best of all U.S. military combat aircraft for range, acceleration, and
maneuverability. A mid-1980s design,it was only recently surpassed in these areas by
a few new fighter planes.
Ultrafly’s F-16 captures the spirit of the famous original fighter. Our challenge
was to keep the scale look and, at the same time, provide outstanding maneuvering
capabilities. To meet that design goal, ten different prototypes were cut and built!
No wonder you’ll find that this is the best jet model in the Ultrafly line — as well
as one of the best-performing, most scale-looking foam jet models available anywhere.
Its scale wingspan contributes to a fast roll rate. And, compared to our previous BAE
Hawk jet model, the F-16’s unique wing and fuselage increase lift by 40-50%.It is
therefore much easier to launch the model, including by hand (but you’ll still want to
be careful of the back-mounted pusher prop when you hand-launch the F-16…read
the “Important Note before you take the first flight!” information on page 12).
Ultrafly offers two versions of our F-16. The “Basic” version comes with an
Ultrafly Falcon 400 motor and 2.38:1 gearbox. Using a 12V, 1100mAh NiMH battery,
the APC 7x5E propeller turns at 9000+ rpm—with enough power to let the F-16
perform a 70-feet-high circle/loop.
In the “Advanced” version, we replace the Falcon 400 motor with an Ultrafly
D/13/32 brushless motor. Using a 3S (1500mAh) LiPo battery, this F-16 will scream
clear out of sight! Imagine the excitement of flying an unlimited vertical jet model. Be
sure to consult with an expert, of course, before using a Li-Po battery…they require
special know-how for safe and proper use.
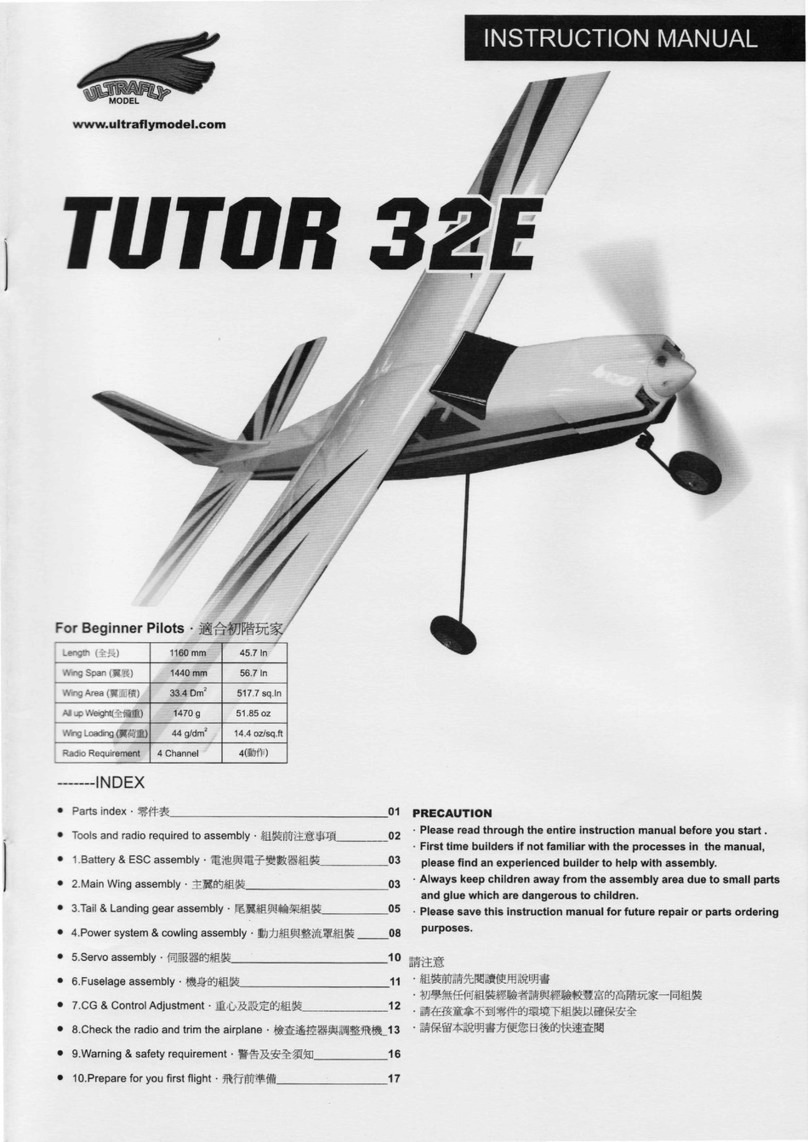
Again, thank you for your purchase...and have a wonderful flying season!
Ultrafly Model Corp.

9
11
B
10
11
12
3
5
5
7
1
8
13
1
2
4
4
6
9
A
2
2
2
2
2
1
4
4
4
4
4
1
1
1
1
5
5
3
3
3
3
01
Plastic Parts Frame (A)
塑膠配件 (A)
Plastic Parts Frame (B)
塑膠配件 (B)
Fuselage
機身
ABS
ABS補強板
Cowling
整流罩
Main Wing
主翼
Depron Tail
珍珠板水平尾翼
Foam glue
保麗龍膠
Rudder
垂直尾翼
Hinge
活頁
Belly cover
真空機腹保護罩
Tail corn
真空尾罩
Belly
機腹
Rubber tube
橡皮套管
升降舵套管
Aileron push rod
副翼連桿
Decal sticker
貼紙
Power system & Propeller
動力組和螺旋槳
Cockpit
座艙
Canopy
座艙罩
螺絲
M3x3 Nut
螺帽
Washer
M3.2x6 華司
M 3x3
內六角螺絲
M 2.6x4
M 2.6x4
E型扣
Washer
M3x8 華司
M3x45
螺絲
Magnet
磁鐵
螺絲
M3x6x2.6
M3x5 培林
Iron plate
10x1鐵片
Wheel stop
輪檔
Electric capacity
電容
Double-Side Sponge Tape
雙面泡棉
Foam
Glue
1.4mm*390mm push rod
Elevator plastic tube
1.4mm*150mm push rod
2mm*320mm Elevator Linkage
推拉桿
推拉桿
推拉桿
玻纖棒
3mm*540mm Fiber glass Spar
Ball Bearing
R
R
R

NOT INCLUDED PARTS
Battery
B
A
A B
C.A
Foam
Glue
C.A
02
Receiver
接收機
Micro servos x3
伺候器 x3
4~8 Channel transmitter
4動作以上發射機
ITEM REQUIRED FOR OPERATTION( Not included in kit)另購裝備
TOOLS REQUIRED 主裝必須工具
BEFORE YOU BEGIN (組裝注意事項)
Cutting knife
美工刀
Scissors
剪刀
Paper tapes
紙膠帶
Drill
手鑽
Solder lron
烙鐵
Screw driver
起子組
Pliers
尖嘴鉗
Epoxy Glue
(AB)膠
C.A glue
瞬間膠
Apply epoxy glue
使用(AB)膠
Apply (C.A)glue
使用瞬間膠
Apply foam glue
使用保麗龍膠
Cutting knife
使用美工刀
Use scissors
使用剪刀
Use screw driver
使用起子組
Use drill
使用手鑽
Important
重點
Pliers
老虎鉗
Spray paint
噴漆罐
Spray paint
噴漆罐
Abrasive paper
砂紙
Abrasive paper
砂紙
Use solder lron
使用烙鐵
Use paper tapes
使用紙膠帶
Hex wrench
(L)型六角板手
Ext.wire x2
延長線 x2
Battery charger
充電器
Brick type battery
電池
Electronic speed controller
電子變速器
1.Read through the manual before you begin,so you will have an overall idea of what to do.
組裝前請詳閱說明書
2.Symbols used thoughout the instruction manual.
請依符號指示組裝

CANOPY ASSEMBLY
9
11
B
10
11
12
3
5
5
7
1
8
13
1
2
4
4
6
9
Canpoy assembling
Procedure 1
Procedure 2
03
Iron plate
鐵片
Canopy
座艙罩
Foam
Glue
Foam
Glue
1
1
Magnet
磁鐵 Canopy
座艙罩
A B
A B
Foam
Glue
Iron plate
1
1
2
C.A
2
Plastic Parts Frame (B)
塑膠配件 (B)

FUSELAGE ASSEMBLY
Fuselage assembling
Procedure 1
Procedure 2
9
11
B
10
11
12
3
5
5
7
1
8
13
1
2
4
4
6
9
04
Hinge
活頁
40mm 120mm 40mm 25mm40mm25mm
75mm
7
0
90
0
Plastic Parts Frame (B)
塑膠配件 (B)
Rubber tube
橡皮套管
Aileron push rod
Aileron push rod
副翼連桿
Full size reference on next page
head
升降舵套管
Elevator Plastic tube
2mm*320mm elevator linkage
水平尾翼連桿
Wheel stop
2 輪檔
Screw
M3x5 螺絲

Full size reference
FUSELAGE ASSEMBLY
※ You don't have to bent the wire down 7odegree if you are not
sure you can do it correctly.It will not influence the actual flying
performance!
05
7
0
7
0
90
0
90
0
7
0
90
0
Finish

06
FUSELAGE ASSEMBLY
Procedure 2
Procedure 3
TAIL ASSEMBLY
Tail assembling
Foam
Glue
Foam
Glue
2
Foam
Glue
(2mm)
3
C.A
2
Foam
Glue
3
ABS
ABS補強板
Depron Tail
珍珠板水平尾翼
3*540mm Fiber glass rod

TAIL ASSEMBLY
Procedure 1
07
Power system & Propeller
Spur gear
動力組和螺旋槳
(62T)塑膠齒輪
POWER SYSTEM
Power system
M 2.6x4
E型扣
M2.6X4螺絲
( 26T)銅齒
M 3x3
內六角螺絲
M 3x6x2.6 培林
Washer Ball bearing
M3.2x6華司
Pinion gear
Electric capacity
電容
Foam
Glue
Foam
Glue
Foam
Glue
65mm
1
2
1
38mm
2

POWER SYSTEM
Procedure 1
Procedure 2
08
1
3
2
Foam
Glue
Foam
Glue

Procedure 1
09
BELLY COVER ASSEMBLING
Belly cover assembling
9
11
B
10
11
12
3
5
5
7
1
8
13
1
2
4
4
6
9
Plastic Parts Frame (B)
M3x45mm
porp.adapter
塑膠配件 (B)
A
2
2
2
2
2
1
4
4
4
4
4
1
1
1
1
5
5
3
3
3
3
Plastic Parts Frame (A)
塑膠配件 (A)
1.4mm*390mm push rod
推拉桿
1.4mm*150mm push rod
推拉桿
(2mm)
M3x45mm
C.A
1
2
3
3
4
4
2
1
A B
Foam
Glue

BELLY COVER ASSEMBLING
Procedure 3
10
Gun Metal Black
1
1
M5x3.8 NUT
M5x12 WASHER
M5x12 WASHER
M3x3
STOP SCREW
prop.adapter
DECAL
BELLY COVER ASSEMBLING
C.A
C.A

14
17
12 13
18
1920
25 26
15 16
11
30
31
27
23 24
28
29
29
30
1
2
3
10
5
7
9
2234
8
4
6
21 35
Procedure 5
Decal
BELLY COVER ASSEMBLING
11

Procedure 2
12
8mm
8mm
Elevator
升降舵
Aileron
副翼
CG at 75mm: 8-10mm Exp:50
CG at 90mm: 5-7 mm Exp:50
Min:20
0
Max:30
0
Exp:50+
This Ultrafly F-16 is a very agile & sensitive model. In your first test flight,we
recommend you to set the CG at 75mm after the LE as the graphic above.After you
have tirmmend the model properly, you may move the CG backward which will
increase the sensitivity on elevator and may perform more aggressive maneuvers.
90mm is the ultimate performance CG point. But you also have to lower down the
elevator displacement as described in the above graphics. Please pay attention on the
below subjects for pitch sensitivity issues:
1.Loosen elevator linkage
2.Too much elevator displacement trim
3.Elevator servo neutral position problem
CG & CONTROL SURFACE SETTING
CONTROL SURFACE SETTING
CG
CG
75~90mm

MODEL
WWW.ULTRAFLYMODEL.COM
Important Note before you take the first flight
the Most important safety Note & Liability Disclaimer
Because the porpeller is at the back of this aircraft,it is better to
launch this airplane with a launch device! Hand launch this
airplane may heart your hand if you can't handle it properly!!
If you choose to hand launch this airplane,it would be your responsibility
to watch out for your safety.You must hold the airplane with you
finger at the belly CG location with at least 35cm distance from the propeller,
When you hand launch the airplane,you should shift down your hand
fast once your finger has released the airplane .You may be hit by
the propeller when you launch and hold the airplane too close
to the propeller,carefully handle this model would be your own
responsibilty!
You need to run a few steps to increase the the hand launch speed
while you hand launch the airplane in the field.You must lanch it at the
horizontal 0 to 10 degree angles-direction.
It need some speed to take off!! Don't do any maneuver before the
aircraft has gain certain speed.
This manual suits for next models
1
Table of contents
Other Ultrafly Toy manuals

Ultrafly
Ultrafly Furios-3D User manual

Ultrafly
Ultrafly P-51 User manual

Ultrafly
Ultrafly Bae HAWK User manual

Ultrafly
Ultrafly Edge 540 User manual

Ultrafly
Ultrafly FW-190 User manual

Ultrafly
Ultrafly EXTRA 300S User manual

Ultrafly
Ultrafly P-40 User manual

Ultrafly
Ultrafly SPEAR EDF-69 User manual

Ultrafly
Ultrafly Bae HAWK User manual

Ultrafly
Ultrafly TUTOR 32E User manual
Popular Toy manuals by other brands

Fisher-Price
Fisher-Price CREATIVE COASTER 72690 instructions

LEGO
LEGO Home Alone 21330 manual

Mattel
Mattel Barbie W3745 instructions

Zapf Creation
Zapf Creation BABY Born 822357 manual

Fisher-Price
Fisher-Price Brilliant BASICS K6126 quick start guide

Horizon Hobby
Horizon Hobby Rare Bear instruction manual