Uni-Mig P1004 User manual

P1004
Powered Air-Purifying Respirator (PAPR) System
Please read this instruction manual carefully
before the installation
and operation of this equipment.
OPERATING MANUAL

2

3
SAFETY
Welding and cutting equipment can be dangerous to both the operator and people in or near the
surrounding working area, if the equipment is not correctly operated. Equipment must only be
used under the strict and comprehensive observance of all relevant safety regulations.
Read and understand this instruction manual carefully before the installation and operation of this
equipment.
Electric shock: It can kill. Touching live electrical parts can cause fatal shocks or severe burns. The
electrode and work circuit is electrically live whenever the output is on. The input
power circuit and internal machine circuits are also live when power is on. In Mig/Mag welding, the wire,
drive rollers, wire feed housing, and all metal parts touching the welding wire are
electrically live. Incorrectly installed or improperly grounded equipment is dangerous.
• Connect the primary input cable according to Australian and New Zealand standards and
regulations.
• Avoid all contact with live electrical parts of the welding circuit, electrodes and wires with
bare hands.
The operator must wear dry welding gloves while he/she performs the welding task.
• The operator should keep the work piece insulated from himself/herself.
• Keep cords dry, free of oil and grease, and protected from hot metal and sparks.
• Frequently inspect input power cable for wear and tear, replace the cable immediately if damaged,
bare wiring is dangerous and can kill.
• Do not use damaged, under sized, or badly joined cables.
• Do not drape cables over your body.
• We recommend (RCD) safety switch is used with this equipment to detect any leakage of current to earth.
Fumes and gases are dangerous. Smoke and gas generated whilst welding or cutting can be harmful to
people’s health. Welding produces fumes and gases. Breathing these fumes and gases can be hazardous
to your health.
• Do not breathe the smoke and gas generated whilst welding or cutting, keep your head out
of the fumes
• Keep the working area well ventilated, use fume extraction or ventilation to remove welding fumes and
gases.
• In conned or heavy fume environments always wear an approved powered air-purifying respirator.
Welding fumes and gases can displace air and lower the oxygen level causing injury or death. Be sure the
breathing air is safe.
• Do not weld in locations near de-greasing, cleaning, or spraying operations. The heat and rays of the arc
can react with vapours to form highly toxic and irritating gases.
• Materials such as galvanized, lead, or cadmium plated steel, containing elements that can give off toxic
fumes when welded. Do not weld these materials unless the area is very well ventilated, and or wearing
an powered air-purifying respirator.
Arc rays: harmful to people’s eyes and skin. Arc rays from the welding process produce intense visible
and invisible ultraviolet and infrared rays that can burn eyes and skin.
• Always wear a welding helmet with correct shade of lter lens and suitable protective
clothing including
welding gloves whilst the welding operation is performed.
• Measures should be taken to protect people in or near the surrounding working area. Use protective
screens or barriers to protect others from ash,glare and sparks; warn others not to watch the arc.

4
Fire hazard. Welding on closed containers, such as tanks,drums, or pipes, can cause them
to explode. Flying sparks from the welding arc, hot work piece, and hot equipment can cause
res and burns. Accidental contact of electrode to metal objects can cause sparks, explosion,
overheating, or re. Check and be sure the area is safe before doing any welding.
• The welding sparks & spatter may cause re, therefore remove any ammable materials well away from
the working area. Cover ammable materials and containers with approved covers if unable to be moved
from the welding area.
• Do not weld on closed containers such as tanks, drums, or pipes, unless they are properly prepared
according to the required Safety Standards to insure that ammable or toxic vapors and substances are
totally removed, these can cause an explosion even though the vessel has been “cleaned”.
Vent hollow castings or containers before heating, cutting or welding. They may explode.
• Do not weld where the atmosphere may contain ammable dust, gas, or liquid vapours (such as petrol)
• Have a re extinguisher nearby and know how to use it. Be alert that welding sparks and hot materials
from welding can easily go through small cracks and openings to adjacent areas. Be aware that welding
on a ceiling, oor, bulkhead, or partition can cause re on the hidden side.
Gas Cylinders. Shielding gas cylinders contain gas under high pressure. If damaged, a cylin-
der can explode. Because gas cylinders are normally part of the welding process, be sur
e to treat them carefully. CYLINDERS can explode if damaged.
• Protect gas cylinders from excessive heat, mechanical shocks, physical damage, slag, open ames,
sparks, and arcs.
• Insure cylinders are held secure and upright to prevent tipping or falling over.
• Never allow the welding electrode or earth clamp to touch the gas cylinder, do not drape welding cables
over the cylinder.
• Never weld on a pressurised gas cylinder, it will explode and kill you.
• Open the cylinder valve slowly and turn your face away from the cylinder outlet valve and gas regulator.
Gas build up. The build up of gas can causes a toxic environment, deplete the oxygen content
in the air resulting in death or injury. Many gases used in welding are invisible and odourless.
• Shut off shielding gas supply when not in use.
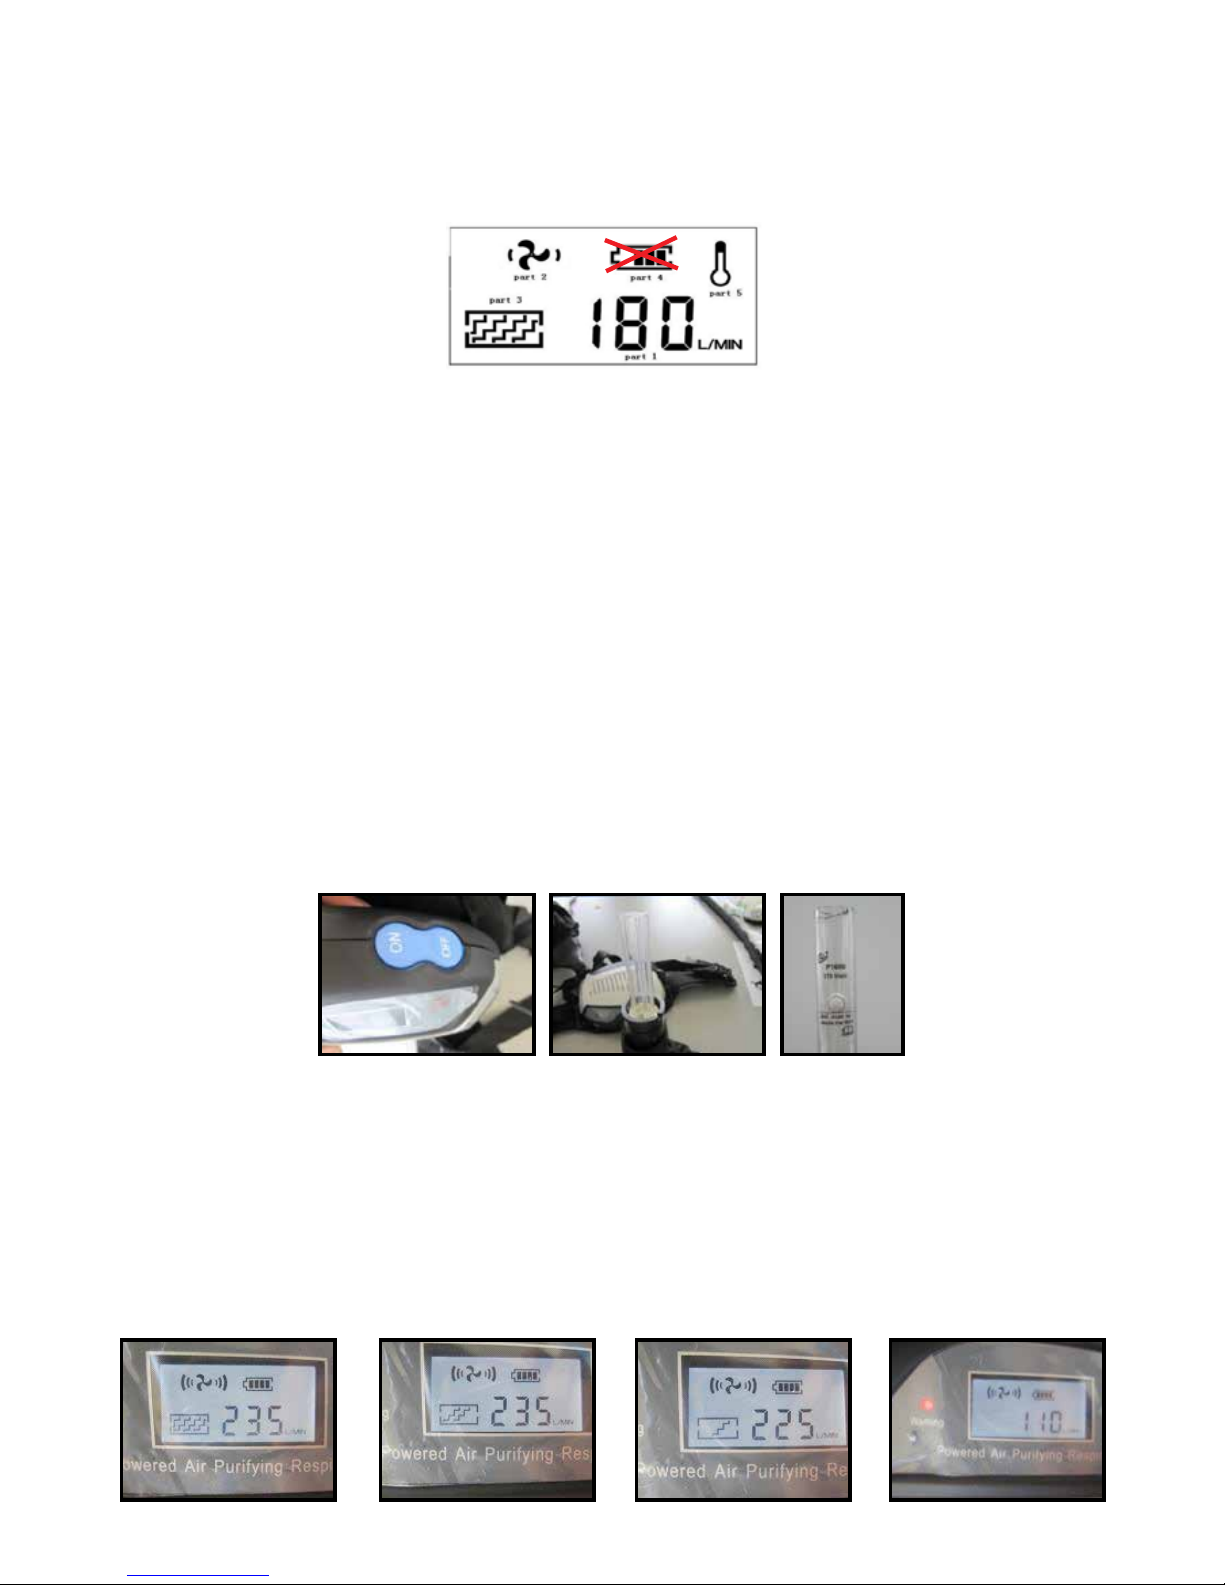
• Always ventilate conned spaces or use approved power air-purifying respirator.
Electronic magnetic elds. MAGNETIC FIELDS can affect Implanted Medical Devices.
•Wearers of Pacemakers and other Implanted Medical Devices should keep away.
•Implanted Medical Device wearers should consult their doctor and the device manufacturer before going
near any electric welding, cutting or heating operation.
Noise can damage hearing. Noise from some processes or equipment can damage hearing.
Wear approved hearing protection if noise level is high.
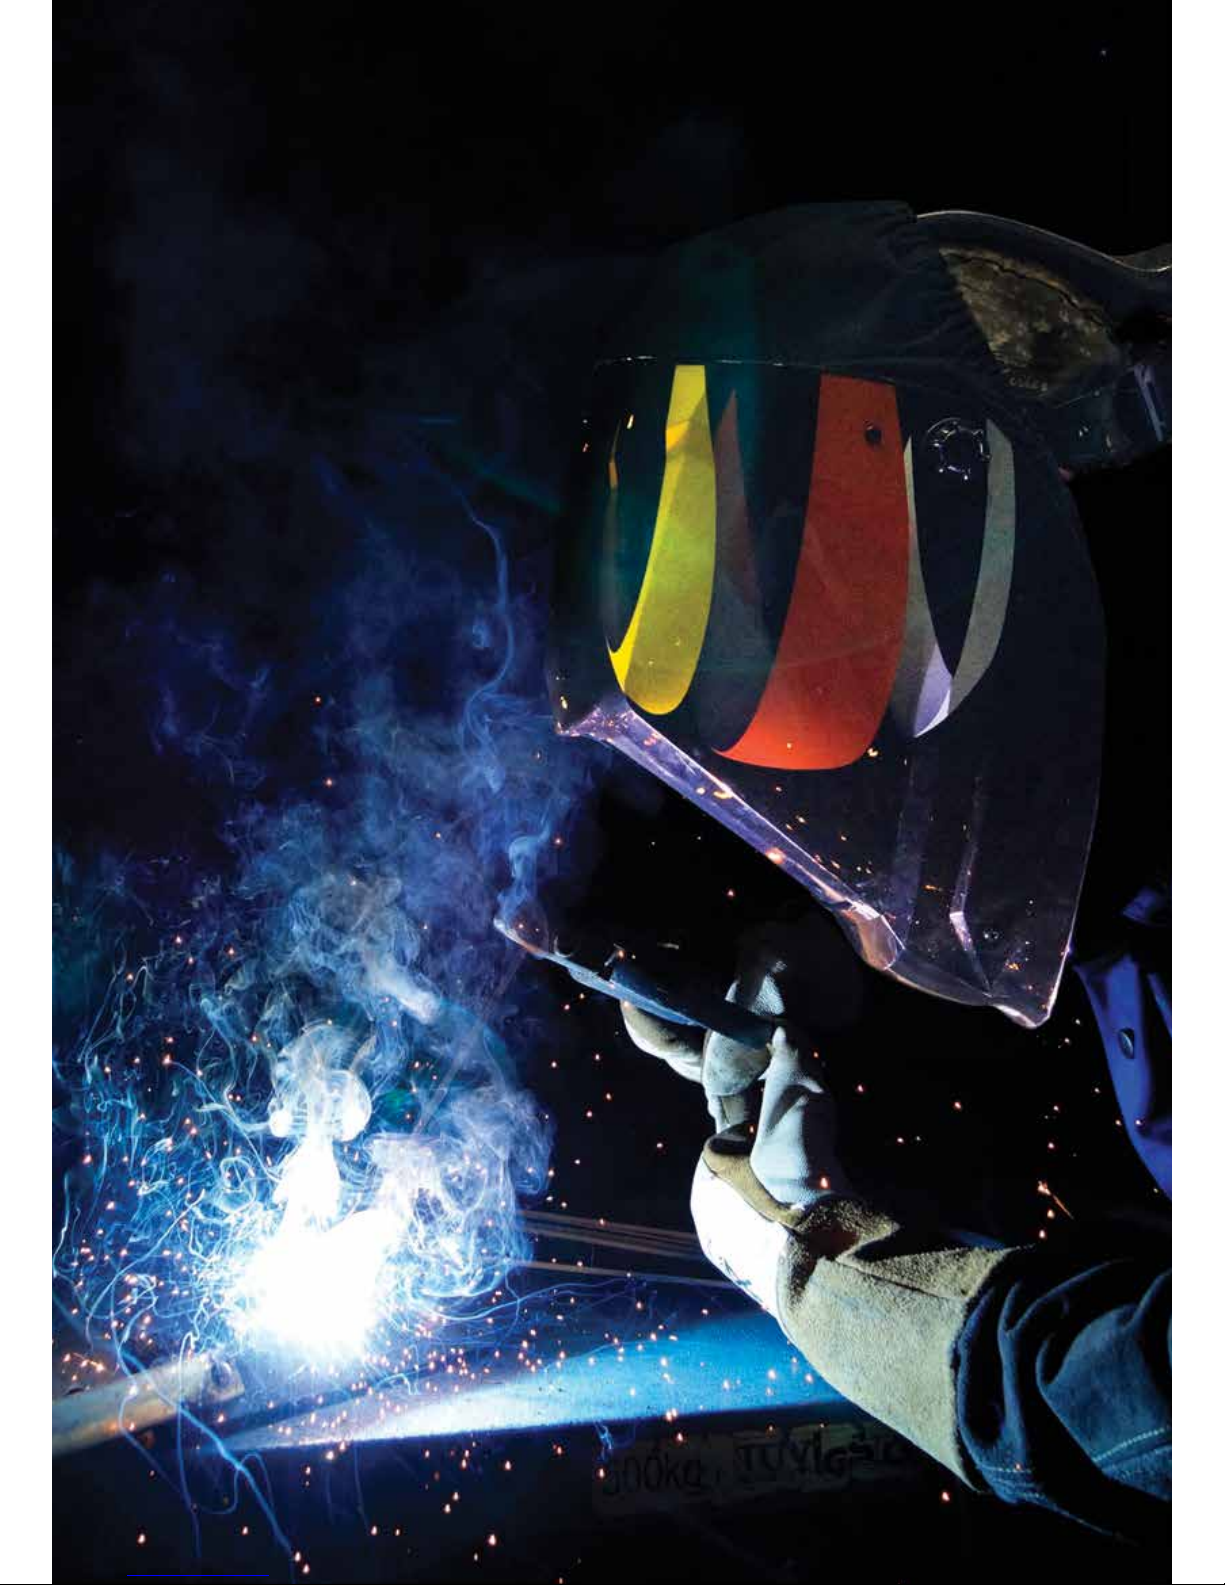
Hot parts. Items being welded generate and hold high heat and can cause severe burns.
Do not touch hot parts with bare hands. Allow a cooling period before working on the welding
gun. Use insulated welding gloves and clothing to handle hot parts and prevent burns.

5
Please read these instructions carefully before using the equipment!
Incorrect use can result in danger to life and health!
1. INTRODUCTION
P1004 Respiratory System is a combined face and breathing protection device for increased
safety and comfort during welding. Please read these instructions carefully before unpacking.
For proper use, see User Instructions or contact the manufacturers for help.
Address and telephone number information is printed at the back of this leaflet.
Your P1004 Air Powered Respirator system should include:
a) Auto-darkening welding helmet
b) P1004 PAPR blower unit with attached battery and filter
c) Belt
d) Battery charger
e) Airflow indicator
f) Instruction manual
g) Backpack
If any of the above components are not included in your kit, please contact the supplier
immediately.
2. APPROVALS
The P1004 system complies with the requirements of Australian/New Zealand standard AS/NZS
1716:2012 as a PAPR-P2 device. All components used in P1004 Respiratory System must be
“UNIMIG approved” manufacturer’s parts, and must be used in accordance with the instructions in
this manual.
NOTE: The approval is not valid if the product is incorrectly used together with non-approved parts
or components.
NOTE: Only the P1004 particle filter, gas filter and pre-filter can be used together with this system.
Filters from other manufacturers should under no circumstances be used.
3.USAGE
The P1004 Respiratory System is designed to provide a supply of filtered air via a breathing tube
to a welding headpiece. The complete system is a breathing protection device complying with
Australian/New Zealand standard AS/NZS 1716:2012, class P2. The equipment can be used in
environment that requires a class P2 breathing protection device. It protects against particulate
contamination.
LIMITATIONS TO USE
The P1004 Respiratory System must only be used with the P1004 unit switched on. If the
equipment is used without the P1004 unit switched on, there is a risk of high concentration of CO2
and the oxygen level in the helmet will fall, thus little or no protection is given in the power-off state
and this is considered to be an abnormal situation. Do not remove the helmet or turn off the air
filter unit until you have vacated the contaminated area. If you are not sure about the concentration
of pollution, or about equipment performance, ask the industrial safety engineer. The manufacturer
is not responsible for injury following incorrect use or incorrect choice of equipment.

6
DO NOT use P1004 with the blower unit switched off.
DO NOT use P1004 in an atmosphere that is immediately hazardous to user hygiene or health and or
has oxygen content of less than 19.5% or contains unknown substances.
DO NOT use P1004 in an explosive atmosphere.
DO NOT use P1004 in confined spaces or areas of poor ventilation.
DO NOT use P1004 in high winds.
DO NOT alter or modify in any way.
DO NOT touch any of the moving parts.
DO NOT allow water or other liquids to enter the impeller chamber, the filter or battery compartment.
DO NOT use the P1044 as head protection. THIS HEAD COVERING DOES NOT MEET THE
REQUIREMENTS OF AS/NZS 1801. IF HEAD PROTECTION IS REQUIRED CONSULT YOUR
SAFETY OFFICER
4. UNPACKING/ASSEMBLY
Check that correct number of components has been supplied, as in FIGURE 1.
Check that the apparatus is complete, undamaged and correctly assembled. Any damaged or defective
parts must be replaced before use.
-Open P1004 unit and check the spark arrestor, pre-filter and filter, FIGURE 2 (A).
-Replace the filter back into the casing if it’s in good condition. FIGURE 2(B).
Place the spark arrestor into the filter cover.
Place the pre-filter into the above combination.
Place the filter into the above combination.
Click the above combination into the Turbo unit.
NOTE: Make sure that the filter is properly placed into the casing while installing.
WARNING: The filter can only be fitted to the turbo unit.
Do NOT directly fit the filter to the helmet/hood.
Figure 2 (A)
Figure 1

7
-Install the P1004 blower on the belt.
Remove the release buckle out of the belt. FIGURE 3(A).
Draw the fasten belt out from the waist connector. FIGURE 3(B)
Slide the fasten belt into the blower unit through the two blower slots. FIGURE 3(C).
Slide the fasten belt back into the waist connector. FIGURE 3(D).
Put the release buckle back into the belt. FIGURE 3(E).
Adjust the belt tightness so it can fit well with your shoulder and waist. FIGURE 3(F).
NOTE: Check that the belt is securely fastened.
Figure 2 (B)
Figure 3 (A) Figure 3 (B)
Figure 3 (C)
Figure 3 (D)
Figure 3 (E)
Figure 3 (E)

8
-Connect the breathing hose between the welding helmet and the P1004 blower, FIGURE 4. Check
that the breathing tube is securely fastened.
NOTE: If the breathing tube is broken, please replace it.
Carefully observe the instructions that explain how the equipment is to be used, before taking it into
service.
All components must be installed/ used in accordance with this manual if the equipment is to offer
the specified protection. If any component is missing, or if anything is not clear, contact the supplier.
Markings on the battery (see FIGURE 5).
Figure 4
Figure 5

9
Figure 4
Figure 5
5. BEFORE USE/ FITTING
5.1 Battery charging, FIGURE 6.
The system has a 100-240Volt, 1.5A battery charger. The battery can be charged when installed
in the P1004 unit or separately.
WARNING: The battery can only be charged with supplied battery charger
(Part No.P-06 03 001).
All new units must be charged before they are used for the first time.
The charger must not be used in any circumstances for any other purpose than for which it was
manufactured. It is intended for indoor use (must be protected from damp) and must not be used to
charge non-rechargeable batteries.
The battery will be fully charged in about 3.5hours (also the heavy duty battery) this depends on
residual capacity.
The red light goes on during battery charged and the light will turn green when it is full charged
(FIGURE 7).
The battery will discharge during a long period in storage. For this reason, always re-charge the
battery if it has been stored for more than 15 days. To achieve maximum power when the battery is
new, or has been stored for more than 3 months, charge and discharge the battery at least twice,
remove the battery out of the P1004 unit and store separately.
Points of attention:
1. Check that the mains supply voltage to the charger is correct.
2. Connect the battery charger to the wall socket.
3. Connect the battery charger to the battery.
Figure 6
Figure 7

10
WARNING:
If the P1004 unit starts, switch it off while charging.
The battery icon on the P1004 unit is used for battery capacity instead of the charging state indicating
(FIGURE 8). Always refer to charging light to tell the charging state.
Recommended surrounding temperature at charging is between 0 to 40ºC.
If the charger indicator light will not light up when connecting the charger to the battery, please check
the battery’s charge connector and the charger’s cords and connectors.
4. After charging is completed, disconnect the battery charger from the mains supply.
5. Disconnect the battery from the battery charger.
NOTE: The particle filter must be changed if the battery operating time becomes too
short.
5.2 Checking of airflow and checking of low airflow alarm
The airflow and alarm system must always be checked before using.
1. Test air flow
The system is equipped with an air flow indicator. Connect the Air flow indicator to the breathing
connector and press the “ON” button (FIGURE 9).
WARNING: Don’t use the system if the ball is bellow the mark line. Check the filter
and the battery and retest the air flow.
2. Test air flow alarm
Remove the breathing tube from the welding helmet, Press “ON” button. Cover the air outlet with
your hand and wait about 15sec, the alarm will be heard and the red light on the PAPR unit will
flash. The filter mark on screen will also flash (see FIGURE 10).
NOTE: If the alarm does not work, please change the PAPR unit
Figure 9
Figure 10
Figure 8 (Not for charging state indicating)

11
Figure 9
Figure 10
Figure 8 (Not for charging state indicating)
WARNING!
Leave the contaminated area immediately if:
A) Any part of the system becomes damaged.
B) Airflow into the helmet decreases or stops.
C) Breathing becomes difficult.
D) Dizziness or other distress occurs.
E) You taste or smell contaminants or an irritation occurs.
F) At very high work rates, the pressure in this PAPR device may become negative at peak
inhalation flow.
5.3 Fitting
• Adjust the waist belt and dual shoulder strap size, so that the P1004 unit sits easily and is
accessible and comfortable on your hips.
• Pull down the faceseal ring and put on the head top. Adjust the headgear to suitable tightness
so that it will be stable on the head. The tightness of headgear can be adjusted by pushing
and turning of the adjusting knob. See FIGURE 11 for details.
• Put on the helmet and adjust the headgear to suitable tightness so that it will be stable on the
head.
• The face seal should rest against your face, with a comfortable pressure on your temples.
• If the face seal doesn’t make contact with your face, you will not get sufficient sealing needed
to offer the correct protection factor.
• Check that the facial unit is stable on the head and has no moving parts.
Turn on the system and check there’s no abnormal noise and no air leakage.
Figure 11

12
6: LCD and Operation
6.1 LCD
There is a LCD display on P1004 unit to show the P1004 working condition (FIGURE 12).
Part 1 shows the data of current air flow.
Part 2 shows the level of the airflow.
Part 3 shows the filter condition.
Part 4 shows the battery.
Part 5 shows the temperature of the battery.
Any of them will flash if P1004 malfunctions.
6.2 Operation
Start the PAPR unit by pressing the “on” button on the PAPR unit. The PAPR is working at level 1
Press the “on” button again. The system is working at level 2.
Press the “on” button again. The system is working at level 3.
Press the “on” button again. The system is working back to level 1.
Press the “off” button for at least 3 seconds, The PAPR is powered off.
NOTE:
There are 3 levels of air flow. Level 1 is no lower than 165L/min, Level 2 is 200L/min, and
Level 3 is 230L/min.
PAPR will shut down the entire circuit and switch to sleep mode if not used for more than
30 minutes. Press the “on” button to activate the system.
The PARR was tested in the temperature range of -5ºC to +55ºC and relative humidity less
than 90%RH.
The PAPR must be operated in the temperature range of -5ºC to +55ºC and relative humidity
less than 90%RH.
Figure 12

13
Figure 12
PARTS BREAKDOWN

14
PARTS LIST

15
Drawing No. Part No. Description MFG DATE
1 P-01 01 003 Helmet Shell
2 P-01 02 002 Face Seal
3 P-02 01 001 Airduct
4 PL-5002 Outer Protection Lens
5 ADF Cradle
6 Auto-Darkening Filter(ADF)
7 Inner Protection Lens
8 P-04 01 001 Filter Cover
9 P-04 02 001 Spark Arrestor
10 P-04 03 001 Pre-filter
11 P-04 04 001 Filter
12 P-04 05 001 Turbo Unit
13 P-05 01 001 Waist Belt
14 P-05 02 001 Shoulder Harness
15 P-05 03 001 Carrying Bag
16 P-06 01 001 Breathing Hose
17 P-06 02 001 Anti-fire Cloth for Breathing Hose
18 P-03 01 001 Rechargeable Battery
19 P-06 03 001 Battery Charger
20 P-06 04 001 Air Flow Tester

16
7.2 Replacement
Replacing the lter
The installed filter has a limited service life based on working conditions. When the filter mark on
the screen flashes and the alarm rings, filter should be replaced. If the filter is installed but unused,
it has a limited service life of 2 years.
A) Remove the filter cover by pressing in the latch of the filter cover (figure 19)
B)Remove the used filter by lifting it out from the filter cover.
C)Install a new filter in the filter cover. (NOTE: Unauthorized filter will void the warranty and expose
the user to the risk of personal injury. Do not confuse the markings on a filter relating to any standard
other than Australian/New Zealand standard AS/NZS 1716:2012 with the classification PAPR-P2 of
P1004 device when used with this filter.)
D)Change the pre-filter if needed.
E)If necessary, clean or change the part arrestor (metal net) on the base of the filter cover.
F)Put back the filter cover, with the filter installed, by hooking the cover on the left side of the P1004
unit, and pressing the cover down so that the latch engages correctly.
WARNING: Check the expiry date of the unopened filter.
DO NOT use it if it’s expired.
Only the P1004 particle filter, gas filter and pre-filter can be used together with this
system. Filters from other manufacturers should under no circumstances be used.
8: MAINTENANCE & STORAGE
Inspect the equipment daily, and always check it if any sign of malfunction occurs.
8.1 Maintenance
The PAPR unit must be checked regularly and must be changed if it is damaged or caused leakage.
The filter must be changed if it is broken, or it is blocked and does not give enough airflow.
The breathing tube must be changed if it is broken or has a crevasse.
The battery must be charged when the low battery alarm rings.
Use a soft cloth to wipe the external surfaces. Don’t use water!
The filter should be replaced together with the pre-filter.
8.2: Storage
The PAPR must be stored in a dry, clean area, in the temperature range of -10ºC to +55ºC and
relative humidity less than 90%RH.
If the equipment is stored at temperature below 0ºC, the battery must be allowed to warm up to
achieve full battery capacity. The equipment must be protected from dust, particles and other
contamination.
If the equipment is not used for a long time, the battery should be full charged, removed from PAPR
unit and store separately.

17
9: TROUBLE SHOOTING
Problem Probable cause Action
LCD defective code E01
and red light flashes
1. Motor is stuck
2. Motor damage
3. Blower structure failure caused
by outer force
4. Circuit failure
Check and remove physical
failure and restart the
system. Return to dealer if
LCD still shows E01
LCD defective code E02
and red light flashes
1. Motor damage
2. Motor impeller rubs blower shell
3. Circuit overheating
Check and remove physical
failure and restart the
system. Return to dealer if
LCD still shows E02
LCD battery icon flashes
Warning sound
Red light flashes
Low battery Charge the battery
LCD filter icon flashes
Warning sound
Red light flashes
Filter blocked
Hose blocked
Remove obstruction,
change the filter
Clean hose
LCD temperature icon
flashes
Warning sound
Red light flashes
High temperature Stop working and rest
No flow, no alarm 1. No power
2. Battery contract damaged
Charge the battery
Check battery contact
Battery run time is too short 1. Battery is not fully charged
2. Filter is blocked
3. Battery is damaged
Charge the battery
Remove obstruction,
Change filter
Change battery
Air supply to hood smells
unusual
1. Filter broken
2. Hose broken
3. ADF helmet broken
Leave current area
immediately.
1. Change filter
2. Change hose
3. Change ADF helmet
Supply insufficient air to
hood
1. Breathing tube break off
2. Breathing tube broken
3. Filter is blocked
1. Check hose connect to
hood and PAPR unit
2. Change breathing tube
3. Remove obstruction,
change filter

18
11. MARKING EXPLANATION
Powered filtering device:
Australian/New Zealand standard AS/NZS 1716:2012 Respiratory protective devices-
Powered filtering devices incorporating a helmet or hood – Requirements, testing, marking
PAPR-P2 classification of the unit. “P2” defines the level of protection“P”=Particle filter.
Size
(Blower Assembly)
9-2/5 x 6-1/2 x 2-3/4 in. (240 x 165 x 70 mm)
Weight 2.4KG
Air Filter 1*P2
Air Flow Level 1: >=165L/min
Level 2: 200L/min
Level 3: 230L/min
Noise Level Max 73dB
Operating Temperature 23ºC to 131ºC (-5ºC~55ºC)
Storage temperature 14ºC to 131ºC (-10ºC~55ºC)
Battery Type Rechargeable Li-ION 4400mAh
Expected Battery Operation Time Level 1>8h
Level 2>6h
Level 3>4h
Battery Charging Time 3.5 Hours
Battery Life 500 Charges
Run Time Dependent On Air Flow Rate and Filter Load.
LCD Display Air flow level and data
Battery capacity
Filter status
Belt Size 35-2/5 x 51-2/5 in. (900mm to 1300mm)
10: SPECIFICATION

19
Read instructions before use
The system should be operated in the temperature range of -5ºC to +55ºC
The system should be operated in an environment with relative humidity less than
90%RH
Warranty:
• The P1004 Blower unit is guaranteed for a period of 12 months from date of purchase against
mechanical or electrical defects.
• The P1004 battery is guaranteed for a period of 6 months from the date of purchase.
• The company undertakes to exchange or repair without charge, any part found to be defective
within this period. Alternatively and at it’s discretion. The company may replace.
This guarantee is subject to:
• The P1004 unit has been used solely for the purpose for which it is intended.
• The P1004 unit has not been subject to misuse, accident, modification or repair.
N.B.
In the event of a claim, contact the retailer from which the P1004 unit was purchased.
The guarantee does not cover normal wear and tear this guarantee does not affect your
legal rights.
Warning sound indication
Each grid stands for a period of 100ms. Grey is the beep sound and blank grid is a quiet period. If
several continued grids are in grey then there’s a continuous beep sound.
For example, when the current is overloaded, the system sounds like beep~ beep~beep~~~~~.

20
Welding Guns Of Australia Pty Ltd (‘Us’, ‘We’) warrants that the following products under UNI-MIG, UNI-TIG,
UNI-PLAS, UNI-FLAME, TECNA, T&R, HIT-8SS & ROTA, supplied by Us and purchased by you from an Authorised
UNI-MIG, UNI-TIG, UNI-PLAS, UNI-FLAME, TECNA, T&R, HIT-8SS & ROTA Dealer throughout Australia are free of
Material and Faulty Workmanship defects except for those products listed under ‘Warranty Exclusions’.
These terms and conditions supersede and exclude all former and other representations and arrangements relating to
any warranties on these products.
WARRANTY PERIOD
We offer the following ‘Warranty Periods’ from ‘date of purchase’:
An Extended Warranty Period of 6 months total shall apply only to Machinery where offered and warranty
is registered online.
UNI-MIG WELDING MACHINES
UNI-MIG DIY Series (Power Source Only) 2 Years (Clause 3)
RAZORWELD Series (Power Source Only) 3 Years (Clause 1&3)
UNI-MIG Procraft Series (Power Source Only) 3 Years (Clause 1&3)
UNI-MIG Trade Series (Power Source Only) 3 Years (Clause 1&3)
UNI-MIG Trade Series SWF (Power Source / Seperate Wire Feeder Only) 3 Years (Clause 1&3))
UNI-MIG Workshop Series (Power Source Only) 3 Years (Clause 1&3)
UNI-MIG Workshop Series SWF (Power Source / Separate Wire Feeder Only) 3 Years (Clause 1&3)
UNI-MIG Jasic Inverter MIG (Power Source Only) 3 Years (Clause 3)
UNI-MIG Jasic Inverter MIG SWF (Power Source / Separate Wire Feeder Only) 3 Years (Clause 3)
UNI-TIG Jasic Inverter TIG (Power Source Only) 3 Years (Clause 3)
UNI-MIG Water Cooler 1 Year (Clause 3)
T&R Pulse MIG (Power Source Only) 2 Year (Clause 3)
T&R Pulse MIG SWF (Power Source / Separate Wire Feeder Only) 2 Year (Clause 3)
UNI-PLAS (Power Source Only) 3 Years (Clause 3)
UNI-PLAS Jasic Series (Power Source Only) 2 Years (Clause 3)
UNI-PLAS Site Cut Series (Power Source Only) 1 Year (Clause 3)
UNI-FLAME Gas Cutting and Welding Kits 3 Months (Clause 2&3)
UNI-FLAME Straight Line & Gas Cutting Machines (Power Source Only) 1 Year (Clause 3)
UNI-FLAME Regulators Argon/ Acetylene / Oxygen / LPG / Bobbin Flowmeter 1 Year
UNI-FLAME Automatic Welding Helmet 2 Years
UNI-MIG Automatic Welding Helmets 2 Years
TECNA (Power Source Only) 1 Year (Clause 3)
HIT-8SS Automatic Carriage (Power Source Only) 1 Year (Clause 3)
ROTA 102 Rotating table 1 Year
HOTBOX ElectrodeOven 1 Year
SPOTCAR 3500 1 Year (Clause 3)
TORCHES -GMAW, GTAW, MMAW, PLASMA, EARTH LEADS,
INTERCONNECTING CABLES, GAS HOSE 3 Months (Clause 3)
(Clause 1) 3 year warranty on transformers, inductor and rectifier. 1 year warranty on PCB, and all other
components, .
(Clause 2) Gas Hose, Flashbacks are subject to and covered by the Manufacture’s Individual Warranty, Contact the
manufacturer for details
(Clause 3) This only Covers Manufactures defaults on all accesories for the first three months after date of purchase.
PO Box 3033, Lansvale NSW 2166, AUSTRALIA
112 Christina Rd, Villawood, NSW 2163
Phone: (02) 9780 4200
Fax: (02) 9780 4244
Welding Guns Of Australia Pty Ltd
ABN: 14 001 804 422
Table of contents