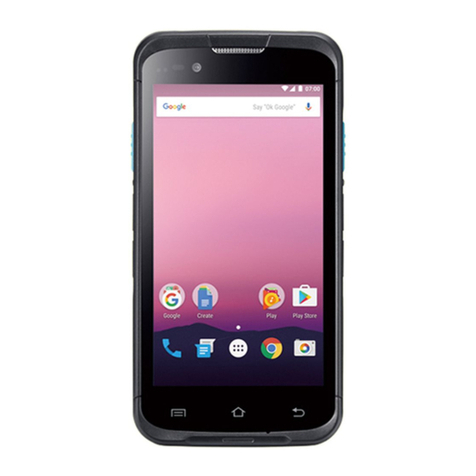
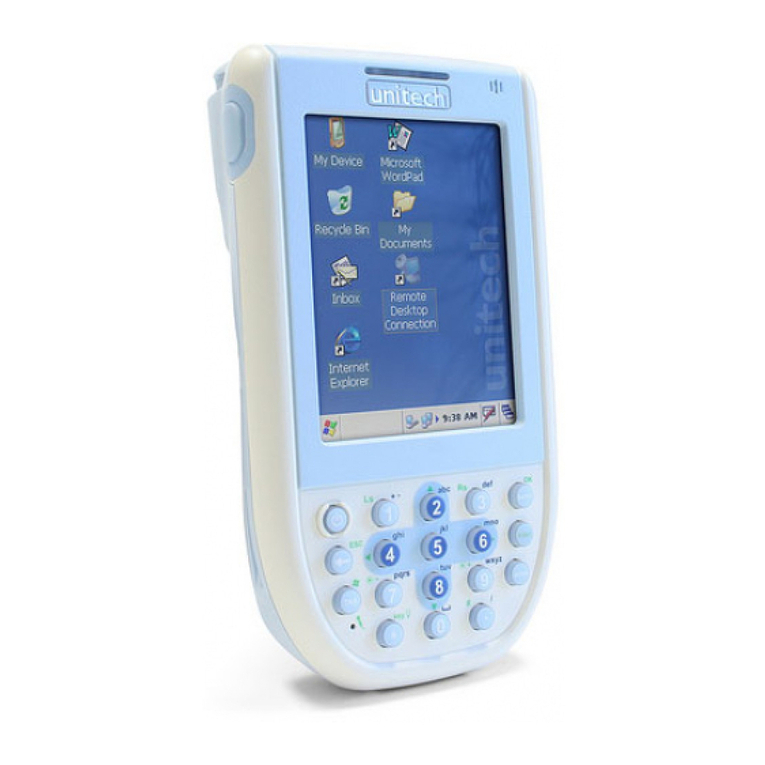
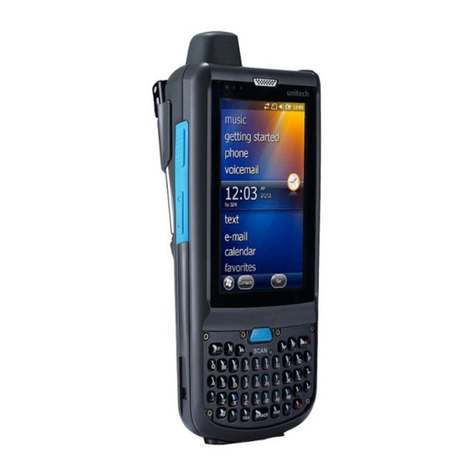
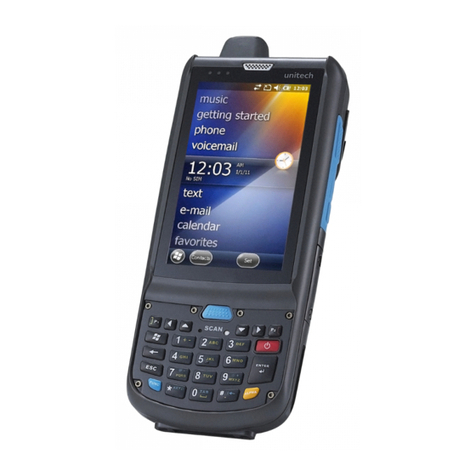
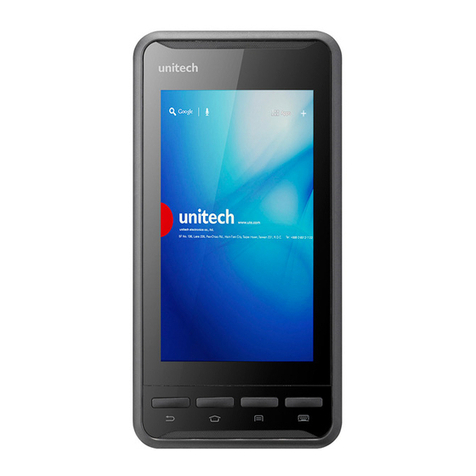
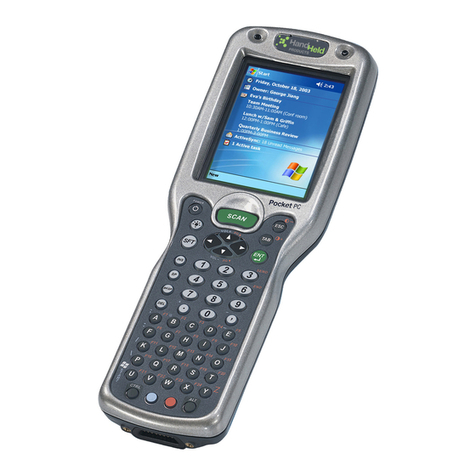
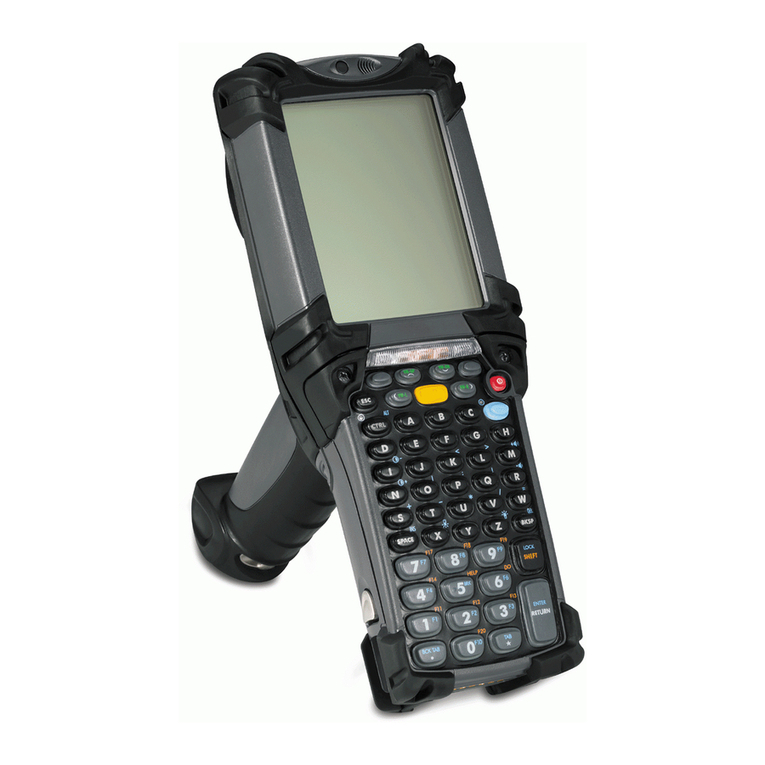
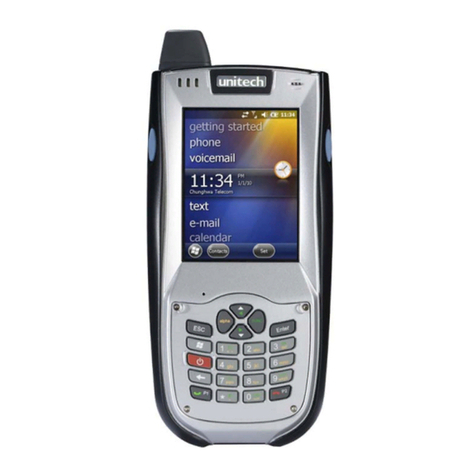
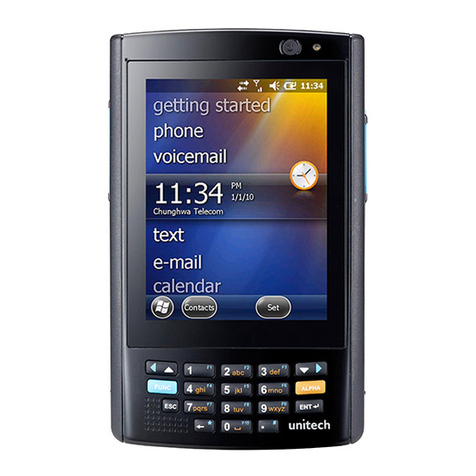
Unitech PA968 User manual

unitech
PA968 Rugged Mobile Computer
User’s Manual
© Copyright 2009 Unitech Electronics Co., Ltd.
1
alpha
TAB
tuv
8
FUNC
H1
0
abc
2def
3
ghi
4jkl
5
mno
6
pqrs
7
wxyz
9
ESC Enter
H2
400648G Version 1.0

i
Preface
About This Manual
This manual explains how to install, operate and maintain the PA968 Rugged Mobile
Computer.
No part of this publication may be reproduced or used in any form, or by any electrical
or mechanical means, without permission in writing from the manufacturer, which
includes photocopying, recording, or information storage and retrieval systems. The
material in this manual is subject to change without notice.
© Copyright 2009 Unitech Electronics Co., Ltd. All rights reserved.
Unitech Global Web site address: http:\\www.unitech-adc.com
Bluetooth is a registered trademark of Bluetooth SIG.
Microsoft, Windows and ActiveSync are either registered
trademarks or trademarks of Microsoft Corporation. Other
product names mentioned in this manual may be trademarks
or registered trademarks of their respective companies and
are hereby acknowledged.
Unitech is a member of the Oracle Embedded Software Licensing
Program.
Regulatory Compliance Statements
FCC Warning Statement
This equipment has been tested and found to comply with the limits for a Class B dig-
ital device, pursuant to part 15 of the FCC rules. These limits are designed to provide
reasonable protection against harmful interference in a residential installation.
This equipment generates, uses and can radiate radio frequency energy and, if not
installed and used in accordance with the instructions, may cause harmful interfer-
ence to radio communications. However, there is no guarantee that interference will
not occur in a particular installation.
If this equipment does cause harmful interference to radio or television reception,
which can be determined by turning the equipment off and on, the user is encouraged
to try to correct the interference by one or more of the following:
– Relocate the receiving antenna.
– Increase the separation between the equipment and receiver.
– Connect the equipment into an outlet on a circuit that is different from the
receiver.
– Consult the dealer or an experienced radio/television technician for help.

ii
1. This Transmitter must not cohabitate or operate in conjunction with any other
antenna(s) or transmitter(s).
2. This equipment complies with FCC RF radiation exposure limits set forth for an
uncontrolled environment. To maintain compliance with FCC RF exposure com-
pliance requirements, avoid direct contact to the transmitting antenna during
transmission.
3. Any changes or modifications (including the antennas) made to this device that
are not expressly approved by the manufacturer may void the user’s authority
to operate the equipment.
RF Radiation Exposure Statement
For user worn operation, this phone has been tested and meets FCC RF exposure
guidelines when used with an accessory that contains no metal and that positions the
handset a minimum of 1.5 cm from the body. Use of other accessories may not ensure
compliance with FCC RF exposure guidelines.
Canadian Compliance Statement
This Class B Digital apparatus meets all requirements of the Canadian Interference-
Causing Equipment Regulations.
Cet appareil numerique de la classe B respecte les exigences du Reglement sur le
material broilleur du Canada.
European Conformity Statement
Declaration of Conformity with Regard to the R&TTE 1999/5/EC and EMC 89/336/
EEC directives.
RoHS Statement
This device conforms to RoHS (Restriction of Hazardous Sub-
stances) European Union regulations that set maximum con-
centration limits on hazardous materials used in electrical and
electronic equipment.
Battery Notices
The PA968 is equipped with a Lithium-Ion Battery Pack and Backup Battery. Both
batteries will discharge power if not frequently in use. Initially charge the PA968 for at
least 16 hours to fully charge both battries. This ensures that the Backup Battery will
save data on SDRAM for at least 8 hours, when the Main Battery disconnects from the
PA968. To prevent data loss, do not leave the PA968 uncharged without the Main
Battery for long time periods.
NOTE: To guarantee optimal performance, replace rechargeable batteries
every year, or after 500 charge/discharge cycles occur. It is normal for
the battery to physically expand after one year of use, or near 500
charge/discharge cycles. Although this does not cause harm, the batter-
ies should not be used, and they should be recycled according to local
procedure.

About This Manual
iii
A Lithium-Ion battery is at the end of its life cycle if there is a 20 percent
decrease in performance.
A battery’s life cycle depends on the type of battery and the device configuration. Con-
serve the battery’s life through the following:
• Avoid frequent full battery discharges, because this places additional strain on
the battery. Several partial battery discharges with frequent recharges are bet-
ter than full recharges. Recharging a partially charged Lithium-Ion battery does
not cause harm.
• Keep the Lithium-Ion battery in cool environment, and especially avoid hot cars.
Keep the battery at a 40 percent charge level for prolonged storage periods.
• Do not leave the Lithium-Ion battery discharged and unused for an extended
time period.
Battery Charge Notice
It is important to consider the environmental temperature whenever the Lithium-Ion
Battery Pack is charged. Charging is most efficient at room temperature or in a slightly
cooler environment. It is essential that batteries are charged within the temperature
range of 50°F - 104°F (10°C to 40°C). Charging batteries outside of this specified tem-
perature range could damage the batteries and shorten their charging life cycle.
CAUTION! Do not charge batteries at a temperature lower than 32°F (0°C),
which will increase the internal resistance to cause heat and make the
batteries unstable and unsafe. Please use a battery temperature
detecting device for a charger to ensure a safe charging temperature
range.
Storage and Safety Notice
Charged Lithium-Ion batteries may be left unused for several months, but their capac-
ity may deplete due to buildup of internal resistance. In this case they will require
recharging. Lithium-Ion batteries may store at temperatures between -4°F - 140°F (-
20°C to 60°C). But the batteries may deplete more rapidly at the warmer end of this
range. It is recommended to store batteries at room temperature.
.
Warranty
Unitech Limited Warranty covers the following items that are free from defects during
normal use:
• PA968 Rugged Mobile Computer – 1-year limited warranty.
• Lithium-Ion Battery – 6-month limited warranty.
The warranty becomes void if the equipment is modified, improperly installed/used,
damaged by accident/neglect or if any parts are improperly installed or replaced by
the user.
Only use the PA968’s AC Adapter. Using the wrong AC Adapter may damage the
PA968, and it will void the warranty.

iv
Table of Contents
Preface
About This Manual i
Regulatory Compliance Statements ............................................................................. i
FCC Warning Statement.......................................................................................................... i
RF Radiation Exposure Statement .......................................................................................... ii
Canadian Compliance Statement ............................................................................................ ii
European Conformity Statement ............................................................................................. ii
RoHS Statement...................................................................................................................... ii
Battery Notices ...................................................................................................................... ii
Battery Charge Notice ............................................................................................................ iii
Storage and Safety Notice...................................................................................................... iii
Warranty .................................................................................................................................. iii
Chapter 1
Getting Started 1
Introducing the PA968....................................................................................................... 1
Features................................................................................................................................... 2
Package Contents ............................................................................................................... 3
A Tour of the PA968............................................................................................................ 4
Front View............................................................................................................................... 4
Back View............................................................................................................................... 5
Setting up the PA968.......................................................................................................... 6
Installing the Battery ............................................................................................................... 6
Charging the Battery............................................................................................................... 8
Charging the battery with USB charging cable.................................................................. 8
Charging the battery with the cradle.................................................................................. 8
Checking the LED status ................................................................................................... 9
Checking the Battery Status .............................................................................................. 9
Connecting the terminal to a host (PC/ Notebook) ................................................................. 9
Turning the terminal on for the first time............................................................................... 10
Powering On ......................................................................................................................... 10
Using the Stylus............................................................................................................... 10
Calibrating the screen...................................................................................................... 11
Set Date and Time........................................................................................................... 12
Chapter 2
Using the Hardware 13
Using Keypads and Function Buttons...................................................................... 13
Using Function keys ............................................................................................................. 14
Using Alpha keys.................................................................................................................. 14
Using the Windows CE Keyboard......................................................................................... 15
Entering Characters......................................................................................................... 15
Moving the Keyboard....................................................................................................... 15
Closing the Keyboard ...................................................................................................... 15

v
Using the SD/MMC Memory Card................................................................................ 16
Inserting a Storage Card....................................................................................................... 16
Removing a Storage Card .................................................................................................... 16
Using the SIM Card ........................................................................................................... 17
Inserting the SIM card........................................................................................................... 17
Using the Camera .............................................................................................................. 18
Using the Fingerprint Reader ....................................................................................... 19
Using the Laser Bar Code Scanner............................................................................ 20
Chapter 3
Getting Connected 22
Establishing Device-PC Connection.......................................................................... 22
Installing Microsoft ActiveSync ............................................................................................. 22
Connecting the PA968 to a Computer .................................................................................. 23
Using ActiveSync to Exchange Files ........................................................................ 24
Bluetooth Connection...................................................................................................... 25
GPRS Connection.............................................................................................................. 28
Wi-Fi Connection ............................................................................................................... 30
Using the Summit Utilities..................................................................................................... 32
Admin Login..................................................................................................................... 32
Scan Available AP ........................................................................................................... 32
Commit and Activate ....................................................................................................... 33
Chapter 4
Bar Code Scanner Programs 35
Scanner Setting.................................................................................................................. 35
Scan2Key .............................................................................................................................. 35
Bar Code Symbologies......................................................................................................... 36
Bar Code Symbologies 2D ................................................................................................... 37
Chapter 5
Advanced Settings 38
Performing a Hardware Reset ...................................................................................... 38
Performing a Warm Boot ...................................................................................................... 38
Performing a Cold Boot ........................................................................................................ 38
Method 1: From Windows CE.......................................................................................... 39
Method 2: From Hardware............................................................................................... 39
Appendix
System Specification 40
Worldwide Support 41

1
Copyright 2009 unitech Electronics Co., Ltd. All rights reserved. unitech is a registered trademark of unitech Electronics Co., Ltd.
Chapter 1
Getting Started
Introducing the PA968
The PA968 Rugged Mobile Computer was designed for users who
need a compact yet device for data collection in real time
transactions.
This lightweight mobile computer offers a Windows CE 5.0 operating
system, an integrated laser bar code scanner, advanced fingerprint
reader, high resolution digital camera, LCD color touch-screen,
swappable keypad, and wireless and GPRS communication. It
provides users with a standard Windows based environment for
customization and operation.
To reduce total cost of ownership, the PA968 is sealed to meet IP65 standards and
has undergone multiple 5-foot drop tests to prevent downtime. Thanks for purchasing
the PA968 Rugged Mobile Computer.

Chapter 1 Getting Started
2
Features
Powerful System
• Microsoft Windows CE 5.0 Operat-
ing System.
• 520Mhz Intel PXA270 Processor.
System Memory
• 128 MB SDRAM.
• 320 MB Flash ROM.
Display
• 3.5” TFT LCD panel with touch-
screen.
• 240 x 320 Pixel Resolution.
• Supports Display Rotation.
• Polycarbon LCD Protection Foil
(Pre-installed).
Bar Code Scanner
• Built-in Symbol SE950 Scan
Engine.
Communication
• USB 1.1 Client/Host.
• Bluetooth 2.0 EDR (Supports Blue-
tooth Printer, Bluetooth Modem
and Bluetooth ActiveSync).
• UMTS WCDMA/HSDPA 850/1900/
2100Mhz.
• 3.5G Five Bands GSM/GPRS 850/
900/1800/1900Mhz, UMTS
WCDMA/HSDPA 850/1900/
2100Mhz and GPRS Edge.
• Integrated WPAN/WLAN/WWAN.
• Built-in GPS.
Audio
•MIC.
• Speaker.
• Headset Connector.
• Receiver.
Picture Capture
• Built-in 2.0 Megapixel Camera.
• 1/4” CMOS Sensor.
Fingerprint Reader
• 500 DPI Resolution.
• 256 Gray Scale.
• Fingerprint Image.
• Live Fingerprint Verification.
Expansion Slot
• SD Memory Slot (Supports up to
2G).
Wireless Connectivity
• 802.11b/g.
• Bluetooth.
•GPRS.
Battery Life
• Standby: 24 Hours.
• BT, GPS and GPRS Simultane-
ously Operating: 4 Hours.
• Charging Time: 4 Hours.
• Embedded Backup Battery Cell.
User-friendly Interface
• Special Keys to Launch Particular
Applications and Display the
onscreen Keyboard.
• Keys for Bar Code Scanning.

Chapter 1 Getting Started
3
Copyright 2009 unitech Electronics Co., Ltd. All rights reserved. unitech is a registered trademark of unitech Electronics Co., Ltd.
Package Contents
Ensure the following items are in the PA968 box. Please contact a regional Unitech
representative if anything appears missing or damaged.
PA968 Lithium-Ion Battery
Stylus Stylus Bungee
USB Charging Cable AC Adapter Cable
Unitech CD-ROM
(Unitech Quick
Reference Guide)
AC Adapter
1
alpha
TAB
tuv
8
FUNC
H1
0
abc
2def
3
ghi
4jkl
5
mno
6
pqrs
7
wxyz
9
ESC Enter
H2

Chapter 1 Getting Started
4
A Tour of the PA968
Front View
No. Component Description
1. Status Indicator. Indicates the operating status. LED indicators (left to right):
- GPRS/GPS Communication.
- Scan Engine Reading.
- Power Charging.
2. LCD Touch-
screen.
Displays the PA968’s applications and data. It is touch
sensitive and responds to a stylus or finger.
3. Microphone. Receives sound.
4. Power Button. Press this button to start the PA968. However, press
this button down for at least three seconds to turn off
the PA968.
5. Fingerprint
Reader.
Scans fingerprints.
6. Receiver. Enables GSM voice from the PA968.
7. Scanner Trigger. Press to activate the Laser Bar Code Scanner.
8. Keypad. Controls the PA968.
1
2
3
9
8
7
6
5
4

Chapter 1 Getting Started
5
Copyright 2009 unitech Electronics Co., Ltd. All rights reserved. unitech is a registered trademark of unitech Electronics Co., Ltd.
Back View
9. Universal
Connector.
Connects the PA968 to a USB Charging
Communication Cable. This USB Cable Connects to
the computer’s USB Port and accepts the 12V AC
Adapter to provide the PA968 power.
The unit can simultaneously recharge and perform a
Microsoft Activesync operation. Use it to connect
peripheral hardware, such as a docking station to the
PA968. This port can also support USB/RS232 hosting
for devices like an USB/RS232 scanner, keyboard or
USB memory key.
No. Component Description
1. Earphone Jack. Connects the headset.
2. RESET Button. Use the Stylus to press the RESET Button in to
Warm Start the PA968.
3. Speaker. Enables audio from the PA968.
4. Battery Compartment. Houses the removable and rechargeable 7.4V
Lithium-Ion 1850 mAh Battery Pack.
5. Bar Code Scanner
Window.
Scans bar codes.
6. Antenna. GSM Antenna.
7. Digital Camera Lense. Captures images and video.
8. LED Flash Light Illuminates images for the camera.
9. Memory Card Slot. Accommodates the SD memory card.
10. Battery Compartment
Tab.
Opens and closes the Battery Compartment.
2
3
4
5
6
7
8
9
10
1

Chapter 1 Getting Started
6
Setting up the PA968
Install and charge the battery, check the battery status, turn on the PA968, and cali-
brate the screen through the following:
Installing the Battery
WARNING! If the Battery Pack is handled improperly there is a risk of fire and/or
burns. DO NOT disassemble, crush, puncture, short external con-
tacts, or dispose the battery pack in fire or water. DO NOT attempt to
open or service the battery pack. Dispose of used batteries according
to local recycling guidelines.
A Backup Battery cell is embedded in the PA968 to prevent data loss when the remov-
able Battery Pack disconnects from the PA968. The Backup Battery will maintain data
and system settings for up to 8 hours.
NOTE: Initially charge the PA968 for at least 16 hours to enable the internal
Backup Battery cell with enough power to support the PA968.
NOTE: Properly replace the Battery Compartment Cover after installing the
Main Battery.
1. Open the Battery Compartment Cover by sliding the Battery Compartment Tabs
and lift the Battery Compartment Cover up in the as direction shown below:
2. Turn the Backup Battery Switch to the left in the ON position as shown below:
Battery Compartment Tab
Backup Batter
y
Switch

Chapter 1 Getting Started
7
Copyright 2009 unitech Electronics Co., Ltd. All rights reserved. unitech is a registered trademark of unitech Electronics Co., Ltd.
3. Position the Battery so the Battery Contacts align with the Battery Compartment
Contacts. Place the Battery on top of the Plastic Tab as shown below:
4. Simultaneously slide the Battery Pack while pulling up on the Plastic Tab, until
the Battery snaps into place as shown below:
5. Replace the Battery Compartment Cover. Push the Battery Compartment Tabs
down and slide them in the direction as shown below:
NOTE: Make sure the Battery Compartment closes securely, or the PA968 may
not start.
Battery Compartment
Contacts
Plastic Tab

Chapter 1 Getting Started
8
Charging the Battery
Charge the PA968 for at least 16 hours before initial use. After the initial charge, the
PA968 will recharge to full capacity in 4 hours. Charge the PA968 with the USB
Charging Cable or the Docking Station.
CAUTION! Operating the PA968 for the first time without the AC Adapter, and
without fully charging the Backup Battery may result in RAM memory
data loss. When the Main Battery is removed, the Backup Battery
retains RAM data for 8 hours. Charge the battery within this time
period to avoid data loss.
NOTE: Turn the Backup Battery switch to the ON position before charging the
Battery. Data loss may occur if the Backup Battery is not properly
charged.
Charging the battery with the USB charging cable
1. Press and hold the USB Charging Cable’s Release Buttons while connecting to
the PA968 (1).
2. Plug the AC Adapter Cable into the USB Charging Cable’s power jack (2).
3. Plug the other end of the AC Adapter Cable into an electrical outlet (3).
Charging the battery with the cradle
1. Plug the AC Adapter Cable into the Cradle’s power jack (1).
2. Plug the other end of the AC Adapter Cable into an electrical outlet (2).
1
23
1
2

Chapter 1 Getting Started
9
Copyright 2009 unitech Electronics Co., Ltd. All rights reserved. unitech is a registered trademark of unitech Electronics Co., Ltd.
3. Slide the PA968 into the Cradle until it snaps into place.
4. The connection is secure when the PA968’s bottom edge aligns with the Cra-
dle. (The Cradle’s LED indicator lights up red.)
Checking the LED status
Checking the Battery Status
If the battery level becomes low during the course of normal use, a status icon
appears on the PA968’s screen indicating low or very low battery status. In both
cases, perform a Microsoft Activesync operation to backup data, and recharge the
PA968 as soon as possible.
CAUTION! Recharge the PA968 within 48 hours when the battery runs out of
power. Otherwise all data stored in the RAM memory (including files)
could be lost.
Connecting the terminal to a host (PC/ Notebook)
Use the USB Charging Cable to connect the PA968 to a PC/Notebook in order to use
Microsoft Activesync.
NOTE: Connect the PA968 to an external power supply while synchronizing.
1. Press and hold the USB Charging Cable’s Release Buttons while connecting to
the PA968 (1).
LED Light Description
Terminal GPRS/GPS
Communication
Flashing Red GPRS/GPS Power is On.
Flashing Green Communicating.
Engine Reading Solid Red Reading.
Solid Green Decoded.
Power Charging Solid Red Charging.
Solid Green Fully Charged.
Cradle Power Charging Solid Green Power is On.
Communication Flashing Green Data Synchronization is Active.
Terminal LED Indicators
(left to right):
- GPRS/GPS Communication
- Engine Reading
- Power Charging
Cradle LED Indicator

Chapter 1 Getting Started
10
2. Connect the USB Charging Cable to the PC/Notebook’s USB Port and plug the
AC Adapter Cable into the USB Charging Cable’s power jack (2).
3. Plug the other end of the AC Adapter into an electrical outlet (3).
Turning the terminal on for the first time
Charge the PA968 for at least 16 hours prior to initial use. Start the PA968, calibrate
the display, learn some basic stylus usage, and setup the date and time through the
following:
Powering On
1. Start the PA968 by pressing the Power Button on the front panel.
NOTE: The PA968’s screen ships with a protective plastic film. Remove the
plastic film by peeling from one corner to another. The screen will be
more susceptible to scratching without the film, but it will be more legi-
ble.
2. The Welcome screen appears followed by the Windows CE screen.
Using the Stylus
CAUTION! Never use anything other than the PA968 Stylus on the PA968’s
screen. Using an object other than the PA968 Stylus could cause per-
manent damage.
1. Hold the Stylus like a pencil.
2. Lightly tap the tip of the Stylus to make a menu choice.
3. Double-tap to open programs.
4. Use the Stylus to print letters or numbers into a field or on a form.
1
2
3

Chapter 1 Getting Started
11
Copyright 2009 unitech Electronics Co., Ltd. All rights reserved. unitech is a registered trademark of unitech Electronics Co., Ltd.
Calibrating the screen
The calibration screen automatically appears when the PA968 powers on for the first
time or after the system is reset.
Calibrate the screen at any time through the following:
1. Tap Start →Settings →Control Panel.
2. Double-tap Stylus.
The Stylus Properties window appears.
3. Tap the Calibration tab. Tap Recalibrate to cal-
ibrate the screen.
The alignment screen appears.
NOTE: Or simultaneously press FUNC and ESC
to access the calibration screen.
4. Tap the target mark firmly and accurately.
AB

12
5. Continue tapping the target mark until calibra-
tion is complete.
6. Press Enter to accept the new settings, or
press ESC to maintain the old settings.
Set Date and Time
In the Date/Time Properties window,
use the Stylus to select the current
date and time, time zone and daylight
saving time option.
• Tap the left or right arrows to
scroll through the year and
month, or tap the year and
month to select the setting.
• Tap on the Hr/Min/Sec/AM/PM
to input the Hr/Min/Sec and set
the time.
• Tap the arrow and set the cor-
rect time zone from the Time
Zone drop down menu.
• Check the box to enable Win-
dows to automatically adjust
for daylight saving time.
• Tap OK to save the settings
and exit the Date/Time Proper-
ties dialog or tap Xto exit with-
out saving.
NOTE: To change the time and date at any time tap →Settings →Control
Panel →Double-tap Date/Time.
Set Date
Set Time
Set Time
Zone
Set
Daylight
Saving
Time

Chapter 2 Using the Hardware
13
Copyright 2009 unitech Electronics Co., Ltd. All rights reserved. unitech is a registered trademark of unitech Electronics Co., Ltd.
Chapter 2
Using the Hardware
Using Keypads and Function Buttons
“Numeric mode on” is the PA968’s default condition. But, “CAPS mode off” is the
default condition in Alpha mode. Use the Alpha key to toggle into CAPS mode.
Key Description
Power button.
Escape key.
Enter key.
Backspace key.
Tab key.
Function key.
Alpha key, toggle between numeric and alphabetic entry modes.
Four way cursor keys.
Alphanumeric keys.
Punctuation key.
Hotkeys.
1
alpha
TAB
tuv
8
FUNC
H1
0
abc
2
def
3
ghi
4
jkl
5
mno
6
pqrs
7
wxyz
9
ESC Enter
H2
ESC
Enter
TAB
FUNC
alpha
0wxyz
9
~
H1 H2
~

Chapter 2 Using the Hardware
14
Using Function keys
Using Alpha keys
Key Description
Toggle LCD backlight on and off.
Toggle keypad LED backlight on and off.
Increase screen brightness.
Decrease screen brightness.
Bring up Task Manager.
Bring up Scanner Control Panel.
Bring up Power Properties.
Bring up Device Setting.
Key Alpha Off Alpha On
CAPS OFF CAPS On
0 Space, @, $, “, 0 Space, @, $, “, 0
1 +, -, \, %, 1 +, -, \, %, 1
2 a, b, c, 2 A, B, C, 2
3 d, e, f, 3 D, E, F, 3
4 g, h, i, 4 G, H, I, 4
5 j, k, l, 5 J, K, L, 5
6 m, n, o, 6 M, N, O, 6
7 p, q, r, 7 P, Q, R, 7
8 t, u, v, 8 T, U, V, 8
9 w, x, y, z, 9 W, X, Y, Z, 9
. , ; ! . / , ; ! . /
FUNC +
FUNC +
FUNC
+
FUNC +
FUNC +mno
6
FUNC +pqrs
7
FUNC +tuv
8
FUNC +wxyz
9
0
1
abc
2
def
3
ghi
4
jkl
5
mno
6
pqrs
7
tuv
8
wxyz
9
Other manuals for PA968
5
Table of contents
Other Unitech Handheld manuals

Unitech
Unitech PA400 User manual

Unitech
Unitech PA692A User manual

Unitech
Unitech TB128 User manual

Unitech
Unitech PA730 User manual

Unitech
Unitech HT580 Product information sheet

Unitech
Unitech PA600 MCA User manual

Unitech
Unitech PA968 User manual

Unitech
Unitech PA700 Series User manual

Unitech
Unitech PA550 User manual

Unitech
Unitech PA600 User manual

Unitech
Unitech RH768 User manual

Unitech
Unitech PA720 User manual

Unitech
Unitech HT660e User manual

Unitech
Unitech EA602 User manual

Unitech
Unitech PA982 User manual

Unitech
Unitech PA520 User manual

Unitech
Unitech PA500II User manual

Unitech
Unitech PA690 User manual

Unitech
Unitech HT630 User manual

Unitech
Unitech BD100 User manual