TABLE OF CONTENTS
1.
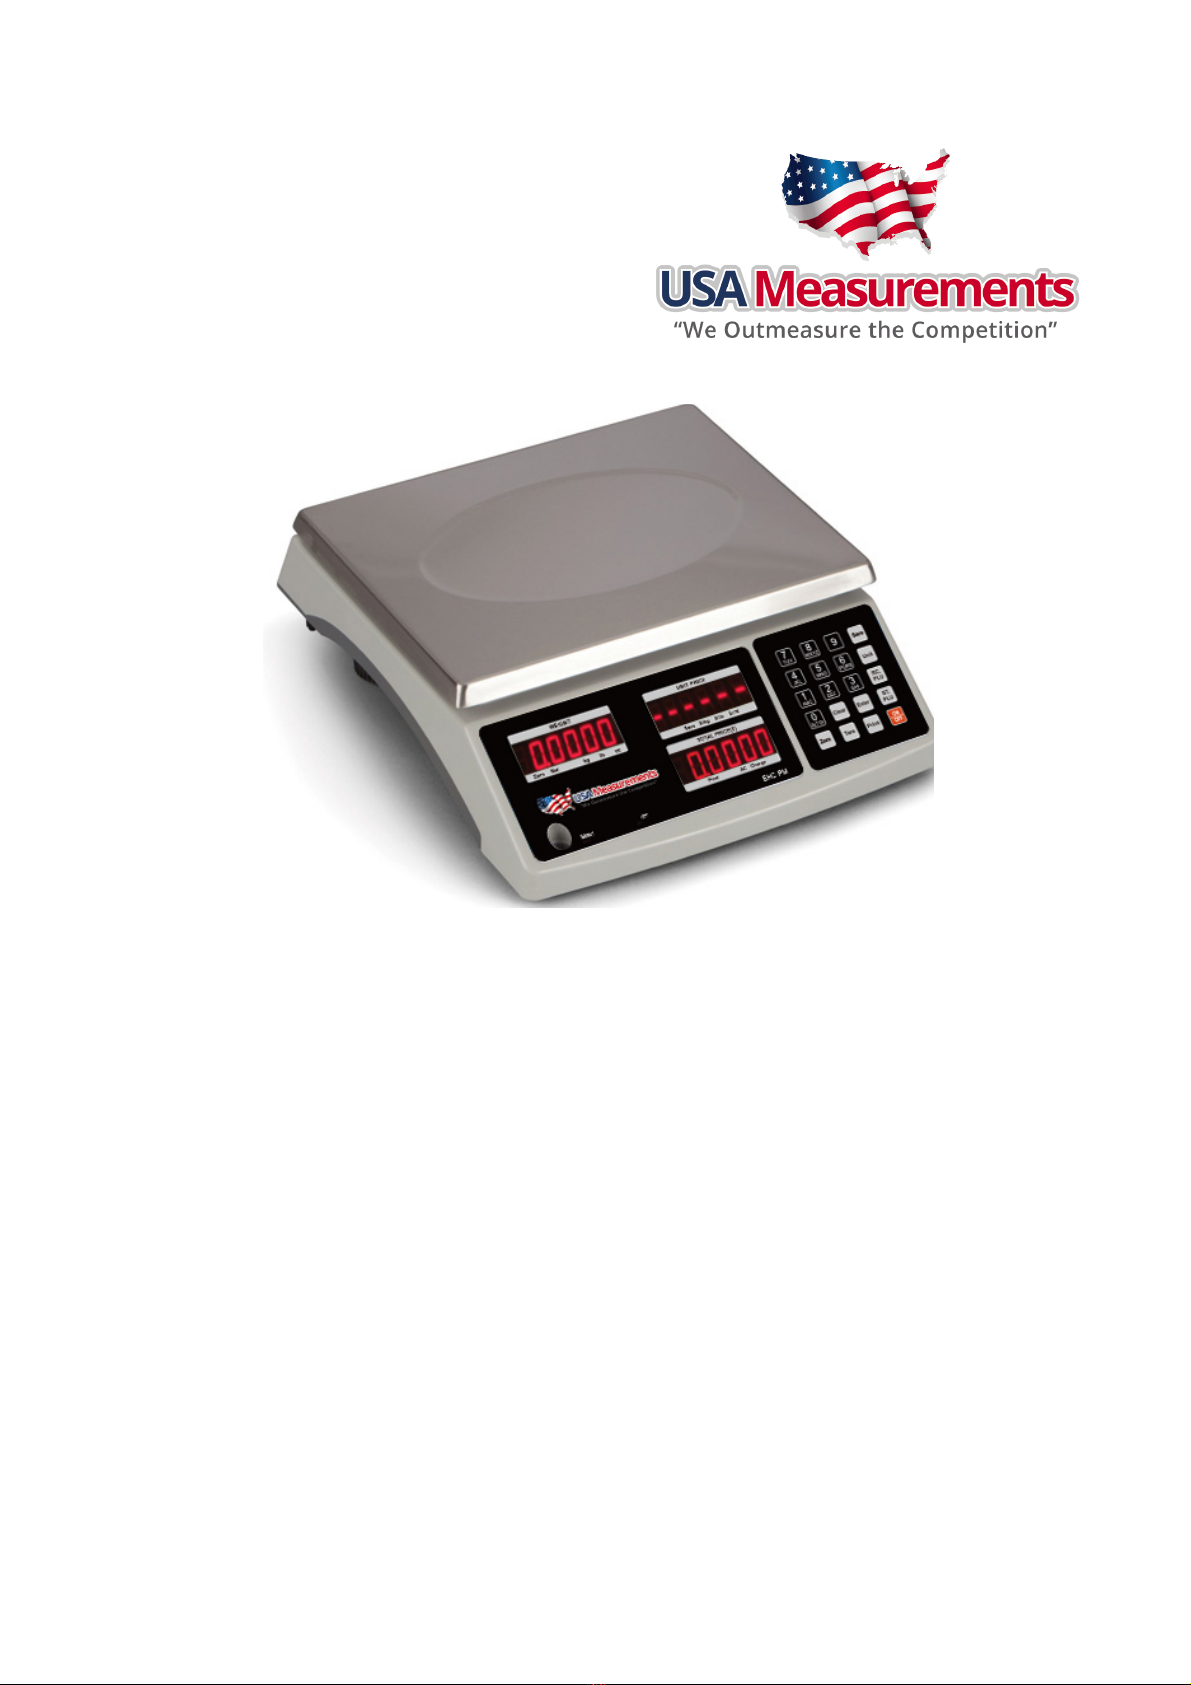
INTRODUCTION
..................................................................................................................... 1
§
General and Safety Information
.................................................................................................. 1
§
Specification
........................................................................................................................ 1
2.
Unpacking and Setup
.............................................................................................................. 2
§
Contents
............................................................................................................................. 2
3.
OVERVIEW OF CONTROLS AND FUNCTIONS
.................................................................................... 2
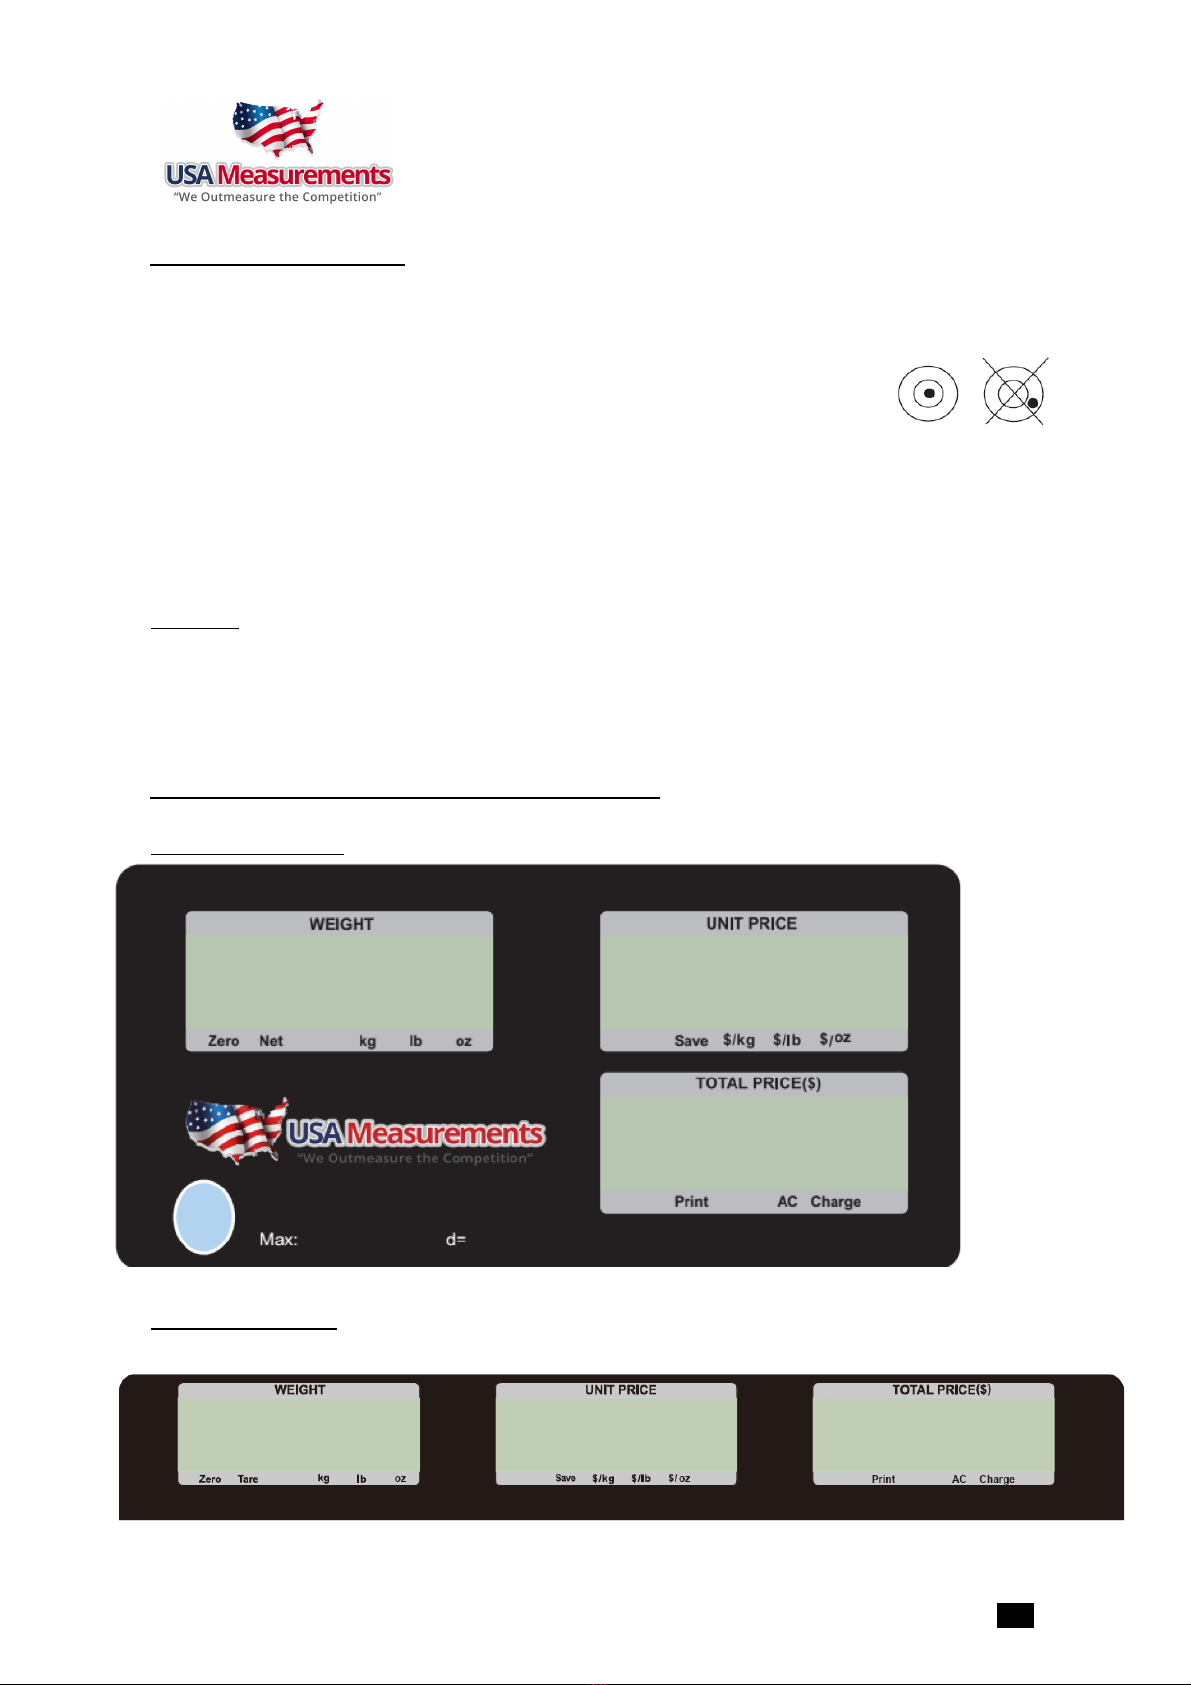
§
Front Display Panel
................................................................................................................ 2
§
Rear Display Panel
................................................................................................................. 2
Function Keys
............................................................................................................................................................ 3
4.
OPERATIONS
........................................................................................................................ 4
§
Normal Weighing Mode
............................................................................................................ 4
§
ZERO function
...................................................................................................................... 4
§
Setting the Tare Weight
........................................................................................................... 4
§
Save function
....................................................................................................................... 5
§
Print function
....................................................................................................................... 5
§
Input the unit price directly:
................................................................................................... 5
§
Set and Recall direct and indirect PLU:
...................................................................................... 6
§
Recall direct PLU:
............................................................................................................... 6
5.
LCD contrast and Backlight mode setting
...................................................................................... 7
6.
Auto-off time setting
.............................................................................................................. 7
7.
Display A/D inner code and working voltage
................................................................................... 7
8.
The details about RS232 communication
....................................................................................... 7
9.
Date and time setting
............................................................................................................. 9
10.
Business name setting
.......................................................................................................... 10
11.
Key function in the trade name or business name setting mode
.......................................................... 10
12.
The meaning of the special displayed character
............................................................................ 11
13.
ID setting
.......................................................................................................................... 12
14.
OS-2130D Back Feed setting
.................................................................................................. 12
15.
OS-2130D Origin setting
........................................................................................................ 12
16.
PLU upload and download
...................................................................................................... 12
17.
Calibration
......................................................................................................................... 16
18.
LCD test mode
.................................................................................................................... 17
19.
The meaning of some displayed symbols
.................................................................................... 17
20.
Troubleshooting and Battery charging
....................................................................................... 18
Troubleshooting
....................................................................................................................................................... 18
Battery and Charging
................................................................................................................................................ 19