UUNI 1 User manual

The revolutionary wood-red pizza oven

Copyright 2013 Tapaninaho Limited
Uuni is patent pending
Uuni logo is a trademark of Tapaninaho Limited
Manual version 1.0 / June 2013
For latest updates, see uuni.net

CNTNT
Hello................................... 5
Safety advice................................... 6
Setting up the rst time................................... 8
Ready. Set. Fire!................................... 9
Making a pizza................................... 10
RECIPES
The Dough................................... 14
The Sauce................................... 16
Diablo III................................... 18
Gherkin................................... 20
Pizza Bianco................................... 22
Unit conversions................................... 25
Notes................................... 26


Hello.
Thank you very much for buying an Uuni.
I started working on Uuni in December 2011. I had been sketching some ideas
for a good few weeks before I sat down with my wife and said, ‘Can I pitch an
idea to you?’
At that stage, I didn’t have a working design or a solution for how to make Uuni
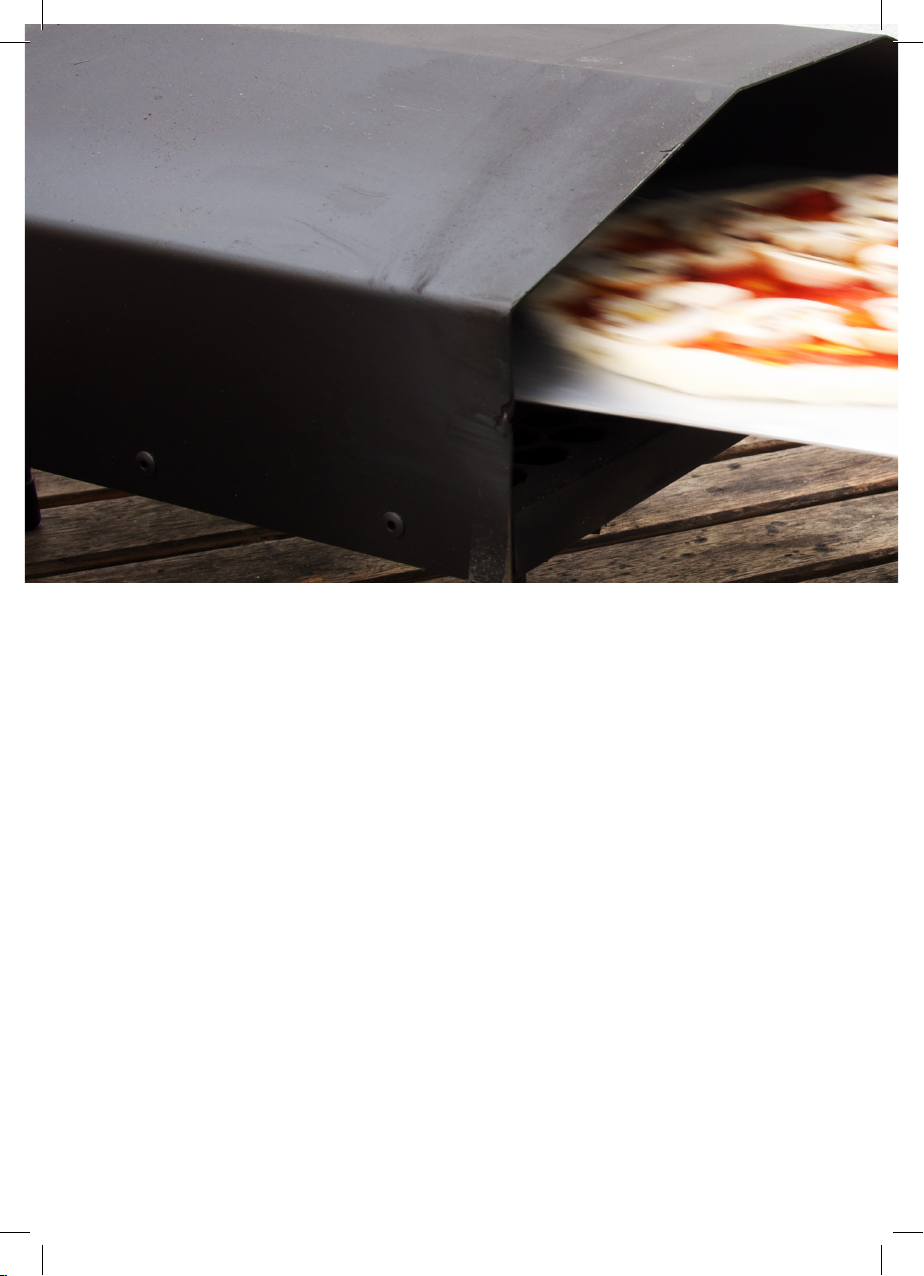
happen. All I had was the problem: how to make a wood-red oven that is small,
fast and affordable?
Almost a year later, after much experimentation, I created the rst fully working
Uuni prototype. Since then I launched it on Kickstarter, the campaign was
successful, and it gave me a much-appreciated boost. I’ve rened and tweaked
the prototypes, sourced materials and found a manufacturer and here we are.
I’ve been truly humbled by the interest and support for this new invention. It’s
been a real pleasure to get to where we are today and I look forward to a future
lled with tasty pizza and more!
I hope you have as much fun making pizzas with your Uuni as I have had
creating it.
Kiitos paljon! (Thank you very much!)
Kristian Tapaninaho

STAY SAFE - BE CAREFUL
Uuni gets really hot when it’s in use; do not
leave it unattended or let children or pets near it
Uuni is for outdoor use only
When in use and for 20 minutes after the re
is out, do not touch any other parts than the
wooden handles
Uuni burns wood and that results in ames. Do
not put your hands or clothes into ames. Be
especially careful when opening either the oven
door or the hopper lid
Uuni is easy and safe to use but it is not a
toy and must only be used by responsible
adults.

STAY SAFE - BE CAREFUL
Use the air ow regulator to stop air when
opening the oven door
Especially when pellets are running low, there’s
chance of ames coming out of the hopper
mouth; add pellets using a metal receptacle
Keep the fan running running until the re is out
and Uuni has cooled down
Don’t put your face near the door way when
looking in

1. Screw in the legs.
2. Screw in the long handle for the door and shorter handle for the hopper lid. (Make sure the
little washer is between the wood and the door. This is really important as it will make sure
the handle won’t char).
3. Clean the baking surface with mildly soapy water and then with clean water. Then dry the
surface.
4. Place the Uuni on a non-ammable surface that is easy to clean.
5. Put the cradle halfway in from the rear and then put fan tunnel over it. It has to go so it
slopes down towards the main oven.
6. Follow the lighting instructions on the next page and re it for 20 minutes without putting
food in. This allows time for the paint to set. Note that during the rst ring, there will be
smoke rising from the surface of your Uuni.
Frs-tme etp
4
2
3
1
Oven
Oven door and handle
Legs
Hopper
Cradle
Fan tunnel
Air-ow regulator
Fan
1
2
3
4
5
6
7
8
Mke ur yu av:
U
u.n)

1. Place your Uuni on a solid surface. Make sure there’s no fabric or paper near by.
Close the oven door.
2. Remove the hopper so you can see into where the pellets burn.
3. Loosely, put pellets into the cradle. You don’t need to push them all the way in. Put a
little bit of barbecue lighting uid on the top of the pellets (not too much).
4. Light them up and immediately put the hopper back in its place. Make sure the air
channel that runs at the back of the hopper comes behind the pellet cradle as to
ensure airow. Don’t place the hopper lid on yet.
5. After 3 minutes it’s time put put the fan on. Place 8 AA batteries in the battery
holder and connect it with the fan. Slide the fan in so it blows into to the oven. It is
very important that the fan is not turned off until the re is out as this could result in
it burning out. Wait another 2 minutes and carefully ll the hopper with more wood
pellets. Load them little by little so you don’t kill the ames at this stage. There might
also be a bit of smoke now that plenty of pellets are being lit all at once. This will
pass.
6. Once the hopper is almost full of pellets, close the lid and wait until they’re fully lit
and you get a consistent ame inside. This whole process should take around 12
minutes.
Rad. St. Fre!
8
7
6
5

1. Check the baking condition; if the ames are too big or too small use the air-
ow regulator to adjust them. Notice that the effect is not immediate.
2. Get your pizza ready on a peel, make sure it’s nicely loose and easy to shake out.
3. Open the Uuni door and shake the pizza in. Make sure it doesn’t go too far
back, or it will hit the pellet cradle. Also make sure it doesn’t land on top of the
air holes in the front end. 25-30 cm (10”-12”) is the ideal size for Uuni.
4. Close the door (always keep the door closed when it’s in use)!
5. In about 90 seconds, check how the pizza is doing. It’s tempting to stick your
face in as close as possible but remember that there’s re in there. At this stage
rotate the pizza for even cooking.
6. At the 3-4 minute mark your pizza should be ready!
Lt’s ak a iza!

TPS NTE
b

RECIPES

RECIPES
A ew
t gt ou tate

DOUGH
500 g ’00’ type our
320 ml water
30 g sugar
5 g dry yeast
10 g salt
15 ml olive oil
c
n

1. I usually start by boiling about 100 ml of the water and
adding that to rest of the water. That way it ends up at
around 40°C. Then I’ll whisk in the yeast followed by
sugar and oil. I’ll leave it for about half an hour so the
yeast can get started.
2. Meanwhile I’ll prepare the our by sifting it into a bowl
along with the salt.
3. Add water/yeast, mix until ready turn on lightly oured
surface for kneading. Knead for 7 minutes, leave it to
rest for 10-15 minutes and knead a further 7 minutes. (I
use a dough mixer. First 5 minutes on, 15 minutes rest
and then another 5 minutes on.)
4. Place the dough in a container big enough so it can at
least triple in size, seal with cling lm. Refrigerate for
48 hours.
5. Take the bowl out of the fridge about two hours
before baking is meant to begin and leave it to
acclimatise and warm up for about an hour and a half
with the cling lm still on. Cut into 165 gram dough
balls and pat into roughly 10 cm diameter discs. Rest
the dough ball for 15 minutes covered by cling lm.
6. By the time you start streching out the pizzas, the
dough should have started to rise just a little. It’s
important to not let it rise too much. Knock the dough
back and strech the pizza. For a video on how to do
this, see uuni.net.

SAUCE
c

SAUCE
1. Heat the olive oil in a pan and add garlic
2. After a minute or two but before the garlic
browns, add passata, sugar and season to
taste
3. Finally, add basil leaves and simmer for anoth-
er 5 minutes

DABO II

DABO II
b

TE HEKI
C
Table of contents
Other UUNI Kitchen Appliance manuals
Popular Kitchen Appliance manuals by other brands

EUROPEAN FINISHING EQUIPMENT
EUROPEAN FINISHING EQUIPMENT MODEL PND-2500A manual

Chef's Choice
Chef's Choice 615 user manual

Silvercrest
Silvercrest SAS 120 C1 operating instructions

Goldmedal
Goldmedal Macho Pop 2553 Series instruction manual

Silvercrest
Silvercrest SFW 250 B1 operating instructions

Bartscher
Bartscher 150140 instruction manual