manuals.online logo
Brands
  1. Home
  2. •
  3. Brands
  4. •
  5. V-tech
  6. •
  7. Baby Monitor
  8. •
  9. V-tech BM4010 User manual

V-tech BM4010 User manual

Other V-tech Baby Monitor manuals

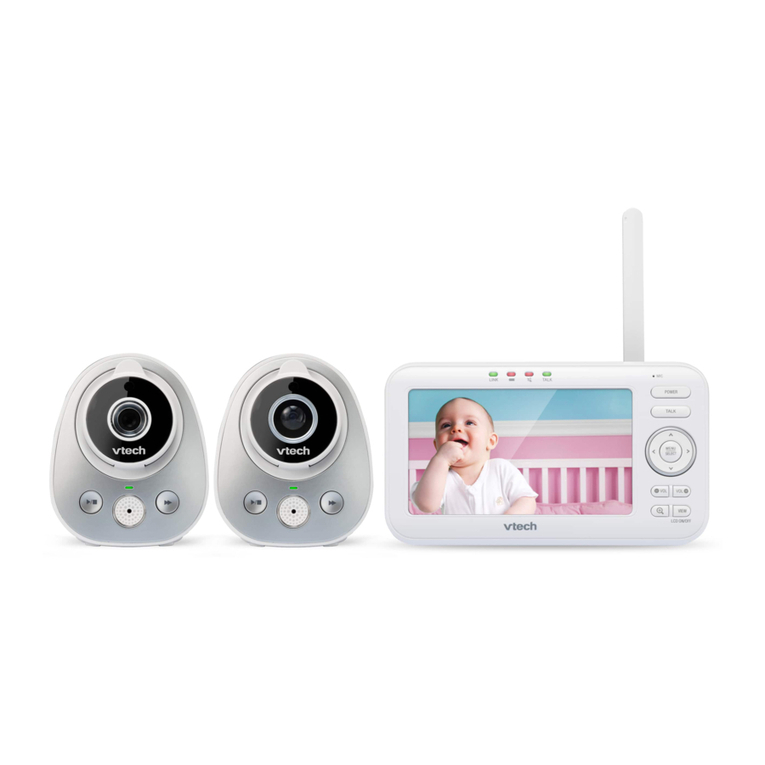
V-tech VM5231 User manual

V-tech

V-tech VM5231 User manual

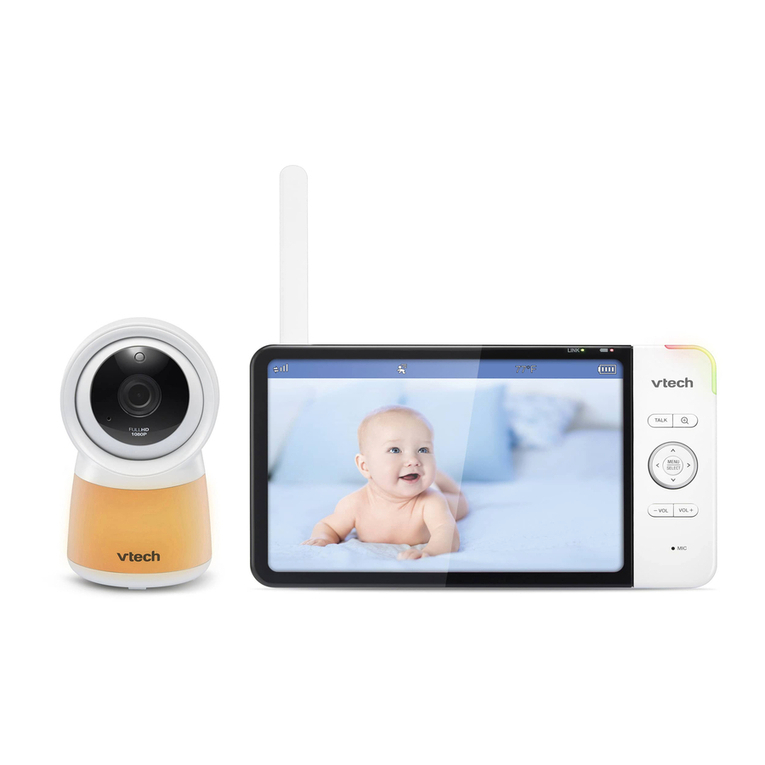
V-tech RM5764HD User manual

V-tech

V-tech RM5764HD User manual

V-tech VM3261 User manual

V-tech

V-tech VM3261 User manual

V-tech VM311 User manual

V-tech

V-tech VM311 User manual

V-tech DM221 User manual

V-tech

V-tech DM221 User manual

V-tech DM221 User manual

V-tech

V-tech DM221 User manual

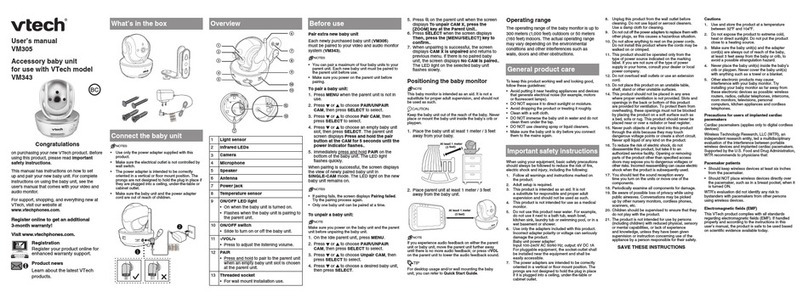
V-tech VM343 User manual

V-tech

V-tech VM343 User manual

V-tech DM271 User manual

V-tech

V-tech DM271 User manual

V-tech BM2000 User manual

V-tech

V-tech BM2000 User manual

V-tech VM5253 User manual

V-tech

V-tech VM5253 User manual

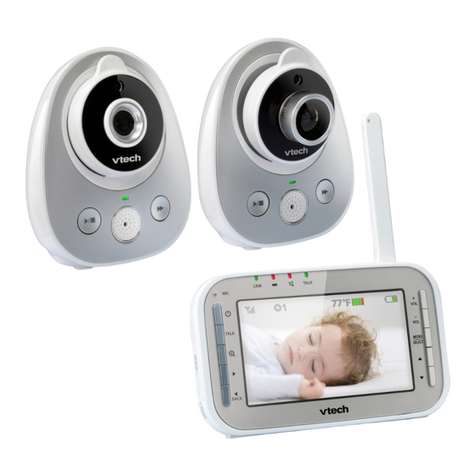
V-tech VM343-2 User manual

V-tech

V-tech VM343-2 User manual

V-tech BM5250N User manual

V-tech

V-tech BM5250N User manual

V-tech RM5752 User manual

V-tech

V-tech RM5752 User manual

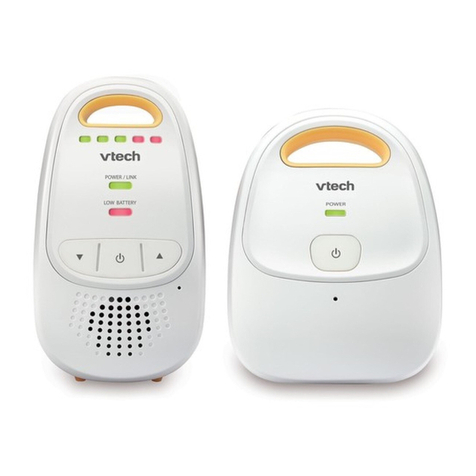
V-tech DM111 User manual

V-tech

V-tech DM111 User manual

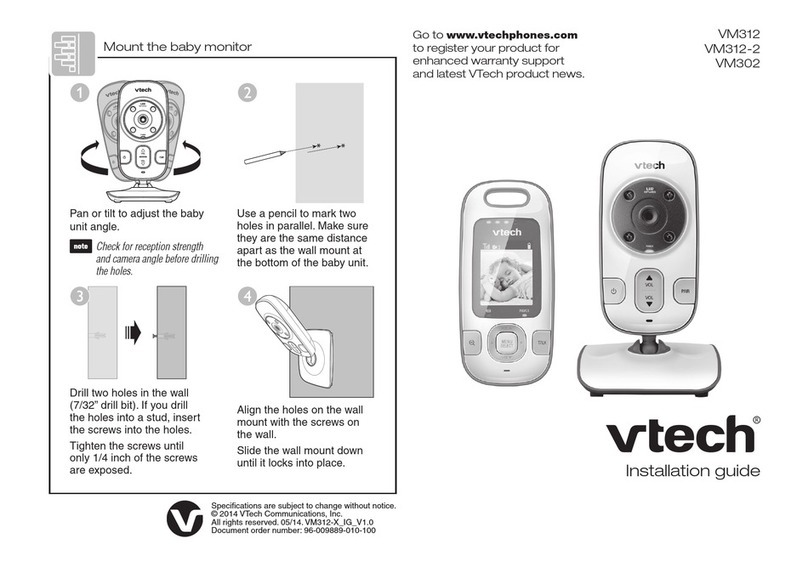
V-tech VM312 User manual

V-tech

V-tech VM312 User manual

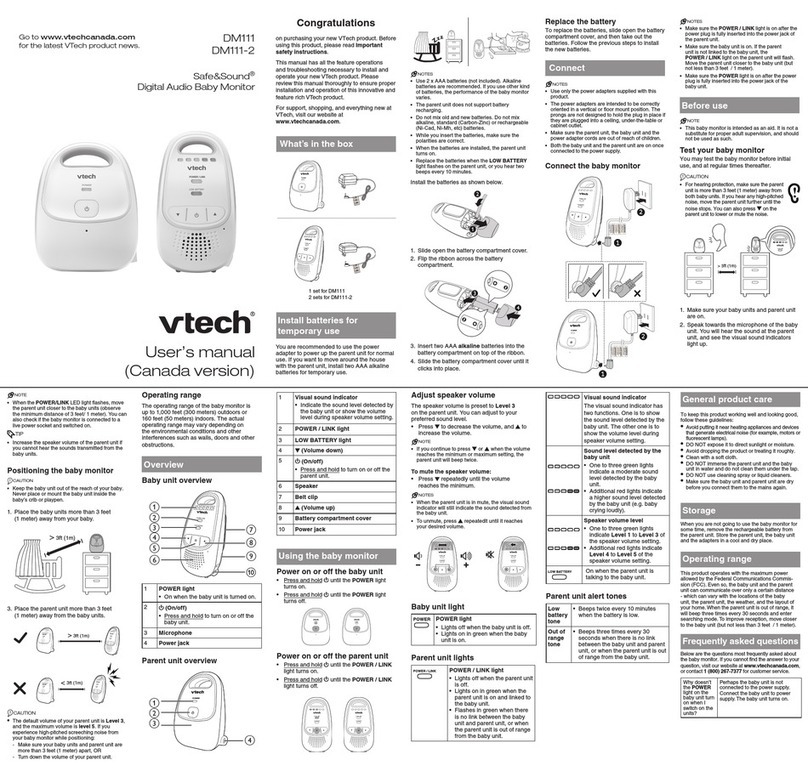
V-tech DM111 User manual

V-tech

V-tech DM111 User manual

V-tech VM346 User manual

V-tech

V-tech VM346 User manual

V-tech 80-102200 - Crystal Sounds DECT Digital... User manual

V-tech

V-tech 80-102200 - Crystal Sounds DECT Digital... User manual

V-tech BM4700N User manual

V-tech

V-tech BM4700N User manual

V-tech VM352-2 User manual

V-tech

V-tech VM352-2 User manual

V-tech VM5271-2 User manual

V-tech

V-tech VM5271-2 User manual

V-tech Safe & Sound BM1000 User manual

V-tech

V-tech Safe & Sound BM1000 User manual

V-tech VM342-2 User manual

V-tech

V-tech VM342-2 User manual

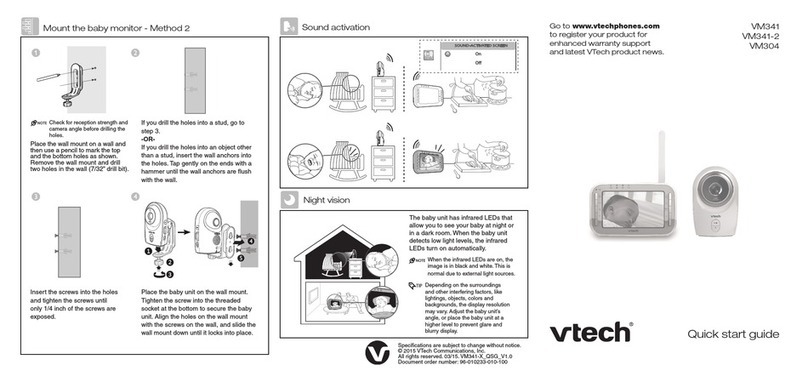
V-tech VM341 User manual

V-tech

V-tech VM341 User manual

Popular Baby Monitor manuals by other brands

Beurer JBY 96 Instructions for use

Beurer

Beurer JBY 96 Instructions for use

Alecto CYHA050100VWEU quick start guide

Alecto

Alecto CYHA050100VWEU quick start guide

Safety 1st Two -Way Intercom Monitor owner's guide

Safety 1st

Safety 1st Two -Way Intercom Monitor owner's guide

Cheego CCA3 Series manual

Cheego

Cheego CCA3 Series manual

Philips SCD 469 manual

Philips

Philips SCD 469 manual

Philips AVENT SCD841 manual

Philips

Philips AVENT SCD841 manual

NUK Eco Control Video Display 550VD operating instructions

NUK

NUK Eco Control Video Display 550VD operating instructions

Lorex sweet peek mini user guide

Lorex

Lorex sweet peek mini user guide

Mondevices MonBaby 2 quick start guide

Mondevices

Mondevices MonBaby 2 quick start guide

Graco iMonitor 2797 owner's manual

Graco

Graco iMonitor 2797 owner's manual

Ramili RV1000 user manual

Ramili

Ramili RV1000 user manual

babymoov High Care A014001 Instructions for use

babymoov

babymoov High Care A014001 Instructions for use

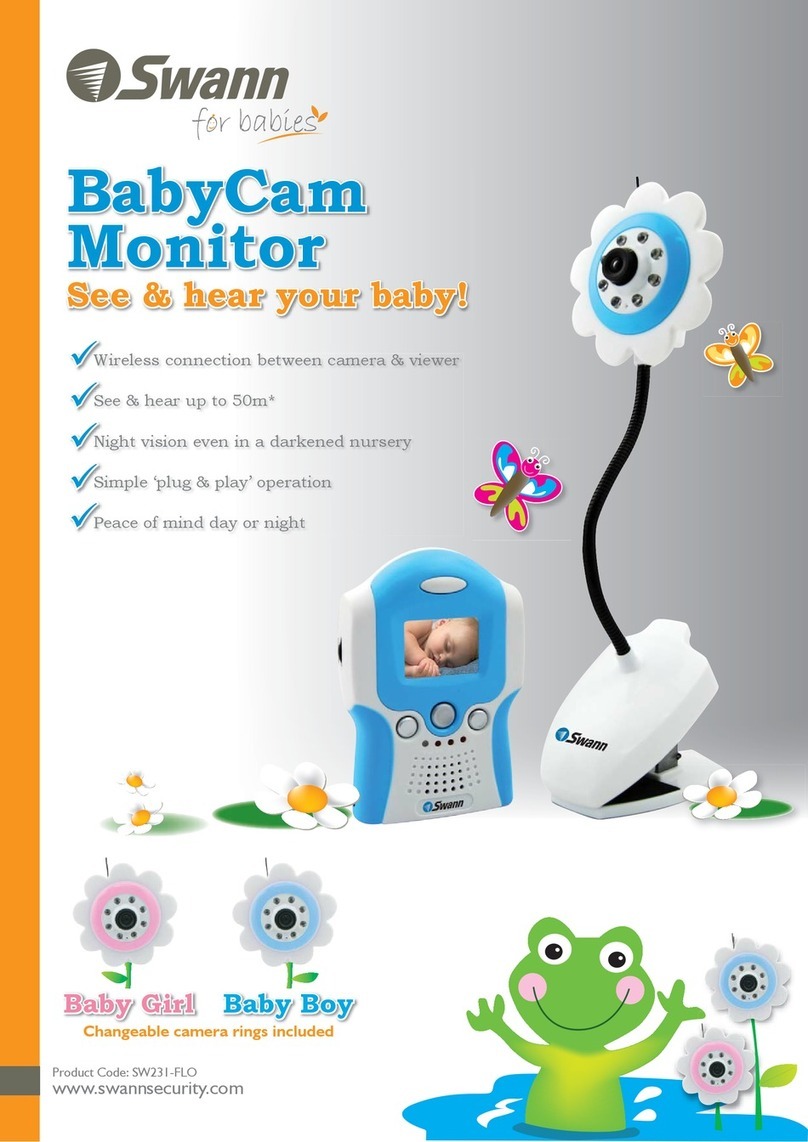
Swann SW231-FLO Specifications

Swann

Swann SW231-FLO Specifications

Badabulle Baby Online 300 m+ instruction manual

Badabulle

Badabulle Baby Online 300 m+ instruction manual

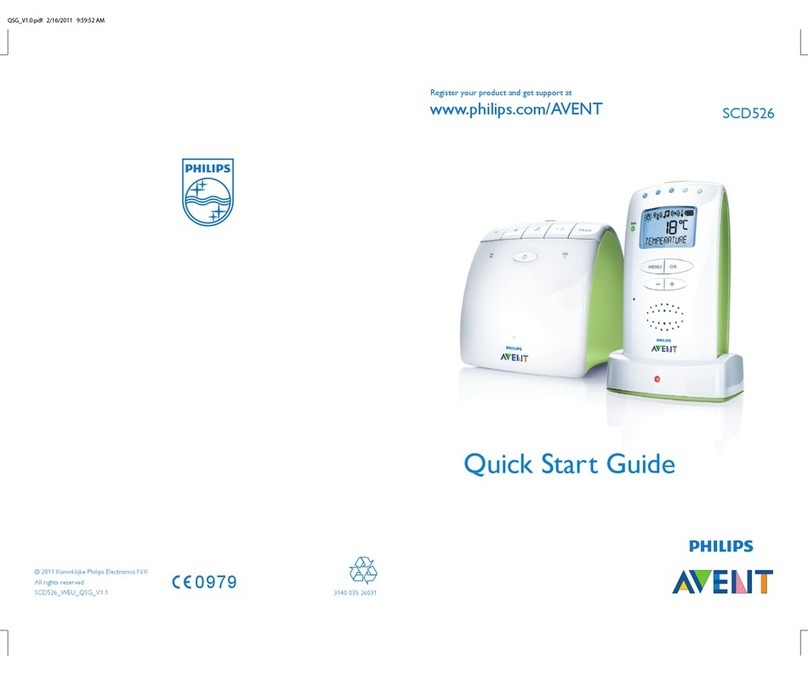
Philips AVENT SCD526/00 quick start guide

Philips AVENT

Philips AVENT SCD526/00 quick start guide

Uniden Guardian UBR223 user guide

Uniden

Uniden Guardian UBR223 user guide

Ivation Wireless Monitoring System user guide

Ivation

Ivation Wireless Monitoring System user guide

Hisense Babysense user manual

Hisense

Hisense Babysense user manual

manuals.online logo
manuals.online logoBrands
  • About & Mission
  • Contact us
  • Privacy Policy
  • Terms and Conditions

Copyright 2025 Manuals.Online. All Rights Reserved.

3
Align the wall mount bracket and screws with the holes in the
wall as shown. Tighten the screw in the middle hole first, so
that the wall mount bracket position is fixed. You can tighten
the other screw in the top hole.
Place the baby unit on the wall mount bracket. Tighten the
screw into the threaded socket at the bottom to secure the
baby unit.
4
The default angle of the wall mount bracket is 90 degrees.
You can maximize your baby unit’s viewing angles by tilting
the wall mount bracket.
Hold the baby unit, and then rotate the knob in anticlockwise
direction. This will loosen the joint of the wall mount bracket.
Tilt your baby unit up or down to adjust to your preferred
angle. Then, rotate the knob in clockwise direction to tighten
the joint and secure the angle.
5
1
Note: Check for reception strength and camera
angle before drilling the holes.
Place the wall mount bracket on a wall and then use a pencil to
mark the top and the bottom holes as shown. Remove the wall
mount bracket and drill two holes in the wall (7/32 inch drill bit).
2
If you drill the holes into a stud, go to step 3.
-OR-
If you drill the holes into an object other than a stud, insert
the wall anchors into the holes. Tap gently on the ends with a
hammer until the wall anchors are flush with the wall.
Mount the Baby Unit
BM4010 Baby Unit
Installation Guide
(for use with BM4000 parent unit)
2
Power outlet not controlled
by a wall switch
Bundle the
power cord
Pairing and Unpairing the Baby Unit
Pair the baby unit
The new BM4010 baby unit must be paired
to the BM4000 parent unit before use. Please
refer to BM4000 user’s manual for complete
instructions, including baby unit installation.
To pair a baby unit:
Make sure you power on the baby unit
and the parent unit before pairing.
Press MENU when the parent unit is not in
use.
Press or to choose Pair/Unpair CAM,
then press SELECT to select.
Press or to choose Pair CAM, then
press SELECT to select.
Press or to choose an empty baby unit
slot, then press SELECT. The parent unit
screen displays Press and hold the pair
button at the CAM for 5 seconds until the
power indicator flashes..
Immediately press and hold PAIR on the
bottom of the baby unit. The LED light
flashes quickly.
When pairing is successful, the screen displays
the view of newly paired baby unit. The LED
light on the new baby unit remains on.
NOTES
If pairing fails, the screen displays Pairing
failed. Try the pairing process again.
Only one baby unit can be paired at a time.
1.
2.
3.
4.
5.
•
•
Unpair the baby unit
Make sure you powered on the baby unit
and the parent unit before unpairing the
baby unit.
To unpair a baby unit:
On the idle parent unit, press MENU.
Press or to choose Pair/Unpair
CAM, then press SELECT to select.
Press or to choose Unpai CAM, then
press SELECT to select.
Press or to choose a desired baby
unit, then press SELECT.
Press on the parent unit when the
screen displays To unpair CAM X,
press the [ZOOM] key at the Parent
Unit..
Press SELECT when the screen displays
Then, press the [MENU/SELECT] key
to confirm..
When unpairing is successful, the screen
displays CAM X is unpaired and returns
to previous menu. If there is no paired
baby unit, the screen displays No CAM
is paired..The LED light on the selected
baby unit flashes slowly.
1.
2.
3.
4.
5.
6.
7.
VTech Communications, Inc.
A member of THE VTECH GROUP OF COMPANIES.
VTech is a registered trademark of VTech Holdings Limited.
Specifications are subject to change without notice.
© 2016 for VTech Telecommunications (Australia).
All rights reserved. Version 1.0 11/16.