TECHNICAL SUPPORT
www.vacuactiv.com/technical-support/ 5Copyright 2023 Vacu Activ
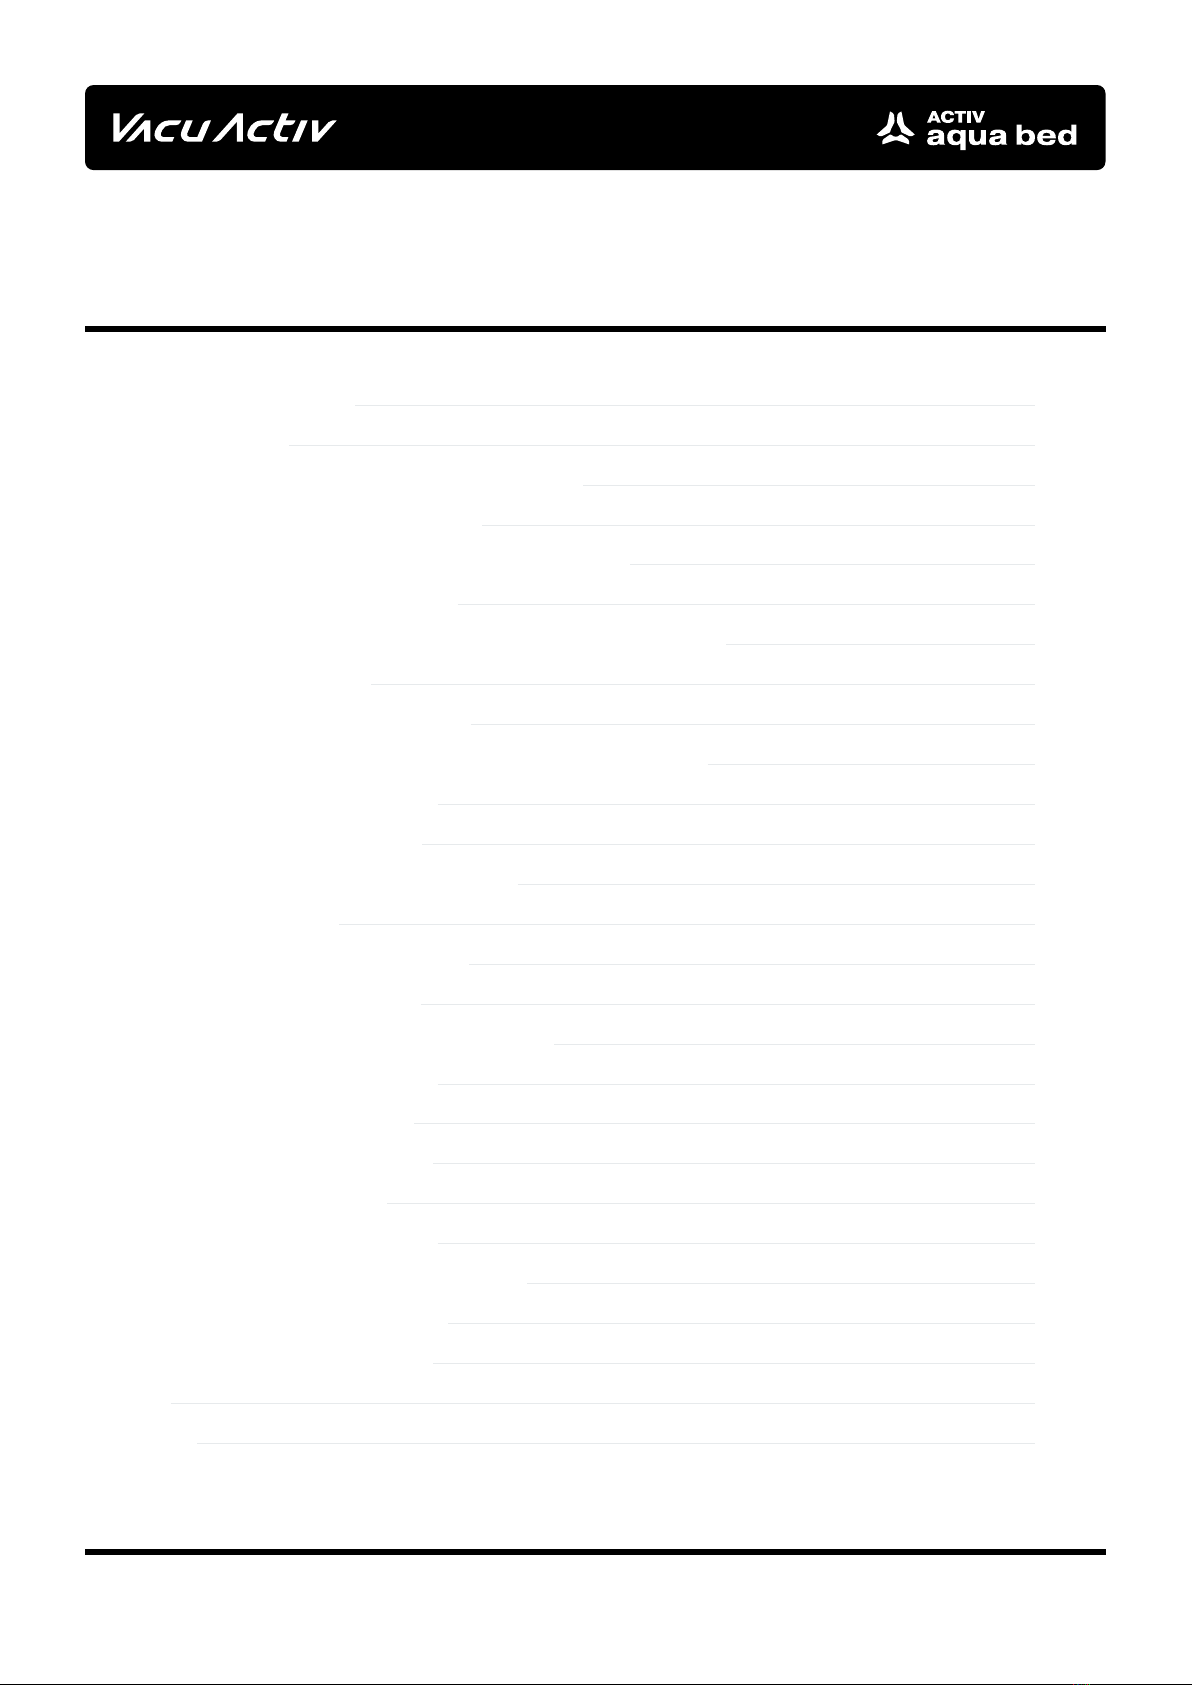
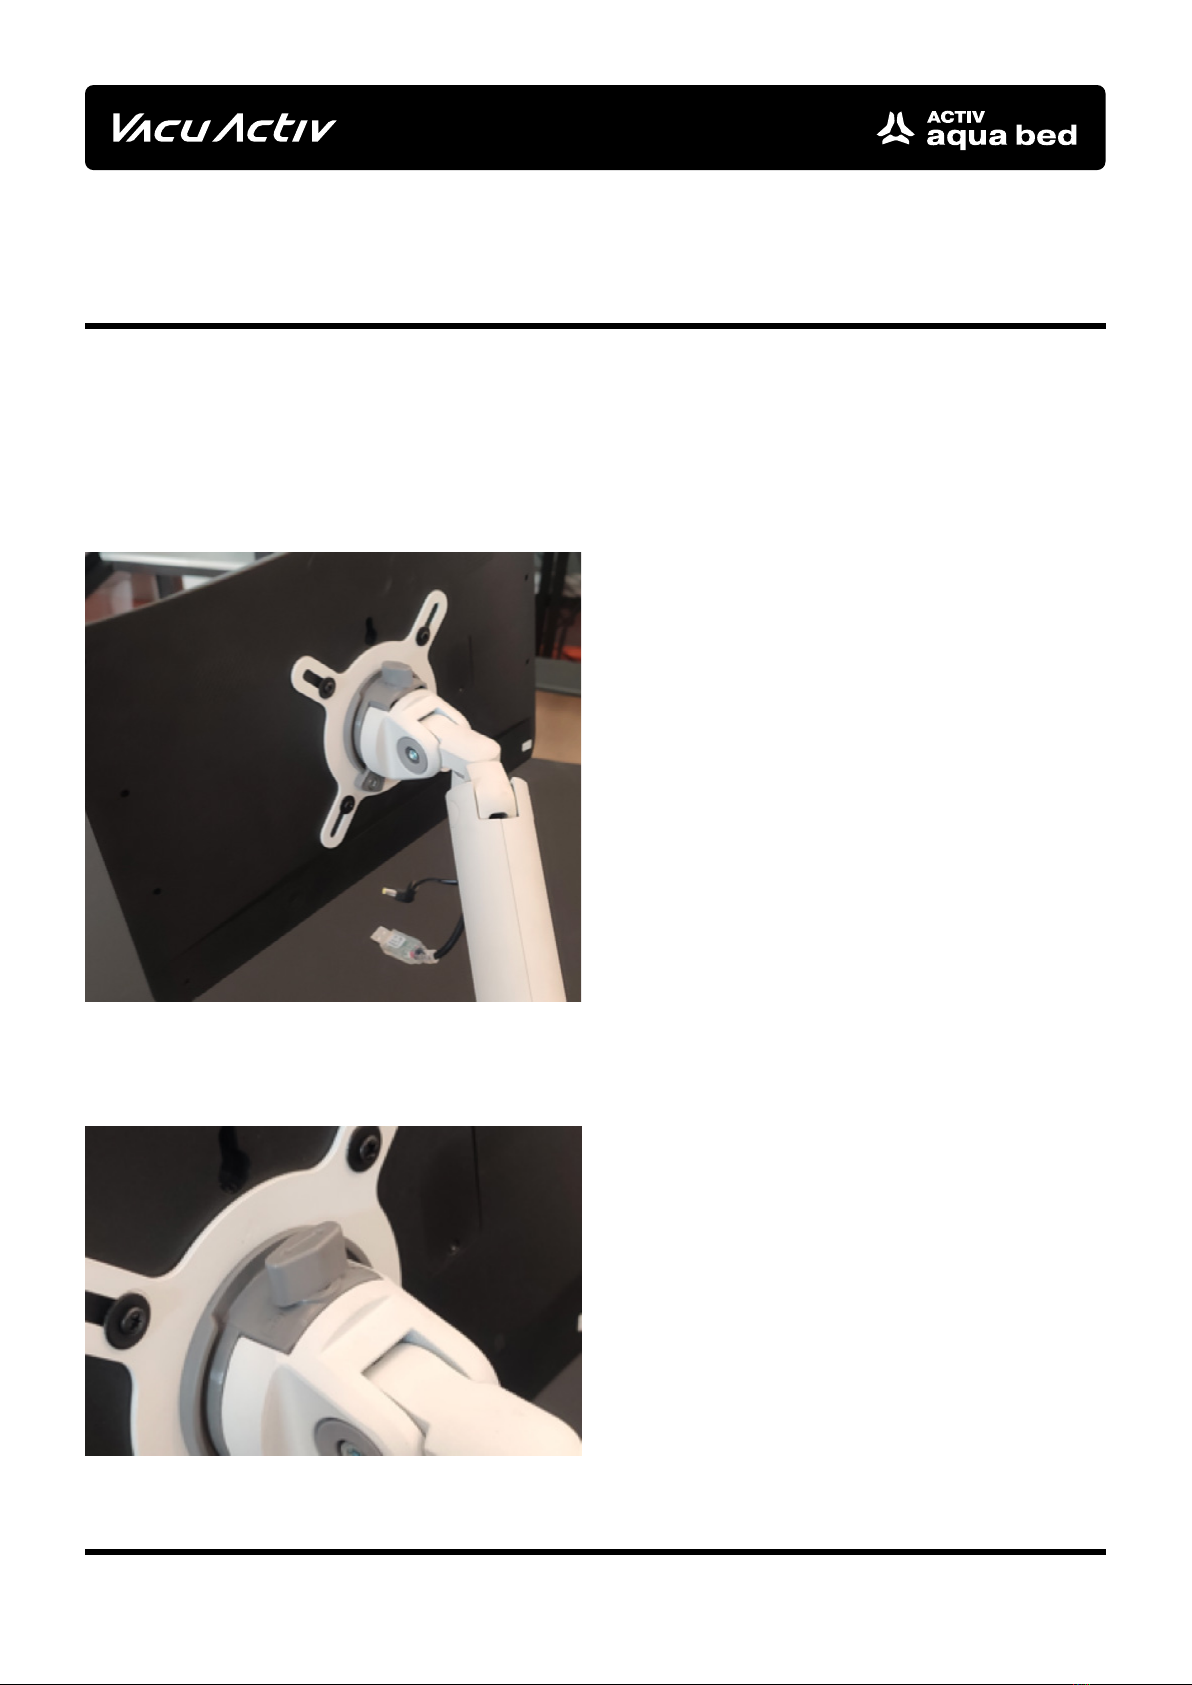
2. Description of the appliance
The appliance is used for full-body massage and for massaging specific parts of the body. Its
large screen makes it easy and intuitive to select a programme tailored to the client’s needs.
Each programme allows you to increase or decrease the strength and the speed of the mas-
sage. Massage can be given to adults with various body weights.
The appliance features system operation and temperature control of the water used for mas-
sage. The water is heated by an efficient heater with a total output of 3 kW and an overheat
protection. In addition, the appliance has a bathtub level sensor. When the bathtub is filled, a
relevant message is displayed on the touchscreen.
Therapy should be carried out by trained specialised personnel. The product is not intended for
home use.
1.2 Transport and installation of the appliance
The appliance can be transported on a recyclable pallet. The appliance is delivered and
transported by a qualified technician or by the dealer in your region or country.
The operator is responsible for supplying power to the appliance in accordance with the
requirements and regulations applicable to the country or region.
The appliance shall not be installed outdoors. Indoors, the ambient temperature should
oscillate between -15 and +60 degrees Celsius.
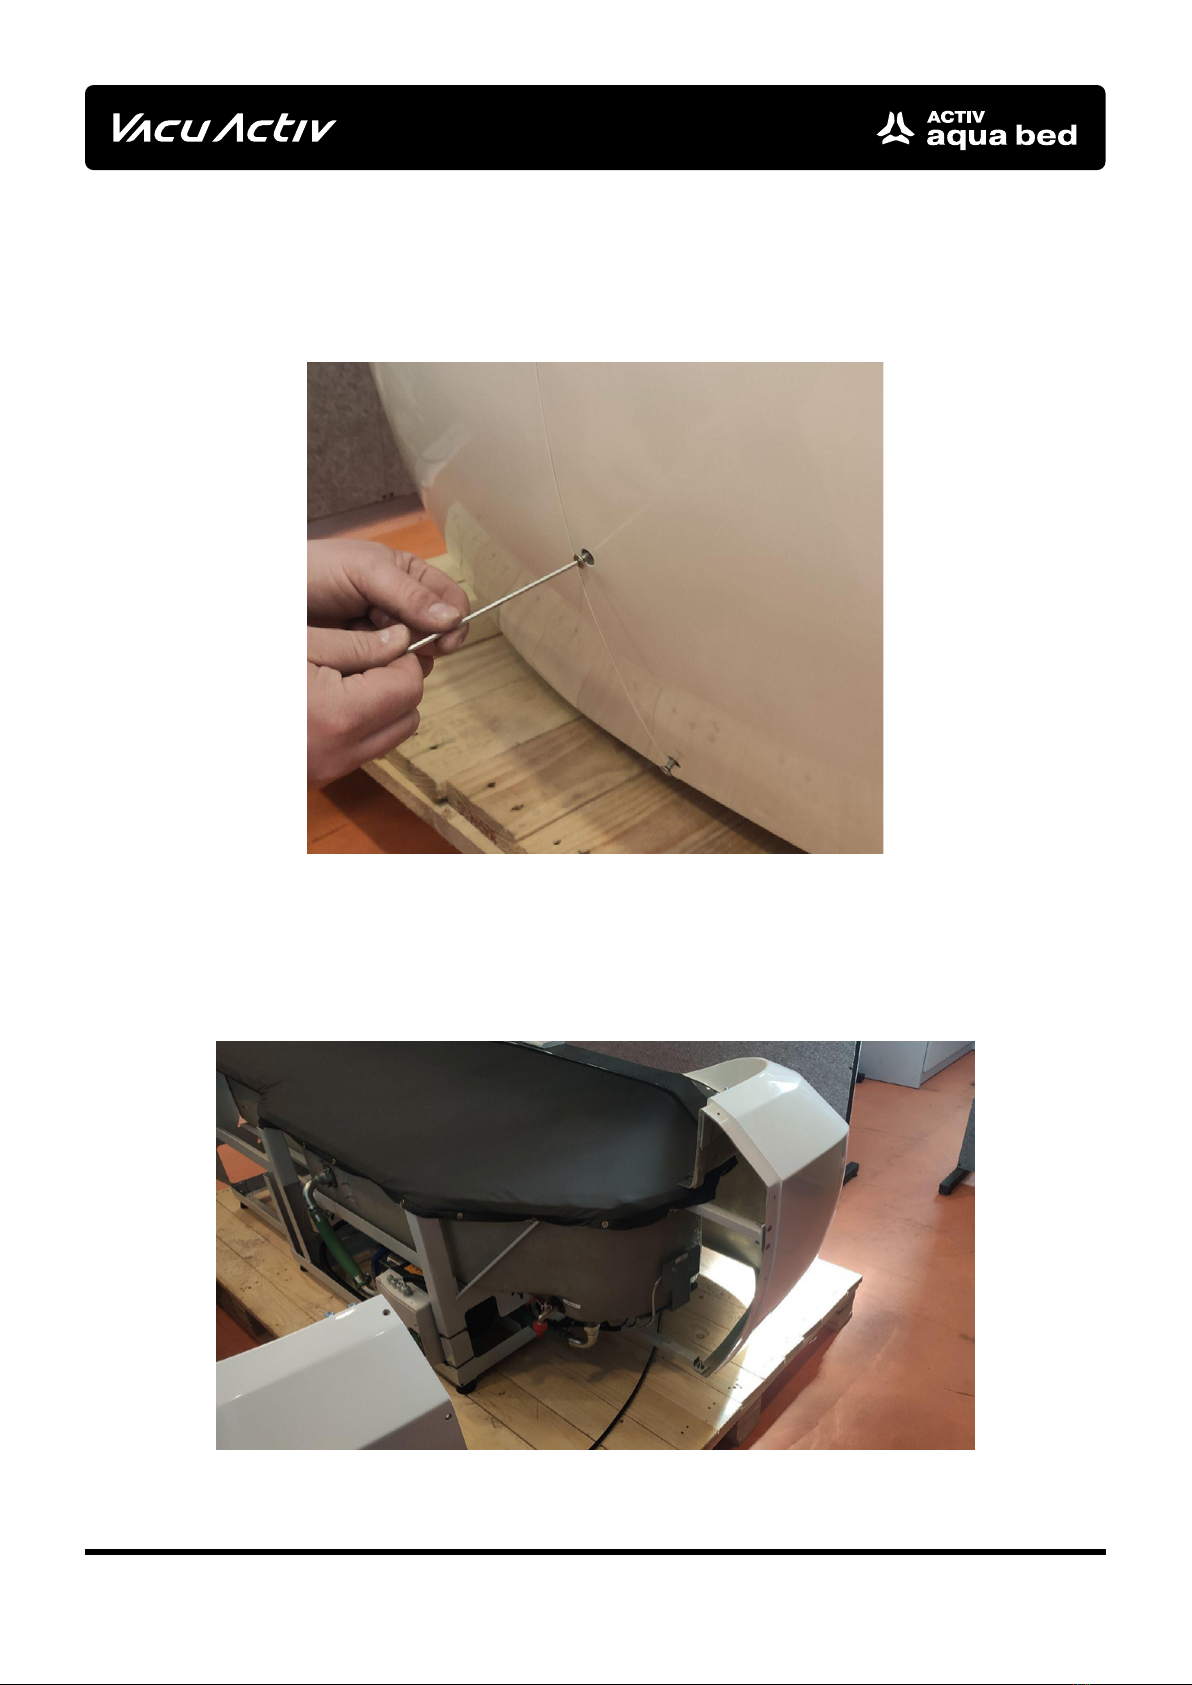
The tank should be vented during filling or two days after the tank has been filled to its
capacity. Remember to open the vent plug the first time you fill the tank with water. Failure to
do so may result in damage to the mattress, which will not be covered by the warranty.
If there are any leaks, contact customer support.