Content
3N°: 999341_EN_DVR 2pro/12.07.2017
TABLE OF CONTENT
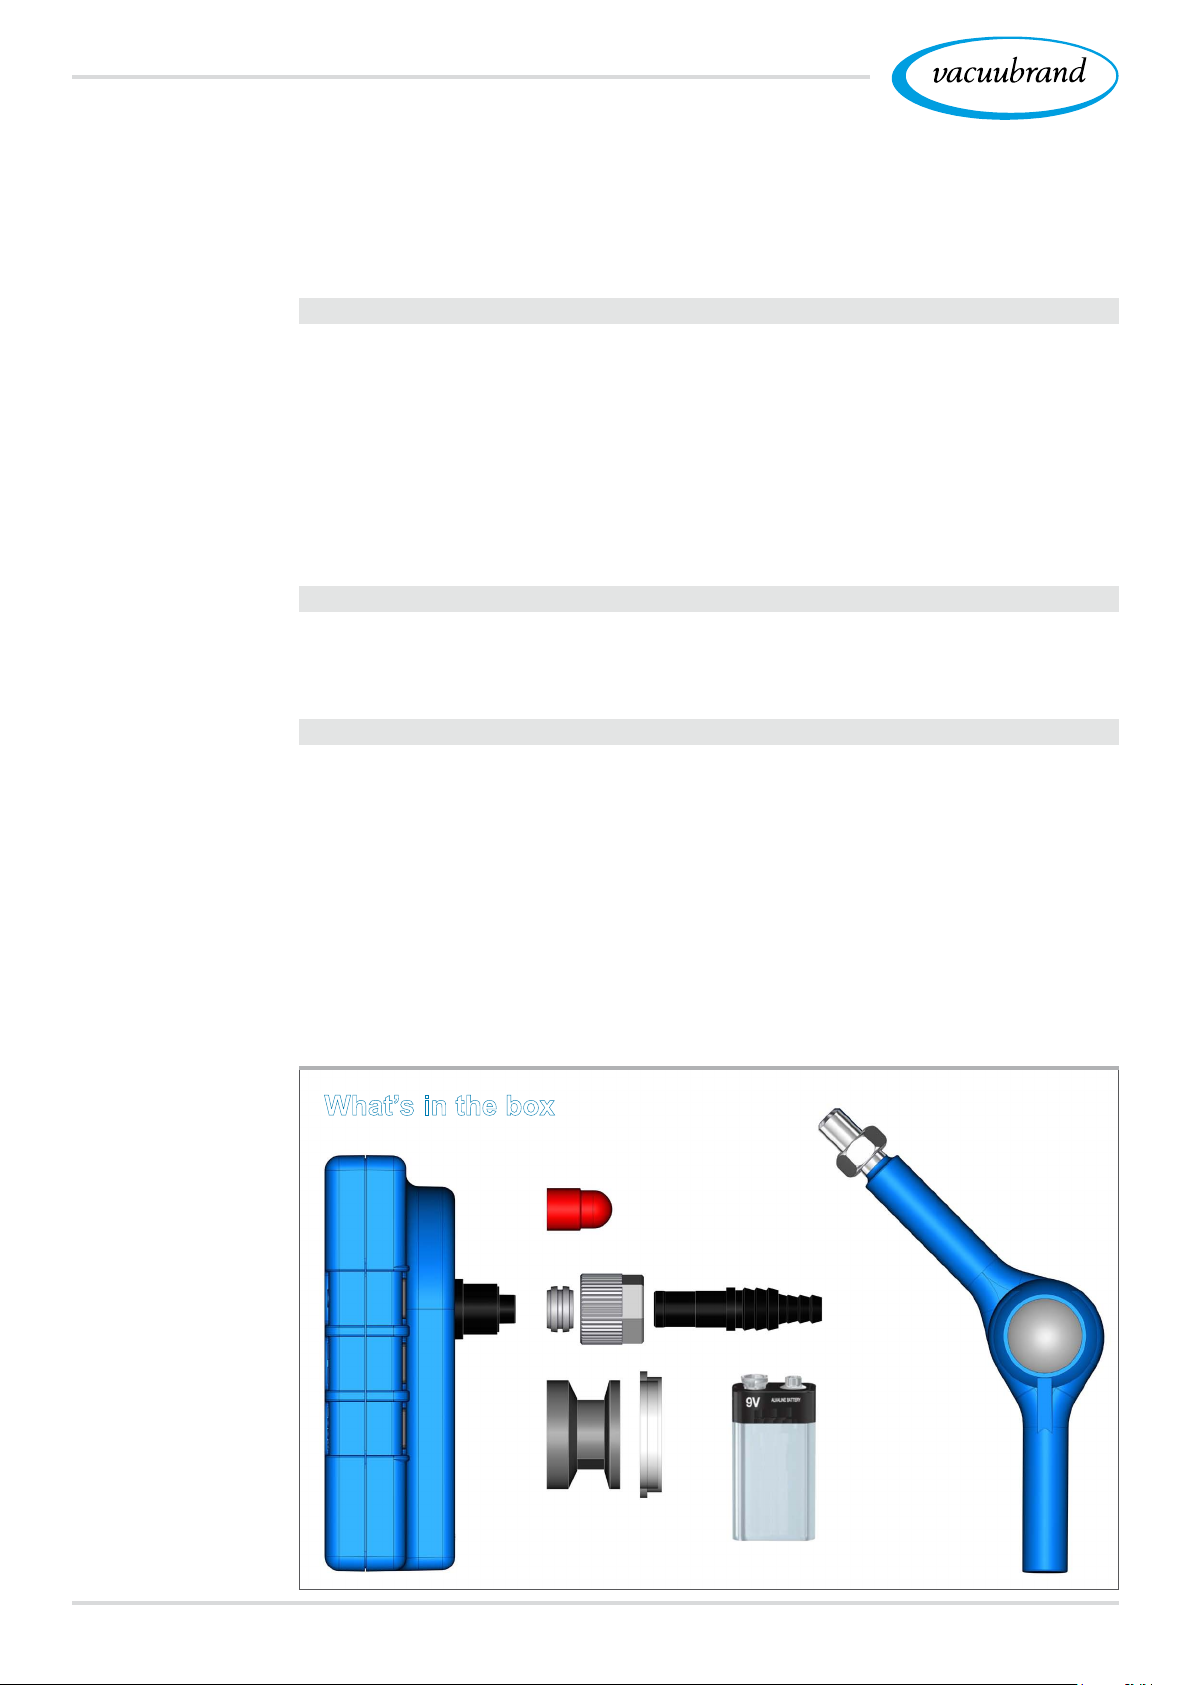
What’s in the box 4
1 Introduction 5
1.1 User information .................................5
1.2 About this document..............................6
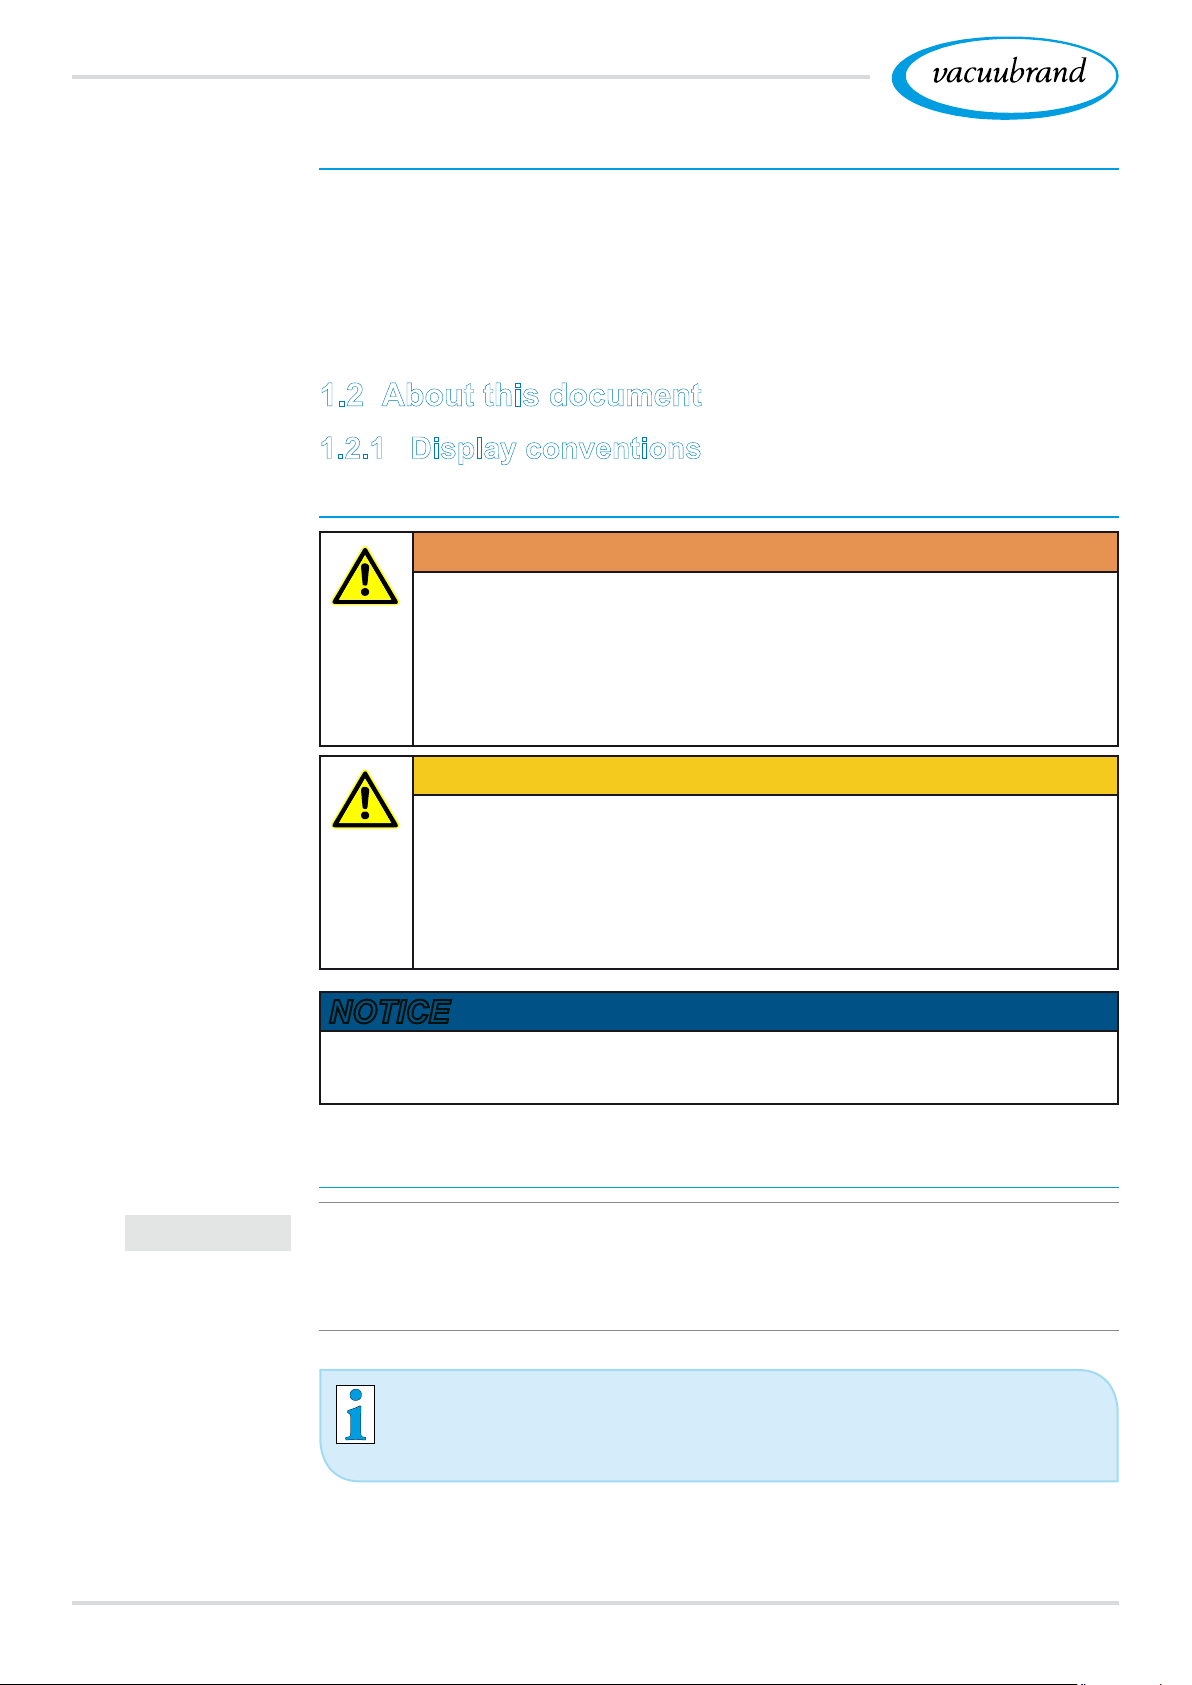
1.2.1 Display conventions ..........................6
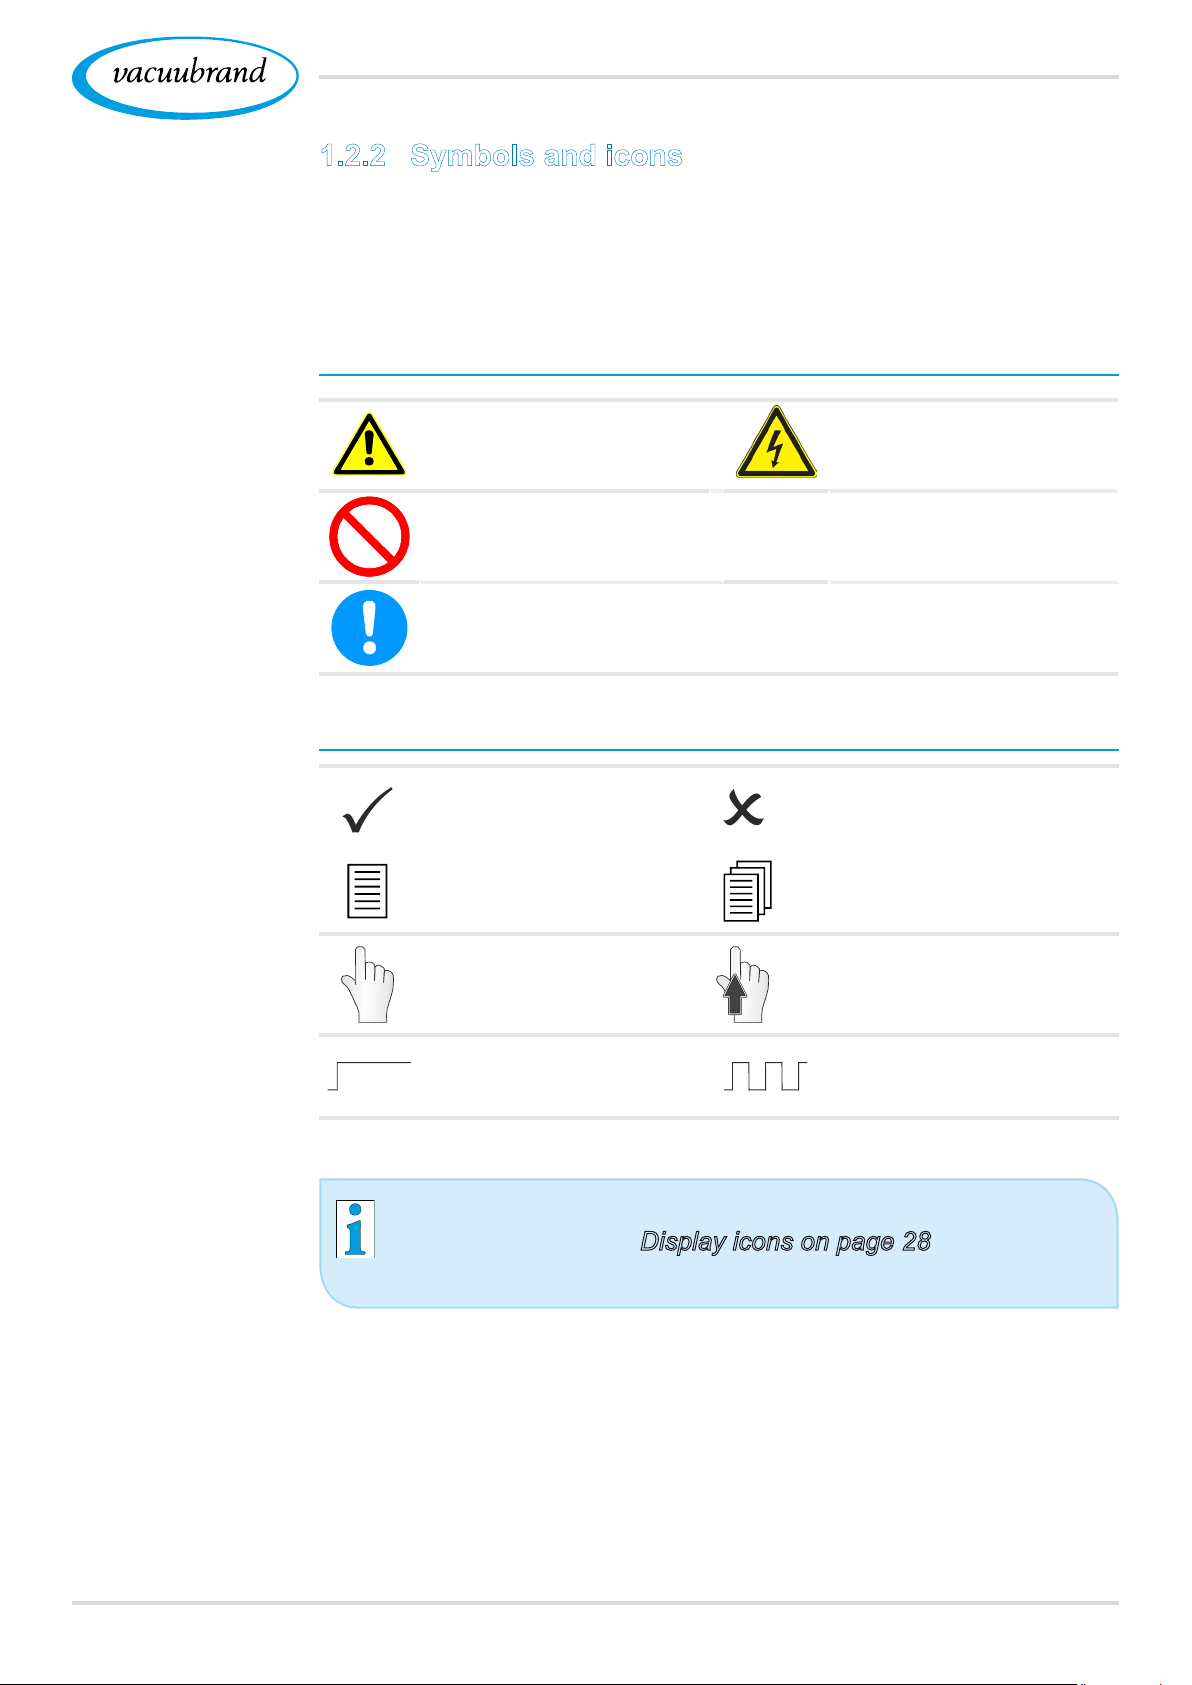
1.2.2 Symbols and icons ...........................7
1.2.3 Handling instructions (action steps)...............8
1.2.4 Abbreviations ...............................9
1.2.5 Term denition ..............................9
2 Safety instructions 10
2.1 Usage ........................................10
2.1.1 Intended use ...............................10
2.1.2 Improper use...............................10
2.1.3 Foreseeable misuse .........................11
2.2 General safety instructions........................12
2.2.1 Safety precautions ..........................12
2.2.2 Personnel .................................12
2.3 Correct battery handling..........................13
2.4 Proper disposal ................................13
3 Product description 14
3.1 Vacuum gauge DVR 2pro.........................15
3.1.1 Var ious views ..............................15
3.1.2 Support rod................................17
3.2 Application example .............................18
4 Assembly and connection 19
4.1 Installation conditions ............................19
4.2 Insert (replace) battery ...........................20
4.3 Install adjustable support .........................21
4.4 Vacuum connection .............................22
5 Operation 25
5.1 Operating and display elements ....................25
5.1.1 Operating elements .........................25
5.1.2 Key combinations ...........................26
5.1.3 Automatic jump‑back times....................26
5.1.4 Display elements............................27
5.1.5 Display icons...............................28