0020291544_03 Operating instructions 9
4.4 Starting up the product
4.4.1 Opening the isolators
1. Ask the competent person who installed the product to
explain to you where these isolators are located and
how to handle them.
2. If installed, open the service valves in the heating in-
stallation's flow and return.
3. Open the cold-water isolation valve.
4.4.2 Switching on the product
Note
The product does not have an on/off switch. The
product is switched on and ready for operation
as soon as it is connected to the power grid. It
can only be switched off using the partition that is
installed on-site, e.g. fuses or circuit breaker in the
utility connection box.
1. Ensure that the product casing has been installed.
2. Switch on the product via the fuses in the utility con-
nection box.
◁The "basic display" is shown in the product's oper-
ating display.
◁The "basic display" may also be shown in the
display for the optional system control.
4.4.3 Adjusting the target cylinder temperature
Danger!
Risk of death from legionella.
Legionella multiply at temperatures below
60 °C.
▶Have a competent person inform you
about the measures that should be taken
to protect against Legionella in your in-
stallation.
▶Do not set any water temperatures below
60 °C without consulting the competent
person first.
Danger!
Risk of death from legionella!
If you decrease the cylinder temperature, the
risk of legionella spreading increases.
▶Activate the anti-legionella times in the
system control and set them.
Depending on the source of the energy obtained from the
environment, target cylinder temperatures of up to 70 °C can
be reached with the compressor. In order to achieve energy-
efficient domestic hot water generation predominantly from
the energy extracted from the environment, the factory set-
ting for the desired domestic hot water temperature must be
adjusted on the optional system control and/or on the heat
pump's control panel.
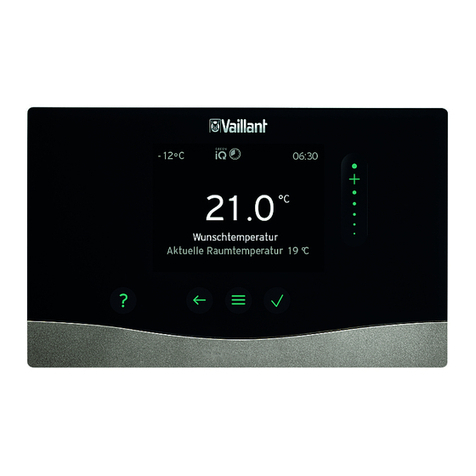
Condition: System control connected
▶To do this, adjust the target cylinder temperature (De-
sired DHW circuit temperature) to between 50 and
55 °C.
▶Also switch on the electric back-up heater for the do-
mestic hot water generation so that, also at outdoor tem-
peratures below -10 °C and above +30 °C, the required
60 °C can be achieved for the anti-legionella function
time programme.
Condition: No system control connected
▶To do this, set the target cylinder temperature (domestic
hot water target cylinder temp.) to 65 °C.
Note
If no system control is connected, the time
programme for the anti-legionella function is
not available. To still ensure anti-legionella
function, the target cylinder temperature must
therefore be set higher.
▶Also switch on the electric back-up heater for the do-
mestic hot water generation so that, at outdoor temperat-
ures below -10 °C and above +30 °C, the required 60 °C
can also be achieved for the anti-legionella function.
4.4.4 Display of the energy consumption, energy
yields and efficiencies
The product, the system control and the app show approx-
imate values for energy consumption, energy yields and ef-
ficiencies, which are extrapolated based on calculation al-
gorithms.
The values that are displayed in the app may differ from the
other display options due to staggered transfer intervals.
The determined values depend on:
–Installation and system of the heating installation
–User behaviour
–Seasonal weather effects
–Various tolerances of unit-internal components
The recording of the values only includes the product in the
factory-delivered condition. Supplementary accessories,
even if they are installed on the product, as well as any other
components in the heating system and other external con-
sumers, are not part of the data recording.
Deviations between the determined values and the actual
values may be significant. The determined values are there-
fore not suitable for creating or comparing energy billing, for
example.
When replacing the PCB, the values for energy consump-
tion, energy yields and efficiencies are reset in the heat
pump's control panel.
4.4.5 Displaying the Live Monitor
Menu →Live Monitor
You can use the Live Monitor to view the current status of
the product.
4.4.6 Displaying the building circuit pressure
Menu →Live Monitor→Building circuit pressure

