Valley-Dynamo Jet-Hoops User manual

Valley-Dynamo
www.valley-dynamo.com
7115 Belton St.
Richland Hills, TX 76118
U.S.A.
National Sales Email: sales@valley-dynamo.com
International Sales Email: international@valley-dynamo.com
Technical Assistance: techhelp@valley-dynamo.com
Tech Support Hotline (during business hours Central U.S. Time):
1-972-595-5300 (follow prompts for Tech Support)
Spare Parts: www.valley-dynamoparts.com

Quick Start Guide for the
Jet-Hoops Game Cabinet
Tools Required:
9/16” Wrench or Socket 4mm or 5/32 Allen Wrench
#2 Phillips drive Pliers
CAUTION
We strongly recommend this assembly/installation is performed by
professionals.
This Game is very heavy –2 People are required to install this Game.
NEVER ALLOW THE BACK BOX TO STAND ON ITS OWN

UNTIL IT IS FASTENED TO THE MAIN CABINET
ASSEMBLY SHOULD BE NEAR THE GAMES’ FINAL LOCATION
Warranty Valley-Dynamo warrants its new products to be free from defects resulting from faulty manufacture or faulty
components under the following terms and conditions: WARRANTY PERIOD 90-day warranty period WARRANTY
SERVICE Valley-Dynamo will, at its sole option, repair, upgrade or replace this product in the event of any defect in
materials or workmanship during the warranty period. This shall be Valley-Dynamo's sole obligation, and the customer's
sole remedy, for any warranty claim. Valley-Dynamo will request that you provide the complete Model Number & Serial
Number of the unit (not just the last 5 digits), or other proof of purchase such as an invoice or receipt. OPERATORS AND
END USERS –While our Tech Support staff is available to assist with diagnosis and troubleshooting, contact your
Distributor for Warranty Service on your equipment. DEALERS AND DISTRIBUTORS –To obtain replacement and an
RMA number, contact Valley-Dynamo referencing the Model number and Serial number of the unit and the nature of the
problem. Valley-Dynamo will, at its discretion, send replacement parts and/or issue an RMA for the return of failed parts.
To avoid billing issues, request an RMA when the failed part is present or readily available. Credit will be issued only upon
receipt and inspection of the RMA. Valley-Dynamo may send replacement parts or issue an account credit. NO
REFUNDS. Valley-Dynamo reserves the right to cancel outstanding RMAs 30 days after issue. Items returned without an
RMA will not be inspected or credited and may be refused or returned at Customer Expense. REPLACEMENT PARTS
COVERAGE –Valley-Dynamo warrants replacement parts for 90 days from the date of purchase. To obtain a
replacement and an RMA number, contact Valley-Dynamo referencing the nature of the problem and provide proof of
purchase. Valley-Dynamo will, at its discretion, send replacement parts and/or issue an RMA for the return of failed parts.
To avoid billing issues, request an RMA when the failed part is present or readily available. Upon receipt and inspection of
the RMA, Valley-Dynamo may send replacement parts or issue an account credit. NO REFUNDS. Valley-Dynamo
reserves the right to cancel outstanding RMAs 30 days after issue. Items returned without an RMA will not be inspected or
credited and may be refused or returned at the Customer’s Expense. SCOPE OF COVERAGE Note that our warranty is
not an unconditional guarantee for the duration. Valley-Dynamo products are made to our exacting standards and known
for their durability, but are not indestructible and may require periodic maintenance in order to function properly.
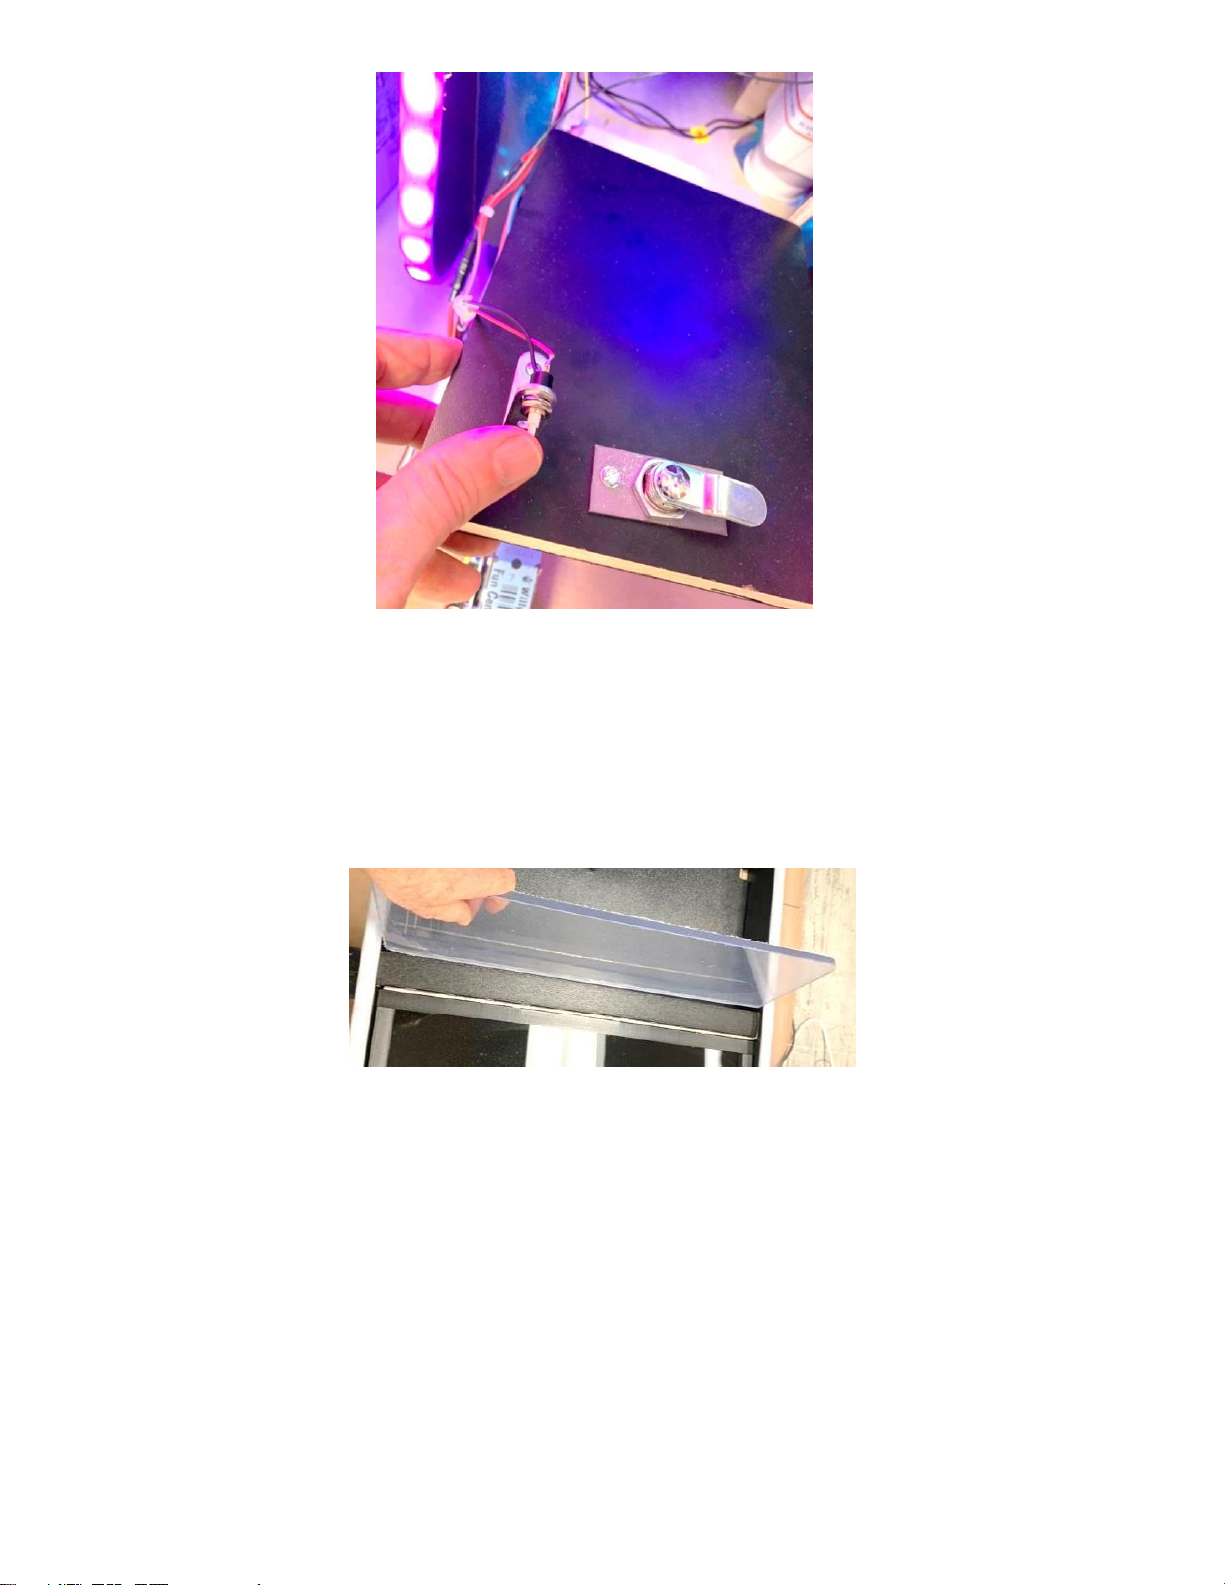
1) CAUTION: Do not use a lift truck to lift under the table sides. You may destroy the LED lights and T-
Molding. Do not allow the LED light strips on the bottom of the rear Marquee Upright Section to get
crimped.
2) Remove all packaging.
CAUTION: Watch for sharp nails, staples, screws, etc.
3) Get assistance to manually lift the game onto the floor and in location. Adjust leg levelers to insure the table is
levelled width wise and leaning 2 degrees length wise towards the players. This will allow balls on the game top to
roll back to the players. Do not apply stress to the leg levelers horizontally. That means properly lifting the table
and not dragging it.

4) Remove the Coin Door key from the Coin Return and unlock the Coin Door. Remove Accessory Bag inside the
Cash Box. It has the service door keys and RGB LED remote controller. Use the service key to open the top table
lid and remove the cardboard box. It has extra cups, balls, hardware, mending plates and power cord inside.
5) Remove the Black Ball Return shelf and Ball Shield from the inside of the back section of the cabinet and set
these aside.
6) Mount the Rear Marquee Upright Section on the rear of the cabinet, using (6) 3/8” x 2 ½” Steel Dowels, (2)
Mending Plates, and (8) 3/8-16 x ¾” Hex Head Bolts. Be careful not to crimp the Led Strips inside the T-Molding.
Please notice the Clearance Notches on the cabinet for safe routing of the LED Strips.
CAUTION: Make sure all dowels and bolts are installed and secure.

7) Connect the Ribbon Cable and 12Vdc Power cable into the rear Jet-Hoops Scoreboard. Connect the 12Vdc
Power cable to the upper Marquee.
8) Connect the LED Strips to any Led Strip Cables connected to the SP901E Video Controller. Make sure they run
through the black raceway and then close the tray covers.

CAUTION: For locations using 220 Vac, the 2 Power Supplies (12 Vdc and 5 Vdc) inside the cabinet must be
switched to 220 Vac before making the wall connection.
9) Connect the 110Vac (or 220Vac) power cable into the rear of the cabinet and into a wall plug rated for at least 5
amps. Notice the fuse holder beside the On/Off switch.
10) Turn on the Power On switch at the rear of the game and observe that all lights and displays turn on. Wait until
the game has fully booted on the HMI, Table Lid LED Display and Rear Video Display. If you get a
communications error on any screen please recycle power and try again.
11) Open the front left service door and press the Service Button. This will provide you with service screens on the
HMI. These screens help you configure your game and test that everything is working. Please refer to the Jet-
Hoops User’s Manual (www.valley-dynamo.com or the service page of www.jet-hoops.com) for more details on
configuration & troubleshooting.

12) Once configured, insert coins, card swipe or bills (if equipped) to play your first game. If you don’t have any coins
you can press the Service Button and then press Free Play on the HMI Touch Screen to play. Note that there is
an “Attract” mode that can be configured. It attracts people to the game by launching and floating a ball after a
game is over. This draws people to the game which increases revenues. Note that it will only launch once after a
game.
13) Once everything is working install the Ball Shield by removing the Protective Film and inserting it into the rear
slot near the cups.
14) Remove the Protective Coating from the Side Shields. Using a 4 mm or 5/32” hex Allen-key to install the Side
Shields using the screws provided in the Cash Box. Do not overtighten.

Note: There are extra balls and cups in the game should you need them in the future. There is also a remote
control for the LED strips in the T-Molding. You can place advertising on the mTV-100 USB stick to display ads on
the Table Surface display.
The game comes preloaded with 38 Ping Pong balls. These are standard 40 mm Ping Pong balls that you can
purchase in bags of 50 from Valley-Dynamo (with logo) or local sporting store (no logo). There are companies that
can add a logo for you for your venue. You should see the last ball in the clear pipe exposed at the exit of the
metal Inlet Trough. It is important that you don’t overfill the pipe past this location otherwise you run the risk of
ball jams.
Set-up Parts Listing
Part Number
Description
Quantity per
Game
NI20300890
1/2-13 LEG LEVELER HEX NUT
4
JP-20510030
16 OZ RED SOLO CUP - STANDARD DISPOSABLE
20
JP-21710170
40mm PING PONG BALL
50
20515140
C/T LEG LEVELER
4
NI870007405
CORNER CASTING BOLT 3/8-16 x 3/4"
8
JP-20100130
DEC HEAD BOLT, 1/4-20 X .984
16
JP-20600060
MENDING PLATE
2
20606760
STEEL DOWEL 3/8X2 1/2"
6

Ads on Rear Scoreboard Display: Jet-Hoops has photo ads that can display on the Table Surface video display. 8 Ads
can be read from a USB stick which gets inserted into the rear grey module called an mTV-100. mTV-100 photos need to
be 1280 x 720 p in size.
During the game the following sample photos are displayed on the rear screen. These are built into the program so are
not easily changeable.
Sample Ads:
There are 8 ads that look like this currently on the USB stick in the mTV-100. You can change these to any 8 ads you like.
mTV-100 USB Stick - Ad Changing Procedure:
Turn the power off on the game. Lift the lid and towards the back left there is a module that is labeled mTV-100 with a
USB stick plugged in it. Remove the USB stick from the mTV-100. Install it in your computer’s USB port. Place your
photos into each of these 8 folders. Remove the USB Stick from the computer and install it back into the USB port on the
mTV-100. Power up the game. Your ads should display on the rear Scoreboard Video Display when the game is not being
played. Each ad plays for a few seconds.
Enjoy your new Jet-Hoops table!!!
Other Valley-Dynamo Arcade Game Machine manuals
Popular Arcade Game Machine manuals by other brands

numskull
numskull Quarter Arcades Galaga instruction manual

Mills
Mills Vest Pocket Slot Machine 420 Operator's manual

Jennison Entertainment Technologies
Jennison Entertainment Technologies POWER PONG Service manual

MecPower Tecway
MecPower Tecway Kid Carrier manual

DLV
DLV Diamond Cabinet DZ user manual

MD SPORTS
MD SPORTS AWH084 188E Assembly instructions