Toreplace or purchase parts
for your vacuum cleaner,
please visit our website:
vax.co.uk
If your Vacuum Cleaner or
Accessories are Damaged/Faulty
Please Call our Vax Careline on:
IMPORTANT : Always switch off and unplugthe vacuum cleaner from the electrical
outlet beforeremoving the Dirt Container.
Safety Information
For Household Use Only
When using the vacuum cleaner,basic safety
precautions should alwaysbe observed, including
the following:
1. Only use the vacuum cleaner indoors on dry
surfaces.
2. Turnoff the vacuum cleaner controls before
connecting or disconnectingfrom the mains
supply.
3. Always unplug the vacuumcleaner before
connecting or disconnectingthe vacuum hose
and accessories.
4. Children should be supervised toensure that
they do notplay with the appliance.
5. This appliance is not intendedfor use by
persons (including children) with reduced
physical, sensory or mental capabilities,or lack
of experienceand knowledge, unless they have
been given supervision or instruction
concerning use ofthe appliance by a person
responsible fortheir safety.
6. Use only as described in this manual.
Use only the manufacturer’srecommended
attachments.
7. Do notuse the vacuum cleanerif it has been
dropped,damaged, leftoutdoors or droppedinto
water.Do not usethe vacuum cleaner witha
damagedcord or plug.If the supply cordor plug is
damaged,return thevacuum cleaner toa Vax
AuthorisedService Agentor suitably qualified
personfor examination,repairor adjustment.
8. Do not pull or carry by the cord.Do not use the
cordas a handle, close a door on the cord or pull
the cordaround sharp edges or corners. Do not
run the vacuum cleaner overthe cord. Keep the
cordaway from heated surfaces.
9. Do not handle the plug or vacuumcleaner with
wet hands. Do notuse outdoors or on wet
surfaces.
10. Do not put anyobjects into openings. Do not
use with any openings blockedand do not
restrictair flow. Keep all openings free of dust,
lint, hair or anythingthat may reduce airflow.
11. Keep hair,loose clothing, fingers and all parts of
the body awayfrom openings and moving parts.
12. Do not pick up hotcoals, cigarette butts,
matches or anyhot, smoking or burning objects.
13. Donot pick upflammableor combustible materials
(lighterfluid, petrol,kerosene,etc) or usein the
presence ofexplosiveliquidsor vapours.
14. Do not vacuumup harmful or toxic material
(chlorine bleach, ammonia, drain cleaner,etc).
15. Do not vacuumup hard or sharp objects such as
glass, nails, screws,coins, etc.
16. Do not use without the filtersin place.
17. Takeextra care when vacuuming on stairs.
18. Keep vacuumingarea well lit.
19. Storethe vacuumcleanerindoorsina cool,dry area.
20. Turnoff the on/off switch before unplugging
the vacuum cleaner.
21. Use only CE-approved13 amp extension cords.
Non-approvedextension cords may overheat.
Care should be takento arrange the cord so
that the cordcannot be pulled or tripped over.
WARNING: Alwaysswitch off and unplug
the vacuum cleaner fromthe electrical outlet
beforeassembling, opening or emptying the dirt
container,or before connecting/disconnecting the
attachments.
CAUTION: The vacuumcleaner is a very
powerful unit. Beforeplugging the cord into
the electrical outlet, makesure the switch is in the
‘off’ position. Hold the vacuumcleaner firmly when
starting and in use.
IMPORTANT: If the inlet, hose or telescopic
tube is blocked, switchoff the vacuum
cleaner and removethe blockage(s) before
re-startingthe vacuum cleaner.
IMPORTANT: Washing filters improves
vacuum performance.Make sure all the
filters arecompletely dry before inserting back into
the vacuum cleaner.
This vacuum cleaner is intendedfor household use
only and not forcommercial or industrial use.
1. Parts Overview
The Unit
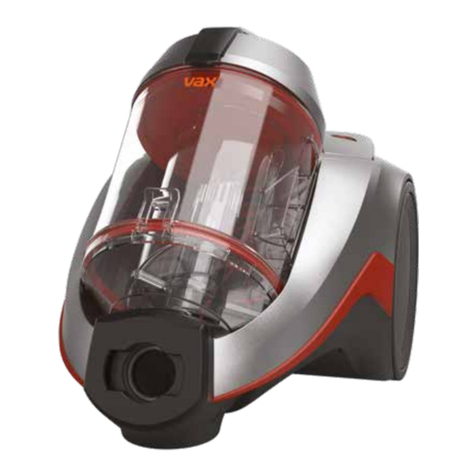
1On/Off Button
Insert the plug into the electrical outlet.
Press the on/off switchon the top of
the vacuum cleaner, toswitch the
vacuum cleaner on and press the
button again to turn the vacuum
cleaner off.
2Dirt Container
Locked on tothe top of the unit.
3Cyclone separator
Locatedinside of the Dirt container.
4Pre-motor filter cover
Push the handle catch up to gain
access to the filter.
5Dirt container /Carry handle
Use the carry handle located on the top
of the dirt bin to movethe vacuum
cleaner from room toroom.
6Dirt container release button
Press the release buttonand the dirt
container can be liftedand removed off
the unit.
7Auto cord rewind
Torewind the power cord, press the
cordrewind button located at the rear
of the vacuum cleaner.
8Floor Tool parking storage
For conveniencethere is a parking slot
located at the rearof the vacuum
cleaner where the Floor Toolcan be
parked for carrying and storage.
9Post Motor filter cover
Slide the latch acrossto gain access to
the filter.
10 Plug
11 Dirt bin quick release button
Hold the dirt bin container overa bin
and press the release button.
12 Hose inlet
FAQs
Cleaningthe Pre-Motor Filter
Cleaning the Post-MotorFilter
8. Cleaning Blockages
Turn the vacuumcleaner off and unplug from the electrical outlet.
HOSEBLOCKAGES: Theflexiblehose maybe disconnectedfromthe vacuumcleanerby pressingtheclip
onthe connectorandpullingawayfromthemachine.Carefullyremoveanyblockages found and
reconnect thehosesecurely.
ACCESSORYBLOCKAGE: Remove the accessories from the cleaner, carefullyremover the
blockage and return to the cleaner.
Clearing Debris from the TurboTool
Removing debris from the TurboBrush
The brushbar will stop rotatingif it is blocked during operation
by vacuuming up foreign objects, or if strandsof carpet are
wrapped around it. Switchthe vacuum cleaner off and
disconnect the power plug fromthe electrical outlet.
Lay the TurboBrush floor head on a flatsurface and turn over
to expose the brushbar. Using a pair ofscissors, cut through
any threads or hairs caught by the brushbar that have
wrapped around the guides.
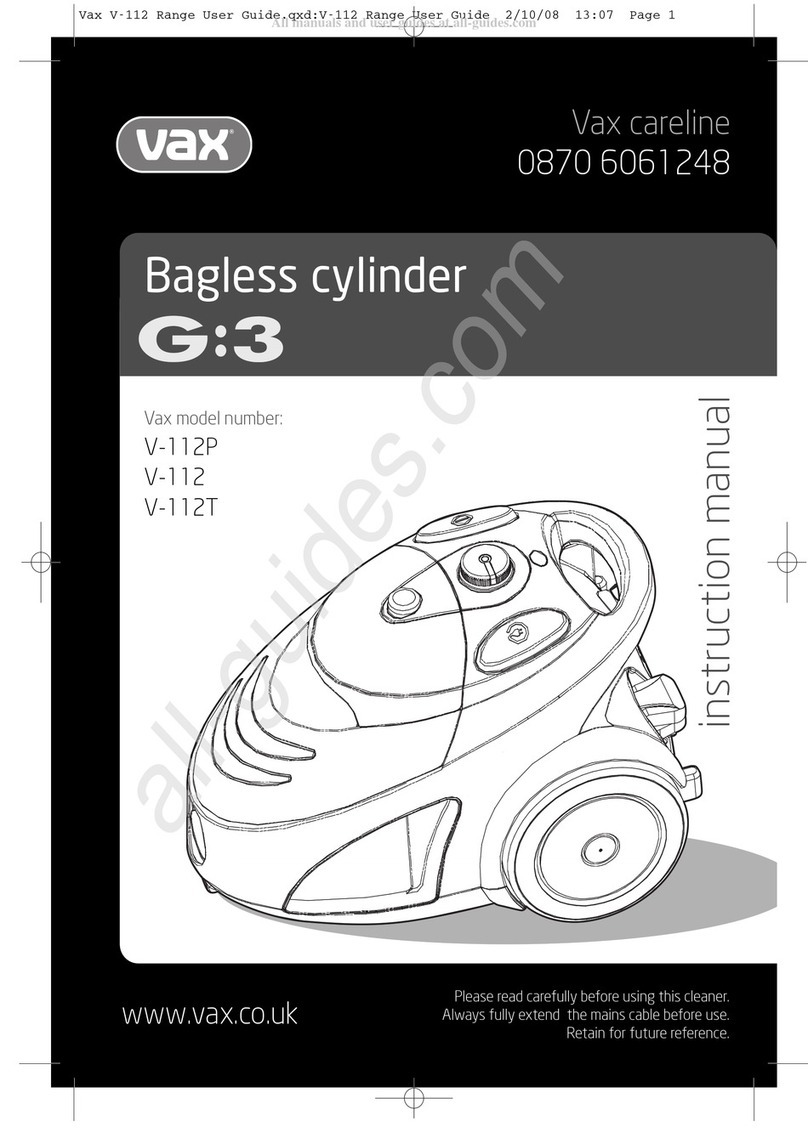
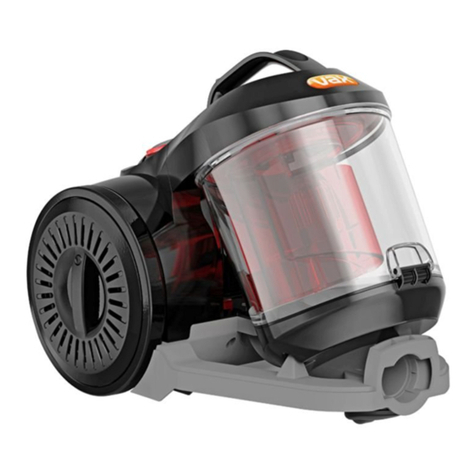
Bagless cylinder
Vaxmodel number: C91-M3 Series
instruction manual
Retain this guide for futurereference.
IMPORTANT: Always unplug the vacuum fromthe electrical outlet and rewind the
power cordas directed before storing.
NOTE: Whenrewinding the power cord, guide the cordwith one hand, This will prevent the
cordfrom whipping which could cause damage or injury.
NOTE: Forconvenience there is a parking slot located atthe rear of the vacuum cleaner where
the floor tool and hose can be parked forcarrying and storage.
CLICK! CLICK! CLICK!
CLICK!
Monday-Friday 8.30am to 6.30pm Saturday-Sunday 9.00am to 5.00pm
Any queries or concerns about using yourVax, call the Vax Careline. Calls are chargedat the UK
national rate.
Please make a noteof the model number and serial number of your Vax before calling.There
are over 400 approvedVax Service Agents in the UK. For the nearestVax Service Agent,
please call the Vax Carelineor visit vax.co.uk
Technical Specification
Voltage: 220 - 240 ~ 50 Hz
Wattage: 1400W
Capacity: 1.5 litres approx
Filters: Cyclone separator– wipe clean
Pre-motorfilter – washable
HEPA Post-motor filter – washable
Cord Length: 6m (approx)
Weight: 5.5 Kg (approx)
What is your vax’sserial number?
Notethis down in case you needit in future
(onthe base of
yourcleaner)
What is your vax’smodel number?
Notethis down in case you needit in future
(onthe base of
yourcleaner)
- - -
Motor Thermostat
IMPORTANT: The motor is equipped witha
thermal cut-out. If for a ny reason, the
vacuumcleaner should over-heat,the thermostat
will automatically turn the unit off. Should this
occur, unplug the vacuum cle aner from the
electricaloutlet and turn off the switch.Remove
the dirt container and empty. Clean the filters.
Allowthe cleaner tocool for approximatelyone (1)
hour.To re-start,plug into an electricaloutlet and
switchback on.
KEEP YOUR VAX LIKE NEW!
20 Foam Pre-MotorFilter
21 Fibre Pre-Motor Filter
22 Antibacterial Post-MotorFilter
IMPORTANT:The condition of the filters affects the
performance of yourvacuum cleaner. Please check
and wash filters periodically (depending on levelof
use). For full cleaning instructions see page 4.
14
15
18
17
18 12 16
16
13 14
16
15
WARNING: to reducethe risk of personal injury, unplug the vacuum cleaner before
performing maintenance/troubleshootingchecks.
Is there an accessory missing?
•check the ‘Parts Overview’ page in this
guide to make surethat the part is
definitely included with yourunit.
•If it is missing, please call our Vax Careline
to order a replacement:
visit vax.co.uk toorder online.
Why won’t the vacuum cleaner pick up?
•The filtersmay be clogged: Refer to‘The
Filters:Maintenance’ (Page 4).
•The Dirt Containeris full or blocked: Refer
to ‘Dirt Container: Maintenance’(Page 4).
•The Dirt Container may be incorrectly
installed: Referto ‘Dirt container:
Maintenance’(Page 4).
Why is dust escaping from the vacuum?
•The filtersmay not be installed correctly.
Referto ‘The Filters: Maintenance’(Page 5).
•The Dirt container maybe incorrectly
installed: Removethe Dirt Container from
the unit by pressing the Dirt Container
Release Button (6) and reattach it tothe
unit, ensuring it is locked firmly back into
place.
•The filters may be clogged: Referto
‘The Filters: Maintenance’ (Page 4).
What do I do if an accessory/the unit
becomes damaged or broken?
•Visit www.vax.co.uk forparts and spares.
•Please call our Vax carelineto purchase
new spares or ordera replacement:
Why won’t the accessories pick up
properly?
•The accessory may be blocked: Referto
‘Cleaning Blockages’ (Page 5).
•The accessory may be faulty: call our
Vax Carelineto order a replacement:
Why will the vacuum cleaner not run?
•It may not be plugged intothe electrical
outlet correctly:Ensure that the plug is
pushed into the electrical outletsecurely.
•The electrical outlet may notbe working:
Check the fuse or breaker and consultan
electrician.
•The motor Thermostatmay have tripped:
Switch off and unplug the vacuumcleaner.
Leave forone hour before switching the
vacuum cleaner back on.
If none of these questions apply to you,or
for further assistance please call our Vax
Careline team on:
Replacement filterkits are available on: www.vax.co.uk
Your Filters:
15
16
Parts Overview
The Accessories
13 2-in-1 Tool
a. Dusting Brush: For delicatesurfaces.
b. Upholstery Tool:For carpet,upholstery
and stairsetc.
14 Crevice Tool
For crevices, cornersand cracks.
15 TurboBrush
Vacuums carpets& grooms pile.
Great forpicking up pet hair.
16 TelescopicTube
The telescopic tube can be lengthened
or shorted by pushing the button in and
sliding the tube apart or together as
required.
17 TurboTool
Great for pickingup pet hair, vacuuming
stairs & upholstery.
NOTE:Do not use the TurboTool on
suede and leather surfaces.
18 Hose
Toolcaddy on handle for tool storage.
19 Hard Floor Tool
For parquetand laminate flooring.
EEC STATEMENT OF COMPLIANCE
Manufacturer/EEC importer:Vax Limited, hereby on our own responsibility, declarethat the
C91-M3 Series Mach 3 range is manufacturedin compliance with the followingDirectives:
Safety:2006/95/EC Low Voltage Directive EMC: 2004/108/EC ElectromagneticCompatibility Directive
Wasteelectrical products should not be disposed of with household waste. Please recycle wherefacilities
exist.Check with your Local Authority or retailer for recyclingadvice.
Subject to technical
change without notice
1
2
3
5
3
2
4
12
45
6
7
8
11 9
10
17 19
13a
13b
NOTE:Fullyunwindthe
powercord.Ayellowmark
onthe powercord
indicatesthe
recommendedcordlength.
Donotexceed thecord
lengthbeyond thered
mark.
IMPORTANT: Removethe DirtContainer
fromthe unit and disposeof the dirt
insidethe containerbeforecleaning.
IMPORTANT : The cyclone separatorshould
not be submerged in water.
6. Dirt Container: Maintenance
Emptying the Dirt Container
Cleaning the Cyclone Separator
7. The Filters: Maintenance
IMPORTANT : Do NOTuse the vacuum
without ALL ofthe filters in place.
Vax recommendsthat the pre- and post-
motor filtershould be checked and cleaned
periodically depending on the frequency of
use and the volume of dirt being pickedup
on each occasion.
NOTE : BothPre- and Post-Motor Filters can
be rinsed in warm water (max 40°C). Allowto
air dry for 24 hours beforereplacing. Do NOT
use any detergentsor boiling water to wash
filter.
IMPORTANT:Your vaxvacuum cleaner isfitted with high performance filtersit is essential
thatthese are well maintained and cleanedaccordingto the followinginstructions.
2220 21
2. Assembling the vacuum cleaner
3. Choose the attachments for the job:
4. Operating the appliance
5. Packing away and storage
19
WARNING: Always
switchoffand
unplugthe vacuum
cleanerfromtheelectrical
outletbeforeassembling,
openingor emptyingthedirt
container, or before
connecting/disconnecting
theattachments.
Once completelydry, return the pre-motor filters and case to the vacuumcleaner.
Replace the pre-motorfilter cover before restartingthe vacuum cleaner.
18
VaxCareline: (UK) 0844 412 8455
(ROI) 1-800 928 308
vax.co.uk (UK) 0844 412 8455 (ROI) 1-800 928 308
0844 412 8455 0844 412 8455
0844 412 8455
0844 412 8455
Vax Careline: (UK) 0844 412 8455
(ROI) 1-800 928 308
C-91-M3-G-A User Guide:Fold Out 17/4/09 15:36 Page 1
