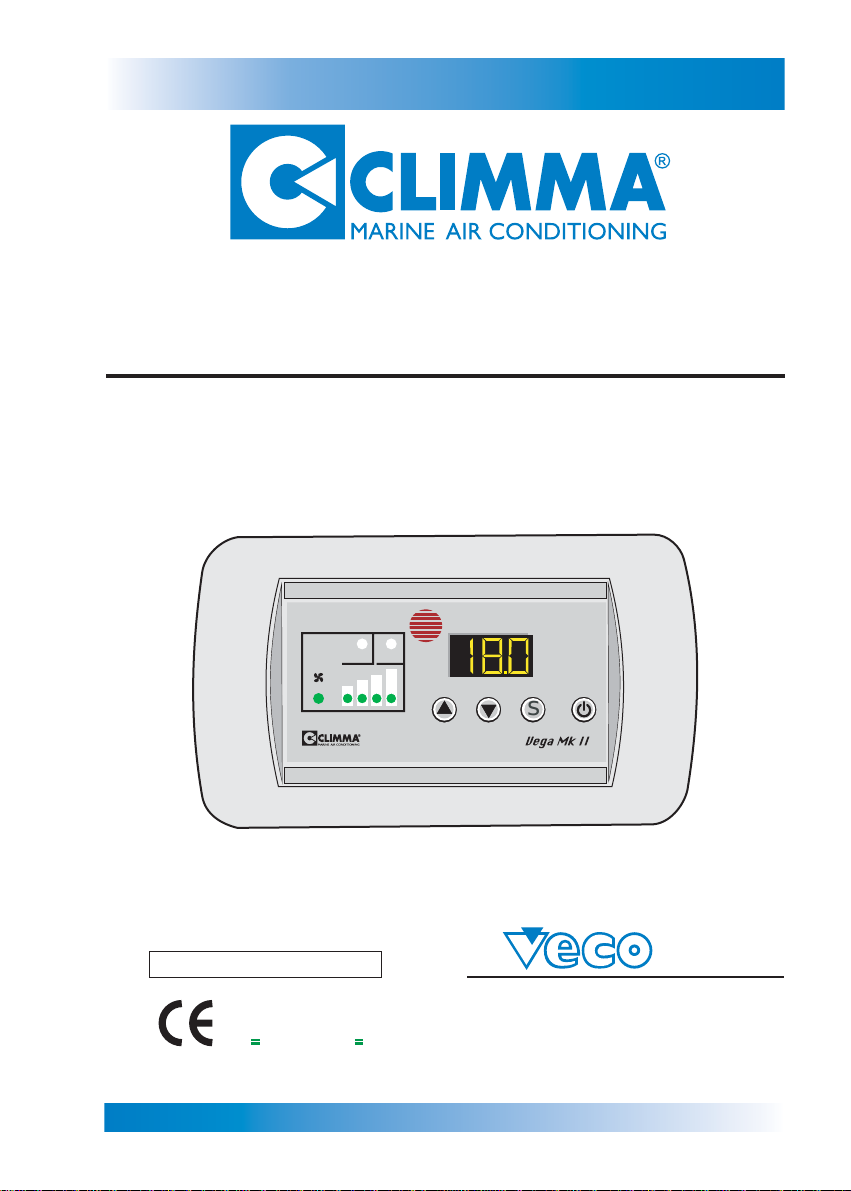
4- FUNCTIONING MODES (Mod)
Pag. 7
4.1 Automatic Mode (A) - Default Mode
In Automatic Mode the Vega MK II panel automatically selects the functioning mode
(cool or heat) to reach and keep the "Set" temperature.
The Heat or Cool warning lights indicate the functioning mode.
If the panel controls a Fan Coil unit, the Heat and Cool warning lights blink when the
panel demand does NOT correspond to the temperature of the Fan Coil supply circuit.
When the function (A) is set up, the temperature is kept to the set up value +/- the dif-
ferential value (parameter C10).
How to set up the Automatic Mode
When the panel is on
Press the s button (for 3 seconds) > [SET] > Press the Arrow Down button to select
Mode > Press the S button > Press the Arrow Up or the Arrow Down button to select
[A] > Press the S button
With the remote-control device
Press the (A) button.
Setting out parameters
Parameter C10 (Differential) (Default=1° C)
How to change the parameter C10
When the panel is off
Press the S button + the OFF button (for 3 seconds) > [PASS] > Press the S button
>[0] > Press theArrow Up or theArrow down button to display the number 123 > Press
the S button > [C10] > Press the S button > Press the Arrow Up or the arrow Down
button to obtain the differential desired value > Press the S button
.The Fan Only Mode sets up only the fan.
How to set up the Fan Only Mode.
When the panel is on
Press the S button (for 3 seconds) > [SET] > Press the Arrow Down button to select
[Mod] > Press the S button < Press the Arrow Up or the Arrow down button to select
[FO] > Press the S button
With the remote-control device
Press once or more times the (M) button to select [FO]
4.2 Fan Only Mode (FO)