10
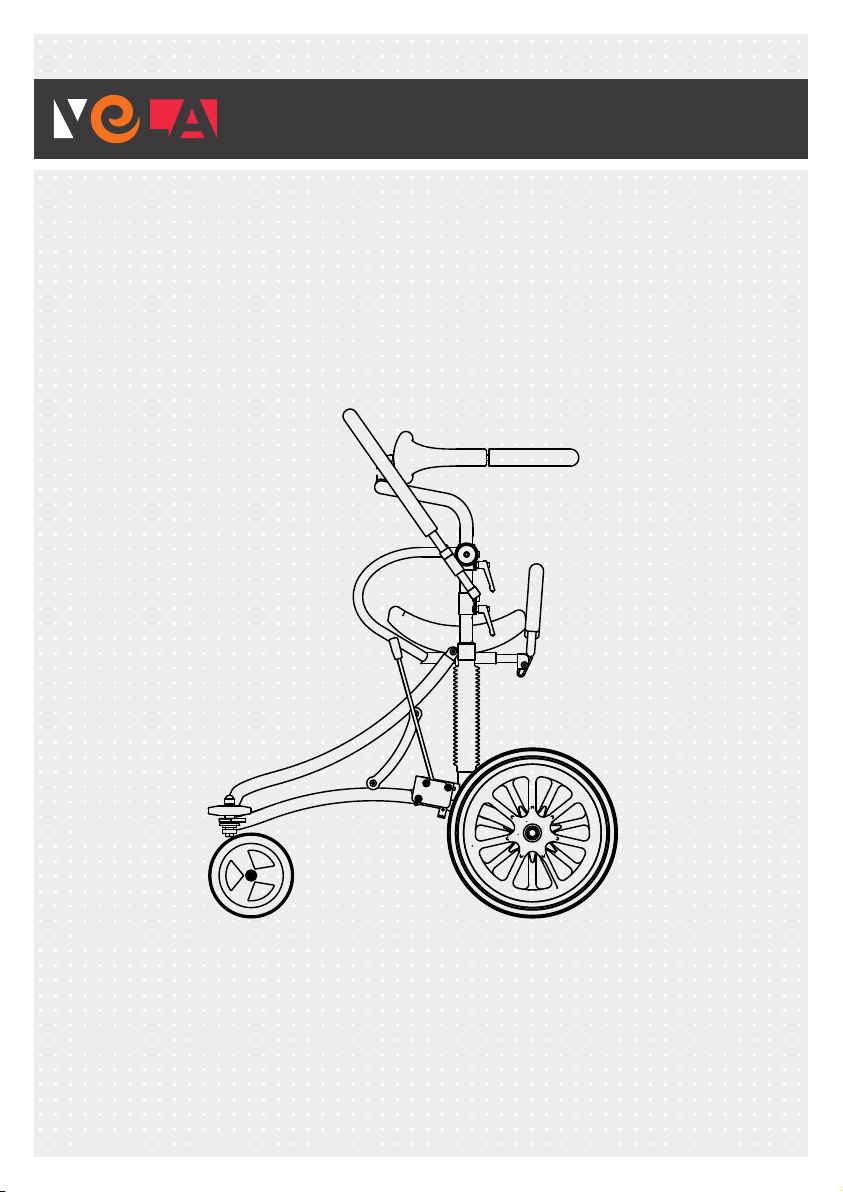
1.6. UNPACKING THE GAIT
TRAINER
The gait trainer comes in
environmentally friendly and
recyclable packaging.
In case of defects or transport
damage to the gait trainer, please
contact your VELA supplier right
away. In such cases, do not attempt
to use the gait trainer or to fix it
yourself.
On delivery you have received:
:: VELA Meywalk 2000 gait trainer
:: Trunk support and springs for the
gait trainer. Comes packed in a
separate box together with instal-
lation instructions. Note: Must
be mounted on the gait trainer
before use!
:: Instructions for use
1.7. MAINTENANCE
We recommend an annual inspec-
tion of the gait trainer to identify any
defective or worn parts. All remova-
ble parts should be tightened regu-
larly. You can find various guides on
www.vela.eu.
1.7.1. WHEELS
We recommended you regularly
check the wheels and remove any
residual threads, etc.
1.7.2. FRAME
Clean with lukewarm water and if
necessary, add some pH-neutral de-
tergent. Disinfection is possible, but
never use solvent-based cleaners
(such as Turpentine).
1.7.3. PADDING
Synthetic fabric or leather: Clean
with water or mild soap using a hard-
wrung cloth.
Polyurethan foam: Upholstery on
trunk support, handle and rear stop
is easily wiped o with a disinfectant
cloth.
Note: On www.vela.eu you can
find cleaning instructions for all our
standard upholstery types.
1.7.4. RECYCLING GUIDE
Your VELA Meywalk 2000 can be
reused by another person when you
no longer need it as long as the gait
trainer is serviced by a technician
beforehand.
The life expectancy of the gait trainer
is five years for regular and proper use
as long as VELA, your VELA supplier
or a trained professional perform an
annual inspection with replacement
of worn parts.