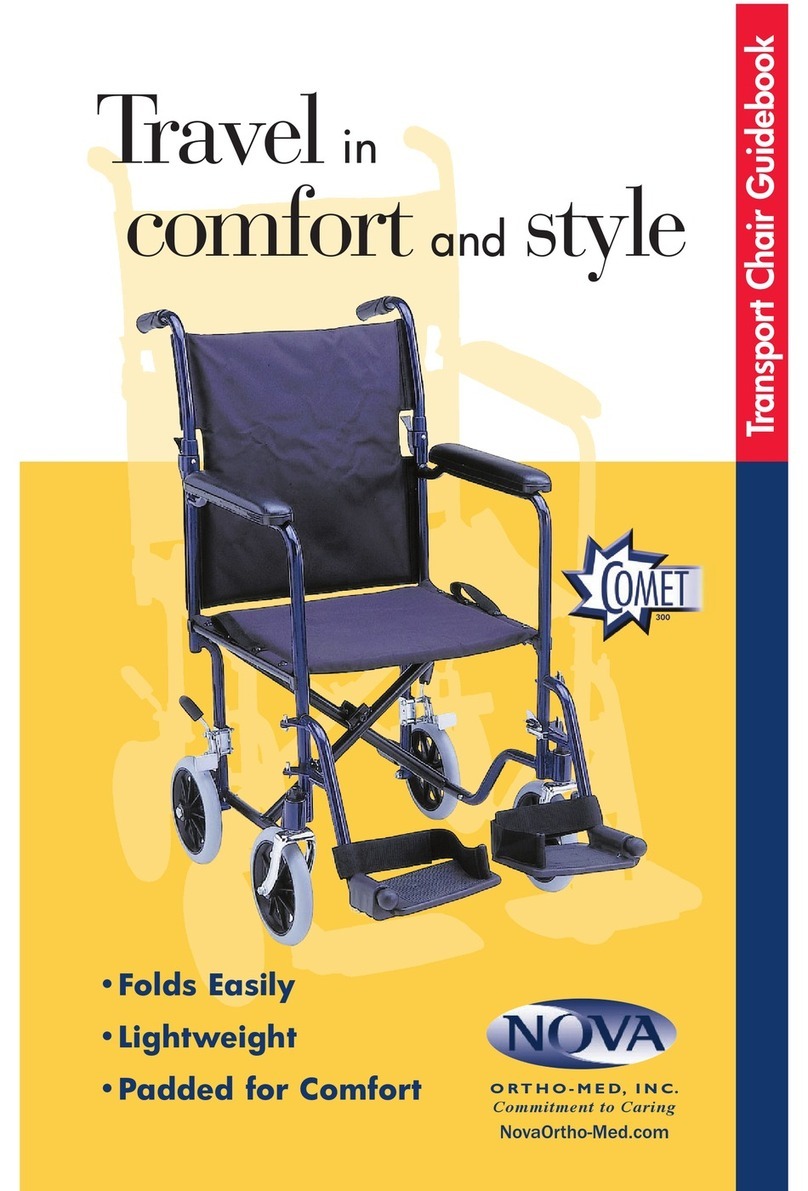
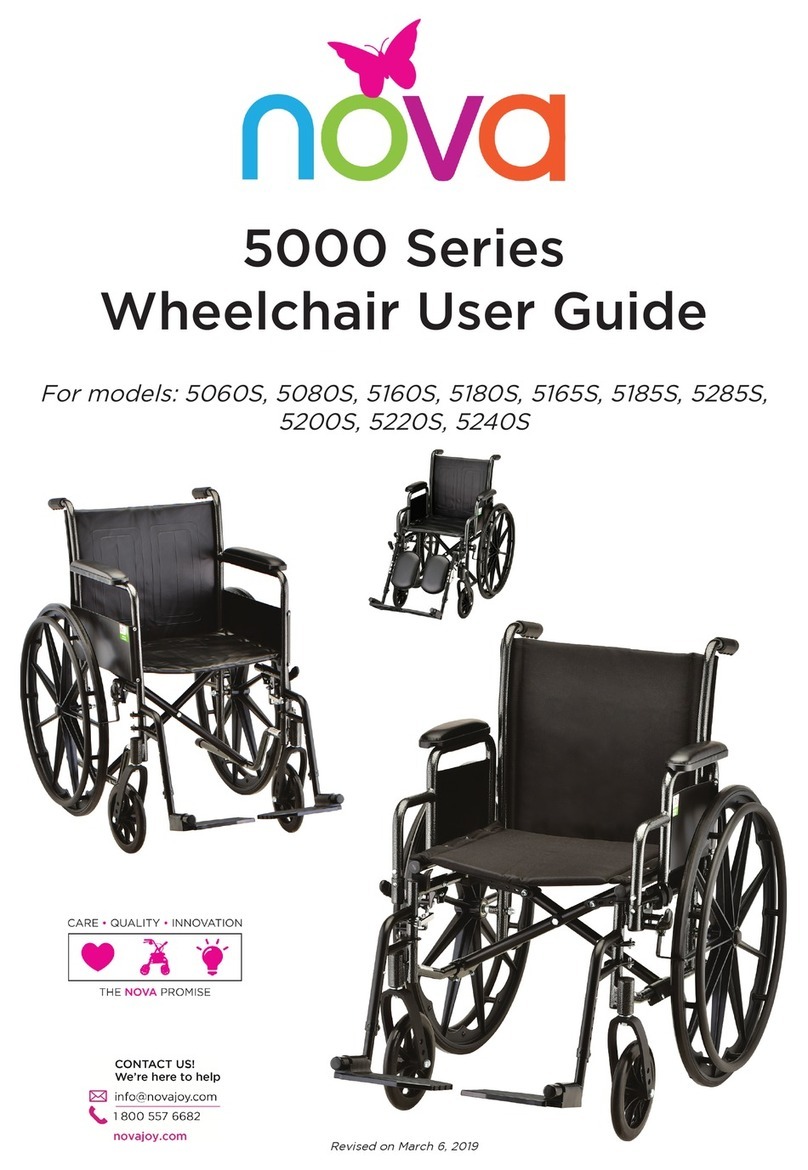
Nova 300 Series User manual

300 Series
Transport Chair User Guide
For models: 309, 319, 327, 329, 330, 332, 349, 352, 379
Revised on September 15, 2020
Scan the QR Code with your Phone
camera to watch product videos on
the NOVA Youtube Channel

2 of 8
User Guide
NOVA Transport Chair
300 Series
OWNER
YOU MUST READ THIS MANUAL BEFORE USING THIS PRODUCT
DEALER
YOU MUST SUPPLY THE OWNER WITH THIS MANUAL
WARNINGS
User weight not to exceed 300 lbs. (Model #s 309/319/327/329/330/349/352/379)
User weight not to exceed 400 lbs. (Model # 332)
ALWAYS operate the chair with the back support in the upright locked position.
ALWAYS secure the user to the chair using the seat belt.
ALWAYS ensure that all grips and textured surfaces are secure before pushing, pulling, or placing weight
on such surfaces.
ALWAYS perform the initial product inspection and all follow-up inspections before using the product.
ALWAYS engage the wheel locks upon entering or leaving the transport chair.
ALWAYS test the push handles to make sure that both push pins are securely in place before sitting in
the chair.
DO NOT allow user to enter or exit chair without caregiver standing behind the chair with a secure grip
on both handles.
DO NOT operate this transport chair on streets or roadways.
DO NOT stand on or put pressure on footrests when entering or exiting the transport chair.
DO NOT use the wheel locks to slow your descent down an incline.
DO NOT change directions when going down an incline. This may cause instability.
DO NOT scoot on or operate the chair without an assistant maintaining a secure grip from behind the
chair.
DO NOT sit on chair unless the product is fully open and in its normal usable position.
DO NOT use ramps or operate the product on inclines greater than 9 degrees of slope.
DO NOT operate on stairs, moving walkways, escalators, roads, streets, or highways (Use extreme caution
when operating product in crowded areas or outdoors).
DO NOT operate the chair in bad weather or when ground conditions may impair traction, such as
ground with water, oil, ice, gravel, or any other slippery or unstable substance.
DO NOT attempt to cross curbs, bumps, trenches, or other uneven surfaces. Doing so may tip over the
product. Operate product only on smooth well-maintained surfaces.
DO NOT attempt to reach objects while using product as this requires you to move your weight and can
cause the product to tip over.
DO NOT reach for objects, as this requires you to move your weight, and can cause the product to tip
over.
DO NOT pick up objects from the oor, as this requires you to move your weight, and can cause the
product to tip over.
DO NOT tilt the transport chair while occupied.
DO NOT use the wheel locks as brakes, nor attempt to stop a moving product by engaging the wheel
locks.
DO NOT attempt to lift the product by pulling on any removable part or surface.
DO NOT stand on the product, the product frame, or any other part of the product.
DO NOT use the footrests as a platform. When attempting to enter or exit the product, ensure that the
footrests are in the upward, unusable position.
DO NOT carry heavy weight while occupying the product. The product is not designed for additional
weight and is not balanced to accommodate additional weight.

3 of 8
DO NOT lift weights or exercise while occupying the product.
This transport chair has not been approved as a seat surface to be used within a vehicle. Transport chair
must be on a level surface when transferring user to or from seat. Footrests should be no less than 2 1/2
inches from the oor/surface.
COMMON PART LOCATIONS
HAND GRIPS
FOOTREST
FOOTPLATE
BACK UPHOLSTERY
SEAT UPHOLSTERY
HANDLE
HAND BRAKE
FOLDING MECHANISM ARM PAD
ARMREST
BRAKE
12” WHEEL
8” WHEEL
FORK
To Unfold
1. Remove chair from the box and place it on the ground. Remove any cardboard protection and the
plastic from the wheels. (We recommend turning the box on the side and “rolling”out the Transport
Chair).
2. Bring the folding push handles upward fully to enlarge and lock the push pins into the frame of the chair.
3. Place both hands on the upholstery just to the inside of the seat tubes and push down and out until
the seat is fully opened. Your ngers could be pinched, therefore, be sure both hands and all ngers
are at on the upholstery. Do not allow ngers to grab or reach the black tubes that secure the seat.
Continue to push down and outward until tubes engage into the seat supports. Please call NOVA
customer service if you have any questions.)
To Fold
1. Pull upward on the middle of the seat from the front and rear until the chair is completely folded.
2. Release and fold down the back/push handles by pushing down on the release paddle and allowing
the handles to come down into a folded position.
To Attach the Footrests
1. First determine the left and right side by folding down the footplate and placing them in front of the
seat. The foot plates should be facing each other and directly in front of the seat.
2. Place the attachment plates with holes above the pins and slowly lower the holes onto both pins.
3. Swivel the footrests inward until the silver release lever engages and locks the footrest into the
forward position.
MODEL: 352

4 of 8
To Remove the Footrests
1. Push the silver release lever inward to release the footrests from the forward position.
2. Swivel outward and lift the footrests from the footrest pegs.
To Adjust the Footrest Height
For Models 307/319:
1. Locate tool wrench included with the footrests.
2. Turn wheels so they are in the “wheeled” position (as pictured).
3. Use the tool wrench to slightly loosen the silver hex screw located on the bottom of the footrests by
turning the screw left.
4. Pull on the footplate to desired length. Footrests should be a minimum of 2 1/2” from the ground to
ensure proper clearance.
5. Re-tighten the hex screw.
6. Repeat on other side.
For Models 327/329/330/332/352:
1. Remove height adjustment knob by turning counter clockwise.
2. Adjust the inner tube to desired height and line up hole on inner telescoping tube with outer hole.
3. Screw adjustment knob back into the adjustment leg and tighten.
To Use Hand Brakes (Models 330/332/352)
The hand brake is to be used for speed control only. Squeeze up on the hand brake to
control the speed. Use the wheel brake when entering or exiting the chair.
Engage the Park Brake
Push down on the handle located at the rear of the hand brake. The handle will lock
into a downward position when properly engaged. Pull up on the handle to release the
brakes.
How to Adjust the Brakes
Note: The braking system on your new Transport Chair with Hand Brakes has been
preset from the factory. If you need to adjust the tension of your brakes, you can adjust
them by the following:
Hand Brake is Too Loose.
Loosen the tension adjustment screw locking nut and turn the screw one full turn clockwise (as viewed
from standing at the back of the transport chair). If this does not correct the adjustment, repeat one full
turn at a time until you have adjusted your brakes. Then make sure the locking nut is spun tight against
the housing to prevent the screw from loosening.
Hand brake is Too Tight.
Same as the procedure above except turn the screw counter clockwise.
Cable End
Cap
Tension
Adjustment
Screw
Tension
Adjustment
Screw Locking
Nut
Mounting
Screw
Handle Brake
Housing

5 of 8
USER INSTRUCTIONS
To Sit Down
1. Engage the rear wheel locks so that the wheels by pushing down on the brake handle until the brake
shoe presses rmly on the wheel and prevents the chair from rolling.
2. Flip the footrests into an upright position so that the user can stand between the footrests with the
back of their legs touching the seat upholstery.
3. From behind the chair assist the user by slowly lowering them into the chair.
To Rise from Seated Position
1. Engage the rear wheel locks so that the wheels by pushing down on the brake handle until the brake
shoe presses rmly on the wheel and prevents the chair from rolling.
2. Flip both footrests into an upright position.
3. Place both feet rmly on the ground and rise slowly from the chair with the assistance of a care giver.
To Transfer from Seated Position (Model #s 352/332)
1. Place the chair alongside of the desired seating device.
2. Engage the rear wheel locks so that the wheels by pushing down on the brake handle
until the brake shoe presses rmly on the wheel and prevents the chair from rolling.
3. Remove or ip back the arm on the side of the transfer by pressing on the plastic
covers located on the front and rear of the arm.
4. Release the footrests and swing them to the outer sides of the chair frame or ip
both footplates upward to a vertical position.
5. Carefully transfer from the chair to desired seating area with the assistance of a
caregiver.
OPERATING INSTRUCTIONS
SERVICE
All service must be performed while the transport chair is unoccupied.
Minor adjustments may be attempted by an able-bodied individual. All minor adjustments that one
should attempt are detailed in the manual. Do not attempt any adjustment or repair without reading
and understanding the instructions in this manual. Do not attempt any adjustment or repair that is not
detailed in this manual. Any adjustment or repair not detailed in this manual should only be preformed by
a dealer or licensed technician.
Individuals with muscular or balance problems should not attempt to make adjustments to the product,
and are advised to seek assistance.
After any adjustment, and before using the product, ensure that all attaching hardware, including without
limitation all grips, screws, nuts, bolts, clamps, fasteners, and parts are tight and secure.
DO NOT use parts, accessories, or adapters other than those manufactured by NOVA Medical Products,
Inc, which are designed specically for this product.

6 of 8
SAFETY INSPECTION - MAINTENANCE
Your product is a precision product - proper care will ensure proper function. Regular cleaning will reveal
loose or worn parts. DO NOT over tighten parts or hardware, as doing so can damage the frame. DO
NOT operate the product if there are any missing parts or hardware. You should have a dealer or qualied
professional perform maintenance on your product at least once every six months, or immediately
if you notice any item needing service. Frequent use likely means that your product will require more
maintenance than we suggest. In anticipation of and after any excessive use, we recommend that you
perform a complete safety inspection including all items.
ITEM INSPECT ITEM INITIAL WEEKLY MONTHLY 6 MONTHS
GENERAL Transport chair should roll straight, doesn't feel "tight" or pull
to one side X X
Inspect for loose, missing, or broken hardware in
all locations X X
Inspect cane hand grips for wear, looseness, or
deterioration X X
FRAME Inspect for bent frame X X
Inspect weld points for cracks, chips, or loose
material X X
CROSS-BRACES Inspect for bent cross-braces X X
Inspect weld points for cracks, chips, or loose
material X X
BRAKES Ensure brakes do not interfere with wheels when
rolling X X
Pivot points free of wear and looseness X X
Brakes are easy to engage, and engage fully X X
Brakes prevent transport chair from moving when engaged. X X
SEAT AND BACK Inspect upholstery for rips or sagging X X
Inspect for loose or broken hardware X X
WHEELS Lift, spin, and check for side movement, rubbing,
or binding X X
inspect the rubber wheels have sucient tread and brakes
can be engaged X
Inspect for cracks and wear (hubs and rims) X X
Inspect for cracked or broken spokes X X
HAND RIMS Inspect for signs of rough edges or peeling X X
FRONT FORKS
Inspect wheel/fork assembly for proper tension by
spinning caster. Caster should come to a gradual
stop, and not bind or grind
X X
Adjust bearing system if wheel wobbles noticeably
or binds to a stop X X
Ensure wheel bearings are clean and free of debris X X
Check swivel fork locknuts for tightness X X
CLEANING Clean upholstery and arm rests X X

7 of 8
Item Number:
Date Purchase:
Serial Number:
Transport Chair Information
The item and serial number are located on a sticker that is
attached to the frame under the seat (see below sample).
Item number
UPC
Weight Cap
Label #1
Serial Number
Label #2

IMPORTANT WARNING
FOLLOW ALL DIRECTIONS CAREFULLY BEFORE USE. FAILURE TO DO SO MAY RESULT IN SERIOUS INJURY.
Warranty Information
NOVA stands rm on our commitment to providing the highest quality products, as well as
exceptional service. This product was built to precise standards and thoroughly inspected prior
to shipment. This warranty represents our condenc in the materials and workmanship of our
product. NOVA extends this warranty only to the original purchaser of this product. The warranty
does not extend to any subsequent purchaser or owner. The warranty is void upon any sale or
transfer of ownership or use by other person. NOVA warrants its products are free from defects
in material and workmanship under NORMAL use for the period commencing upon the date of
purchase and continuing for the following specied period of time after that date:
Metal frame: Limited Lifetime Warranty
Brakes: 5 Years
Non-Metal/Metal parts: 1 Year Limited Warranty
(Wheels, Hand Grips, Padding, Cables, Upholstery, Bag, Screws, Plastic Parts)
This warranty does not cover problems due to user negligence, misuse of the product, failure
to adhere to product instructions, or normal wear and tear. Items that have been subject to
negligent abuse, modied without prior written authorization are not covered within this
warranty. For warranty service, please contact the dealer from whom you purchased your NOVA
product. In the event that you do not receive satisfactory service, please call us directly at the
number below. Be prepared to indicate, the nature of the defect, the product serial number,
and the name and location of where you purchased the product. You will also be required to
provide a receipt of your purchase. DO NOT return any products to our ofce without prior
consent. Repair or replacement is the only remedy under this limited warranty. This warranty
does not include any labor or shipping charges incurred in replacement part installation or
repair of product.
THIS WARRANTY IS EXCLUSIVE AND IN LIEU OF ALL OTHER EXPRESS WARRANTIES, IMPLIED
WARRANTIES, IF ANY, INCLUDING THE IMPLIED WARRANTIES OF MERCHANTABILITY AND
FITNESS FOR A PARTICULAR PURPOSE. NOVA SHALL NOT BE LIABLE FOR ANY SEQUENTIAL
OR INCIDENTAL DAMAGES WHATSOEVER.
***Remember to keep the product’s serial number and the date of purchase***
NOVA believes in the power of joy. We are guided by joy, and
inspired by our customers who choose joy everyday and every step
of the way.
SINCE 1993
novajoy.com
CARE •QUALITY •INNOVATION
THE N OVA PROMISE
Connect with us!
novajoy.com
novamedicalprod
novamedicalprod
novawalkerstalk
NOVA Medical Products
This manual suits for next models
16
Table of contents
Other Nova Wheelchair manuals
Popular Wheelchair manuals by other brands

Invacare
Invacare Action 4NG series user manual

Quickie
Quickie Puma 40 Instructions for use

MyWam
MyWam Grizzly Operation and maintenance manual

Vermeiren
Vermeiren D400 instruction manual

Sunrise Medical
Sunrise Medical Quickie XTR User instruction

Livingston Innovations
Livingston Innovations Freedom Trax user manual

Maximex
Maximex Secura Premium 23556 Assembly instructions

M. Bartels
M. Bartels SA-2 Operation manual

Invacare
Invacare Comet Owner's operating and maintenance manual

CareCo
CareCo Lynx 4 user manual

Pride
Pride Jazzy Select 14 INFINFB2048 Troubleshooting instructions

aidapt
aidapt Lenham VR231 Fixing and maintenance instructions