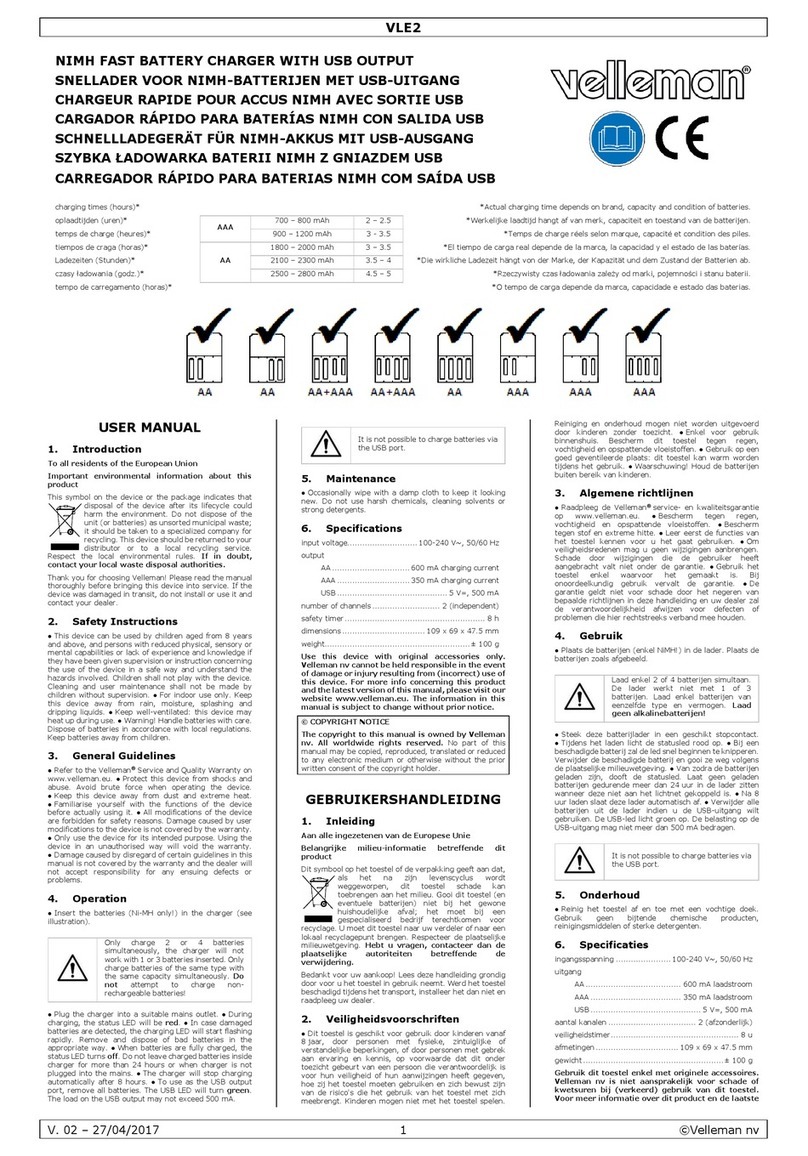
AC06
00 (07/11/2008) VELLEMAN®
4
3. General Guidelines
•Protect this device from shocks and abuse. Avoid brute force when operating the device.
•Protect the device against extreme heat, dust and moisture.
•Familiarise yourself with the functions of the device before actually using it.
•All modifications of the device are forbidden for safety reasons.
•Only use the device for its intended purpose. Using the device in an unauthorised way will void the
warranty.
4. Features
•overload protection (for charger)
•integrated ampere meter
•for various motor cars, vans and light trucks
•included accessories:
ocharging cable (1.5m + 1.5m)
otwo clamps
o2 replaceable spare fuses
5. Preparation
Always check the condition of the cables and clamps before using the
battery charger. Do not use when damage is noticed!
•Disconnect the battery from the vehicle before charging. To do this, first remove the negative pole
connection, and then proceed with the positive pole connection.
•When applicable (non-sealed battery), check the level of the battery acid. When necessary, add
distilled water.
•Clean the poles with a steel brush or sandpaper.
•Make sure the battery charger is not connected to the mains.
•Connect the positive clamp of the battery charger (red) with the positive pole (+) of the battery.
Make sure the clamp is secured tight.
•Connect the negative clamp of the battery charger (black) with the negative pole (-) of the
battery. Make sure the clamp is secured tight.
6. Operation
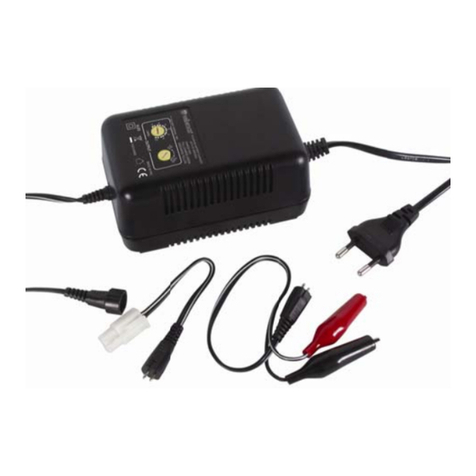
•The status of the charging process is indicated by 3 LEDs on the front of the unit. Refer to the
illustration on page 2of this manual.
•When the battery charger is correctly connected to the battery, the red LED [A] lights up.
Otherwise, check the polarity of the connections and the fuse [D].
•When the battery has filler caps, unscrew them before charging.
•To start charging the battery, connect the battery charger to the mains. Make sure the correct
mains voltage is supplied (see technical specifications below).
•The red LED [A] will remain on during the entire charging procedure.
•The yellow LED [B] indicates that the battery charger is connected to the mains and the charging
procedure is ongoing.
•If the yellow LED [B] does not light up, check the condition of the mains socket and the mains.
•When the yellow LED [B] turns off during charging, the circuit was interrupted by the internal
transformer overload protection system. Disconnect the charger from the mains and allow it to cool
down/stabilize for about 10 minutes before re-connecting to the mains. If after several hours the
charger still doesn’t indicate that the battery is being charged, a short-circuited element might be
present inside the battery. The battery must be replaced.
•The charging procedure is finished when the green LED [C] lights up. Note that the intensity of the
green LED [C] gradually builds up.
•The battery charger doesn’t stop automatically. When the green LED [C] shines bright, disconnect
the charger from the mains.
•Disconnect the battery from the charger, starting with the clamp on the negative pole (black) and
than proceed with the clamp on the positive pole (red).
•When necessary, replace the fuse [D] in the front of the charger by a fuse with the same
specifications. Make sure no battery is connected to the charger and the charger is disconnected
from the mains when replacing the fuse. Use a small screwdriver as a lever to release the fuse from
its socket. Insert the new fuse. Avoid the use of excessive force!

