Velleman VTLAN6 User manual

VTLAN6
NETWORK CABLE (LAN) TESTER
LA N TE STER
TE STEUR LA N
COMPROBADOR DE CABLE LAN
LAN-TES TE R
TESTADORDE CABOSLAN
TE STER SIECI LA N for - voor - pour - para - für – do:
USER MANUAL 3
GEBRUIKERSHANDLEIDING 7
MODE D'EMPLOI 12
MANUAL DEL USUARIO 17
BEDIENUNGSANLEITUNG 22
MANUAL DO UTILIZADOR 27
INSTRUKCJA OBSŁUGI 32
RJ45 (8P8C)
RJ12 (6P6C)
RJ11 (6P2C)
RJ10 (4P4C)

VTLAN6
V. 01 – 07/10/2013 2 ©Velleman nv

VTLAN6
V. 01 – 07/10/2013 3 ©Velleman nv
USER MANUAL
1. Introduction
To all residents of the European Union
Important environmental information about this product
This symbol on the device or the package indicates that
disposal of the device after its lifecycle could harm the
environment. Do not dispose of the unit (or batteries) as
unsorted municipal waste; it should be taken to a
specialized company for recycling. This device should be
returned to your distributor or to a local recycling service. Respect
the local environmental rules.
If in doubt, contact your local waste disposal authorities.
Thank you for choosing Velleman! Please read the manual thoroughly
before bringing this device into service. If the device was damaged in
transit, don't install or use it and contact your dealer.
2. Safety Instructions
Never use the testeron live wires; this will damage the
tester.
There are no user-serviceable parts inside the device.
Refer to an authorized dealer for service and/or spare
parts.
Refer to the Velleman® Service and Quality Warranty on the last
pages of this manual.
•Indoor use only. Keep this device away from rain, moisture,
splashing and dripping liquids. Never put objects filled with liquids
on topof or close to the device.
•Keep this device away from dust and extreme temperatures.
•Protect this device from shocks and abuse. Avoid brute force when
operating the device.
•Familiarise yourself with the functions of the device before actually
using it.
•All modifications of the device are forbidden for safety reasons.
Damage caused by user modifications to the device is not covered
by the warranty.

VTLAN6
V. 01 – 07/10/2013 4 ©Velleman nv
•
Onlyuse the device for its intended purpose. Using the device in
an unauthorised way will void the warranty.
•Damage caused by disregard of certain guidelines in this manual
is not covered by the warranty and the dealer will not accept
responsibility forany ensuing defects orproblems.
•Keep this manual for future reference.
3. Features
This Network Cable (LAN) tester for various cable types is
indispensable in network installation and m aintenance activities. This
compact device can be used for testing network or telephone cables
(8P8C (RJ45), 6P6C (RJ12), 6P2C (RJ11), 4P4C (RJ10)) and for most
types of computer cables.
•LED indication
•advanced design for easy testing
•ability to test cables from a distance and in places that are not
easily accessible
•automatically runs all testsand checks for continuity, open,
shorted and crossed wire pairs
•slowand fast test switch
4. Overview
Refer to the illustrations on page 2 of this manual.
Master
Remote
1 RJ11/RJ12 socket 6 R J45 s o cke t
2 R J45 s o cke t 7 cable test indicators
3 on/off switch 8 RJ11/RJ12 socket
4 power indicator
5
cable test indicators
5. Operation
Never use the testeron live wires; this will damage the
meter.

VTLAN6
V. 01 – 07/10/2013 5 ©Velleman nv
1. Set the on/off switch [2] in the ON position. The indicator [1]
blinks.
To execute the testata slower pace, set the on/off switch in the
S (‘slow’) position. The indicator blinks slower.
2. Insertone end of the cable under test into the socket in the
master: [3] for RJ45, [4] for RJ11/RJ12.
3. Insert the otherend of the cable into the socketin the remote
[7] for RJ45, [8] for RJ11/RJ12.
The cable testlights on the master [5] and on the remote [6]
light up in sequence.
4.
After testing, remove the cable from master and remote and set
the on/off switch in the OFF position.
5.2 Test results: examples
Description
Sequence
Good connection: all indicators
light up in sequence.
Note: Indicator G lights up
only for cables with a ground
(GND).
master:
1 2 3 4 5 6 7 8 G
(8P8C)
remote: 1 2 3 4 5 6 7 8 G
(8P8C)
master: 1 2 3 4 5 6 (6P6C)
remote: 1 2 3 4 5 6 (6P6C)
master: 1 2 3 4 (6P4C)
remote:
1 2 3 4 (6P4C)
master: 1 2 (6P2C)
remote:
1 2 (6P2C)
Open circuit: wire 2 is broken,
indicator 2 does not light up on
master and remote.
master: 1 23 4 5 6 7 8
remote: 1 23 4 5 6 7 8
Open circuits: wires 2 and 5
are broken, indicators 2 and 5
do not light up on master and
remote.
Note:
If less than two wires in
the cable are connected, none
of the indicators lights up.
master: 1 23 4 56 7 8
remote:
1 23 4 56 7 8

VTLAN6
V. 01 – 07/10/2013 6 ©Velleman nv
Description
Sequence
Short-circuit between wires 2
and 4: all
indicators on master
light up in sequence, indicators
2 and 4 do not light up on
remote.
master:
1 2 3 4 5 6 7 8
remote:
1 23 45 6 7 8
Wires 2 and 3 are connected in
the wrong order: indicator 3
lights up first on remote.
master: 1 23 4 5 6 7 8
remote: 1 32 4 5 6 7 8
6. Battery
Warning
•Do not puncture batteries or throw them in fire as they
may explode.
•Do not attempt to recharge non-rec
hargeable batteries
(alkaline).
•Dispose of batteries in accordance with local
regulations. Keep batteriesaway from children.
Notes
•Replace the battery as soon as the lights on the device become
weaker. A low battery power may produce false readings.
•Remove the battery from the device if it will not be used for a long
time. Old batteries can begin to leak and damage the device.
•To replace the battery
1. Slide open the battery cover at the back and replace the battery
(9 V, 6LR61C). Respect the polarity.
2. Close the battery cover.
7. Technical Specifications
te sts RJ-45, 10BASE-T, Token Ring,
RJ11/12 cables
power supply
9 V battery 6LR61C (not incl.)
max. cable length for testing 100 m
Use this device with original accessories only. Velleman nv
cannot be held responsible in the event of damage or injury
result ing from (incorrect) use of this device. For more info

VTLAN6
V. 01 – 07/10/2013 7 ©Velleman nv
concerning this product and the latest version of this manual,
please visit our website www.velleman.eu. The information in
this manual is subject to change without prior notice.
© COPYRIGHT NOTICE
The copyright to this manual is owned by Velleman nv. All
worldwide rights reserved. No part of this manual may be copied,
reproduced, translated or reduced to any electronic medium or
otherwise without the prior written consent of the copyright holder.
GEBRUIKERSHANDLEIDING
1. Inleiding
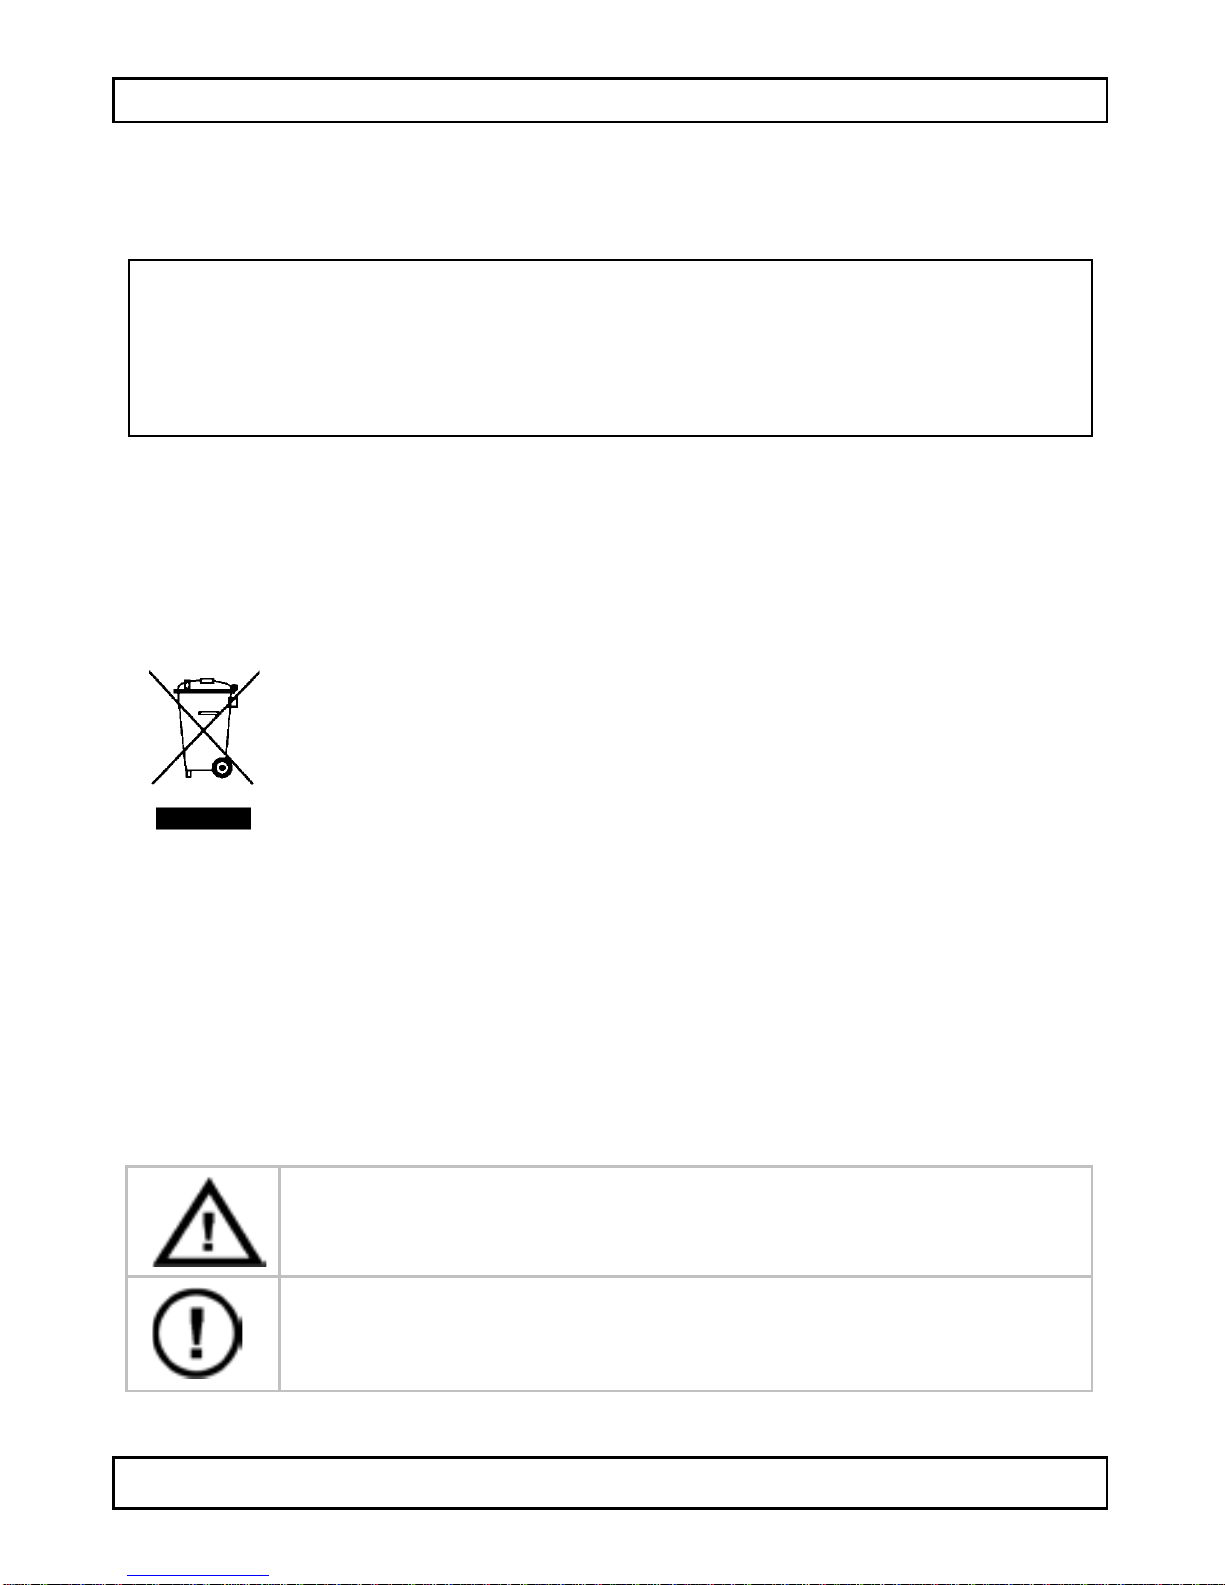
Aan alle ingezetenen van de Europese Unie
Belangrijke milieu-informatie betreffende dit product
Dit symbool op het toestel of de verpakking geeft aan dat,
als het na zijn levenscyclus wordt weggeworpen, dit toestel
schade kan toebrengen aan het milieu. Gooi dit toestel (en
eventuele batterijen) nietbij het gewone huishoudelijke
afval; hetmoetbijeen gespecialiseerd bedrijf
terechtkomen voor recyclage. Umoetdit toestel naar uwverdeler of
naareen lokaal recyclagepunt brengen. Respecteer de plaatselijke
milieuwetgeving.
Hebt u vragen, contacteer dan de plaatselijke autoriteiten
betreffende de verwijdering.
Dank u voor uw aankoop! Lees deze handleiding grondig voor u het
toestel in gebruik neemt. Werd het toestel beschadigd tijdens het
transport, installeer het dan niet en raadpleeg uw dealer.
2. Veiligheidsinstructies
Gebruik dit toestel nooit op kabels die onderstroom
staan; dit zal de testerbeschadigen.
Er zijn geen door de gebruiker vervangbare onderdelen in
dit toestel. Vooronderhoud en/of reserveonderdelen,
contacteeruwdealer.

VTLAN6
V. 01 – 07/10/2013 8 ©Velleman nv
Raadpleeg de Velleman® service- en kwaliteitsgarantie
achteraan deze handleiding.
•Gebruik het toestel enkel binnenshuis. Bescherm hettoestel
tegen regen, vochtigheid en opspattende vloeistoffen. Plaats geen
objecten gevuld met vloeistof op of naast het toestel.
•Bescherm dit toestel tegen stof enextreme temperaturen.
•Bescherm tegen schokken. Vermijd brute kracht tijdens de
bediening.
•Leer eerst de functies van het toestel kennen voor u het gaat
gebruiken.
•Om veiligheidsredenen mag u geen wijzigingen aanbrengen.
Schade door wijzigingen die de gebruiker heeft aangebracht aan
het toestel valtniet onderde garantie.
•Gebruik het toestel enkel waarvoor het gemaakt is. De garantie
vervalt automatisch bij ongeoorloofd gebruik.
•
De garantie geldt niet voorschade door hetnegeren van bepaalde
richtlijnen in deze handleiding en uwdealer zal de
verantwoordelijkheid afwijzen voor defecten of problemen die hier
rechtstreeks verband mee houden.
•Bewaar deze handleiding voor verdere raadpleging.
3. Eigenschappen
Deze LAN-tester voor verschillende kabeltypes is een onmisbaar
instrument voorde installatie en het onderhoud van netwerken. U
kunt dit compacte toestelletje gebruiken om netwerkkabels,
telefoonkabels (8P8C (RJ45), 6P6C (RJ12), 6P2C (RJ11), 4P4C
(RJ10)) en de meeste computerkabels te testen.
•LED-indicatie
•geavanceerd ontwerp maakthet testeneenvoudig
•u kunt kabels testen van op afstand en op moeilijk bereikbare
plaatsen
•voert automatisch alle testen uit voor continuïteit, open,
kortgesloten en gekruiste bedrading
•schakelaar voor trage en snelle test
4. Omschrijving
Raadpleeg de afbeeldingen op pagina 2 van deze handleiding.

VTLAN6
V. 01 – 07/10/2013 9 ©Velleman nv
Master-modus
Remote
1
RJ11/RJ12-aansluiting
6
RJ45-aansluiting
2
RJ45-aansluiting
7
testleds
3
aan/uit-schakelaar
8
RJ11/RJ12-aansluiting
4 voedingsled
5 testleds
5. Gebruik
Gebruik dit toestel nooit op kabels die onderstroom
staan; dit zal de meter beschadigen.
1. Zet de aan/uit-schakelaar [2] op ON. De LED-indicator [1]
knippert.
Om te testuit te voeren aan een trager tempo, zet de aan/uit-
schakelaar op S (‘slow’). De LED-indicator knippert eveneens
trager.
2. Verbind een uiteinde van de te testen kabel met de aansluiting
van hetmaster-toestel [3] voor RJ45, [4] voor RJ11/RJ12.
3.
Verbind het andere uiteinde van de kabelmetde aansluiting van
de remote tester [7] voor RJ45, [8] voor RJ11/RJ12.
De testleds op hetmaster-toeste l [5] en op de remote tester
[6] lichten achtereenvolgens op.
4. Na de test, verwijder de kabel uit hetmaster-toestel en de
remote testeren zet de aan/uit-schakelaar op OFF.

VTLAN6
V. 01 – 07/10/2013 10 ©Velleman nv
5.2 Testresultaten: voorbeelden
Omschrijving Weergave
Goede verbinding: alle LED-
indicators lichten
achtereenvolgens op.
Opmerking: de LED-indicator
G licht enkel op voor kabels
met aarding (GND).
master:
1 2 3 4 5 6 7 8 G
(8P8C)
remote
tester:
1 2 3 4 5 6 7 8 G
(8P8C)
master:
1 2 3 4 5 6 (6P6C)
remote
tester: 1 2 3 4 5 6 (6P6C)
master:
1 2 3 4 (6P4C)
remote
tester: 1 2 3 4 (6P4C)
master:
1 2 (6P2C)
remote
tester: 1 2 (6P2C)
Open circuit: draad 2 is
onderbroken, de LED-indicator
2 op he t m aste r-toestel en op
de remote tester licht niet op.
master:
1 23 4 5 6 7 8
remote
tester: 1 23 4 5 6 7 8
Open circuits: draad 2 en 5
zijn onderbroken, de LED-
indicators 2 en 5 op het
master-toestelen de remote
tester lichten niet op.
Opmerking: Indien er minder
dan 2 draden in de kabel
verbonden zijn, licht geen
enkele LED-indicator op.
master: 1 23 4 56 7 8
remote
tester: 1 23 4 56 7 8
Kortsluiting tussen draad 2 en
4:alle LED-indicators op het
master-toestel lichten
achtereenvolgens op, de LED-
indicators 2 en 4 op de remote
tester lichten niet op.
master: 1 2 3 4 5 6 7 8
remote
tester:
1 23 45 6 7 8
Draad 2 en 3 zijn in de
verkeerde volgorde verbonden:
de LED-indicator 3 op de
remote tester lichteerst op.
master: 1 23 4 5 6 7 8
remote
tester:
1 32 4 5 6 7 8

VTLAN6
V. 01 – 07/10/2013 11 ©Velleman nv
6. Batterij
Waarschuwing
•U mag batterijen nooit
doorboren of in het vuur gooien
(explosiegevaar).
•Herlaad geenalkalinebatterijen.
•Gooi batterijen weg volgens de plaatselijke
milieuwetgeving. Houd batterijen uithet bereik van
kinderen.
Opmerkingen
•Vervang de batterij wanneer de leds van het toestel z wa kk e r
branden. Een lage batterijspanning kan leiden tot onjuiste
meetresultaten.
•Verwijder de batterij als hettoestel gedurende een langere tijd
nietgebruiktwordt. Oude batterijen kunnen lekken en het toestel
beschadigen.
•De batterij vervangen
1. Schuif het batterijdeksel aan de achterkant open en vervang de
batterij (9 V, 6LR61C). Respecteer de polariteit.
2. Sluit het batterijdeksel.
7. Technische specificaties
test RJ-45, 10 Base-T, Token Ring,
RJ11/12-kabels
voeding 9 V-
batterij 6LR61C (niet meegelev.)
max. lengte van de te testen
kabel 100 m
Gebruik dit toestel enkel met originele accessoires. Velleman
nv is niet aansprakelijk voor schade of kwetsuren bij
(verkeerd) gebruik van dit toestel. Voor meer informatie over
dit product en de laatste versie van deze handleiding, zie
www.velleman.eu. De informatie in deze handleiding kan te
allen tijde worden gewijzigd zonder voorafgaande
kennisgeving.

VTLAN6
V. 01 – 07/10/2013 12 ©Velleman nv
© AUTEURSRECHT
Velleman nv heeft het auteursrecht voor deze handleiding.
Alle wereldwijde rechten voorbehouden. Het is niet toegestaan
om deze handleiding of gedeelten ervan over te nemen, te kopiëren,
te vertalen, te bewerken en op te slaan opeen elektronisch medium
zonder voorafgaande schriftelijke toestemming van de
rechthebbende.
MODE D'EMPLOI
1. Introduction
Aux résidents de l'Union européenne
Informations environnementales importantes concernant ce
produit Ce symbole sur l'appareil ou l'emballage indique que
l'élimination d'un appareil en fin de vie peut polluer
l'environnement. Ne pas jeterun appareil électrique ou
électronique (etdes piles éventuelles) parmi les déchets
municipaux non sujets au tri sélectif; une déchèterie
traitera l'appareil en question. Renvoyer cet appareil à votre
fournisseur ou à un service de recyclage local. Il convient de
respecterla réglementation locale relative à la protection de
l'environnement.
En cas de questions, contacter les autorités locales pour
élim ination.
Nous vous remercions de votre achat ! Lire le présent mode d'emploi
attentivement avant la mise en service de l'appareil. Si l'appareil a
étéendommagé pendant le transport, ne pas installeret consulter
votre revendeur.
2. Consignes de sécurité
Ne jamais utiliser le testeur sur les fils sous tension ; ce la
pourraitendommager le testeur.

VTLAN6
V. 01 – 07/10/2013 13 ©Velleman nv
Il n’y a aucune pièce réparable par l’utilisateur.
Commander des pièces de rechange éventuelles chez
votre revendeur.
Se référer à la garantie de service et de qualité Velleman® en
fin de ce mode d'emploi.
•Utiliser cet appareil uniquement à l'intérieur. Protéger de la
pluie, de l’humidité et des projections d’eau. Ne jamais placer
d’objets contenant du liquide sur l’appareil.
•Protéger contre la poussière et les températures extrêmes.
•Protéger l’appareil des chocs. Traiter l'appareil avec circonspection
pendant l’opération.
•Se familiariseravec le fonctionnementde l'appareilavant de
l'utiliser.
•Il estinterdit de modifier l'appareil pour des raisons de sécurité.
Les dommages occasionnés par des modifications par le client ne
tombentpas sous la garantie.
•N’utiliser votre lumineux qu’à sa fonction prévue. Un usage
impropre annule d'office la garantie.
•Les dommages occasionnés par des modifications à l'appareil par
le client, ne tombent pas sous la garantieet votre revendeur
déclinera toute responsabilité pour les problèmeset les défauts
qui en résultent.
•Garder ce mode d'emploi pour toute référence ultérieure.
3. Caractéristiques
Ce testeur LAN pourdifférents types de câbles estindispensable pour
l'installation et le maintien de réseaux. Utiliser cet appareil compact
pour testerdes câbles réseau, des câbles téléphoniques (8P8C
(RJ45), 6P6C (RJ12), 6P2C (RJ11), 4P4C (RJ10)) et la plupart de
câbles informatiques.
•indication LED
•design moderne facilite les tests
•possibilité de tester des câblesà distanceet de testerdes câbles à
des endroits peu accessibles
•exécute automatiquement les tests pour la continuité du câble,
câblage ouvert, court-circuité et croisé
•interrupteurde test rapide et lent

VTLAN6
V. 01 – 07/10/2013 14 ©Velleman nv
4. Description
Se référer aux illustrations en page 2 de ce mode d'emploi.
Mode maître Remote
1
connexion RJ11/RJ12
6
connexion RJ45
2
connexion RJ45
7
LEDs de test
3
interrupteur
marche/arrêt
8
connexion RJ11/RJ12
4
indicateur
d'alimentation
5 LEDs de te st
5. Emploi
Ne jamais utiliser le testeur sur les fils sous tension ; ce la
pourraitendommager le testeur.
1. Régler l'interrupteur marche/arrêt [2] sur ON. L'indicateur LED
[1] clignote.
Pour effectuer le test plus lentement, régler l'interrupteur
marche/arrêt sur S (‘slow’). L'indicateur LED clignote également
plus lentement.
2. Insérer une extrémité du câble à l'essai dans la fiche de
l'appareilmaître [3] pour RJ45, [4] pour RJ11/RJ12.
3. Insérer l'autre extrémité du câble dans la fiche du testeur
'remote' [7] pour RJ45, [8] pour RJ11/RJ12.
Les LEDs de test de l'appareil maître [5] et du testeur 'remote'
[6] s'allument en séquence.
4. Après le test, déconnecter le câble de l'appareilmaître etdu
testeur 'remote' et régler l'interrupteur marche/arrêt sur OFF.

VTLAN6
V. 01 – 07/10/2013 15 ©Velleman nv
5.2 Résultats d'essai
Description Affichage
Bonne connexion : tous les
indicateurs LED s'allument en
séquence.
Remarque : L'indicateur LED
G ne s'allume que pour les
câbles avec masse (GND).
maître :
1 2 3 4 5 6 7 8 G
(8P8C)
testeur
‘remote’ :
1 2 3 4 5 6 7 8 G
(8P8C)
maître :
1 2 3 4 5 6 (6P6C)
testeur
‘remote’ : 1 2 3 4 5 6 (6P6C)
maître :
1 2 3 4 (6P4C)
testeur
‘remote’ : 1 2 3 4 (6P4C)
maître :
1 2 (6P2C)
testeur
‘remote’ : 1 2 (6P2C)
Circuit ouvert : fil 2 est
interrompu, l'indicateur LED 2
de l'appareil maître et du
testeur 'remote' ne s'allument
pas.
maître :
1 23 4 5 6 7 8
testeur
‘remote’ : 1 23 4 5 6 7 8
Circuits ouverts : les fils 2 et 5
sont interrompus, les
indicateurs LED 2 et 5 de
l'appareil maître et du testeur
'remote' ne s'allument pas.
Remarque : Si moins de 2 fils
sont connectés dans le câble,
aucun indicateurLED ne
s'allume.
maître : 1 23 4 56 7 8
testeur
‘remote’ : 1 23 4 56 7 8
Court-circuit entre les fils 2 et
4 :tous les indicateurs LED de
l'appareil maître s'allument en
séquence, les indicateurs LED
2 et 4 du testeur 'remote' ne
s'allument pas.
maître :
1 2 3 4 5 6 7 8
testeur
‘remote’ : 1 23 45 6 7 8

VTLAN6
V. 01 – 07/10/2013 16 ©Velleman nv
Description
Affichage
Les fils 2 et 3 sont connectés
dans le mauvais ordre :
l'indicateur LED 3 du testeur
'remote' s'allume en premier.
maître :
1 23 4 5 6 7 8
testeur
‘remote’ : 1 32 4 5 6 7 8
6. Les piles
Avertissement
•
Ne jamais perforer les piles etne pas les jeterau feu
(danger d’explosion).
•Ne jamais recharger des piles alcalines.
•Se débarrasserdes piles en respectant la
réglem entation locale relative à la protection de
l’environnement. Garder les piles hors de la portée des
enfants.
Remarques
•Remplacer la pile lorsque les LEDs de l'appareil s'affaiblissent. Une
pile faible peut conduire à des résultats incorrects.
•Retirer la pile si l'appareil n'est pas utilisé durant une longue
durée. Des piles usées peuvent fuiretendommager l'appareil.
•Remplacer la pile
1. Ouvrir le couvercle du logementà pile au dos de l'appareil et
remplacer la pile (9 V, 6LR61C). Respecter la polarité.
2. Fermer le compartiment à pile.
7. Spécifications techniques
permet de tester câbles RJ-45, 10 Base-T, Token Ring,
RJ11/12
alimentation pile de 9 V 6LR61C (non incl.)
longueurmax. du câble à
l'essai
100 m
N'employer cet appareil qu'avec des accessoires d'origine. La
SA Velleman ne peut, dans la mesure conforme au droit
applicable être tenue responsable des dommages ou lésions
(directs ou indirects) pouvant résulter de l’utilisat ion de cet
appareil. Pour plus d'information concernant cet article et la

VTLAN6
V. 01 – 07/10/2013 17 ©Velleman nv
dernière version de ce mode d'emploi, consulter notre site
www.velleman.eu. Les spécifications et le contenu de ce
mode d'emploi peuvent être modifiés sans avis préalable.
© DROITS D’A UTEUR
SA Velleman est l’ayant droit des droits d’auteur pour ce
mode d'emploi. Tous droits mondiaux réservés. Toute
reproduction, traduction, copie ou diffusion, intégrale ou partielle, du
contenu de ce mode d'emploi parquelque procédé ou sur tout
support électronique que ce soit estinterdite sans l’accord préalable
écrit de l’ayant droit.
MANUAL DEL USUARIO
1. Introducción
A los ciudadanos de la Unión Europea
Importantes informaciones sobre el medio ambiente
concerniente a este producto
Este símbolo en este aparato o el embalaje indica que, si
tira las muestras inservibles, podrían dañar el medio
ambiente. No tire este aparato (ni las pilas, si las hubiera)
en la basura doméstica; debe ir a una empresa
especializada en reciclaje. Devuelva este aparato a su
di
stribuidoro a la unidad de reciclaje local.Respete las leyes locales
en relación con el medio ambiente.
Si tiene dudas, contacte con las autoridades locales para
residuos.
¡Gracias por elegir Velleman! Lea atentamente las instrucciones del
manual antes d
e usar el aparato. Si el aparato ha sufrido algún daño
en el transporte no lo instale y póngase en contacto con su
distribuidor.
2. Instrucciones de seguridad
Nunca use el comprobador para comprobar cables bajo
tensión; esto dañará el comprobador.

VTLAN6
V. 01 – 07/10/2013 18 ©Velleman nv
El usuario no habrá de efectuar elmantenimiento de
ninguna pieza. Contacte con su distribuidor si necesita
piezas de recambio.
Véase la Garantía de servicio y calidad Velleman® al final de
este manual del usuario.
•Utilice el aparato sólo en interiores. No exponga este equipo a
lluvia, humedad ni a ningún tipo de salpicadura o goteo. Nunca
ponga un objeto con líquido en el aparato.
•No exponga este equipo a polvo ni temperaturas extremas.
•
No agite el aparato. Evite usarexcesiva fuerza durante el manejo
y la instalación.
•Familiarícese con el funcionamiento del aparato antes de utilizarlo.
•Por razones de seguridad, las modificaciones no autorizadas del
aparato están prohibidas. Los daños causados por modificaciones
no autorizadas, no están cubiertos por la garantía.
•Utilice sólo el aparato para las aplicaciones descritas en este
manual. Su uso incorrecto anula la garantía completamente.
•Los daños causados por descuido de las instrucciones de
seguridad de este manual invalidarán su garantía y su distribuidor
no será responsable de ningún daño u otros problemas
resultantes.
•Guarde este manual del usuario para cuando necesite consultarlo.
3. Características
Este comprobadorde cable (LAN) para diferentes tipos de cables de
red es imprescindible para la instalación y el mantenimiento de
redes. Este dispositivo compacto sirve para comprobar cables en la
red, cables telefónicos (8P8C (RJ45), 6P6C (RJ12), 6P2C (RJ11),
4P4C (RJ10)) y casi todos los cables informáticos.
•indicación LED
•diseño moderno facilita las pruebas
•posibilidad de comprobar cables a distancia y cables en lugares de
difícil acceso
•comprueba automáticamente la continuidad del cable, cables
abiertos, cortocircuitados y cruzados
•interruptor de prueba rápido y lento

VTLAN6
V. 01 – 07/10/2013 19 ©Velleman nv
4. Descripción
Véase las figuras en la página 2 de este manual del usuario.
maestro Remote
1
conexión RJ11/RJ12
6
conexión RJ45
2
conexión RJ45
7
LEDs de estado
3
interruptor ON/OFF
8
conexión RJ11/RJ12
4 LED de alimentación
5 LEDs de te st
5. Funcionamiento
Nunca use el comprobador para comprobar cables bajo
tensión; esto dañará el aparato.
1. Coloque el interruptor ON/OFF [2] en la posición ON. El LED [1]
parpadea.
Para realizar el testmás lentamente, coloque el interruptor
ON/OFF en la posición S (‘slow’). El LED parpadea de manera
más lenta.
2. Introduzca un extremo del cable que quiere comprobar en la
conexión del aparato ‘master’: [3] para RJ45, [4] para
RJ11/RJ12.
3.
Introduzca el otro extremo del cable en la conexión del aparato
‘remote’: [7] para RJ45, [8] para RJ11/RJ12.
Los LEDs de testdel aparato ‘master’ [5] y del aparato ‘remote’
[6] se iluminan uno tras otro.
4.
Después del test, quite el cable del aparato ‘master’ y ‘remote’ y
coloque el interruptor ON/OFF en la posición OFF.

VTLAN6
V. 01 – 07/10/2013 20 ©Velleman nv
5.2 Los resultados: ejemplos
Descripción Visualización
Buena conexión: Todos los
LEDs se iluminan uno tras otro.
Nota: El LED ‘G’ se ilumina
sólo para cables con tierra
(GND).
master:
1 2 3 4 5 6 7 8 G
(8P8C)
remote: 1 2 3 4 5 6 7 8 G
(8P8C)
master:
1 2 3 4 5 6 (6P6C)
remote: 1 2 3 4 5 6 (6P6C)
master: 1 2 3 4 (6P4C)
remote: 1 2 3 4 (6P4C)
master: 1 2 (6P2C)
remote:
1 2 (6P2C)
Circuito abierto: El LED n° 2
delaparato ‘master’ y ‘remote’
no se ilumina si el hilo n° 2
está inte rrum pido.
master:
1 23 4 5 6 7 8
remote:
1 23 4 5 6 7 8
Circuitos abiertos: Los LEDs n°
2 y n° 5 del aparato ‘master’ y
‘remote’ no se iluminan si los
hilos n° 2 y n° están
interrumpidos.
Nota: No se ilumina ningún
LED si están conectados menos
que dos hilos en el cable.
master: 1 23 4 56 7 8
remote:
1 23 4 56 7 8
Cortocircuito:Todos los LEDs
delaparato ‘master’ se
iluminan uno tras otro si el hilo
n°2 y el hilo n° 4 causan un
cortocircuito. Los LEDs n° 2 y
n° 4 del aparato ‘remote’ no se
iluminan.
master:
1 2 3 4 5 6 7 8
remote:
1 23 45 6 7 8
Conexión incorrecta: El LED n°
3 se ilumina primero en el
aparato ‘remote’ si los hilos n°
2 y n° 3 han sido conectados
de manera incorrecta.
master: 1 23 4 5 6 7 8
remote: 1
3
2 4 5 6 7 8
Table of contents
Languages:
Other Velleman Cable Tester manuals