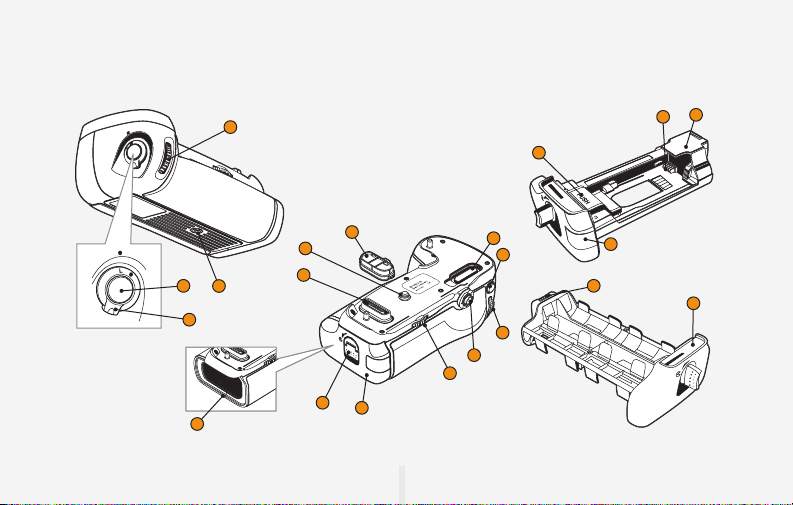
Precautions
1.
The BG-N15 should be used only with the
compatible devices specified in this manual.
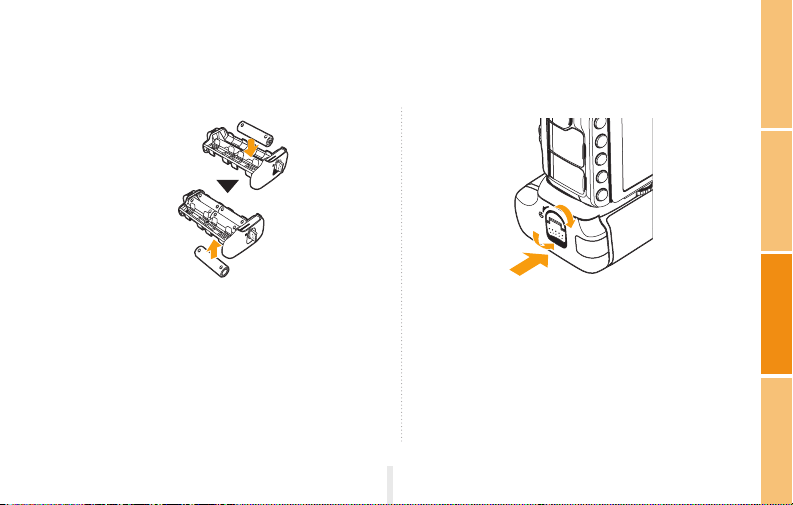
2.
Use only with batteries and battery holders
recommended in this manual. The BG-N15 cannot
be used with other batteries or battery holders.
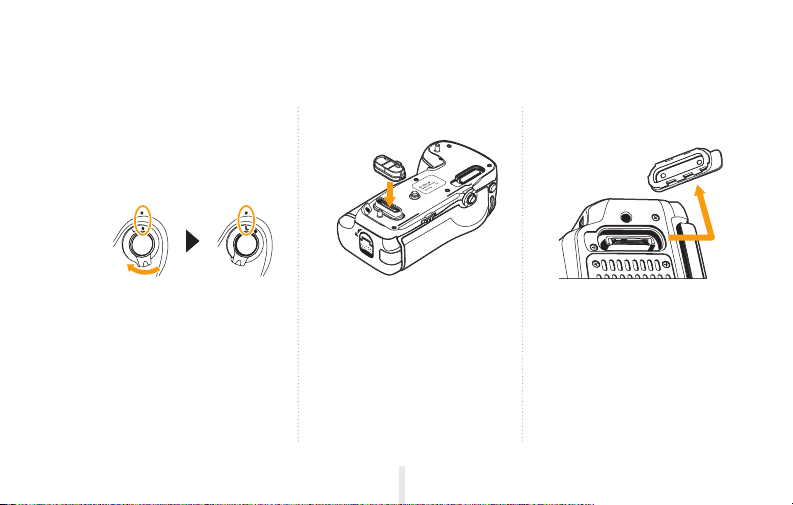
3.
When the BG-N15 is not attached to the camera,
cover the power terminal with the contact cap. This
prevents electrical shorts caused by metal coming
into contact with the power terminals.
4.
When the battery holder is removed from the
grip, remove the batteries or place the holder in
a container to prevent electrical shorts caused by
contact with other metal objects.
5.
The memory card access lamp may glow temporarily
when the BG-N15 is mounted or removed from the
camera. This is part of the normal operation.
6. If you notice smoke, noise, or an unusual smell from
the battery pack, discontinue use immediately.
Remove the batteries and contact Vello Customer
Service.
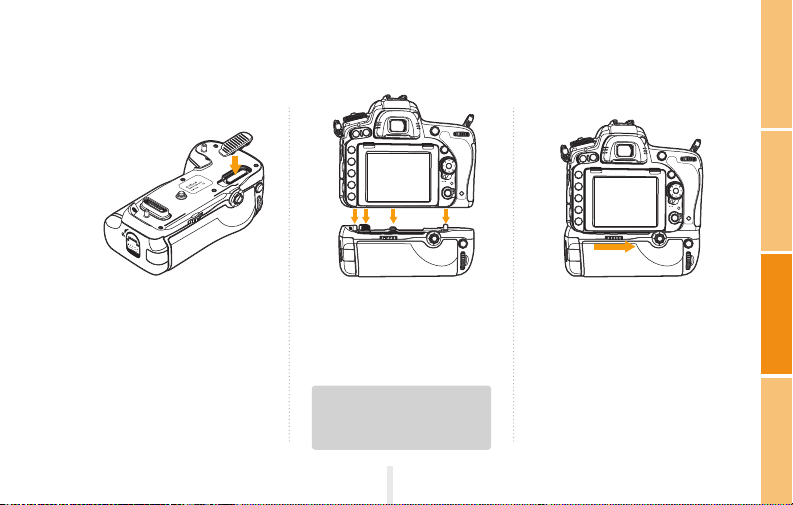
7.
The BG-N15 does not have a power switch. Instead,
use the camera power switch to turn the power on
or off.
8.
The battery level may not display properly if batteries
are inserted before mounting the grip.
9. Remove batteries from the grip when not in use.
10.
In cold temperatures, batteries can discharge
at a faster rate. Warming up a cold battery can
recover some of its lost charge and help improve
its performance.
11. Avoid water or extreme humidity and keep in a dry
and cool place.
12 . Keep out of reach of children.
3
OVERVIEW INTRODUCTIONASSEMBLYOPER ATION