SECTION 5 Modes of Operation
7 8
Modes of Operation SECTION 5
Modes of Operation
Regular
This option encompasses any of the following types
of discs: CD-ROMs, Music CDs, Data CDs, DVDs, HD-
DVDs, Computer Discs, Game Discs, Books on Disc, all
recordable CDs and DVDs, Double Sided Discs, Blu-Ray,
Wii U, and PS3.
Note: On this mode of operation, Blu-Ray and PS3
discs may only be cleaned. To “Repair” these types of
discs, run them on the Deep Mode.
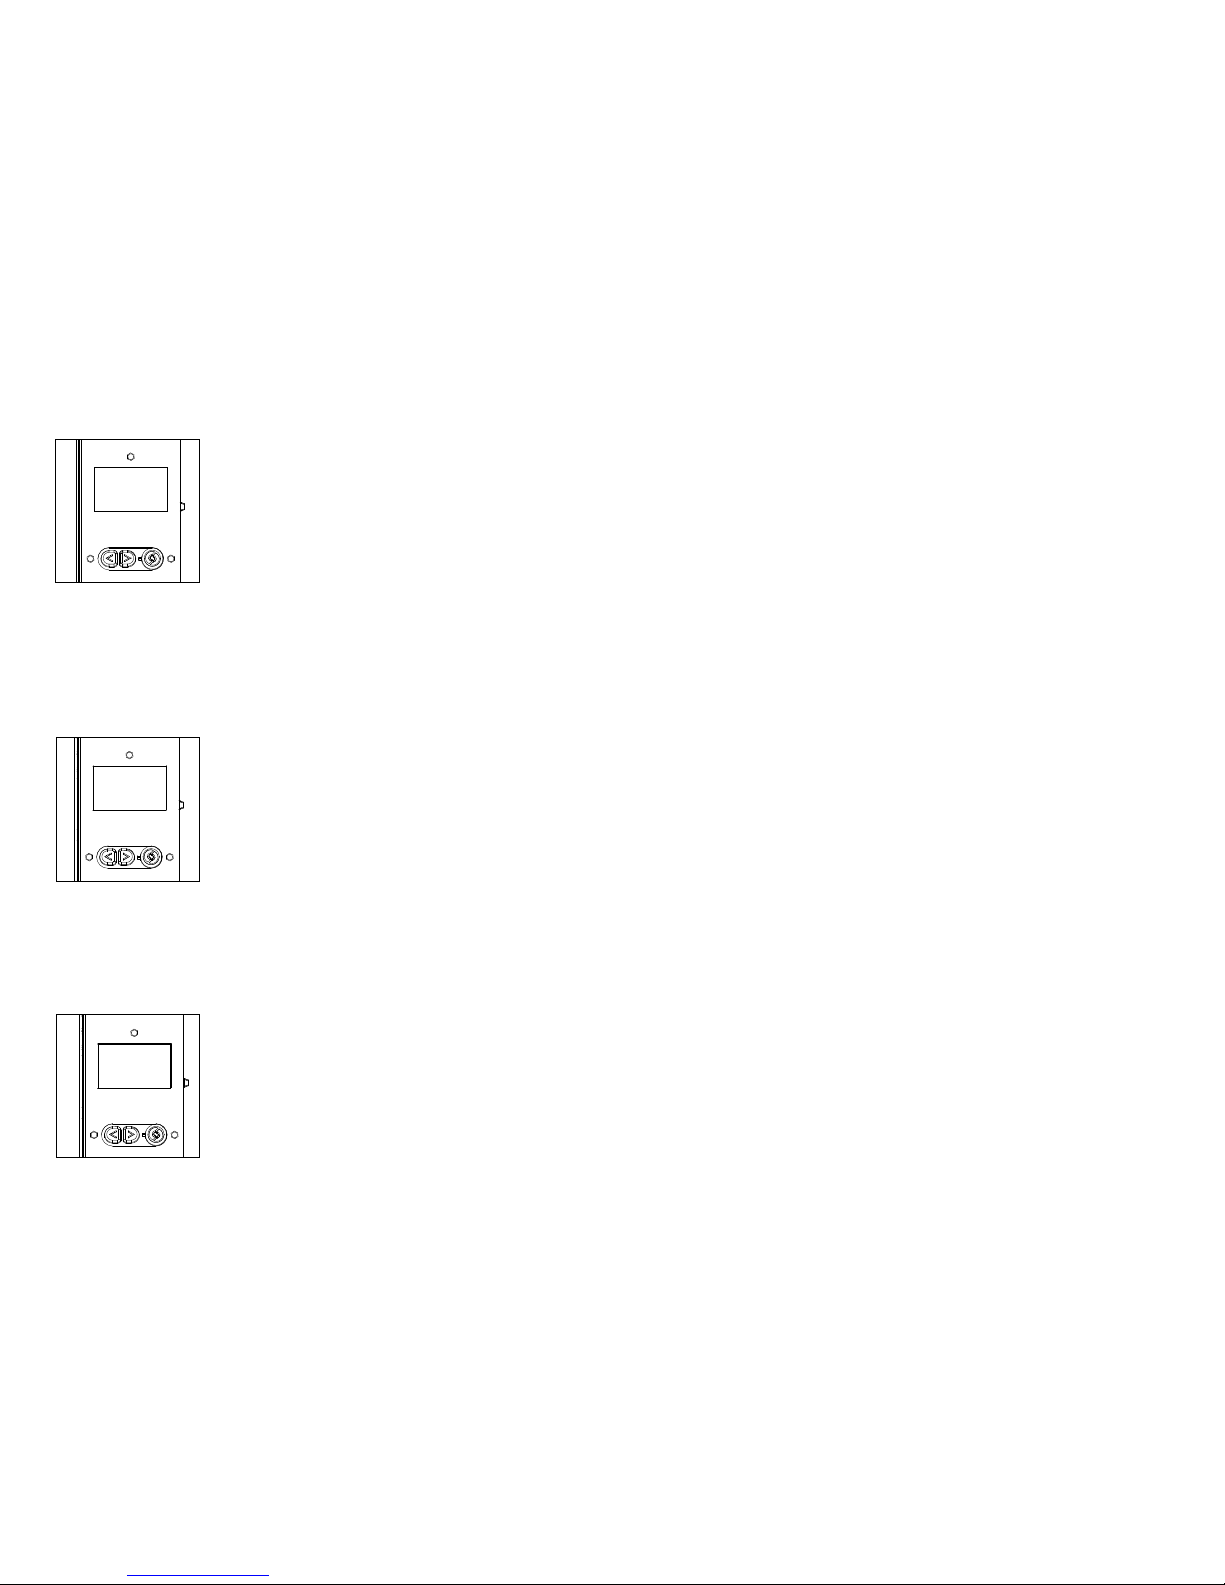
The VMI 2500 is preset to run on the“Regular” mode, as indicated by the Green
LED light illuminated on the Start Button. The Cycle Mode is displayed on the
LCD Screen in the “Main” Menu, on the bottom section. If the line reads: “Cycle
REG”, then your unit is ready for a regular repair mode. This mode is set to run
for 30 seconds.
Deep
This option encompasses any of the following types
of discs: CD-ROMs, Music CDs, Data CDs, DVDs, HD-
DVDs, Computer Discs, Game Discs, Books on Disc,
all recordable CDs and DVDs, Double Sided Discs,
Blu-Ray, Wii U, and PS3.
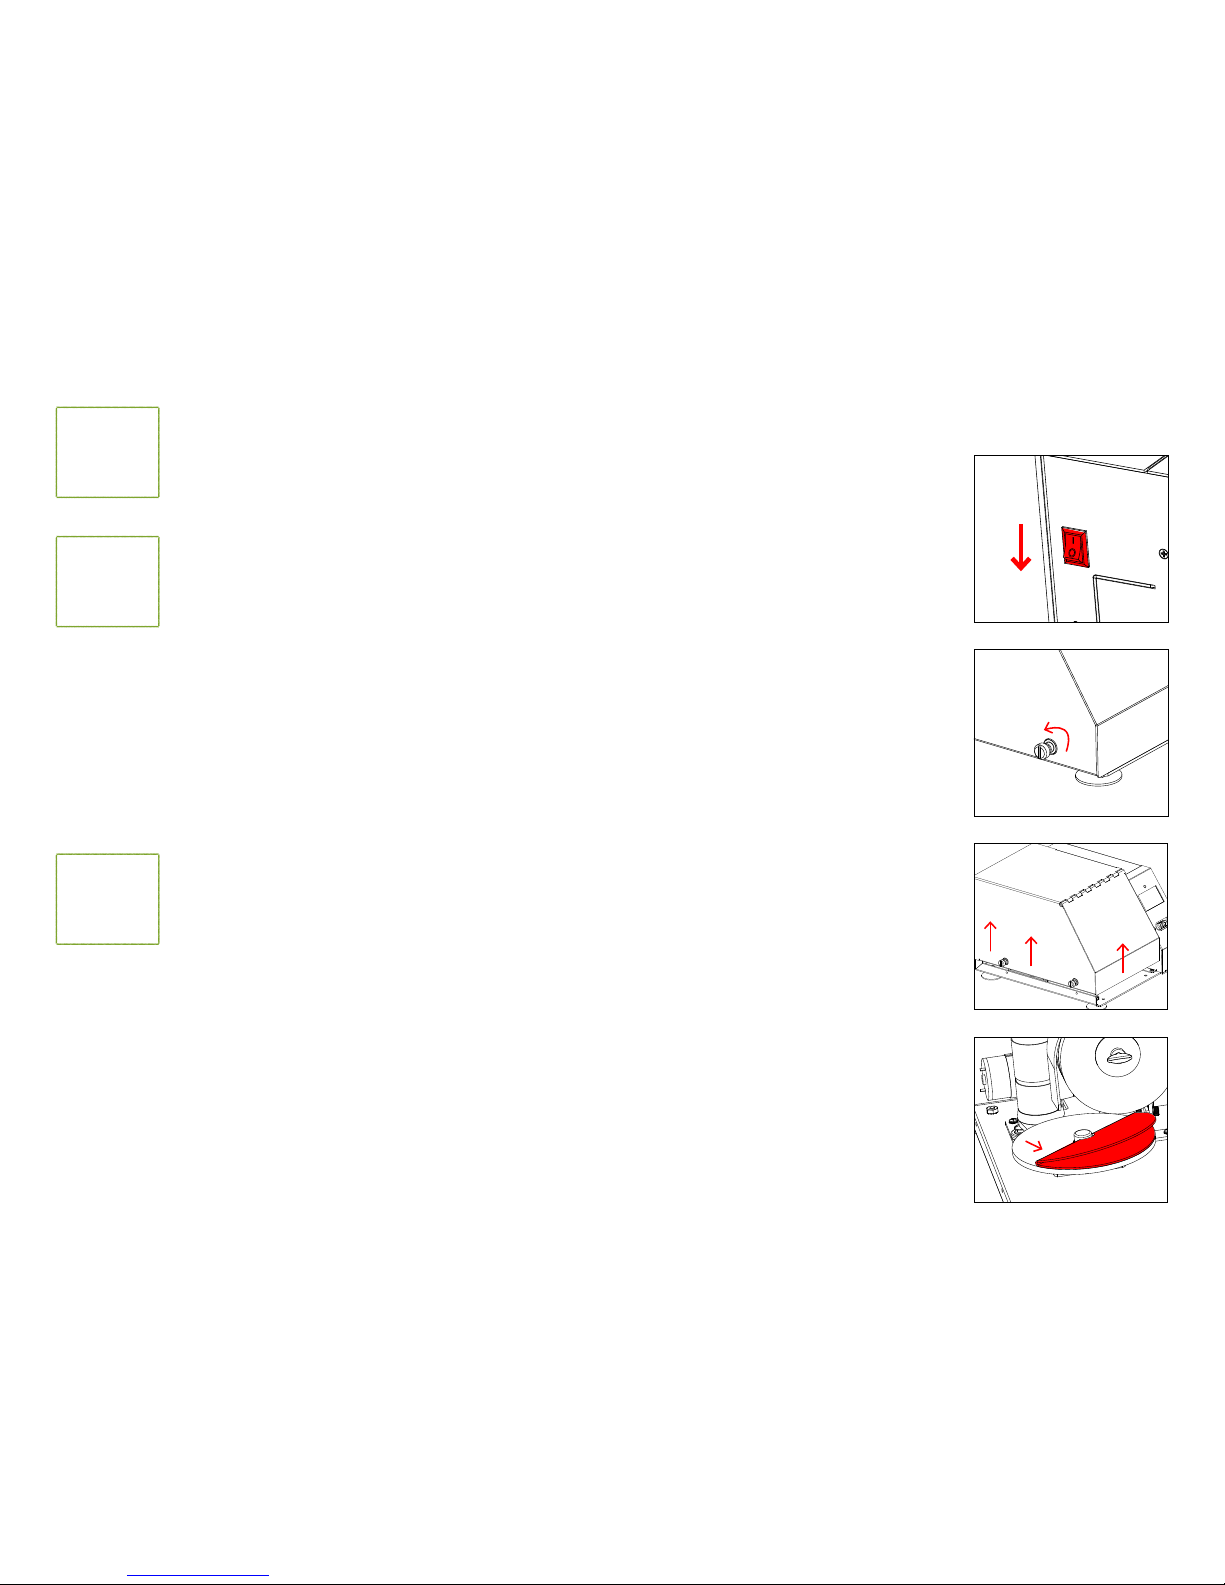
The VMI 2500 is preset to run on the “Regular” mode.
To switch the machine over to the “Deep” mode of
operation, press either one of the Scroll Buttons until Cycle Deep appears on
display. Once the machine is set to the “Deep” mode, this will be indicated by a
Blue LED light illuminated on the Start Button. Located on the LCD Screen in the
“Main”Menu, on the bottom section, this is where the Cycle Mode is displayed.
This mode is set to run for 1 minute.
Cleaner
Over time, the Bung Wheel will become encased
with dried solution and plastic particles. Bung
Wheels left in this condition will eect the
repair quality of the discs and in some extreme
circumstances may cause damage to the discs
themselves. For this reason the VMI 2500 has been
designed to notify the Operator to clean the Bung
STAT READY
COUNT 499
CYCLE REG
STAT READY
COUNT 499
CYCLE DEEP
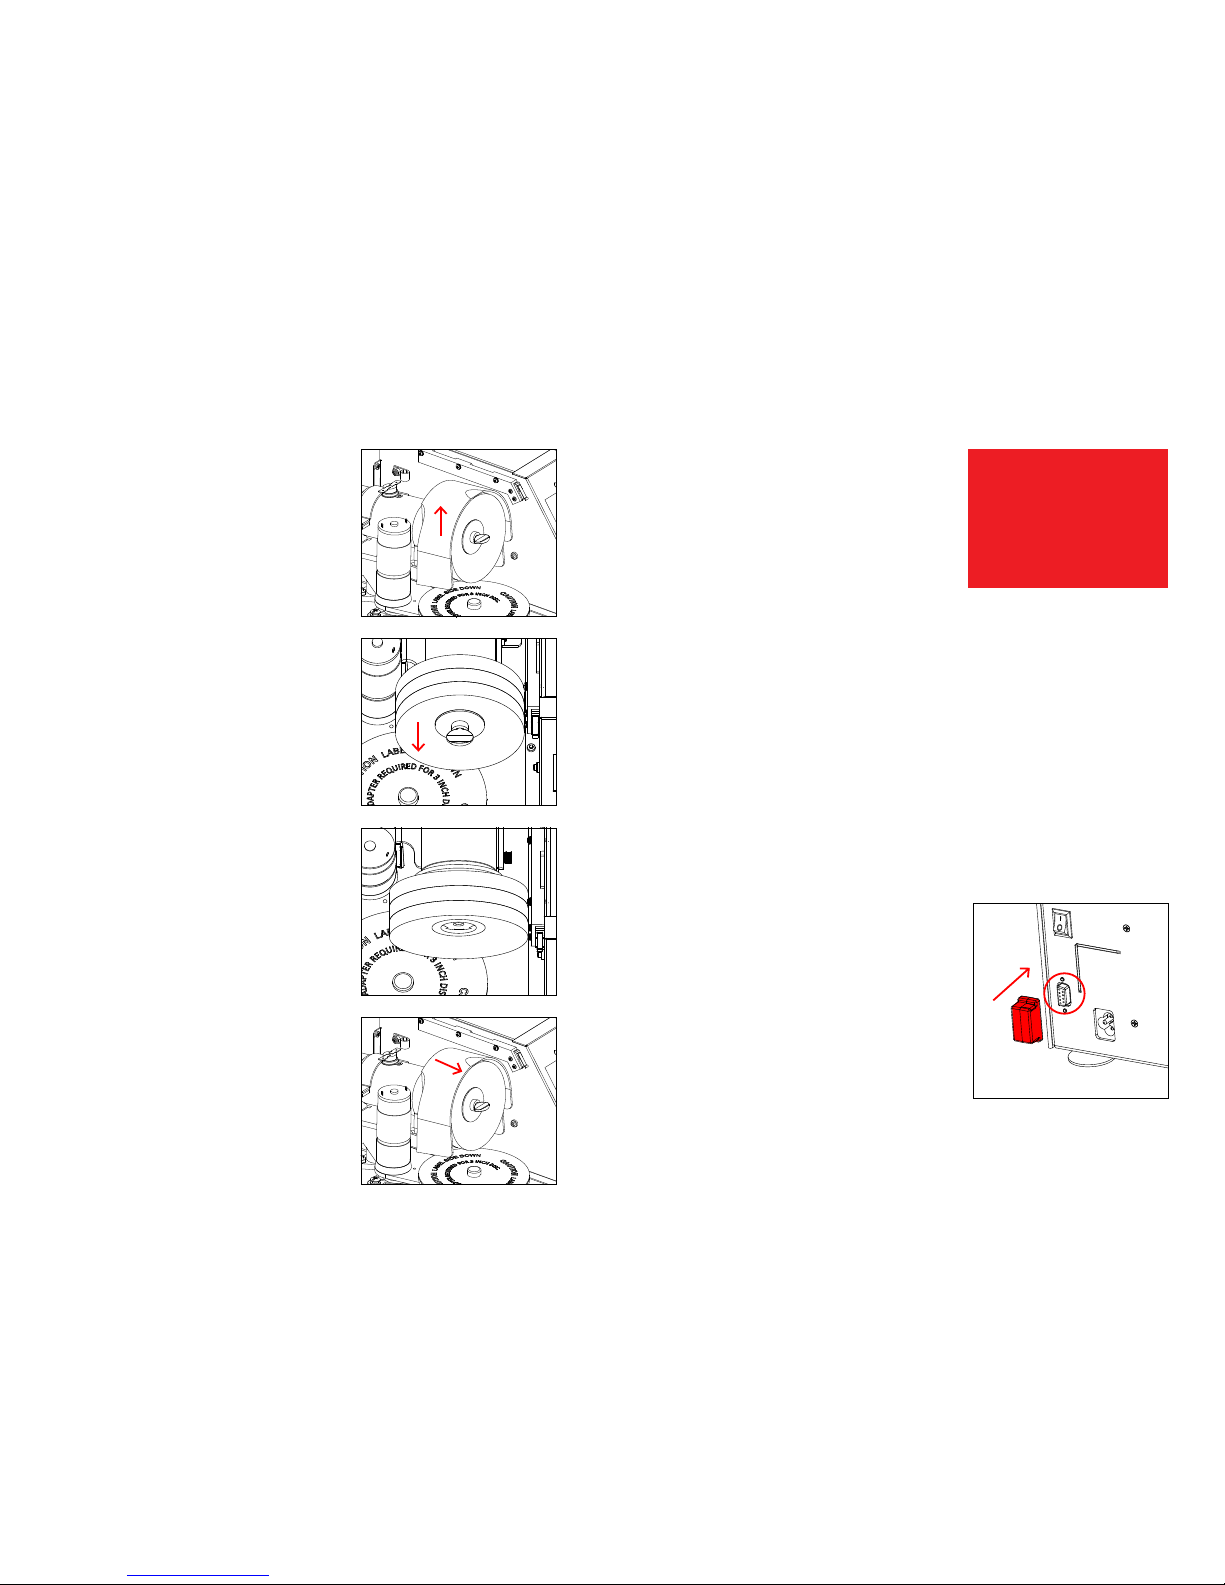
STAT READY
COUNT 499
CYCLE CLNR
Wheel. After about 20 minutes of machine operation, the Main Menu will
display the message: “Cycle CLNR”, on the bottom section of the Cycle Mode
line. The Start Button will also ash an illuminated Red LED light. At this point
load the Cleaner Disc onto the rubber platter.
Note: Make sure the Cleaner Disc is loaded Label Side Down! Close the front
cover and press the Start Button. Upon completion, the machine will reset back
to the preset “Regular” mode and the Operator can now continue using the
machine.
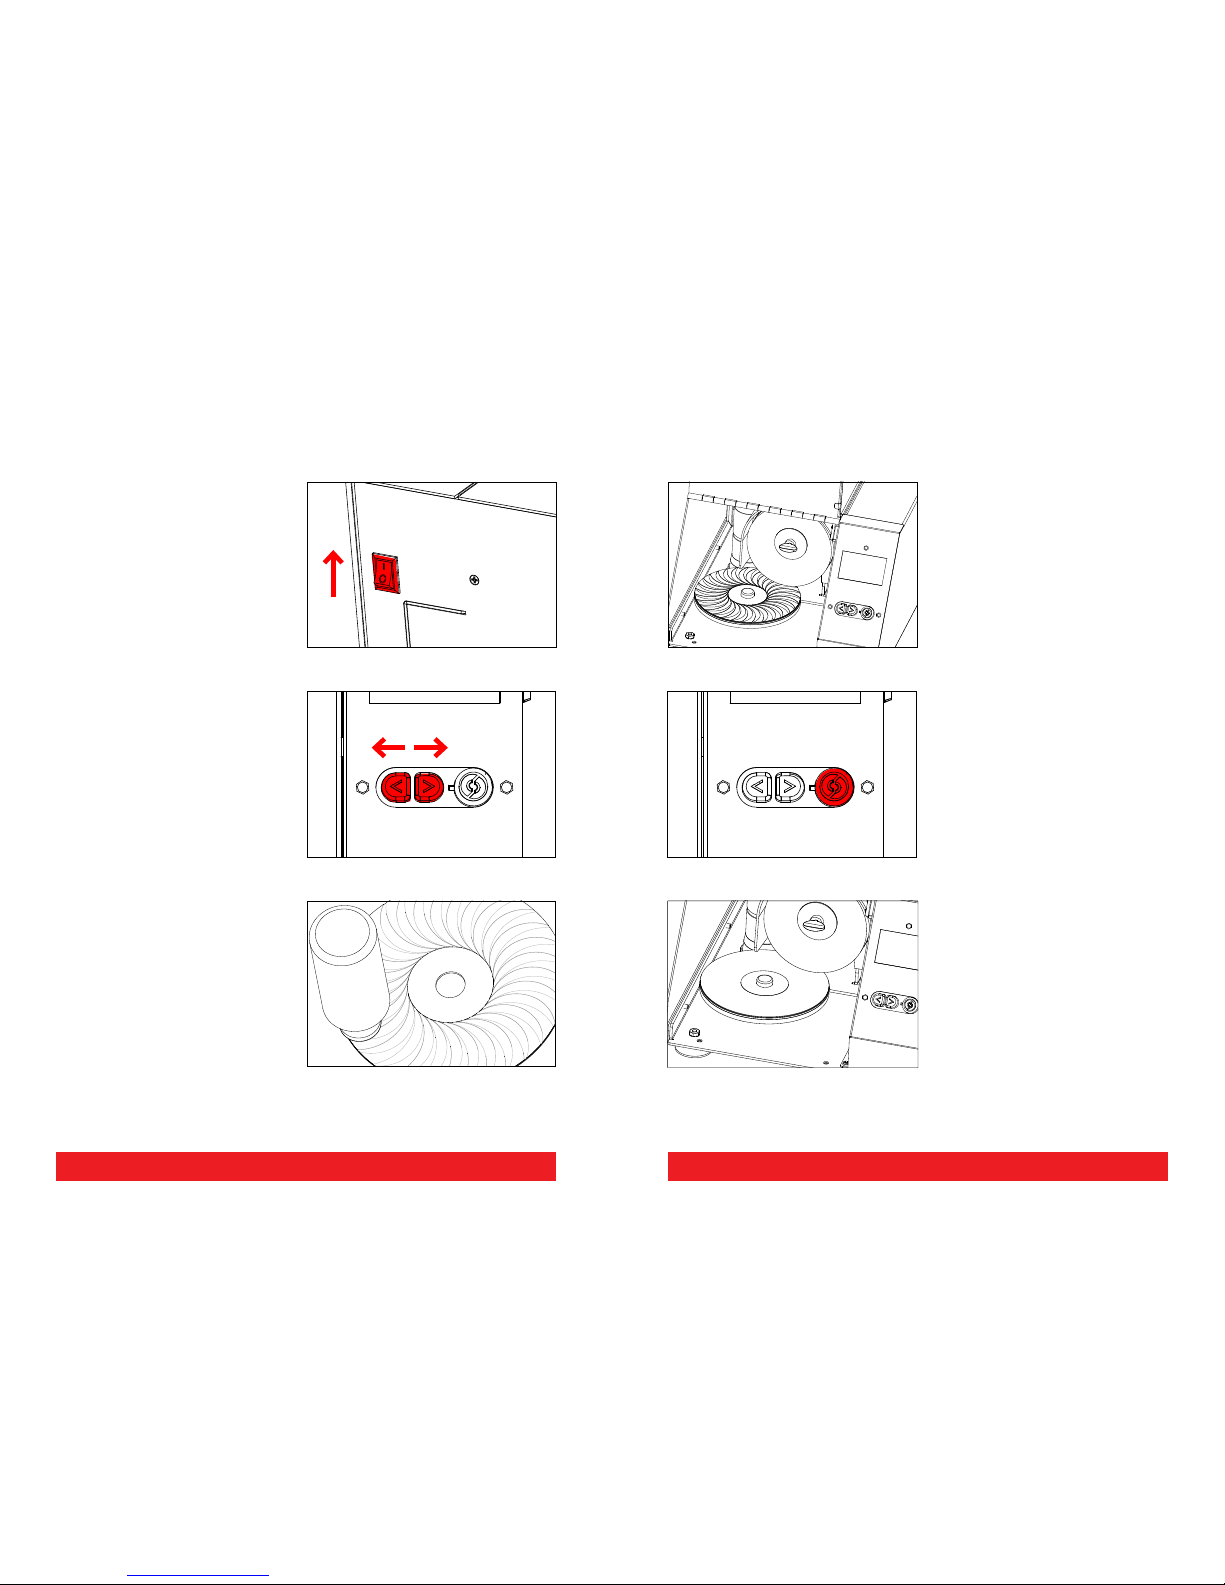
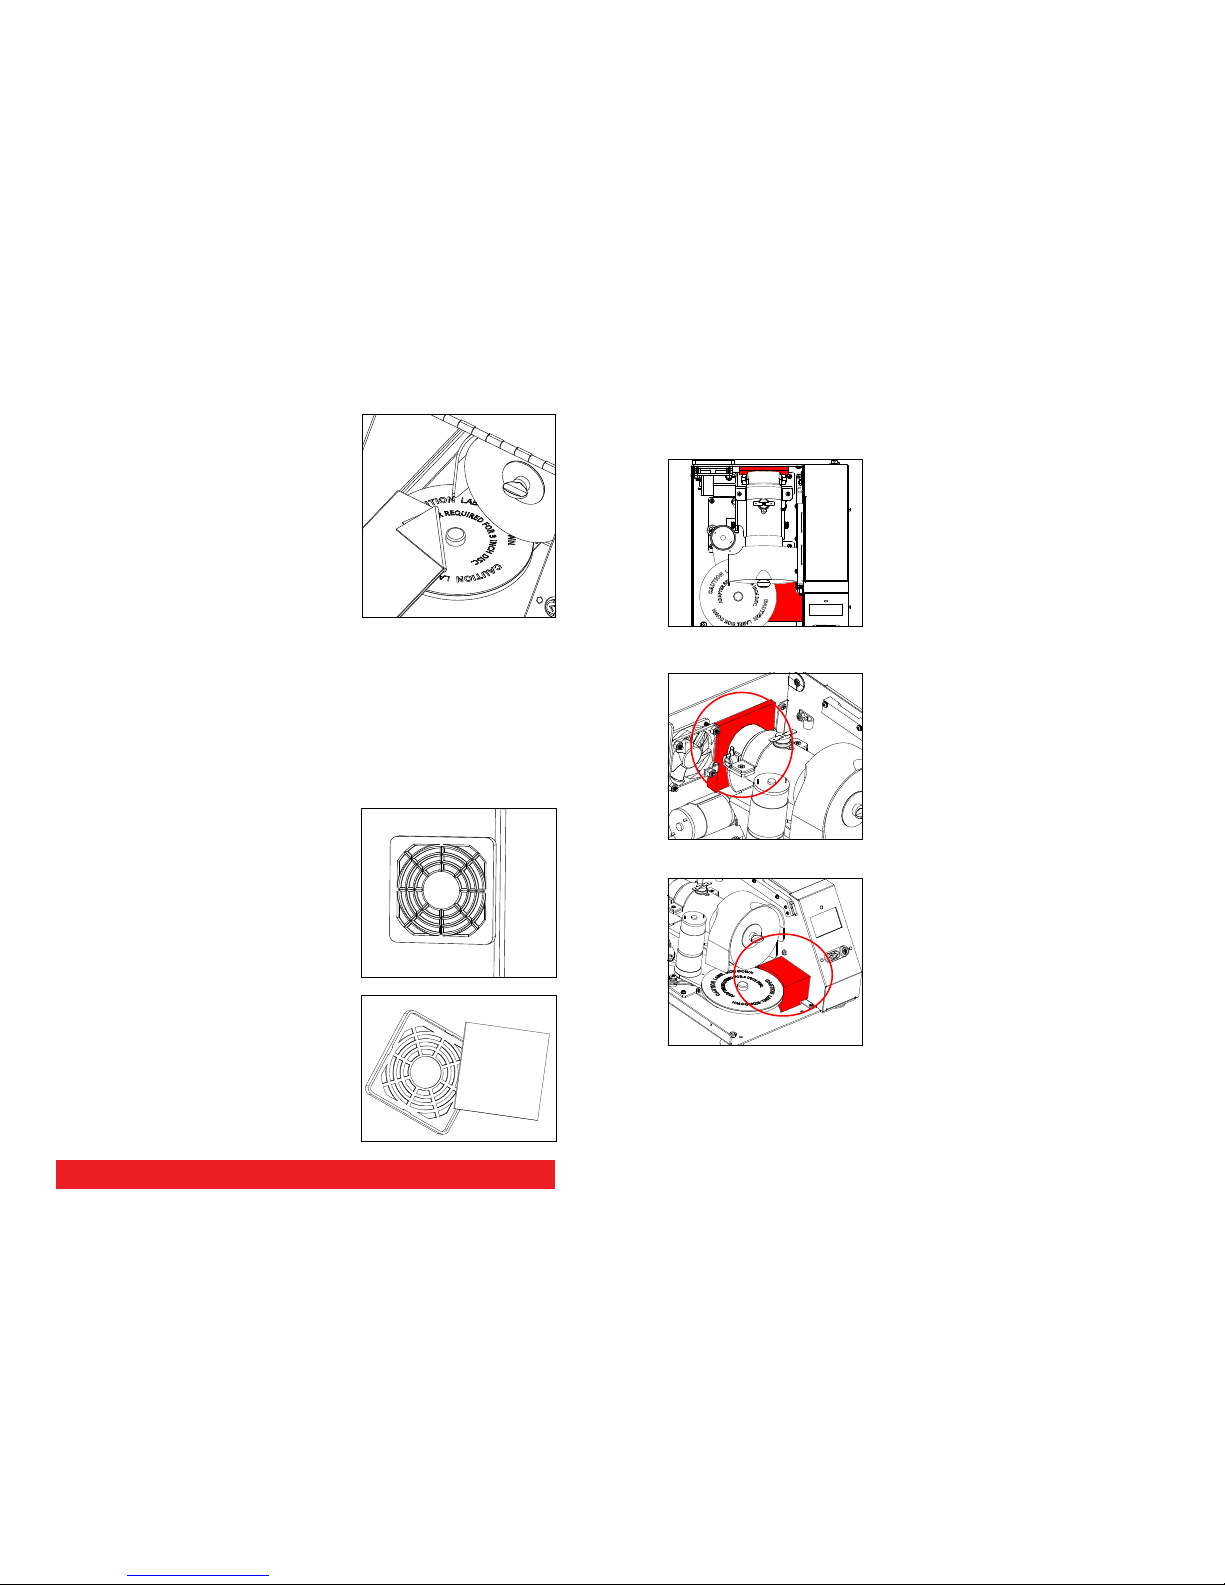
At certain times, the Operator may choose to run the “Cleaner” mode before
the machine instructs the Operator to do so. In order to activate this mode of
operation, press either one of the Scroll Buttons until cycle CLNR appers on
display. Once the machine is set to the “Cleaner” mode, this will be indicated
by a ashing Blue LED light illuminated on the Start Button. The Cycle Mode
displayed on the bottom section of the Main Menu will read: “Cycle CLNR”.
Proceed to insert the Cleaner Disc, close the front cover, and press the Start
Button.
Emergency Stop
At anytime during the cycle you can stop a cycle prematurely, by pressing any
button on the User Interface or by lifting open the front cover. Once the button
is pressed or the front cover is lifted open, the cycle will stop and the Main Menu
will display an error message: “Emergency Stop Wait”. An illuminated ashing
Red LED light on the Start Button will also appear. Once the machine has
realigned itself (Note: The Front Cover must be closed in order for the machine
to realign itself), the machine will reset back to the last mode of operation that
was selected. The Operator may now continue using the machine.
Replace Chip
The consumables (bung wheel and bung solution) have been designed
to be replaced at the same time. The consumables originally provided with
the VMI 2500 and the VMI 2500 Combo Packs are all rated for 500 minutes of
operation. Each conguration is accompanied by a Consumable Counter Chip
which informs the unit that the consumables have been replaced and installed.
The amount of consumable usage time is displayed on the Count line located
on the Main Menu. As the consumables deplete over time, the Count line
display will count down in number according to the minutes left on the chip.
Once the C2 Chip has reached 10%, the main menu will display the following
information: