VENTRA VDR-600 User manual

User Guide
Please read and follow all instructions
and features before use. Save for
future reference.
For latest update and specs, please visit
www.ventrainc.com
Manual Ver 03 1
VDR-600
2 CH Capacity Vehicle HD Video Recorder

Table of Content
PRODUCT INTRODUCTION .……………………………………………………………………………………………………………………………… 2
RECORDING TIME TABLE / FUNCTION .…………………………………………………………………………………………………….…….....3
INFORMATION BEFORE INSTALLATION .…………………………………………………………………………………………………………….4
IMPORTANT INFORMATION BEFORE INSTALL .………………………………………………………………………………………………….5
WARNING SAFETY PRECAUTION .……………………………………………………………………………………………………………………….6
WARNING REGULATIONS.……..…………………………………………………………………………………………………………………………..7
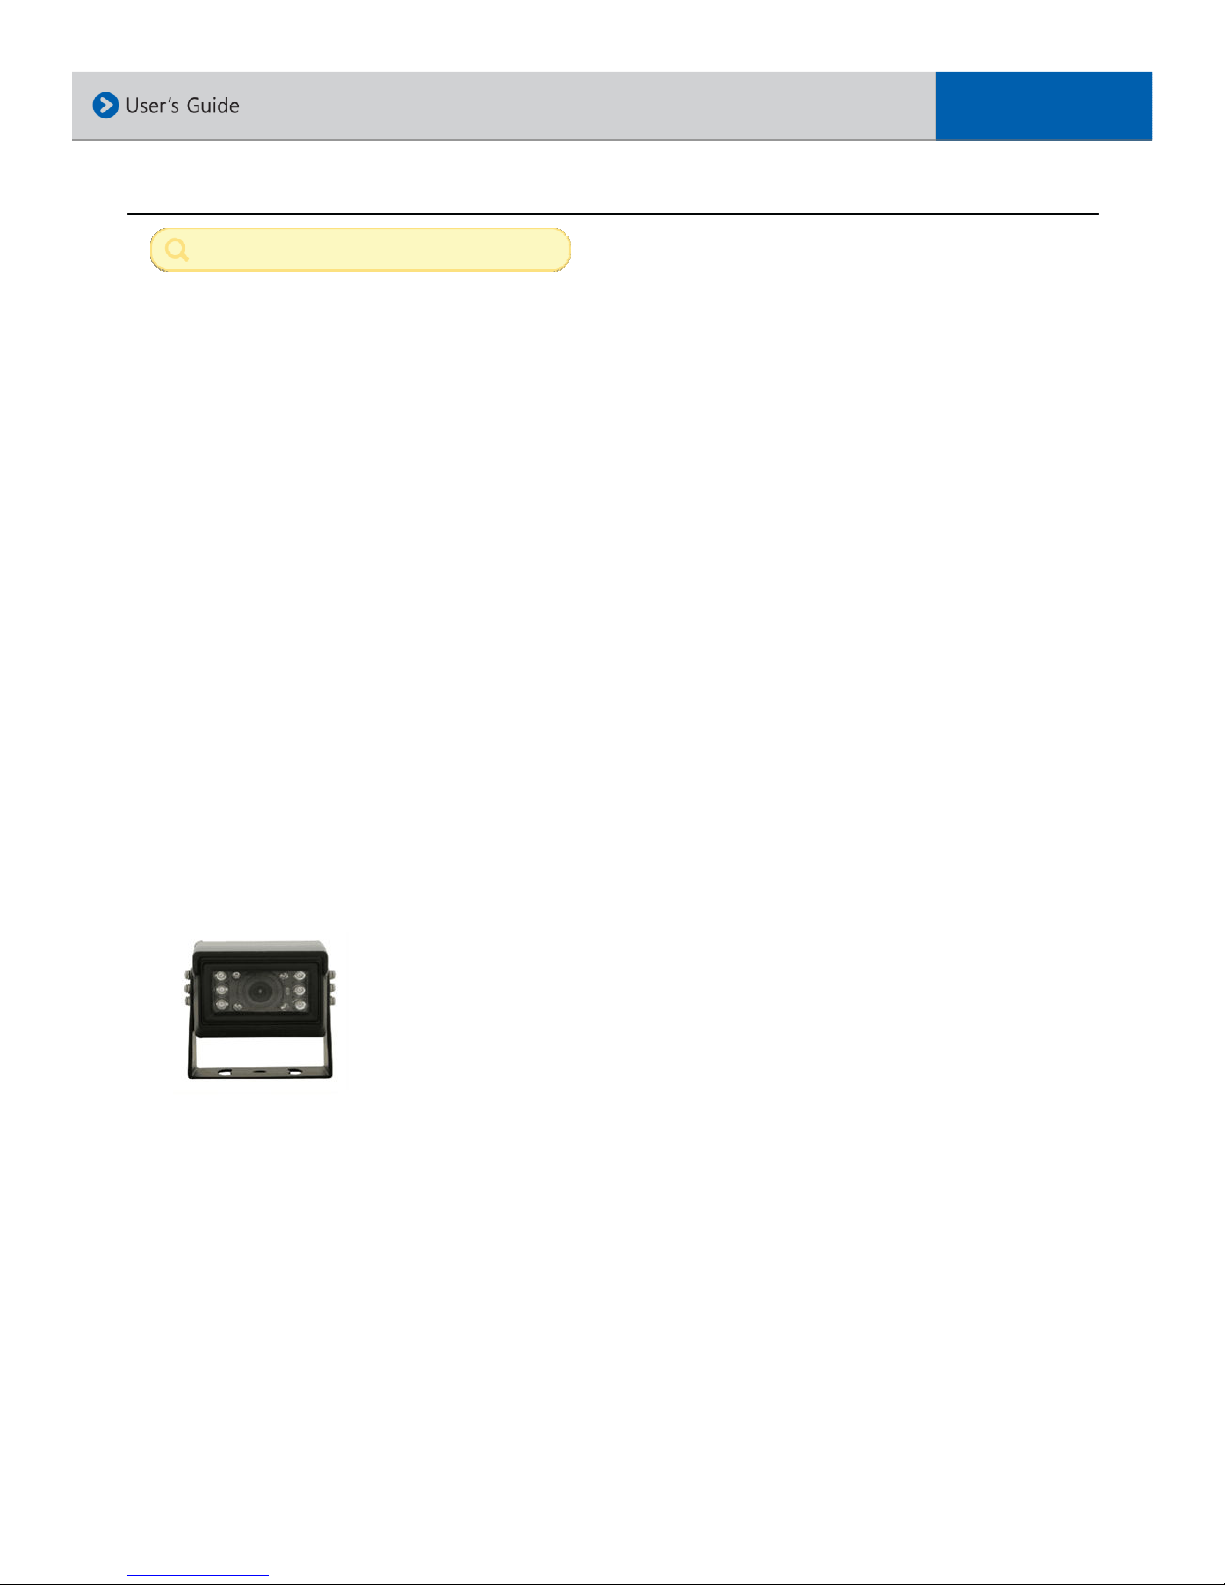
MODEL / PRODUCT INFORMATION ....…………………………………………………….............................................................
SYSTEM LAYOUT OVERVIEW ……………………………………………………………………………………………………………………………9
SPECIFICATION .……......................................................................................................................................……..10
INSTALLATION OVERVIEW ...................................................................................................................................11
INSTALLATION PROCEDURE .................................................................................................................................12
INSTALLATION WIRING ........................................................................................................................................13
SOFTWARE PC VIEWER OPERATION ......……………………………………………………………………………………………………………14
SOFTWARE PC VIEWER LAYOUT ............................................................................................................................15
SOFTWARE PC VIEWER FUNCTION ..…...................................................................................................................16
SOFTWARE PC VIEWER FUNCTION (CONT’D) .......................................................................................................17
SOFTWARE PC VIEWER FUNCTION (CONT’D) .......................................................................................................1
SOFTWARE PC VIEWER SYSTEM OVERVIEW................................................... .......................................................19
RECORDING FRAME RATE, G-SENSOR LEVEL.............................................. ...........................................................20
PARKING TIMER, EVENT STORAGE, AUDIO, 2ND CAMERA................................................. .....................................21
VOICE GUIDANCE, TIME ZONE, TIME AND DATE SETTINGS . .............................................. ...................................22
VOLTAGE CHECK, VIDEO QUALITY, LED LIGHT INDICATOR .................................................. ..................................23
PASSWORD, USER / VEHICLE INFO, AUTO SHUT OFF TIMER............................................... ...................................24
EVENT SELECTION, SUDDEN START, STOP AND TURN, MAX SPEED LIMIT ......................... ....................................25
EXPORT FOLDER DIRECTORY, VIDEO PLAYBACK MODE, MIRROR FUNCTION. .................. .....................................26
EXPORT FOLDER DIRECTORY, VIDEO PLAYBACK MODE, MIRROR FUNCTION .................. ......................................27
SAVE IMAGE, EXPORT AVI VIDEO ..........................................................................................................................2
SMART VIDEO EXPORT / BACKUP ..........................................................................................................................29
SMART VIDEO EXPORT / BACKUP ..........................................................................................................................30
TROUBLESHOOTING........................................................................................................................................……..31
WARRANTY ..……..……......................................................................................................................................……..32

1. Product Information
Overview
The VDR-600 vehicle video recorder is a 2 CH (1 + 1) capacity, all-in-one system for safety, security and
fleet management. Equipped with a built-in vandal resistant lock, the system offers enhanced security to
prevent unauthorized access to power cable, SD Card and Camera Angle.
An optional EX6-OMIR expansion weatherproof AHD camera provides additional recording angle such as
in-vehicle, side view and rear of the vehicle. Designed for both forward facing and in-cabin or
external/side recording, the VDR is an easy to install, rugged system ideal for passenger, commercial, bus,
first responders, trucks, specialized equipment and construction vehicles – across various industries.
The VDR-600 records detailed information including 10 00P HD Video, Audio, Speed/Route History,
Driver ID, Vehicle ID, Date and Time.
Supporting up to 12 GB capacity, the system records vital information on a solid-state storage technology
to ensure stability of data. Auto continuous loop recording enables the system to constantly record
Normal and Events. A built-in 3-Axis G-Sensor detects and records any sudden accelerations, braking or
impact.
Recorded files can be viewed from the licenses free PC software by removing the SD card from the unit
and connecting it to a PC. From there, files can be easily accessed via different criteria such as date,
incident and type of recording.
2
Feature Highlight
•2 CH Capacity (1 + 1)
•Optional 2nd Camera
•10 0P HD Video @ 30 FPS (Front Cam)
•Wide Angle Recording / Viewing
•Built-in Mic / Speaker
•Supports up to 12 GB Capacity
•Normal + Event Recording
•Pre-Event, Overspeed,, Shock, Sudden
Acceleration / Braking
•Built-in GPS for Speed / Route History
•Built-in Precise Shock Sensor
•Tamper Resistant Lock
•Assignable Vehicle, Driver and Company ID
•Back up video files and images
•Password protection
•Supports Video Out to monitor
•Format Free

1. Product Information
Recording time of VDR-600 – Front (1080 HD) and Expansion Camera (720 AHD)
Video Quality @ 30F S 16GB 32GB 64GB 12 GB
High 1H 50M 3H 20M 7H 15M 14H 30M
Med 2H 30M 5H 15M 10H 45M 21H 30M
Low 3H 30M 7H 00M 14H 30M 29H 00M
Recording Time Table - All figures are approximate
Important Information
3
This VDR-600 utilizes a continuous recording file architecture and proprietary Variable Bit Rate Recording (VBR).
The files are recorded and stored in a continuous format, rather than in a uniform time segment. This means that
the Normal and Event Recording length will vary based on the size of Micro SD card.
VDR-600 will automatically record once it is connected to the car battery/fuse or when the vehicle ignition is on.
Recording can be stopped by unplugging the power cable from the VDR or turning off the engine (cigar plug
connection). VDR will save the last recording and end operation.
If the system is directly connected to the car battery/fuse and wired for continuous 24/7 recording, it will record
continuously until the voltage of the vehicle battery goes below the set voltage limit. At that point, VDR will
automatically turn off to prevent battery drain (Battery Protection Mode).
Once the storage space of the microSD memory card is full, the VDR will overwrite the latest data on top of the
existing data (Loop Recording). For instance, the oldest Normal recording data will be deleted and the latest
recording data will be saved. In case of Event recording data, it deletes the data depends on the importance and
time frame of thedata.

1. Product Information
Note: G S Satellite Reception
GPS signal may take 5~15 minutes to be connected when turning on the system for the first time, or
if the product has not been used for more than 3 days.
GPS may lose reception in areas where high-rise buildings are present. Stop at a location where your
GPS can regain its reception, before proceeding again.
Extreme weather conditions may interfere with the GPS reception. The operating temperature
should remain between 14F ~150F
Instructions Before Operating this roduct
Thank you for selecting Ventra. The following is the safety instructions, product user manual and
product warranty information
Please read these safety instructions thoroughly before operating the product and keep this
manual for future reference
The VDR-600 main camera is designed to be installed inside of the vehicle to record front and rear
(or interior) with audio (can be disabled). This device is to encourage safe driving and provide video
documentation.
The product may not be able to recognize a slight shock or a minor collision as an event. In this
case, you may press the event button to save the data as an event
We strongly encourage you to use Ventra recommended micro SD memory cards. No standard
warranty service is provided by the manufacturer unless the product is used with the
recommended micro SD memory cards even within the warranty period
Please be aware that micro SD memory card have limited product life expectancy and will eventually
degrade in time - causing errors in recordings / data corruption. It is highly recommended to format
and check the integrity of the micro SD card on a regular basis. Micro SD memory card related
problems are not under warranty and the manufacturer or the supplier is not responsible for your
data loss or missing recordings
4

1. Product Information
Important Information – Review Before Installation and Operation
Before implementing the device, record on to a micro SD memory card for 5 to 10 minutes as a trial recording then
check to make sure that it has recorded properly
Using other types of power sources than the one that is supplied will void the product warranty. Please note that
alternative power sources could cause a fire and damage the product
Consult a professional installer if you intend on using direct power connection to the vehicle’s battery. The product
warranty will be void due to improper installation or by a non-qualified installer
The warranty does not cover claims related to mishandling, tampering and / or disassembling of the product
Altering and disassembling of the product may result in a fire or electric shock. Disassembling the product will void the
warranty. Inquire with Ventra in the event the product needs repair
Do not store the product in extreme high or low weather conditions. Exposure to sunlight for extended period of time
could cause the product to malfunction
Refrain from using liquid cleaners or chemicals to clean the device. Using a dry cloth to wipe down the product will
suffice
Product warranty will be void if using micro SD memory card other than the one supplied or recommended by the
manufacturer or the distributor
Saving files other than the device’s recorded files on to the micro SD memory card, may cause a camera error
Do not use the micro SD memory card with other applicable products such as a portable navigation system or a digital
camera, as this may cause an error to the already existing recorded files
Do NOT remove the micro SD memory card from the VDR until after the power has been completely turned off, as
this will damage the camera
Removing the micro SD memory card prior to all the LED lights shutting off may not save the last recordedfile
Do not try to change the settings of the product while driving, as it may cause a fatal accident
Stop operating the product immediately if you notice smoke or burning smell, as it may result in a fire or electric
shock. Please contact your local dealer or supplier
Clean the area of the windshield with damp cloth prior to mounting the camera
Please note that cold weather may temporarily weaken the strength of the adhesive
The product is designed to be installed inside the vehicle. Any damage caused by placing the device outside the
vehicle, or damage due to misuse or handling of the product will void the warranty
For additional information regarding your warranty and after warranty servicing of your product, please contact
Ventra 5

1. Product Information
Warning – Safety recaution
Install the device in a manner that does not obstruct the driver’s view of the front or sides of the vehicle, or
interfere with the safety of operating the vehicle
If using the permanent battery power cable to connect the VDR-600 to the vehicle’s battery, please remember to
disconnect the power plug from the unit. Vehicle battery will be drained if left unoperated for an extended
period of time depending of the size and condition of the battery
When exposed to direct sunlight for extended period of time, the equipment may become hot. lease exercise
caution when touching the equipment
Do not operate, adjust or view this recorder while driving or when vehicle is in motion
Do not place the device insecurely on the dashboard, or place the device in front of or above an airbag
lease comply with all local, state and federal driving and traffic regulations
To reduce the risk of fire or electric shock, do not expose this unit to water, liquid, rain or moisture
Disconnect and replace the cable if wire is stripped or damaged
In the event of an impact or accident, please check to ensure the equipment is properly secured. Inspect the
mounting bracket and adhesive for any signs of damage
Fuse rating must be in rated capacity
Do not put foreign material into card insertion slot of the terminal, it may cause product failure
6

1. Product Information
Warning
Windshield Mounted Device Legal Notice
Please check and comply with ALL local, state and federal laws and or regulations regarding windshield
mounted devices. Some state laws prohibit drivers from using suction mounts on their windshield when
operating motor vehicles. Other state laws allow the suction mount to be mounted to be located only in
specific locations on the windshield. Numerous states have enacted restrictions against placing objects on
the windshield in locations that obstruct the driver’s vision.
IT IS THE USER’S RES ONSBILITY TO MOUNT VENTRA EQUI MENT IN COM LIANCE WITH ALL LICABLE LAWS AND
ORDINCANCE.
Audio and Video Recording Legal Notice
Certain local, state and federal laws may prohibit recording of audio and or video in vehicles or public area, or without
knowledge and or consent, please check and comply with ALL local, state and federal laws and regulations
Certain local, state and federal laws may require signage or display that indicate recording of audio and or video in
vehicles or public area. Please check and comply with ALL local, state and federal laws and regulations
IT IS THE USER’S RES ONSBILITY TO USE VENTRA EQUI MENT IN COM LIANCE WITH ALL LICABLE LAWS AND
ORDINCANCE
Use of this product other than its intended purpose is strictly prohibited
Ventra Technologies Inc. does not assume any responsibility for any fines, violation, penalties or damages that may be
incurred as a result of the use of the product
Ventra Technologies Inc. is not responsible for any direct, indirect, incidental or consequential damages, arising out of
use, misuse or inability to use of our products
7

Model: VDR-600
Included Components
Main Camera & mounting bracket
Permanent Power cable (Hardwired)
Key lock
Built-in passive GPS
Micro SD memory card (16GB)
2 Keys
Memory card adapter
Cable holders
User’s manual
[Optional Accessories]
EX6-OMIR Weatherproof 720P AHD expansion camera
EX6-BPC Permanent Hardwired Power cable
EX6-PWR Aux Power cable (Cigarette / Aux plug)
EX6-VOC Video Out Cable
EX6-BKT Replacement Windshield Bracket
Model Information
1. roduct Information
Model: VDR-600BT
Model: EX6-OMIR
Included Components
Main Camera & mounting bracket
Permanent Power cable (Hardwired)
Key lock
Built-in passive GPS
Micro SD memory card (32GB)
2 Keys
Memory card adapter
Cable holders
User’s manual
Included Components
External camera
30ft cable

1. Product Information
System Layout Overview VDR-600
①Front CameraLens
②Bracket
③SecurityLED
④LEDStatus
⑤Emergency / Manual Event Button
⑥Speaker
⑦Microphoneinput
⑧Key lock: Micro SD memory card slot & cable
input ports (Inside the cover)
9
•Micro SD card slot
•Camera Angle Adjustment Screw
•GPS Input
•Power Input
•Video Input – 2nd Camera
•Video Output
If using optional EX6-OMIR expansion camera, connect
camera PIN connector to VIDEO IN port on VDR-600
EX6-OMIR is powered by VDR-600 (5VDC)

1. Product Information
Specifications
Product specifications may change without prior notice
10
Model VDR-600 / VDR-600BT
Channel 2
Camera (VDR-600 / Front) 1/2.9” CMOS Digital
Camera Angle (VDR-600 Front) 140
Recording Resolution (VDR-600 Front) 1920 x 10 0 @ 30FPS
Camera (EX6-OMIR / Rear) 1/4” CMOS
Camera Angle (EX6-OMIR / Rear) 120
Recording Resolution (EX6-OMIR / Rear) Analog HD 720P 12 0x720 @ 30FPS
ower consumption of (EX6-OMIR / Rear) 5V – Provided by the VDR-600 Main Camera
Recording Mode Normal, Parking, Event, Pre-Event
Video Out CVBS output (1V Vp-p 75ohm)
G S Built-in Passive GPS
G-Sensor Built-in 14 Bit 3 Axis (X, Y, Z axis), acceleration sensor
MemoryStorageCard GB~12 GB MicroSD memory card
SDXC Class 10 / U1 Min 20MB Writing Speed
Audio Recording Built-in high-sensitivity microphone / PCM compression
Voice / Audio Announcement Built-in speaker for status notice (voice/buzzer)
Battery rotection Yes
C Desktop Software Yes
ower - rated voltage DC 12V~24V
ower - operating voltage DC 7V~2 V
ower Consumption 12V (210~250mA)
Temperature Range – Operating 14F ~ 150F
Temperature Range - Storage -22F ~ 165F

1. Product Information
Installation Overview
The VDR has a 140-degree field of view, providing wide-angle recording. The optimal placement is the
center top section, below the tint of the windshield, adjacent to or below the rear view mirror
2) Determine front camera angle (Top / Down) – can be adjusted via screw
2) Place the optional EX6-OMIR expansion camera (if applicable) in the desired location and connect the camera
cable to the Video Input port of the VDR-600 by using the provided extension cable.
4) Insert the micro SD memory card into the VDR-600. (Ensure that the micro SD memory card is properly inserted -
will hear a click sound)
5) Connect either hard wiring power cable or optional Aux cigarette lighter power cable to the system
6) Check the LED Status light
Insert or eject the micro SD memory card ONLY when both the Vehicle and VD are TU NED OFF.
11

1. Product Information
Installation
Install VDR-600 on windshield - below or adjacent
to the rear view mirror. Press the VDR against the
windshield for at least 10 seconds to ensure firm
adhesion
Tuck the power cable between the windshield and
interior liner
Warning:Do not use sharp object to force power cable as it
may damage the wire and risk injury, fire and electrical shock
Fit the power cord to the side of the dashboard
Continue to tuck power cable along the side pillar
Fit the power cord along the door frame and into
the power source
The VDR has a 140-degree field of view, providing wide-angle recording. The optimal placement is the center
top section, below the tint of the windshield, adjacent to or below the rear view mirror.
Allow sufficient room for access to Lock and SD Card
12

1. Product Information
Installation Wiring
Vehicle Hard Wire FUSE connection for VDR ermanent power
Warning: Installation should only be performed by professional vehicle electronics installer. Failure to install
or connect wires properly may cause damages and or malfunction of vehicle, which may lead to injury or
death. Ventra is not responsible for any damages arising from installation
Identify the proper fuse and location. Refer to vehicle owners manual.
To record continuously (24/7) regardless if the vehicle ignition is turned on and off:
• Connect Red wire to ACC or Aux fuse
• Connect Yellow wire to 12V or 24V constant power
• Connect Black wire to bolt or metal frame of a ve icle (Ground)
To record only while the car ignition is turned on:
• Splice Red and Yellow wires toget er and connect to ACC or Aux fuse
• Connect Black wire to bolt or metal frame of a ve icle (Ground)
13

Insert t e micro SD memory card directly to PC or use a memory card reader to connect t e micro SD
memory card to PC. Open t e micro SD memory card folder and double click on [viewer.exe] file to run t e
VDR PC Manager program. T e program can be found in t e micro SD memory card upon system recording
[To start PC Manager]
1) Click t e ‘Open’ folder icon. and select t e folder called “BLACKBOX”
2) ‘Select Drive’ window appears. Select drive, i.e. BLACKBOX(H:), and t en click t e [ok] button.
2. Operations and Functions of Viewer
14
Compatible only with Windows OS
VDR PC Manager Icon
[ C Minimum Requirement]
• CPU : Pentium4 (Recommended-Dual Core)
• Memory : RAM 2G (Recommended-RAM 4G)
• Graphic : Graphic card compatible with DIRECT-X 10
• Operating System : MS WINDOWS VISTA / 7 / / 10

2. Operations and Functions of Viewer (Cont.)
1
2
3
5
4
6
8
9
10
13
7
11
[VD PC Manager]
15
1) Playback Display Screen : It shows the playback of the recorded video data from the micro SD
memory card.
2) G-Sensor Graph : The G-sensor graph displays the information on 3 axis points.
Clicking on the ‘Zoom’ button on the top left corner of the box gives you a closer look at the
graph.
① Enlarge Screen: Double click the mouse enlarges the display screen. Double click again returns to its
original size
② Zooming: Scroll the mouse wheel upward to zoom in on the video. Scroll mouse wheel downward
zooms out (up to 3x)
③ View Shift: Clicking the mouse and dragging the cursor will allow you to view the desired position on
the display screen.
12

3) GPS Information : Displays the longitude, latitude, azimuth, date and time of the current
playback
4) Playback Position Slider / Playback Time : Choose the position of playback data and
displays current / the total time of playback
5) Control Button
Jump to previous file Reverse playback search Frame by frame playback in reverse
Reverse playback Pause Forward playback
Forward playback search Jump to next file
6) Speed : Displays ve icle speed (MPH, KMH) via GPS signal analysis
7) Volume Control : Recorded audio volume controller
8) Control Slider
-1. Playback Speed Slider : Adjusts playback speed
-2. Brig tness Control Slider : Brig tness adjustment of video
-3. Saturation Control Slider
9) Open file / Configuration / Print / AVI Backup / Smart Backup / Capture Image
10) Click on All / Event / Normal to s ow t e lists and type of recorded data
2. Operations and Functions of Viewer (Cont.)
Frame by frame forward
playback
16

11) Playback List : A list of recorded files in the playback list. Double click on the file to
view
12) Maps: Internet connection is required to display map information
13) Software version information / Minimize window / Maximize window / Close button
2. Operations and Functions of Viewer (Cont.)
Upgrading the Product
VDR may need to be periodically updated for continuous product enhancement and maintenance
1. Insert a BLANK micro SD memory card in to the computer
2. Download the updated firmware from Ventra website onto a BLANK micro SD card
3. Insert the micro SD card in to the VDR and power on the system. The LED lights will begin to
flicker as the VDR automatically executes the firmware update. Allow few minutes for the
update operation
Please do not change the file name of the firmware. The VDR cannot recognize or
install file names that have been changed or mislabed. This will prevent the VDR
from updating properly.
17

[Playing the recorded data]
1) Click t e ‘OPEN’ button. Load t e data from t e micro SD memory card w ic is connected
to PC.
2) [Select drive] window appears. Select t e micro SD memory card drive and t en click t e
‘OK’ button.
3) A list of playback appears and select a file t at you want to watc by double click.
* All: Normal + Event files.
* Event: Events suc as impact, sudden acceleration, sudden break, s arp turn, overspeed,
emergency and pre-event recording files.
2. Operations and Functions of Viewer (Cont.)
18
I= Impact
= Pre-Event
S= Sudden Stop
A= Sudden Acceleration
T= Sharp Turn
E= Emergency
0= Overspeed
X= External Signal

[Setup configurations]
1)Click t e ‘Configuration’ icon.
2)‘Configuration’ window appears. Select t e desired function and settings, select Save and t e updated
settings will be saved to t e micro SD card. Insert t e micro SD memory card into t e micro SD memory card
slot of t e VDR and turn t e power on. T e VDR will be updated wit t e new settings.
* If there is no data on the micro SD memory, the settings menu cannot be configured or accessed
Please be aware t at if t e [index.dat] file gets deleted from t e micro SD memory card, it will not
save t e configuration settings. T e [index.dat] file can be created again w en t e micro SD card
is inserted into t e VDR and power on, but t e configuration settings will not be applied.
2. Operations and Functions of Viewer (Cont.)
19
Table of contents
Other VENTRA DVR manuals