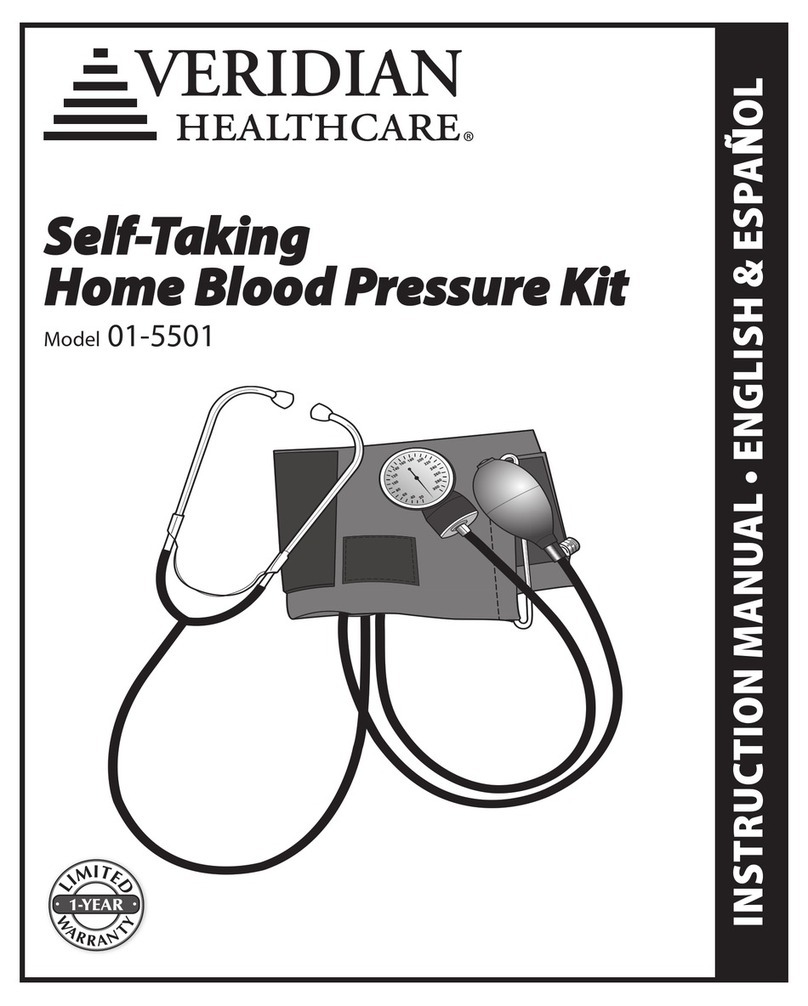
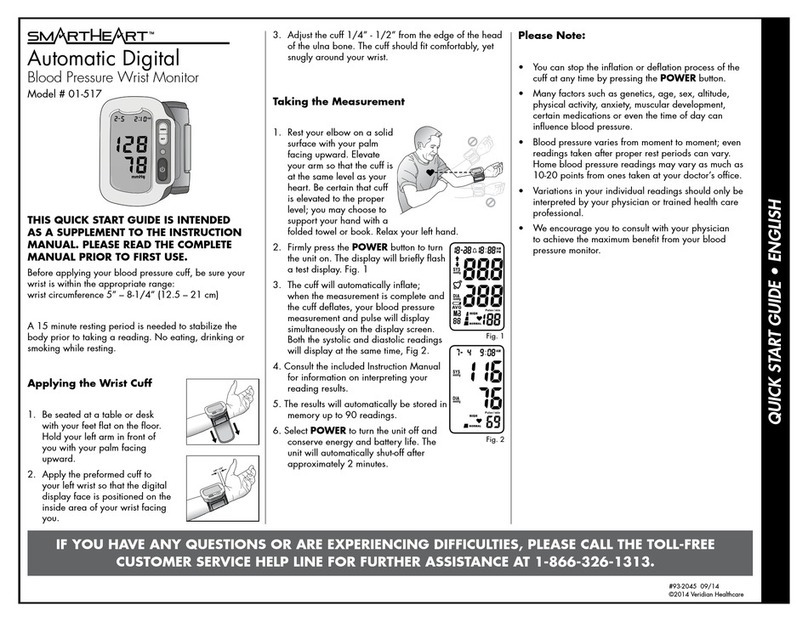
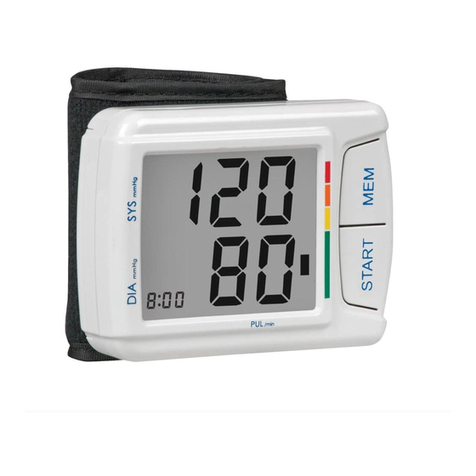
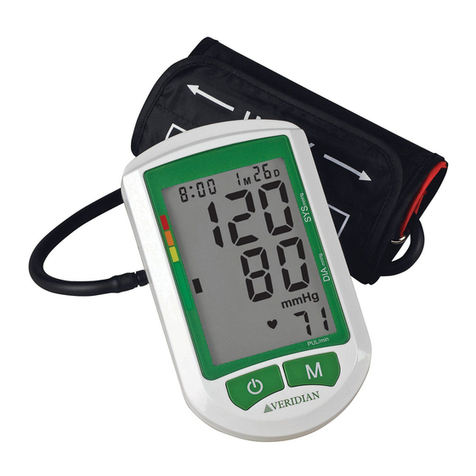
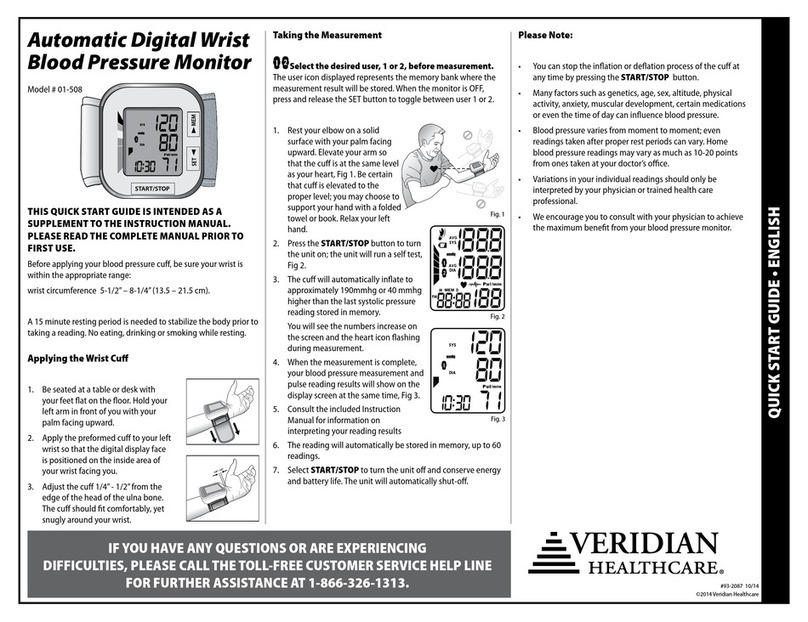
Veridian Healthcare 01-5521 User manual

Two-Party
Home Blood Pressure Kit
INSTRUCTION MANUAL • ENGLISH & ES AÑOL
1-YEAR
M del 01-5521

STO !
LEASE ENSURE YOU HAVE ALL OF THE FOLLOWING
COM ONENTS BEFORE USING YOUR HOME BLOOD
RESSURE KIT
IF YOU ARE MISSING ANY ARTS, INCLUDING INSERTS OR
INSTRUCTION MANUALS, DO NOT RETURN TO LACE OF
URCHASE. CONTACT CUSTOMER CARE AT 8663261313.
Unassembled, 3-
piece Stethoscope
Adult Arm Cuff
Canvas Storage Bag
Instruction Manual
Blood Pressure Reading Tracking og
FAQ Information Sheet
Replacement Parts Order Form
Gauge Squeeze Bulb

INDEX
Introduction..................................................................................................................4
Getting Started.............................................................................................................5
Features and Assembly of Your Home Kit..............................................................6
Applying Your Blood Pressure Cuff..........................................................................7
Proper Stethoscope Use and Fit...............................................................................8
Taking Your Blood Pressure Reading ................................................................9-10
Care and Maintenance.............................................................................................10
Warranty......................................................................................................................11
Instrucciones en Español...................................................................................13-24
oll-Free Customer Care Help Line: 1-866-326-1313
Monday – Friday 8:30 a.m. – 4:30 p.m. CS
Manufacture for
Veri ian Healthcare
1175 Lakesi e Drive
Gurnee, IL 60031
www.veri ianhealthcare.com
Ma e in China
#93-1063 06/12
©2012 Veri ian Healthcare, LLC
ENGLISH • 3

4 • ENGLISH
Veri ian Healthcare recommen s that you rst seek the a vice an recommen ation of
your physician or healthcare professional when using home iagnostic evices, inclu ing
bloo pressure monitors.
IN RODUC ION
Thank you for purchasing a Veri ian Healthcare Two Party Home Bloo Pressure Kit. With
proper care an use, your kit will provi e you with many years of reliable measurements.

ENGLISH • 5
Before Taking a Measurement
1. Your readings should only be interpreted by your physician or healthcare professional with
access to your individual medical history. Regular home blood pressure monitoring will
allow you to track and record your readings for discussion with your physician.
2. Conduct your measurement in a quiet place while seated in a relaxed position. Rest for 15
minutes before taking your reading. If an error occurs or you desire to take a second
reading, allow 15 minutes between readings for your blood vessels to return to normal.
3. Avoid smoking, eating, taking medication, alcohol, physical activity or any other stressful
activity for 30 minutes prior to taking a reading.
4. Always remove any jewelry or constrictive clothing that may interfere with the cuff
placement.
5. Remain still during measuring; do not talk during the reading.
6. It is recommended that you take your readings as the same time each day to better
monitor any indications in your results.
7. Record your daily measurement on the included chart or some other written document to
share with your physician.
GE ING S AR ED

FEA URES AND ASSEMBLY OF YOUR HOME KI
Arm Cuff
Simple Assembly -
Stethoscope: Insert the single end of the “Y” tubing into the stem of the chestpiece;
Insert the ends of the metal binaurals from the polybag and insert the ends into the “Y”
tubing.
Cuff, Bulb and Gauge: Attach the gauge and bulb to the tubing as shown above.
Inflation Bulb
Binaural
Y-Tubing
Air Release
Valve
ChestpieceAneroid
Gauge Metal
D-Ring
Ear Tips
6 • ENGLISH

Before applying your blood pressure cuff, be sure you have selected
the appropriate size cuff:
Adult Cu ts arm circumference 10” - 14” (25.4-35.5 cm)
Additional cuff ize are available for order on the enclo ed order form.
If for any reason you are unable to or should not use your left arm,
please modify the instructions for cuff application to your right arm.
Your physician can help you identify which arm is best for you.
1. Remove any constrictive clothing or jewelry that may interfere
with cuff placement.
2. Be seated at a table or desk with your feet at on the oor.
3. Extend your left arm. Find your brachial artery, which is at the
inner aspect (bend) of your elbow, Fig 1. You may be able to feel
your pulse. The artery patch should point to the brachial artery
when the cuff is applied.
4. Open the cuff creating a circle that you can slide your arm into; do
not extend the cuff beyond the metal bar.
5. Insert your left arm into the cuff. Position the bottom edge of the
cuff approximately one-half inch ABOVE your elbow; when taking
your reading, the stethoscope chestpiece must directly touch the
inside of your arm, over your brachial artery.
6. With your arm extended, palm facing upward and tubes
positioned down the center of your arm, Fig 2-3, use your right
hand to pull the end of the cuff and secure the hook and loop
material. Make sure that the artery mark is still pointed to your
brachial artery.
7. The cuff should t comfortably, yet snugly around your arm. You
should be able to insert one nger easily between your arm and
the cuff.
APPLYING YOUR BLOOD PRESSURE CUFF
Fig. 1
Fig. 2
Fig. 3
If you are not comfortable with applying your cuff, please seek the assistance of another
member of your household or work with your physician to practice the cuff application.
Incorrectly applied cuffs may result in inaccurate readings.
ENGLISH • 7

PROPER S E HOSCOPE USE AND FI
The earpieces on your Two-Party Home Blood Pressure Kit stethoscope have been carefully
calibrated to provide clear and audible acoustics. To best hear the sounds to be analyzed,
please keep the following tips in mind:
Fig. 2
Fig. 3
Fig. 1 -
C rrect P siti n
Fig. 1 -
Inc rrect P siti n
The earpieces should point forward when in use, Fig1.
The earpieces should t in ears securely but comfortably.
The binaurals may be adjusted to ensure maximum
comfort and efficacy. To increase the tension, simply
squeeze the binaurals just above the joint where they
meet, crossing the earpieces, Fig 2. Do not apply too
much pressure; apply a minimum of force, slightly
increasing the pressure until the earpieces t
comfortably.
Should the earpieces be too tight, pull the binaurals
apart, grasping them just above the joint where they
meet, Fig. 3. Be gentle so as not to damage the
stethoscope.
Always use caution when adjusting the binaurals to
avoid damage. When bringing the earpieces closer
together, the maximum tension used should bring the
black tubing on either side within contact. When pulling
the binaurals apart, do not exceed 90 degrees between
the binaurals.
8 • ENGLISH

AKING YOUR BLOOD PRESSURE READING
NOTE: For the purposes of these instructions, the individual
taking the reading will be refered to as the CAREGIVER, the
person receiving the reading will be refered to as the
PATIENT.
Applying the Cu and Arm ositioning - atient
1. Apply the cuff as instructed earlier in this manual.
2. Rest your elbow on a table with your palm and arm facing
upward. Elevate your hand so that the wrist is at the same
level as your heart, Fig 1. Relax your left hand.
reparing to Take the Measurement - Caregiver
3. Position yourself in front of the patient, seated at the same level.
4. Place the stethoscope eartips in your ears and place the chestpiece
of the stethoscope on the inside of the patients arm. The
chestpiece should be partially under the cuff directly over the
brachial artery.
5. Either hold the gauge in in your hand or position the gauge so it
can be read without being moved, such as clipped to a thick
notebook or folded towel in front of you.
6. Hold the ination bulb with your free hand and turn the air release
valve clockwise to close, Fig 2.
7. Begin inating the cuff slowly and steadily by pumping the
ination bulb until the gauge reads 30 mmHG ABOVE the last
SYSTO IC measurement. If you do not know the last SYSTO IC
measurement, inate to approximately 180-200 mmHg. NEVER
INF ATE THE CUFF ABOVE 280 mmHg.
Fig. 2
Close valve
Before taking a reading, review the section under Features & Assembly of your Home Blood
Pressure Kit and ensure every piece is properly assembled. Reminder, it is important to avoid
smoking, eating, taking medication, alcohol consumption or physical activity 30 minutes prior
to taking a reading.
ENGLISH • 9
Fig. 1
Fig. 3
Note first sound

CARE & MAIN ENANCE
10 • ENGLISH
AKING YOUR BLOOD PRESSURE READING
Fig. 4
Fig. 5
Open valve
Note last sound
8. When you have reached the proper ination level, slowly and
steadily turn the air valve counter-clockwise at a rate of 2-3 mmHg
per second. You will be able to watch the progress of the release on
the gauge.
9. As the pressure drops, listen closely for the pulse beat while
watching the gauge. Note the rst thumping sound you hear, this
is the SYSTO IC pressure, Fig 3.
10. Allow the cuff to continue to deate. You will hear changes in the
sounds and then no sound at all. When you have heard the last
sound, note the reading measurement, this is the DIASTO IC
pressure, Fig 4.
11. Quickly turn the valve counter-clockwise to deate the remaining
air, Fig 5. Remove the cuff and record the measurement on the
included chart.
IF YOU WISH TO TAKE ANOTHER MEASUREMENT,
WAIT A MINIMUM OF 15 MINUTES BETWEEN
READINGS TO ALLOW FOR THE BLOOD VESSELS TO
RETURN TO NORMAL.
• Do not use any liquids on the gauge or cuff.
• Do not store in direct sunlight, dust or excessive humidity.
• Avoid extreme temperatures.
• Do not disassemble the gauge or cuff.
• Avoid dropping or hitting the surface of the gauge or stethoscope chestpiece.
When the cuff is fully deated, make sure that the needle on the gauge is within the zero
square range. If the needle is outside of the zero range, it needs to be recalibrated by a quali-
ed technician. Ship your gauge, prepaid, along with $5.00 for return shipping and insurance,
to Repair Department, 1175 akeside Drive, Gurnee, I 60031.

ENGLISH • 11
Veridian Healthcare guarantees that its Two-Party Home Blood Pressure Kit will be free from
manufacturing defects under normal use for a period of one-year. This warranty covers only
normal use, and does not apply to use in any clinical or commercial applications. This warranty
is voided if the unit is misused or abused in any manner.
If the Two-Party Home Blood Pressure Kit fails to operate within the warranty period while
under the original purchaser owns the product, return it postage prepaid along with $5.00 for
return shipping and insurance to: Veridian Healthcare, Attn: Repair Department, 1175
akeside Drive, Gurnee, I , 60031; include your name, address, phone number and brief
description of the problem with your product. Take care to carefully package the product to
avoid any damage that may occur while in transit; shipping insurance with returned receipt is
recommended. Veridian Healthcare will repair or replace the defective unit at our option.
Repair or replacement of the defective unit, at the warrantor’s option, is the sole remedy
under this warranty.
ANY IM LIED WARRANTIES WHICH THE URCHASER MAY HAVE ARE LIMITED IN
DURATION TO THE TIME THAT THE ORIGINAL CONSUMER URCHASER OWNS THE
RODUCT. Some states do not allow limitations or how long an implied warranty lasts, so the
above limitation may not apply to you.
This warranty constitutes the warrantor’s only reasonability and obligation to repair and/or
replace materials or components, or refund the purchase price. Veridian will not be
responsible for any indirect, incidental, special consequential or punitive damages or other
loss, including, but not limited to damage to or loss of other property or liable to the
purchaser for any amount in excess of the cost of repair and/or replacement of the unit, or the
purchase price of the unit. Some states do not allow the exclusive or limitation of incidental or
consequential damages, so the above limitation or exclusion may not apply to you.
This warranty gives you specic legal rights, and you may also have other rights which vary
from state to state.
1YEAR LIMI ED WARRAN Y

MANUAL DE INSTRUCCIONES • ES AÑOL
1-YEAR
Kit de dos partes para
medición de la presión
arterial en casa
M del 01-5521

ALTO!
ASEGÚRESE DE TENER LA TOTALIDAD DE LOS
SIGUIENTES COM ONENTES ANTES DE USAR SU KIT
DE USO DOMÉSTICO
SI FALTA ALGUNO DE LOS ELEMENTOS, INCLUIDOS LOS INSERTOS
O LOS MANUALES DE INSTRUCCIONES, NO HAGA LA DEVOLUCIÓN
EN EL LUGAR DONDE EFECTUÓ LA COM RA. COMUNÍQUESE CON
ATENCIÓN AL CLIENTE AL TELÉFONO 8663261313.
Brazalete adult
del braz
Estuche
Manual Detallado
Registro de Presión Arterial
Preguntas con Frecuencia Hechas
Forma de Orden
Indicad r Bulb de
Inflad
Estetoscopio de 3
Pedazos

ESPAÑOL • 15
CON ENIDO
Introducción ...............................................................................................................16
Cómo Comenzar........................................................................................................17
Características y Montaje de su Kit ......................................................................18
Colocación del Brazalete de Presión Arterial......................................................19
Uso y Ajuste Apropiados del Estetoscopio..........................................................20
Cómo Tomar la ectura de la Presión Arterial ..............................................21-22
Cuidado y Mantenimiento ......................................................................................22
Garantía .......................................................................................................................23
Línea de ayuda gratuita de asistencia al cliente: 1-866-326-1313
De lunes a viernes de 8:30 a 16:30 (hora central del Este)
Manufacture for
Veri ian Healthcare
1175 Lakesi e Drive
Gurnee, IL 60031
www.veri ianhealthcare.com
Ma e in China
#93-1063 06/12
©2012 Veri ian Healthcare, LLC

16 • ESPAÑOL
Veri ian Healthcare recomien a que primero consulte y se asesore con su mé ico o
profesional el cui a o e la salu cuan o use ispositivos e iagnóstico e uso
oméstico, entre ellos el monitor e presión arterial.
Le agra ecemos su compra el Kit e uso omestico e la presion arterial el Veri ian
Healthcare. Con el ebi o cui a o y uso, su monitor le brin ará muchos años e lecturas
conables.
IN RODUCCIÓN

ESPAÑOL • 17
Antes de tomarse la presión
1. Sus lecturas sólo deben ser interpretadas por su médico o profesional de cuidados
médicos con acceso a su historia clínica individual. El uso periódico de un monitor en el
hogar le permitirá rastrear y registrar sus lecturas para comentarlas con su médico.
2. Tómese la presión en un lugar tranquilo y sentado en una posición relajada. Descanse
durante 15 minutos antes de tomarse la presión. Si se produce un error o si desea tomar
una segunda lectura, deje transcurrir 15 minutos entre lecturas para que sus vasos
sanguíneos se normalicen.
3. Evite fumar, comer, tomar medicación, beber alcohol, hacer actividad física o cualquier otra
actividad estresante 30 minutos antes de tomarse la presión.
4. Quítese siempre las joyas o indumentaria apretada que pudiere interferir en la colocación
del brazalete.
5. Manténgase quieto usted durante la medición; no hable durante la lectura.
6. Se recomienda tomarse la presión a la misma hora todos los días para controlar mejor las
indicaciones en sus resultados.
7. Registre su medición diaria en la planilla que se incluye o en algún otro documento escrito
para compartirla con su médico.
CÓMO COMENZAR

18 • ESPAÑOL
CARAC ERÍS ICAS Y MON AJE DE SU KI DE
PRESIÓN AR ERIAL DE USO DOMÉS ICO
Brazalete
Fácil armado -
Estetoscopio: Inserte el extremo del tubo “Y” en el vástago de la campana; inserte los
extremos de los binaurales metálicos de la bolsa de polietileno e inserte los extremos en el
tubo “Y”.
Brazalete, pera e indicador: Conecte el indicador y la pera al tubo como se muestra arriba.
Bulb de
Inflad
Binaurales
Tub
La Válvula
de Aire
CampanaIndicad r La D-Barra
de Metal
Las Olivas

ESPAÑOL • 19
Antes de colocarse el brazalete de presión arterial, asegúrese de haber
seleccionado el tamaño de brazalete adecuado:
El brazalete grande para adultos (incluido) se adapta a una
circunferencia de brazo de: 13” - 17” (33-43.2 cm)
Recuerde que es importante evitar fumar, comer, tomar medicamentos,
ingerir alcohol o hacer alguna actividad física 30 minutos antes de tomar
una lectura.
Si por algún motivo no puede o no debe usar el brazo izquierdo, modique
las instrucciones para la aplicación del brazalete en el brazo derecho. Su
médico le puede ayudar a identicar qué brazo es mejor para que tome las
medidas.
1. Quítese cualquier prenda ajustada o joya que pueda interferir con la
colocación del brazalete.
3. Extienda el brazo izquierdo. ocalice la arteria braquial, que se
encuentra en la parte interna (curvatura) del codo, Fig 1. Podrá sentir el
pulso. El parche de la arteria deberá señalar a la arteria braquial cuando
se coloque el brazalete.
4. Abra el brazalete formando un círculo a través del cual pueda deslizar el
brazo; no extienda el brazalete más allá de la barra metálica.
5. Inserte el brazo izquierdo en el brazalete. Coloque el borde inferior del
brazalete aproximadamente media pulgada (1,2 cm) ENCIMA del codo;
cuando tome la lectura, la campana del estetoscopio debe tocar
directamente la parte interna del brazo, sobre la arteria braquial.
6. Con el brazo extendido, la palma de la mano hacia arriba y los tubos
hacia el centro del brazo, Fig 2-3, use la mano derecha para tirar del
extremo del brazalete y sujetar el material de velcro. Asegúrese de que
la marca de la arteria esté apuntando a la arteria braquial.
7. El brazalete debe calzar de manera cómoda, pero ajustada, alrededor
del brazo. Debe poder insertar un dedo fácilmente entre el brazo y el
brazalete.
COLOCACIÓN DEL BRAZALE E
Fig. 1
Fig. 2
Fig. 3
Si no le resulta cómodo colocarse el brazalete, procure que lo ayude otra persona en su casa o
practique con su médico la aplicación del brazalete. os brazaletes colocados incorrectamente
pueden dar lecturas inexactas.

20 • ESPAÑOL
USO Y AJUS E APROPIADOS DEL
ES E OSCOPIO
as olivas de su estetoscopio de Veridian Healthcare han sido cuidadosamente calibradas para
proporcionar acústicas claras y audibles. Para escuchar mejor los sonidos que se van a
analizar, recuerde los siguientes consejos:
Fig. 2
Fig. 3
Fig. 1 -
P sición c rrecta
Fig. 1 -
P sición inc rrecta
Se incluye olivas múltiples. Seleccione el par que le
resulte más cómodo y efectivo. as olivas tienen que
apuntar hacia adelante cuando se están usando, Fig 1.
as olivas deben estar en sus oídos en forma segura pero
cómoda.
os binaurales se pueden ajustar para asegurar un
máximo confort y ecacia. Para aumentar la tensión,
simplemente apriete los binaurales justo por encima de
su punto de unión, cruzando las olivas, Fig 2. No aplique
demasiada presión; aplique una fuerza mínima,
aumentando levemente la presión hasta que las olivas
calcen cómodamente.
Si las olivas están demasiado ajustadas, separe los
binaurales, sujetándolos justo por encima de su punto
de unión, Fig. 3. Hágalo con suavidad para no dañar el
estetoscopio.
Sea siempre cuidadoso cuando ajusta los binaurales
para evitar que se dañen. Cuando acerque las olivas, la
tensión máxima utilizada hará que los tubos negros que
están a ambos lados se toquen. Cuando separe los
binaurales, no exceda los 90 grados entre ellos.

ESPAÑOL • 21
CÓMO OMAR LA LEC URA
Antes de tomar la lectura, lea la sección Características y
montaje de su kit de presión arterial de uso doméstico y
verique que cada pieza esté correctamente colocada y que
las olivas estén bien sujetas.
NOTA: Para los nes de estas instrucciones, a la persona que
tome la lectura se le denominará CUIDADOR; a la persona
que se le realice la lectura se le denominará PACIENTE.
Colocación del brazalete y posicionamiento del brazo -
aciente
1. Coloque el brazalete como se indicó antes en este manual.
2. El codo debe descansar sobre una mesa, con la palma de la mano y
el brazo hacia arriba. Eleve la mano de manera que la muñeca y el
corazón se encuentren alineados, Fig 1. Relaje la mano izquierda.
reparación para tomar la medición - Cuidador
3. Ubíquese delante del paciente, a la misma altura.
4. Colóquese las olivas del estetoscopio en los oídos y coloque la
campana en el lado interno del brazo del paciente. a campana debe
quedar parcialmente debajo del brazalete, directamente sobre la
arteria braquial.
5. Sostenga el indicador (manómetro) con la mano o colóquelo de
modo que pueda leerlo sin moverlo, como apoyado en una libreta
gruesa o en una toalla doblada delante suyo.
6. Sostenga la pera para inar con la mano que tiene libre y gire la
válvula de liberación de aire en el sentido de las agujas del reloj para
cerrar, Fig 2.
7. Comience a inar el brazalete lenta y continuamente bombeando la
pera para inar hasta que el indicador marque 30 mmHG ENCIMA de
la última medición SISTÓ ICA. Si no sabe cuál fue la última medición
SISTÓ ICA, ine hasta aproximadamente 180-200 mmHg. NO INF E
NUNCA E BRAZA ETE POR ENCIMA DE 280 mmHg.
Fig. 2
Fig. 1
Fig. 3
Cierre la Válvula
Observe el primer sonido
Table of contents
Languages:
Other Veridian Healthcare Blood Pressure Monitor manuals
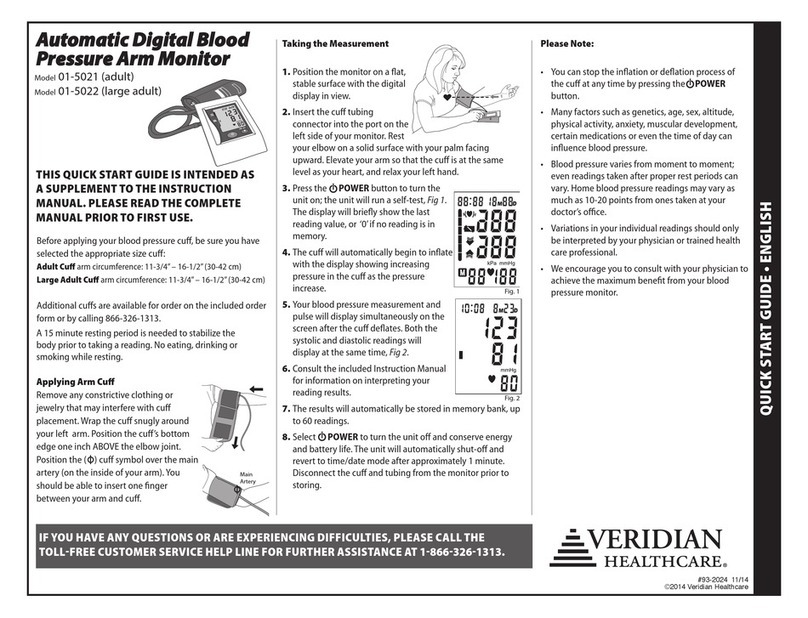
Veridian Healthcare
Veridian Healthcare 01-514 User manual

Veridian Healthcare
Veridian Healthcare Jumbo Screen Premium 01-514 User manual

Veridian Healthcare
Veridian Healthcare Sterling Series User manual

Veridian Healthcare
Veridian Healthcare 01-5501 User manual

Veridian Healthcare
Veridian Healthcare SmartHeart 01-518 User manual

Veridian Healthcare
Veridian Healthcare 01-5021 User manual

Veridian Healthcare
Veridian Healthcare 01-508 User manual

Veridian Healthcare
Veridian Healthcare Sterling Series User manual

Veridian Healthcare
Veridian Healthcare 01-5021 User manual

Veridian Healthcare
Veridian Healthcare SmartHeart 01-540 series User manual