manuals.online logo
Brands
  1. Home
  2. •
  3. Brands
  4. •
  5. Veris Industries
  6. •
  7. Accessories
  8. •
  9. Veris Industries AA01 User manual

Veris Industries AA01 User manual

Z204687-0D PAGE 1 ©2013 Veris Industries USA 800.354.8556 or +1.503.598.4564 / suppor[email protected] 03131
Alta Labs, Enercept, Enspector, Hawkeye, Trustat, Aerospond, Veris, and the Veris ‘V’ logo are trademarks or registered trademarks of Veris Industries, L.L.C. in the USA and/or other countries.
TM
ENVIRONMENTAL SENSORS INSTALLATION GUIDE
CO2Calibration Kit
AA01
NOTICE
• This product is not intended for life or safety applications.
• Do not install this product in hazardous or classied locations.
• Read and understand the instructions before installing
this product.
• Turn off all power supplying equipment before working on it.
• The installer is responsible for conformance to all applicable codes.
No responsibility is assumed byVeris Industries for any consequences arising out of the
use of this material.
PRODUCT IDENTIFICATION
AA01 CO2Calibration Kit
PRODUCT OVERVIEW
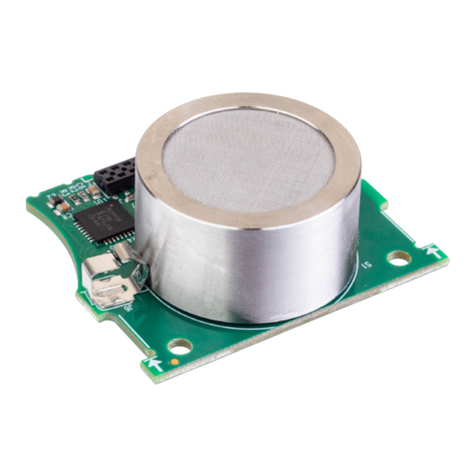
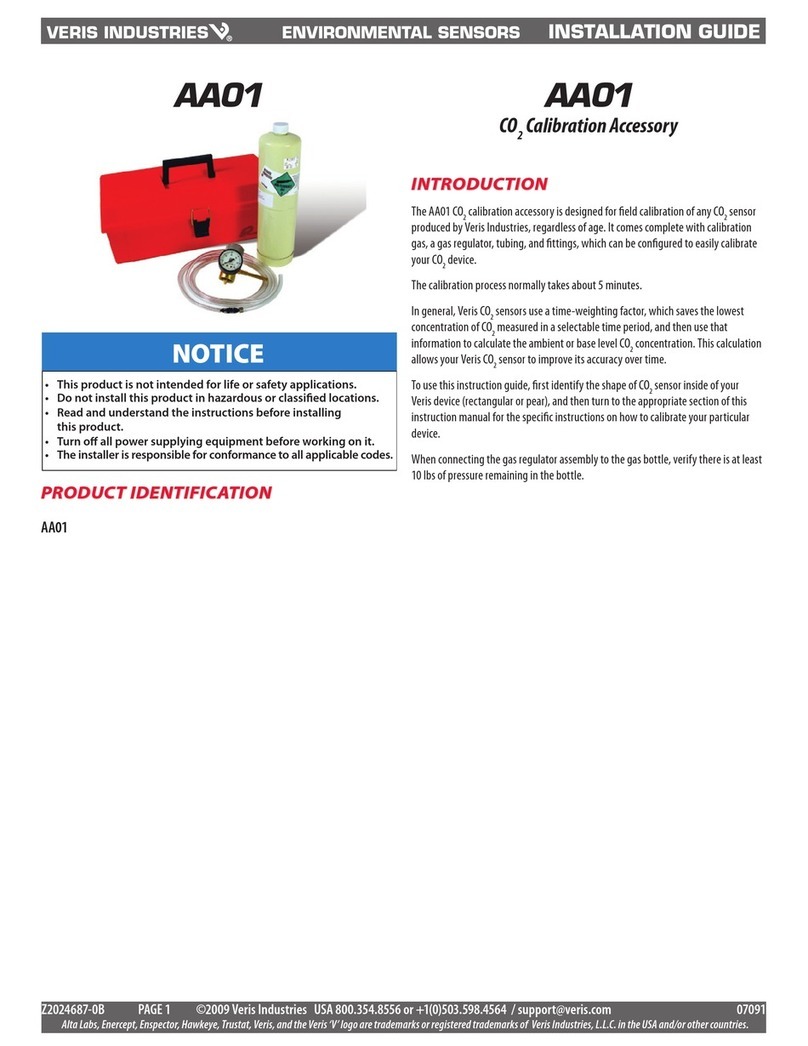
The AA01 CO2calibration accessory is designed for eld calibration of any CO2sensor
produced by Veris Industries, regardless of age. It comes complete with calibration
gas, a gas regulator, tubing, and ttings. The calibration process normally takes
about 5 minutes.
In general, Veris CO2sensors use a time-weighting factor, which retains the lowest
concentration of CO2measured in a selectable time period. That information is then
used to calculate the ambient or base level CO2concentration. This calculation allows
a CO2sensor to improve its accuracy over time.
To use this instruction guide, rst identify the shape of the CO2sensor inside of your
Veris device (rectangular or pear), and then turn to the applicable section of this
instruction manual for the instructions.
Note: For all calibrations, when connecting the gas regulator assembly to the gas
bottle, verify there is at least 10 lbs of pressure remaining in the bottle. The CO2
sensor cannot be calibrated correctly with less than 10 lbs.
Z204687-0D PAGE 2 ©2013 Veris Industries USA 800.354.8556 or +1.503.598.4564 / support@veris.com 03131
Alta Labs, Enercept, Enspector, Hawkeye, Trustat, Aerospond, Veris, and the Veris ‘V’ logo are trademarks or registered trademarks of Veris Industries, L.L.C. in the USA and/or other countries.
TM
AA01 INSTALLATION GUIDE
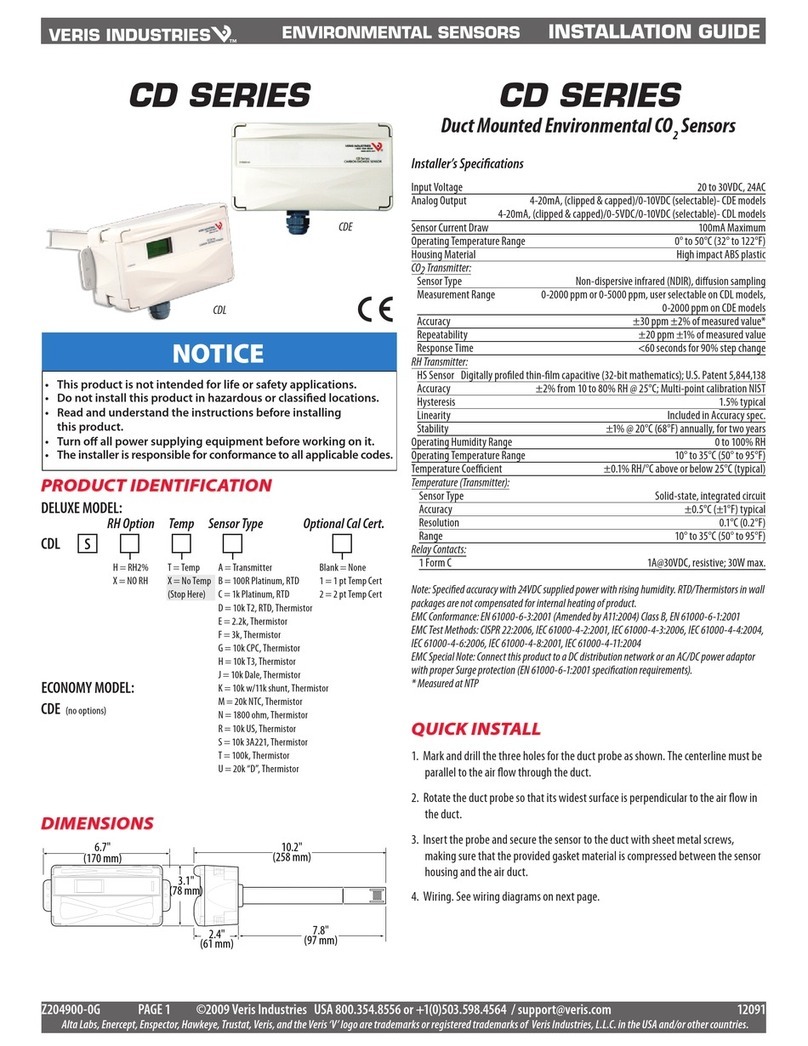
FOR ANY CO2DEVICE WITH
RECTANGULAR SENSOR
PREPARATION
1. Ensure that the unit to be calibrated is properly installed and has been operating
for at least one hour.
2. Use only Veris Industries calibration kit model AA01. Perform the zero calibration
with nitrogen gas. Use a ow regulator to limit gas ow to <0.25 liter/minute.
Exceeding this ow rate may cause calibration errors.
SETUP
1. Connect tubing to the regulator and screw the regulator on the gas bottle.
2. Remove the front cover from the unit and locate the plastic barb tting and the
menu push-button. A label indicating push-button functions is located inside
front cover plate.
Hose Barb
Menu Buttons
3. Attach tubing rmly to the barb tting.
4. Follow the calibration directions for your device.
CX/CWL/CDL CALIBRATION
1. Press ENTER to enter conguration mode.
2. Press ENTER repeatedly until the CO2 CAL menu option appears on the display.
CC2
ESY
O
*NO
LA?
3. Press + to select the YES option.
4. Using the +/- buttons, select the ZERO calibration option. Press ENTER to
continue. The AA01 kit includes nitrogen gas for zero calibration only.
E
PA
R
SN
Z
*O
5. Verify the display indicates 0 ppm gas concentration. Press ENTER to continue.
E
PP
R
0M
ZOGA S
6. Look for the display to prompt gas ow.
O
ST
W
A
LF
*
G
R
A
T
S
Open the regulator valve and adjust pressure to 7 psi to generate the appropriate
ow rate. Press ENTER to begin the countdown timer.
L
42
T
0
AC
*
I
S
M
EC
E
7. Wait for the countdown timer to reach zero and for the display to indicate the
calibration is complete.
N
TO P
OD
SGA S
E
8. Close the regulator valve and disconnect tubing from the unit. Press ENTER to
return to normal operation.
9. Replace the sensor cover.
CDE/CWE CALIBRATION
1. Start owing (nitrogen) 0 ppm CO2gas.
2. Push and hold down the calibration button until the red LED illuminates.
3. Continue owing gas through the sensor until the red LED turns o.
4. Close the regulator valve and disconnect tubing from the unit.
5. Replace the sensor cover.
Z204687-0D PAGE 3 ©2013 Veris Industries USA 800.354.8556 or +1.503.598.4564 / support@veris.com 03131
Alta Labs, Enercept, Enspector, Hawkeye, Trustat, Aerospond, Veris, and the Veris ‘V’ logo are trademarks or registered trademarks of Veris Industries, L.L.C. in the USA and/or other countries.
TM
AA01 INSTALLATION GUIDE
F
.X
S
CX
F
OE
T
º
F
HX
S
RX
FO
%
TE
.X
2
X
–+
O
CA
C
X
L
X
?
L
X–
A
CA
G
X
S
XX+
?
RI
5
*:00
KO
WN
G
4. Select 0 ppm Cal Gas option.
5. Continue owing gas through the sensor. Estimated calibration time is 5 minutes.
The unit returns to run mode when the calibration is complete.





CWL
CDL
FOR CDL/CWL DEVICE WITH PEAR-
SHAPED SENSOR
1. Remove cover and connect the gas cylinder hose to the plastic port located on the
sensing module. Connect only one sensor to the calibration gas cylinder at a time.
2. Start owing nitrogen gas (0 ppm CO2). Use a ow rate of 0.3 to 0.5 liter/minute.





Connect hose here
CWL
CDL
NITROGEN
GAS
Regulator
Valve


3. Push and hold the plus and minus buttons for 5 seconds to enter calibration mode.
At each menu option, use the arrow to change values. Push ENTER for the next
option.
E
XX
R
X
XX
XXX
SA
LI
X
XX
X
XXX
X
Displays serial number
Displays model number
Range is -5 to 5°C,
in 0.1°C increments
Range is -10 to 10%,
in 0.1% increments
Options are Yes/No
Options are None, 0, 400
Unit will automatically return to run
mode when calibration is complete.
CWL ONLY
Z204687-0D PAGE 4 ©2013 Veris Industries USA 800.354.8556 or +1.503.598.4564 / support@veris.com 03131
Alta Labs, Enercept, Enspector, Hawkeye, Trustat, Aerospond, Veris, and the Veris ‘V’ logo are trademarks or registered trademarks of Veris Industries, L.L.C. in the USA and/or other countries.
TM
AA01 INSTALLATION GUIDE
FOR CDE DEVICE WITH PEAR-SHAPED
SENSOR
1. Remove the cover and connect the gas cylinder hose to the plastic port located on
the sensing module. Connect only one sensor to the calibration gas cylinder at a
time.
Connect hose here
2. Start owing nitrogen gas (0 ppm CO2). Use a ow rate of 0.3 to 0.5 liter/minute.
NITROGEN
GAS
Regulator
Valve
3. Push and hold down the calibration button until the LED illuminates.
Push and hold down calibration button
Green LED
4. Continue owing gas through the sensor until the LED deluminates. Estimated
calibration time is 5 minutes. Remove the hose from the calibration port when
complete.
FOR CWE DEVICE WITH PEAR-SHAPED
SENSOR
1. Remove the cover and connect the gas cylinder hose to the plastic port located on
the sensing module. Connect only one sensor to the calibration gas cylinder at a
time.
Connect hose here
2. Start owing nitrogen gas (0 ppm CO2). Use a ow rate of 0.3 to 0.5 liter/minute.
NITROGEN
GAS
Regulator
Valve
3. Push and hold down the calibration button until the LED illuminates.
Push and hold down calibration button
Green LED
4. Continue owing gas through the sensor until the LED deluminates. Estimated
calibration time is 5 minutes. Remove the hose from the calibration port when
complete.

Other Veris Industries Accessories manuals

Veris Industries AG01E User manual

Veris Industries

Veris Industries AG01E User manual

Veris Industries AG04 User manual

Veris Industries

Veris Industries AG04 User manual

Veris Industries HT Series User manual

Veris Industries

Veris Industries HT Series User manual

Veris Industries AG06 User manual

Veris Industries

Veris Industries AG06 User manual

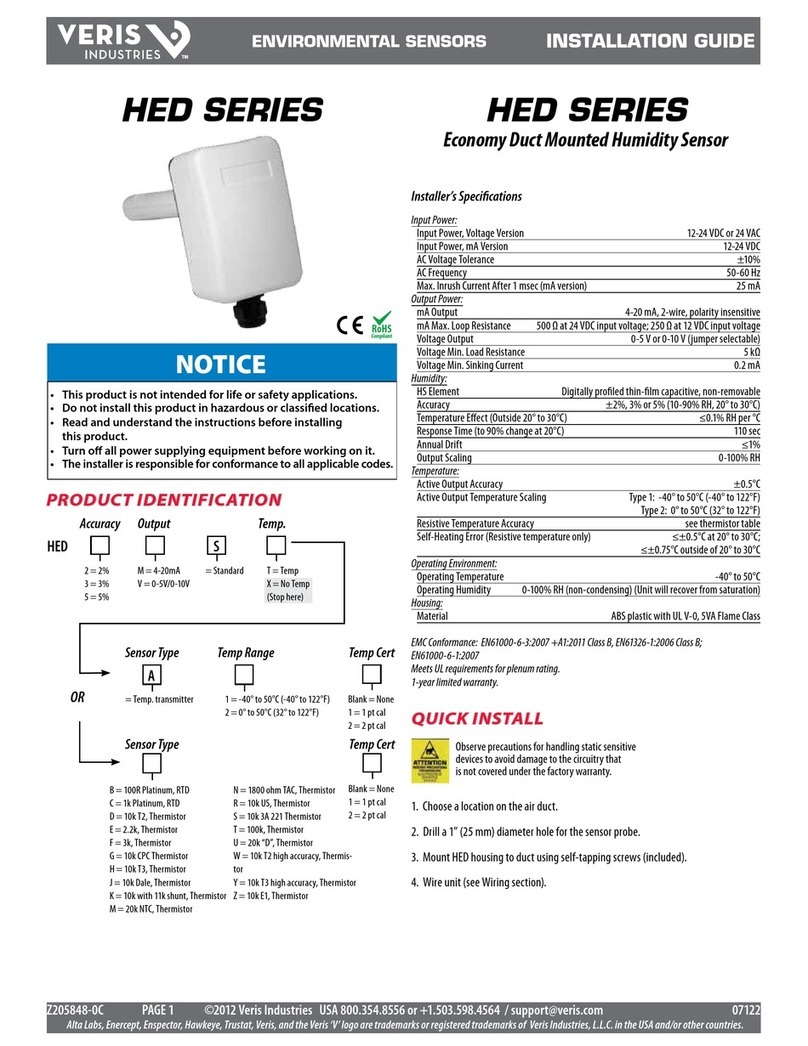
Veris Industries HED Series User manual

Veris Industries

Veris Industries HED Series User manual

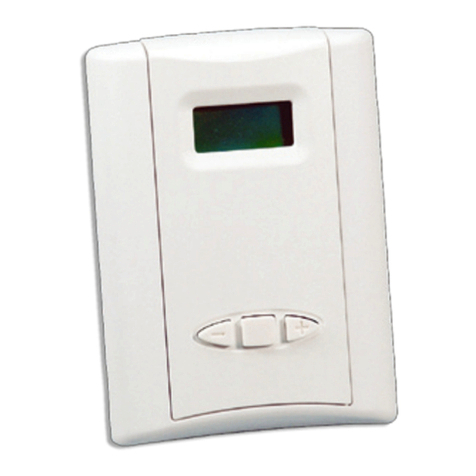
Veris Industries CD Series User manual

Veris Industries

Veris Industries CD Series User manual

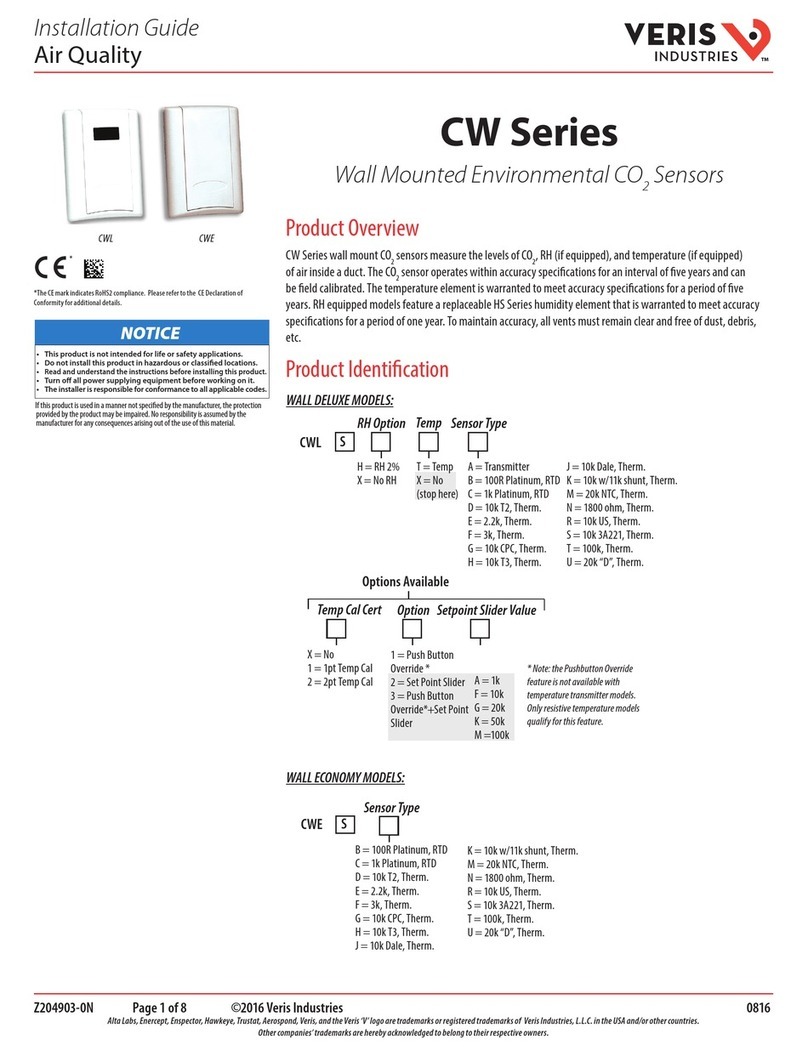
Veris Industries CW Series User manual

Veris Industries

Veris Industries CW Series User manual

Veris Industries AA01 User manual

Veris Industries

Veris Industries AA01 User manual

Popular Accessories manuals by other brands

Optex Pro Swing PREMIER T Specification manual

Optex

Optex Pro Swing PREMIER T Specification manual

Simshine SimCam Ango user guide

Simshine

Simshine SimCam Ango user guide

llaza SPLENBOX 400 installation manual

llaza

llaza SPLENBOX 400 installation manual

BEA Smart Focus manual

BEA

BEA Smart Focus manual

Eule Doorbell-O4 installation guide

Eule

Eule Doorbell-O4 installation guide

Technische Alternative RAS+DL Operation, Programming, Installation Instructions

Technische Alternative

Technische Alternative RAS+DL Operation, Programming, Installation Instructions

Samsung SIA-0010I user manual

Samsung

Samsung SIA-0010I user manual

Jung SCHUKO BT 1521S Series operating instructions

Jung

Jung SCHUKO BT 1521S Series operating instructions

rollease acmeda AUTOMATE Programming instructions

rollease acmeda

rollease acmeda AUTOMATE Programming instructions

Focusrite Scarlett 4i4 user guide

Focusrite

Focusrite Scarlett 4i4 user guide

Outdoor Revolution CompactAirLite Annexe Instructions & care manual

Outdoor Revolution

Outdoor Revolution CompactAirLite Annexe Instructions & care manual

SKI mFLOW 100WT instruction manual

SKI

SKI mFLOW 100WT instruction manual

Mitsubishi Electric PZ-70CSW-E quick start guide

Mitsubishi Electric

Mitsubishi Electric PZ-70CSW-E quick start guide

KWC QBIX Features

KWC

KWC QBIX Features

Philips DLA66073D Specifikationer

Philips

Philips DLA66073D Specifikationer

resideo R200 Monitor Installation and setup guide

resideo

resideo R200 Monitor Installation and setup guide

YOKOGAWA FU20F instruction manual

YOKOGAWA

YOKOGAWA FU20F instruction manual

Panasonic MA3S7810G Specification sheet

Panasonic

Panasonic MA3S7810G Specification sheet

manuals.online logo
manuals.online logoBrands
  • About & Mission
  • Contact us
  • Privacy Policy
  • Terms and Conditions

Copyright 2025 Manuals.Online. All Rights Reserved.