inStallation GUiDe
aa01
Z
2
0
2
4
6
8
7-
0
B
PAGE 2 ©2009 Veris Industries USA 800.354.8556 or +1(0)503.598.4564 / suppor[email protected] 07091Alta Labs, Enercept, Enspector, Hawkeye, Trustat, Veris, and the Veris ‘V’ logo are trademarks or registered trademarks of Veris Industries, L.L.C. in the USA and/or other countries.
for any co2devIce wIth
rectangular SenSor
PREPARATION
Ensure unit to be calibrated is properly installed and has been operating for at1.
least one hour.
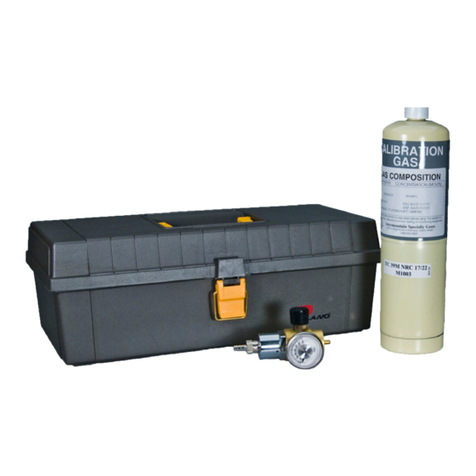
Use only Veris Industries calibration kit model AA01. Perform zero calibration with2.
nitrogen gas. Use a flow regulator to limit gas flow to <0.25 lpm. Exceeding this
flow rate may cause calibration errors.
SETUP
Install tubing to regulator and screw regulator on gas bottle.1.
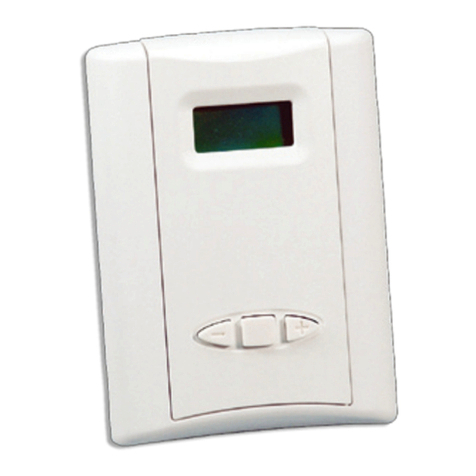
Remove front cover from unit and locate plastic barb fitting and menu push-2.
button. A label indicating push-button functions is located inside front cover
plate.
Attach tubing firmly to barb fitting.3.
CX/CWL/CDL CALIBRATION
Press ENTER button to enter configuration mode.1.
Press ENTER repeatedly until CO2. 2CAL menu option appears on the display:
Press “+” to select YES option.3.
Using “+/-” buttons, select ZERO calibration option. Press ENTER to continue.4.
NOTE: AA01 kit includes nitrogen gas for zero calibration ONLY.
Verify display indicates 0 PPM gas concentration. Press ENTER to continue.5.
Display should prompt to flow gas:6.
Open regulator valve and adjust pressure to 7 psi to generate the appropriate flow
rate. Press ENTER to begin countdown timer.
Wait for countdown timer to reach zero and for display to indicate calibration is7.
complete:
Close regulator valve and disconnect tubing from unit. Press ENTER to return to8.
normal operation.
Replace sensor cover.9.
CDE/CWE CALIBRATION
Follow setup directions above.1.
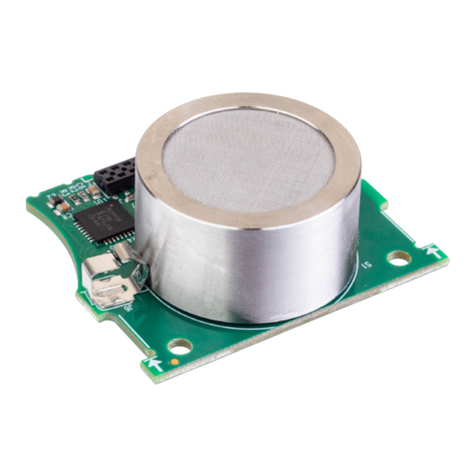
Start flowing (nitrogen) 0 ppm CO2. 2gas.
Push and hold down calibration button until the red LED illuminates.3.
Continue flowing gas through the sensor until the red LED turns off.4.
Follow steps 8 & 9 of the calibration directions above.5.
